


目录
一、新增员工
点击左上角新增员工
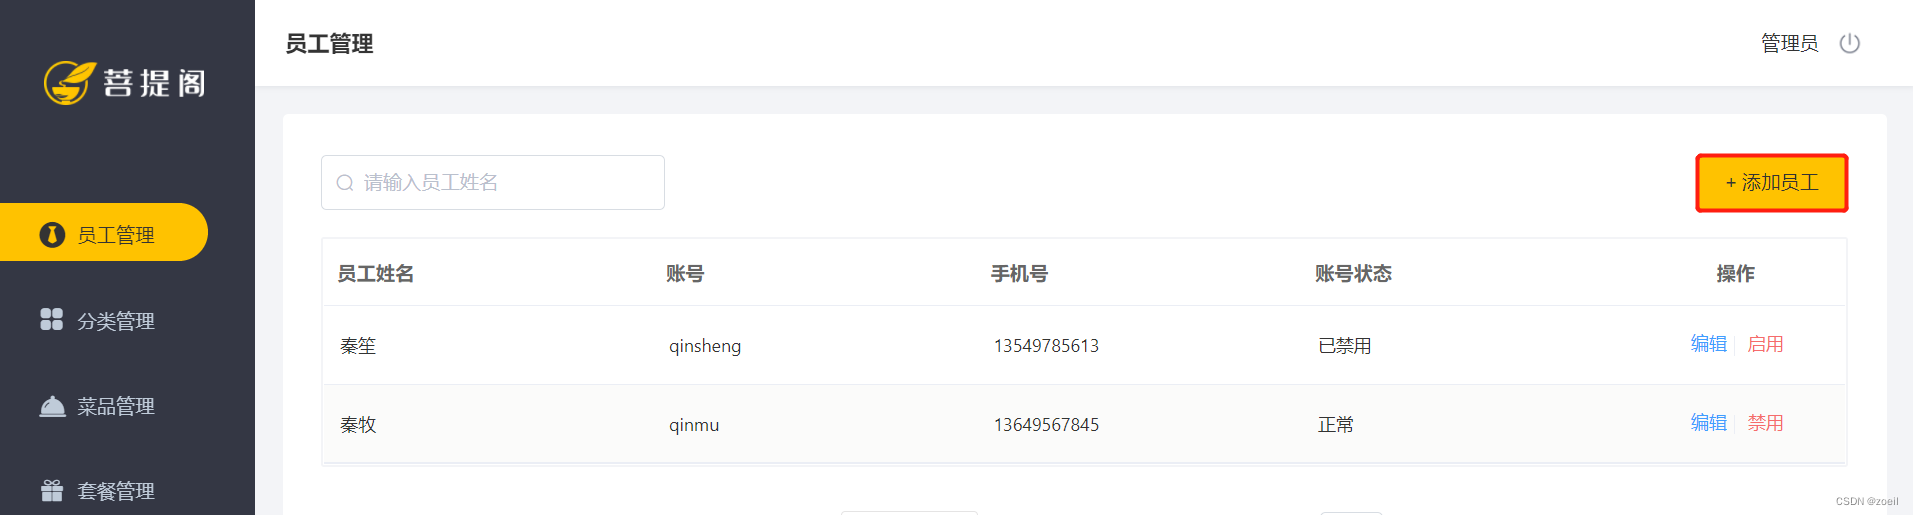
页面如下:
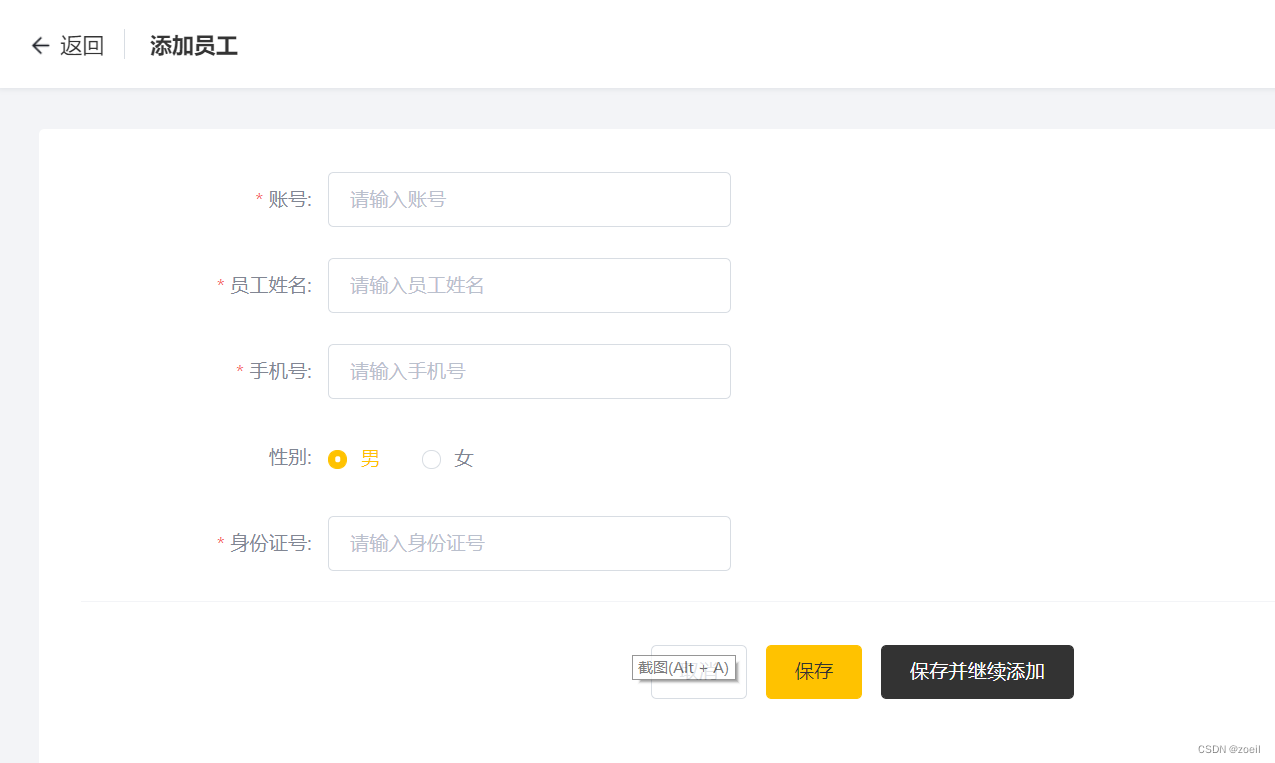
我们随便填数据 ,点击保存,请求的地址如下
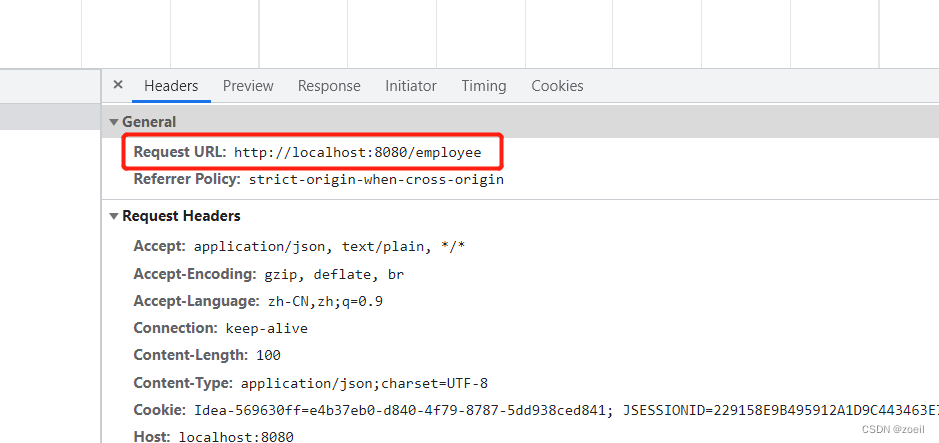
返回前端可以看到请求方式为Post
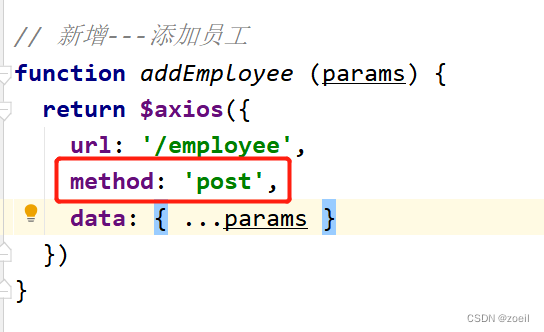
在employeeController中编写对应的代码
    /*
     * 新增员工
     */
    @PostMapping
    public R<String> add(HttpServletRequest request, @RequestBody Employee employee) {

        employee.setPassword(DigestUtils.md5DigestAsHex("123456".getBytes()));

        employee.setCreateTime(LocalDateTime.now());
        employee.setUpdateTime(LocalDateTime.now());
        Long empId = (Long) request.getSession().getAttribute("employee");
        employee.setCreateUser(empId);
        employee.setUpdateUser(empId);

        employeeService.save(employee);

        return R.success("新增员工成功");
    }
这里我们可以发现对于createTime、updateTime、createUser、updateUser这几个字段其实是公共字段,即几个表里都会有,那么我们可以使用mybatis-plus进行公共字段填充,就不需要每次写4行设置属性的代码了
Employee中公共字段我们需要添加@TableField属性并且设置什么时候填充
@Data
public class Employee implements Serializable {

    private static final long serialVersionUID = 1L;

    private Long id;

    private String username;

    private String name;

    private String password;

    private String phone;

    private String sex;

    private String idNumber;

    private Integer status;

    @TableField(fill = FieldFill.INSERT)  // 插入时填充字段
    private LocalDateTime createTime;

    @TableField(fill = FieldFill.INSERT_UPDATE)  // 插入和更新时填充字段
    private LocalDateTime updateTime;

    @TableField(fill = FieldFill.INSERT)  // 插入时填充字段
    private Long createUser;

    @TableField(fill = FieldFill.INSERT_UPDATE)  // 插入和更新时填充字段
    private Long updateUser;

}
接下来编写一个MyMetaObjectHandler继承mybatis-plus中的MetaObjectHandler
@Slf4j
@Component
public class MyMetaObjectHandler implements MetaObjectHandler {
    /*
     * 插入字段,自动填充
     */
    @Override
    public void insertFill(MetaObject metaObject) {
        log.info("公共字段填充【insert】");
        log.info(metaObject.toString());
        metaObject.setValue("createTime", LocalDateTime.now());
        metaObject.setValue("updateTime", LocalDateTime.now());
        metaObject.setValue("createUser", BaseContext.getCurrentId());
        metaObject.setValue("updateUser", BaseContext.getCurrentId());
    }

    /*
     * 更新字段,自动填充
     */
    @Override
    public void updateFill(MetaObject metaObject) {
        log.info("公共字段填充【update】");
        log.info(metaObject.toString());
        metaObject.setValue("updateTime", LocalDateTime.now());
        metaObject.setValue("updateUser", BaseContext.getCurrentId());
    }
}
则添加员工的代码可简化为
    /*
     * 新增员工
     */
    @PostMapping
    public R<String> add(HttpServletRequest request, @RequestBody Employee employee) {

        employee.setPassword(DigestUtils.md5DigestAsHex("123456".getBytes()));
        /*
         * 使用MP公共字段自动填充
         */
        employeeService.save(employee);

        return R.success("新增员工成功");
    }
二、查询分页数据
分页数据需要使用到Mybatis-plus的分页构造器
@Configuration
public class MybatisPlusConfig {

    @Bean
    public MybatisPlusInterceptor mybatisPlusInterceptor() {
        MybatisPlusInterceptor interceptor = new MybatisPlusInterceptor();
        interceptor.addInnerInterceptor(new PaginationInnerInterceptor());
        return interceptor;
    }
}
页面发送的请求如下
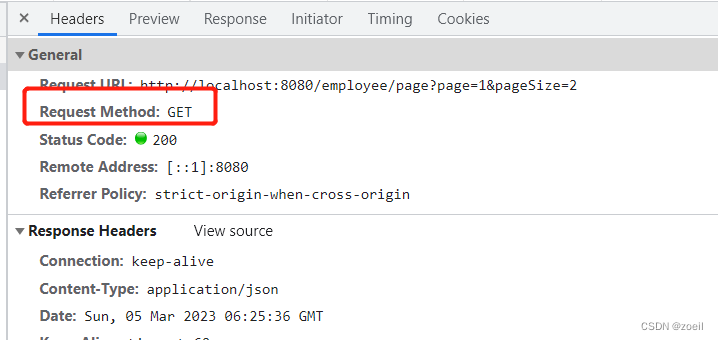
当添加了搜索字段后

前端Element-UI需要分页数据进行展示,我们返回分页信息
    /*
     * 返回分页查询的数据
     */
    @GetMapping("/page")
    public R<Page> page(int page, int pageSize, String name) {
        log.info("page:{}, pageSize:{}, name:{}", page, pageSize, name);

        // 构造分页器
        Page pageInfo = new Page(page, pageSize);

        // 构造条件构造器
        LambdaQueryWrapper<Employee> wrapper = new LambdaQueryWrapper<>();
        // 构造过滤条件
        wrapper.like(!StringUtils.isEmpty(name), Employee::getName, name);
        // 构造排序条件
        wrapper.orderByDesc(Employee::getUpdateTime);

        // 查询
        employeeService.page(pageInfo, wrapper);
        return R.success(pageInfo);
    }
三、启用、禁用员工账户、编辑员工信息
对员工进行禁用后,员工就无法登录管理后台了,禁用实际上就是对应修改employee表中的status字段,即更新。那么本质上还是更新数据,可以和编辑功能一起写

编辑页面如下:
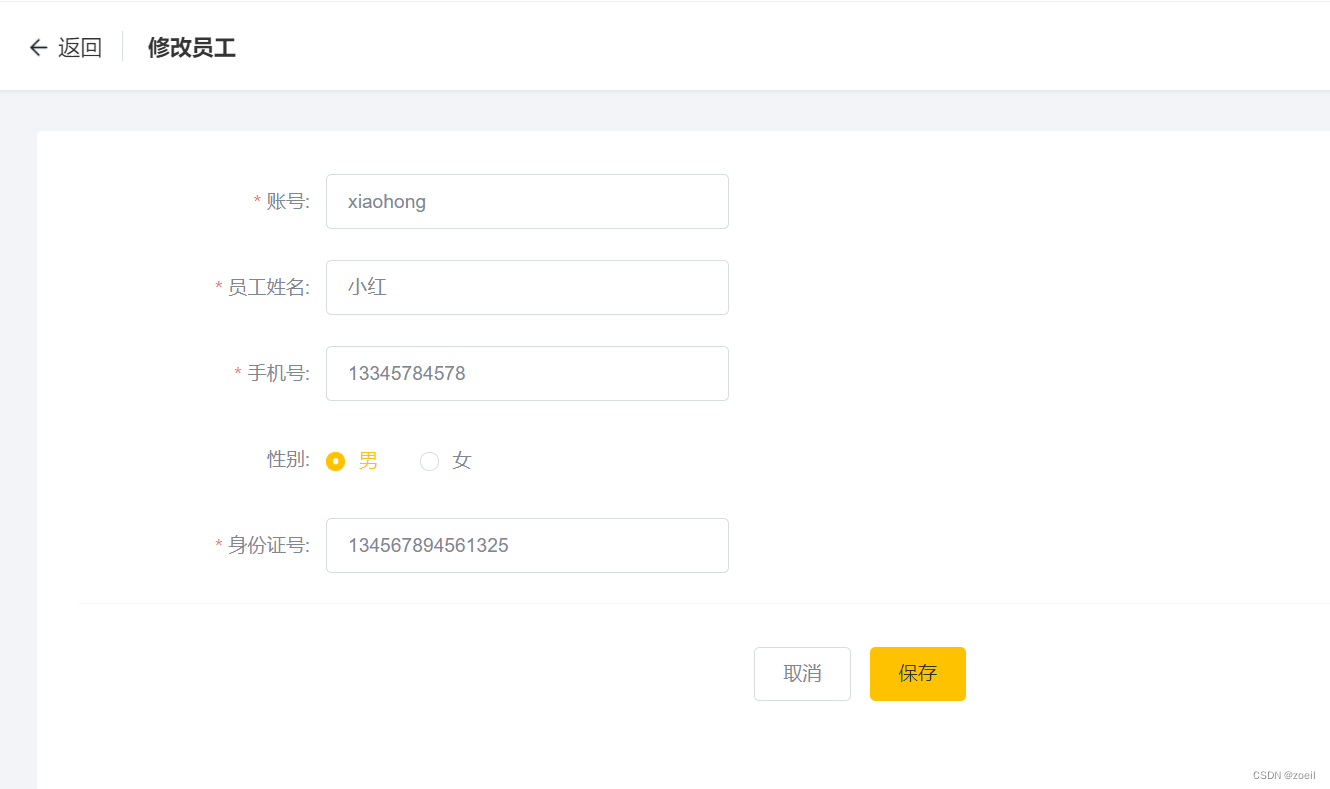
很显然这里的数据是通过查询数据库进行回显的,当我们点击编辑页面后,会发送以下GET请求
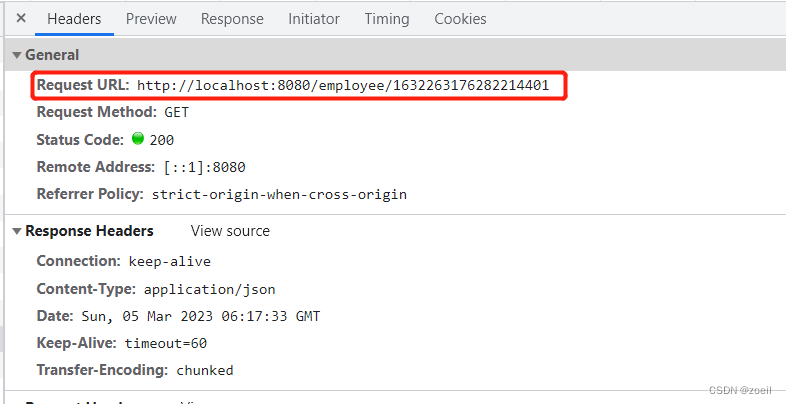
我们需要在Controller中编写对应的方法处理请求,由于类上已经加了@RequestMapping("/employee"),这里方法上直接写“/{id}”即可
    /*
     * 编辑员工的请求,此时根据id返回一个employee进行回显
     */
    @GetMapping("/{id}")
    public R<Employee> getById(@PathVariable Long id) {
        log.info("根据id查询员工信息");
        Employee employee = employeeService.getById(id);
        if(employee != null) {
            return R.success(employee);
        } else return R.error("没有查询到员工信息");

    }
回显完成后我们还需要编写保存方法
    /*
     * 根据员工id修改信息,通用性 编辑和禁用皆可使用
     */

    @PutMapping
    public R<String> update(HttpServletRequest request,@RequestBody Employee employee) {
        log.info("修改的用户id为{}", employee.getId());
        Long empId = (Long)request.getSession().getAttribute("employee");
        // Mp 公共字段自动填充
//        employee.setUpdateTime(LocalDateTime.now());
//        employee.setUpdateUser(empId);

        employeeService.updateById(employee);
        return R.success("更新员工成功");
    }


 116
116


 被折叠的 条评论
为什么被折叠?
被折叠的 条评论
为什么被折叠?
 到【灌水乐园】发言


