


作业要求:
根据课程教学内容完成类微信的门户页面框架设计,APP最少必须包含4个tab页面。框架设计需要使用fragment,activity。
首先设计界面,设计所用到的控件如下:

设计完的界面如下:

该界面的xml文件中code如下:
<?xml version="1.0" encoding="utf-8"?>
<android.support.constraint.ConstraintLayout xmlns:android="http://schemas.android.com/apk/res/android"
    xmlns:app="http://schemas.android.com/apk/res-auto"
    xmlns:tools="http://schemas.android.com/tools"
    android:layout_width="match_parent"
    android:layout_height="match_parent"
    tools:context=".MainActivity">

    <LinearLayout
        android:id="@+id/linearLayout"
        android:layout_width="405dp"
        android:layout_height="83dp"
        android:background="#009688"
        android:orientation="horizontal"
        app:layout_constraintBottom_toBottomOf="parent"
        app:layout_constraintEnd_toEndOf="parent"
        app:layout_constraintStart_toStartOf="parent"
        app:layout_constraintTop_toTopOf="parent"
        app:layout_constraintVertical_bias="0.992">

        <LinearLayout
            android:layout_width="98dp"
            android:layout_height="match_parent"
            android:id="@+id/LinearLayout1"
            android:orientation="vertical">


            <ImageView
                android:id="@+id/imageView1"
                android:layout_width="match_parent"
                android:layout_height="53dp"
                app:srcCompat="@android:drawable/ic_dialog_email" />

            <TextView
                android:id="@+id/textView"
                android:layout_width="match_parent"
                android:layout_height="wrap_content"
                android:gravity="center"
                android:text="message"
                android:textAppearance="@style/TextAppearance.AppCompat.Large" />
        </LinearLayout>

        <LinearLayout
            android:layout_width="97dp"
            android:layout_height="match_parent"
            android:id="@+id/LinearLayout2"
            android:orientation="vertical">


            <ImageView
                android:id="@+id/imageView2"
                android:layout_width="match_parent"
                android:layout_height="52dp"
                tools:srcCompat="@tools:sample/avatars" />

            <TextView
                android:id="@+id/textView2"
                android:layout_width="match_parent"
                android:layout_height="wrap_content"
                android:gravity="center"
                android:text="contact"
                android:textAppearance="@style/TextAppearance.AppCompat.Large" />
        </LinearLayout>

        <LinearLayout
            android:layout_width="108dp"
            android:layout_height="match_parent"
            android:orientation="vertical"
            android:id="@+id/LinearLayout3">


            <ImageView
                android:id="@+id/imageView3"
                android:layout_width="match_parent"
                android:layout_height="53dp"
                app:srcCompat="@android:drawable/ic_menu_search" />

            <TextView
                android:id="@+id/textView3"
                android:layout_width="match_parent"
                android:layout_height="wrap_content"
                android:gravity="center"
                android:text="find"
                android:textAppearance="@style/TextAppearance.AppCompat.Large" />
        </LinearLayout>

        <LinearLayout
            android:layout_width="match_parent"
            android:layout_height="match_parent"
            android:id="@+id/LinearLayout4"
            android:orientation="vertical">

            <ImageView
                android:id="@+id/imageView4"
                android:layout_width="match_parent"
                android:layout_height="53dp"
                app:srcCompat="@android:drawable/ic_menu_preferences" />

            <TextView
                android:id="@+id/textView4"
                android:layout_width="match_parent"
                android:layout_height="wrap_content"
                android:gravity="center"
                android:text="config"
                android:textAppearance="@style/TextAppearance.AppCompat.Large" />
        </LinearLayout>
    </LinearLayout>

    <TextView
        android:id="@+id/textView5"
        android:layout_width="411dp"
        android:layout_height="72dp"
        android:background="#009688"
        android:text="wechat"
        android:gravity="center"
        android:textAppearance="@style/TextAppearance.AppCompat.Large"
        app:layout_constraintBottom_toBottomOf="parent"
        app:layout_constraintEnd_toEndOf="parent"
        app:layout_constraintHorizontal_bias="0.0"
        app:layout_constraintStart_toStartOf="parent"
        app:layout_constraintTop_toTopOf="parent"
        app:layout_constraintVertical_bias="0.0" />

    <FrameLayout
        android:id="@+id/frame"
        android:layout_width="match_parent"
        android:layout_height="match_parent"
        app:layout_constraintBottom_toBottomOf="parent"
        app:layout_constraintEnd_toEndOf="parent"
        app:layout_constraintHorizontal_bias="1.0"
        app:layout_constraintStart_toStartOf="parent"
        app:layout_constraintTop_toTopOf="parent"
        app:layout_constraintVertical_bias="1.0"/>
</android.support.constraint.ConstraintLayout>
接下来是四个跳转界面:
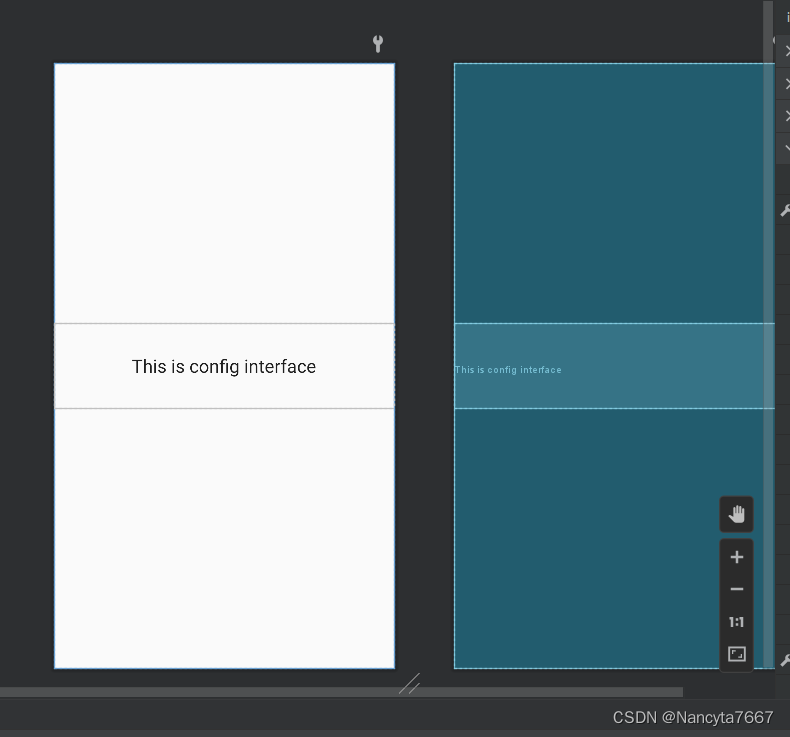

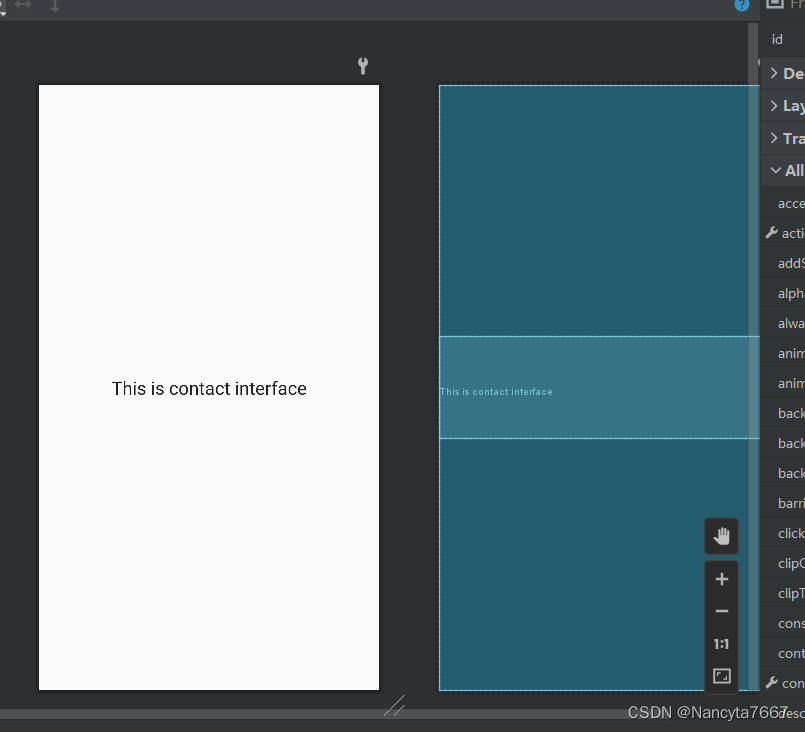
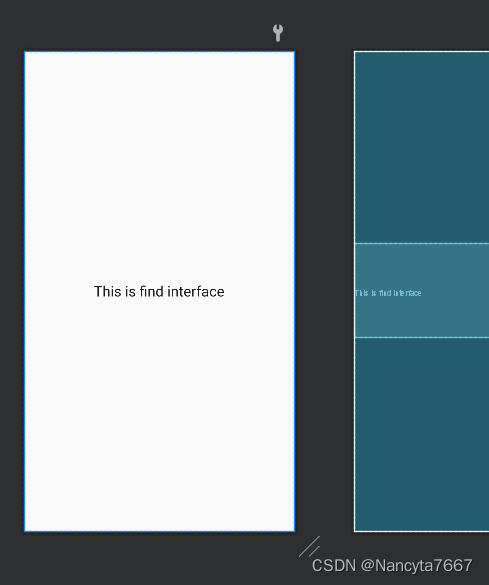
xml文件的code如下:(四个文件的内容性质一样,以contact为例)
<?xml version="1.0" encoding="utf-8"?>
<FrameLayout xmlns:android="http://schemas.android.com/apk/res/android"
    xmlns:tools="http://schemas.android.com/tools"
    android:layout_width="match_parent"
    android:layout_height="match_parent"
    android:="@+id/fragment_contact"
    tools:context=".contactFragment">

    <!-- TODO: Update blank fragment layout -->

    <TextView
        android:id="@+id/textView8"
        android:layout_width="match_parent"
        android:layout_height="124dp"
        android:layout_gravity="center"
        android:gravity="center"
        android:text="This is contact interface"
        android:textAppearance="@style/TextAppearance.AppCompat.Large" />

</FrameLayout>
对应的Java文件:
import android.os.Bundle;
import android.support.v4.app.Fragment;
import android.view.LayoutInflater;
import android.view.View;
import android.view.ViewGroup;

/**
 * A simple {@link Fragment} subclass.
 * Use the {@link contactFragment#newInstance} factory method to
 * create an instance of this fragment.
 */
public class contactFragment extends Fragment {

    // TODO: Rename parameter arguments, choose names that match
    // the fragment initialization parameters, e.g. ARG_ITEM_NUMBER
    private static final String ARG_PARAM1 = "param1";
    private static final String ARG_PARAM2 = "param2";

    // TODO: Rename and change types of parameters
    private String mParam1;
    private String mParam2;

    public contactFragment() {
        // Required empty public constructor
    }

    /**
     * Use this factory method to create a new instance of
     * this fragment using the provided parameters.
     *
     * @param param1 Parameter 1.
     * @param param2 Parameter 2.
     * @return A new instance of fragment contactFragment.
     */
    // TODO: Rename and change types and number of parameters
    public static contactFragment newInstance(String param1, String param2) {
        contactFragment fragment = new contactFragment();
        Bundle args = new Bundle();
        args.putString(ARG_PARAM1, param1);
        args.putString(ARG_PARAM2, param2);
        fragment.setArguments(args);
        return fragment;
    }

    @Override
    public void onCreate(Bundle savedInstanceState) {
        super.onCreate(savedInstanceState);
        if (getArguments() != null) {
            mParam1 = getArguments().getString(ARG_PARAM1);
            mParam2 = getArguments().getString(ARG_PARAM2);
        }
    }

    @Override
    public View onCreateView(LayoutInflater inflater, ViewGroup container,
                             Bundle savedInstanceState) {
        // Inflate the layout for this fragment
        return inflater.inflate(R.layout.fragment_contact, container, false);
    }
}
main activity的代码为(重点):
package com.example.myapplication7;

import android.support.v4.app.Fragment;
import android.support.v4.app.FragmentManager;
import android.support.v4.app.FragmentTransaction;
import android.support.v7.app.AppCompatActivity;
import android.os.Bundle;
import android.view.View;
import android.widget.ImageView;
import android.widget.LinearLayout;

public class MainActivity extends AppCompatActivity {
    private ImageView imageView1, imageView2, imageView3, imageView4;
    private LinearLayout LinearLayout1, LinearLayout2, LinearLayout3, LinearLayout4;
    private FragmentManager fm = getSupportFragmentManager();
    //    在主类中创建四个不同的fragment类并命名并创建fragmentmanager类来管理
    private Fragment message = new messageFragment();
    private Fragment find = new findFragment();
    private Fragment contact = new contactFragment();
    private Fragment config = new configFragment();

    //    fragment将activity分成多个组件,每一个都有自己的生命周期
    @Override
    protected void onCreate(Bundle savedInstanceState) {
        super.onCreate(savedInstanceState);
        setContentView(R.layout.activity_main);
        initFragment();
//        将获取的fragment加入到主界面
        initImageView();
//        获取linearlayout以及按钮
        LinearLayout1.setOnClickListener(this::onClick);
        LinearLayout2.setOnClickListener(this::onClick);
        LinearLayout3.setOnClickListener(this::onClick);
        LinearLayout4.setOnClickListener(this::onClick);
        showFragment(0);

//       给linearlayout设置一个点击事件监听器

    }

    private void onClick(View view) {
        FragmentTransaction fragmentTransaction=fm.beginTransaction();
        hideFragment(fragmentTransaction);

        switch (view.getId())
        {
            case R.id.LinearLayout1:
                showFragment(0);
                break;
            case R.id.LinearLayout2:
                showFragment(1);
                break;
            case R.id.LinearLayout3:
                showFragment(2);
                break;
            case R.id.LinearLayout4:
                showFragment(3);
                break;
        }
    }

    private void showFragment(int i) {
        FragmentTransaction transaction=fm.beginTransaction();
        hideFragment(transaction);
        switch (i)
        {
            case 0:transaction.show(message);
                break;
            case 1:transaction.show(find);
                break;
            case 2:transaction.show(contact);
                break;
            case 3:transaction.show(config);
                break;
        }
        transaction.commit();
    }

    private void initImageView() {
        imageView1 = findViewById(R.id.imageView1);
        imageView2 = findViewById(R.id.imageView2);
        imageView3 = findViewById(R.id.imageView3);
        imageView4 = findViewById(R.id.imageView4);
//        在activity获取某按钮就需要该函数
        LinearLayout1 = findViewById(R.id.LinearLayout1);
        LinearLayout2 = findViewById(R.id.LinearLayout2);
        LinearLayout3 = findViewById(R.id.LinearLayout3);
        LinearLayout4 = findViewById(R.id.LinearLayout4);

    }

    private void initFragment() {
        FragmentTransaction transaction = fm.beginTransaction();
//        fragmentmanager可以对fragment进行一系列操作,这些操作都是通过transaction完成的
        transaction.add(R.id.frame, message);
        transaction.add(R.id.frame, find);
        transaction.add(R.id.frame, contact);
        transaction.add(R.id.frame, config);
//        transaction.add增加的是对应fragment的帧布局,也就是父类的id
        transaction.commit();
    }
    private void hideFragment(FragmentTransaction transaction) {
        transaction.hide(message);
        transaction.hide(contact);
        transaction.hide(find);
        transaction.hide(config);
    }
//    被调用时隐藏所有的fragment

}
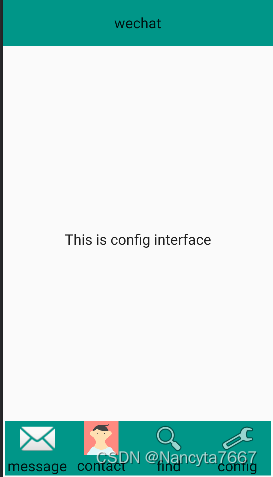
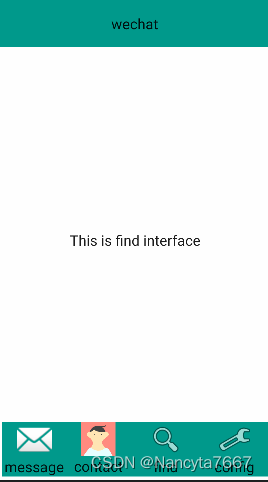
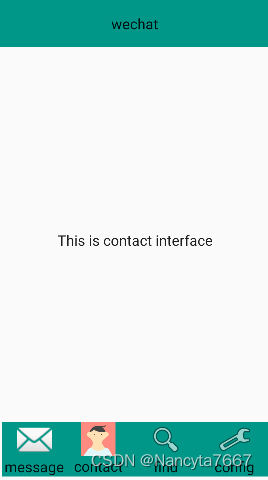
打开虚拟机运行得到的界面如下:

仓库的地址为: 胡宝宝/hubaobaoh


 547
547


 被折叠的 条评论
为什么被折叠?
被折叠的 条评论
为什么被折叠?
 到【灌水乐园】发言


