


1.分模块开发
调用坐标
Install到仓库中
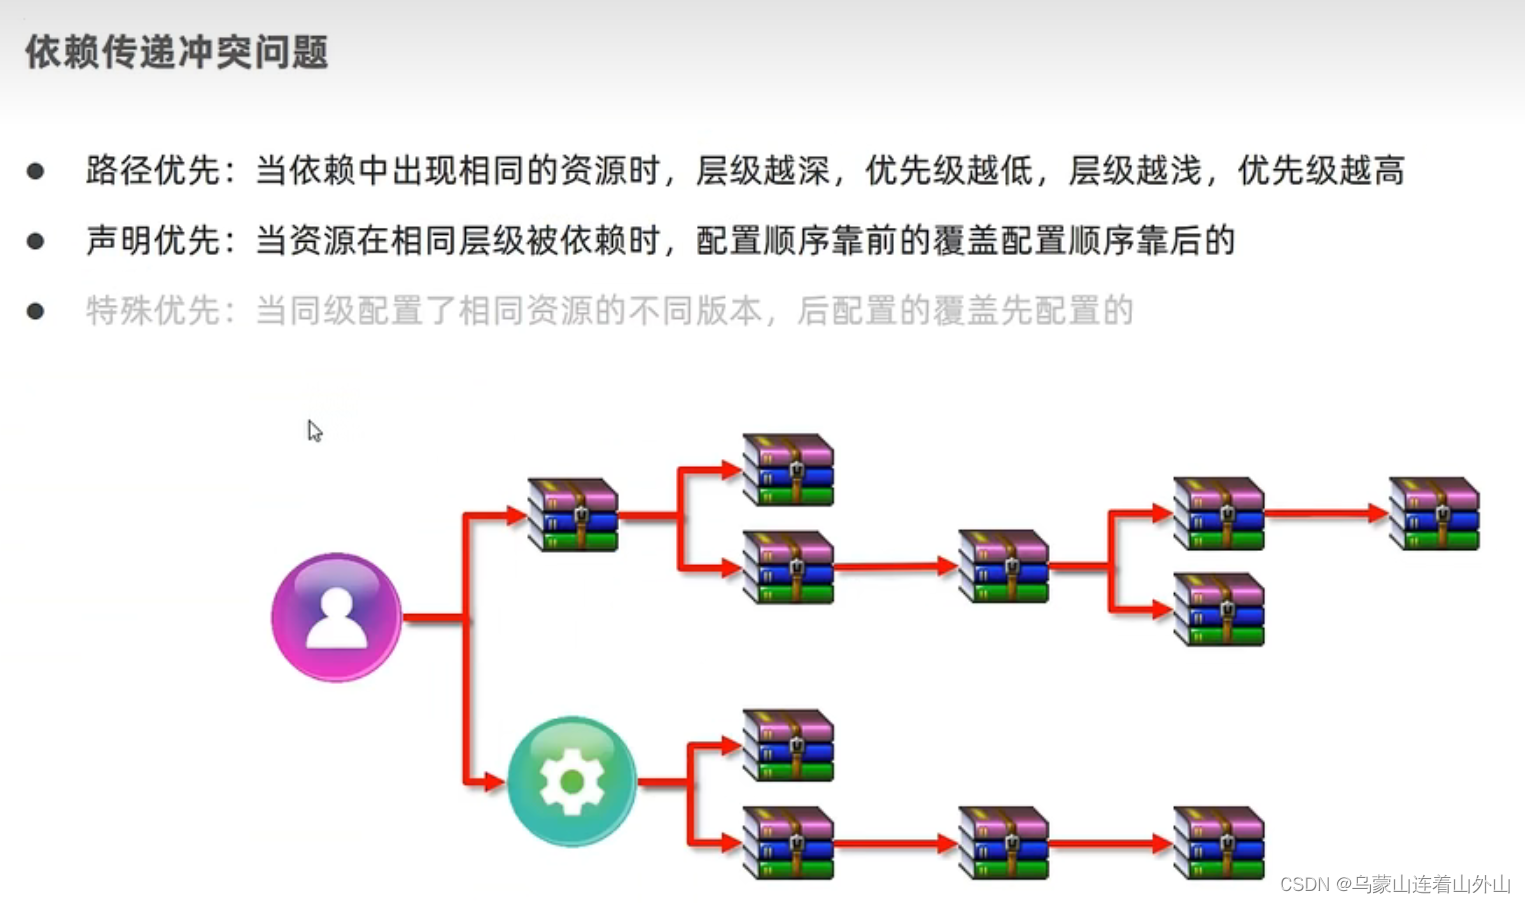
2.依赖的传递性
依赖有传递性,如果依赖的东西又有依赖的东西。我们可以直接调用依赖的依赖。
一个文件中如果一个坐标写了多次,以最后配置的为准。
出现了相同资源,层级越深,优先级越低。
同级的出现多次,谁先配置谁先用。
3.可选依赖和排除依赖
隐藏依赖 ,来解决冲突问题
可选依赖
当为true的时候,对外隐藏
<optional>true</optional>排除依赖
间接依赖带了,但是我不想要,可以手工排除依赖。只用写技术名字就行了,不用写版本号
      <!--排除依赖是隐藏当前资源对应的依赖关系-->
      <exclusions>
        <exclusion>
          <groupId>log4j</groupId>
          <artifactId>log4j</artifactId>
        </exclusion>
        <exclusion>
          <groupId>org.mybatis</groupId>
          <artifactId>mybatis</artifactId>
        </exclusion>
      </exclusions>
4.聚合和继承
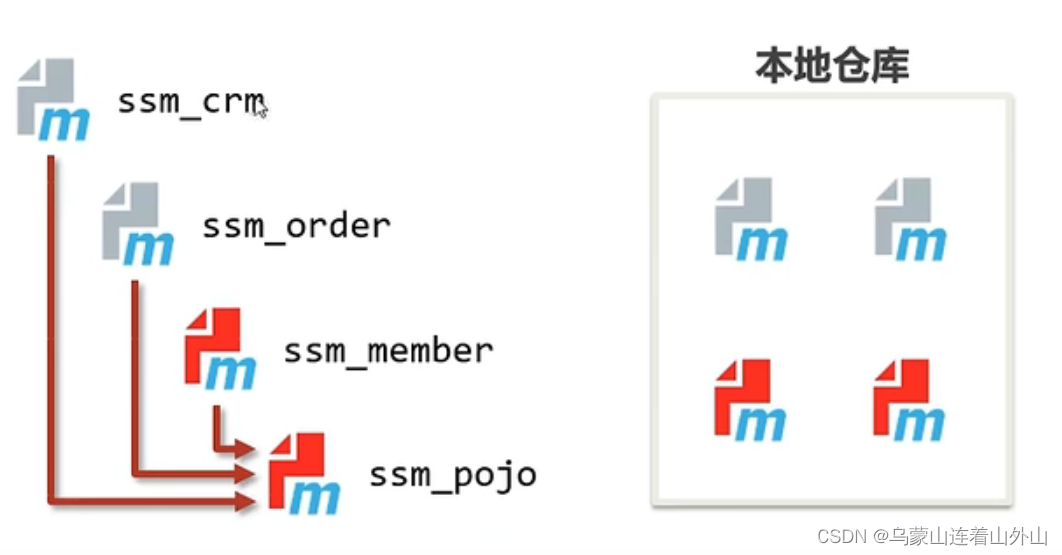
聚合
就是让同时操作,避免有继承关系,然后最底层的更新了,上面的没更新不能用
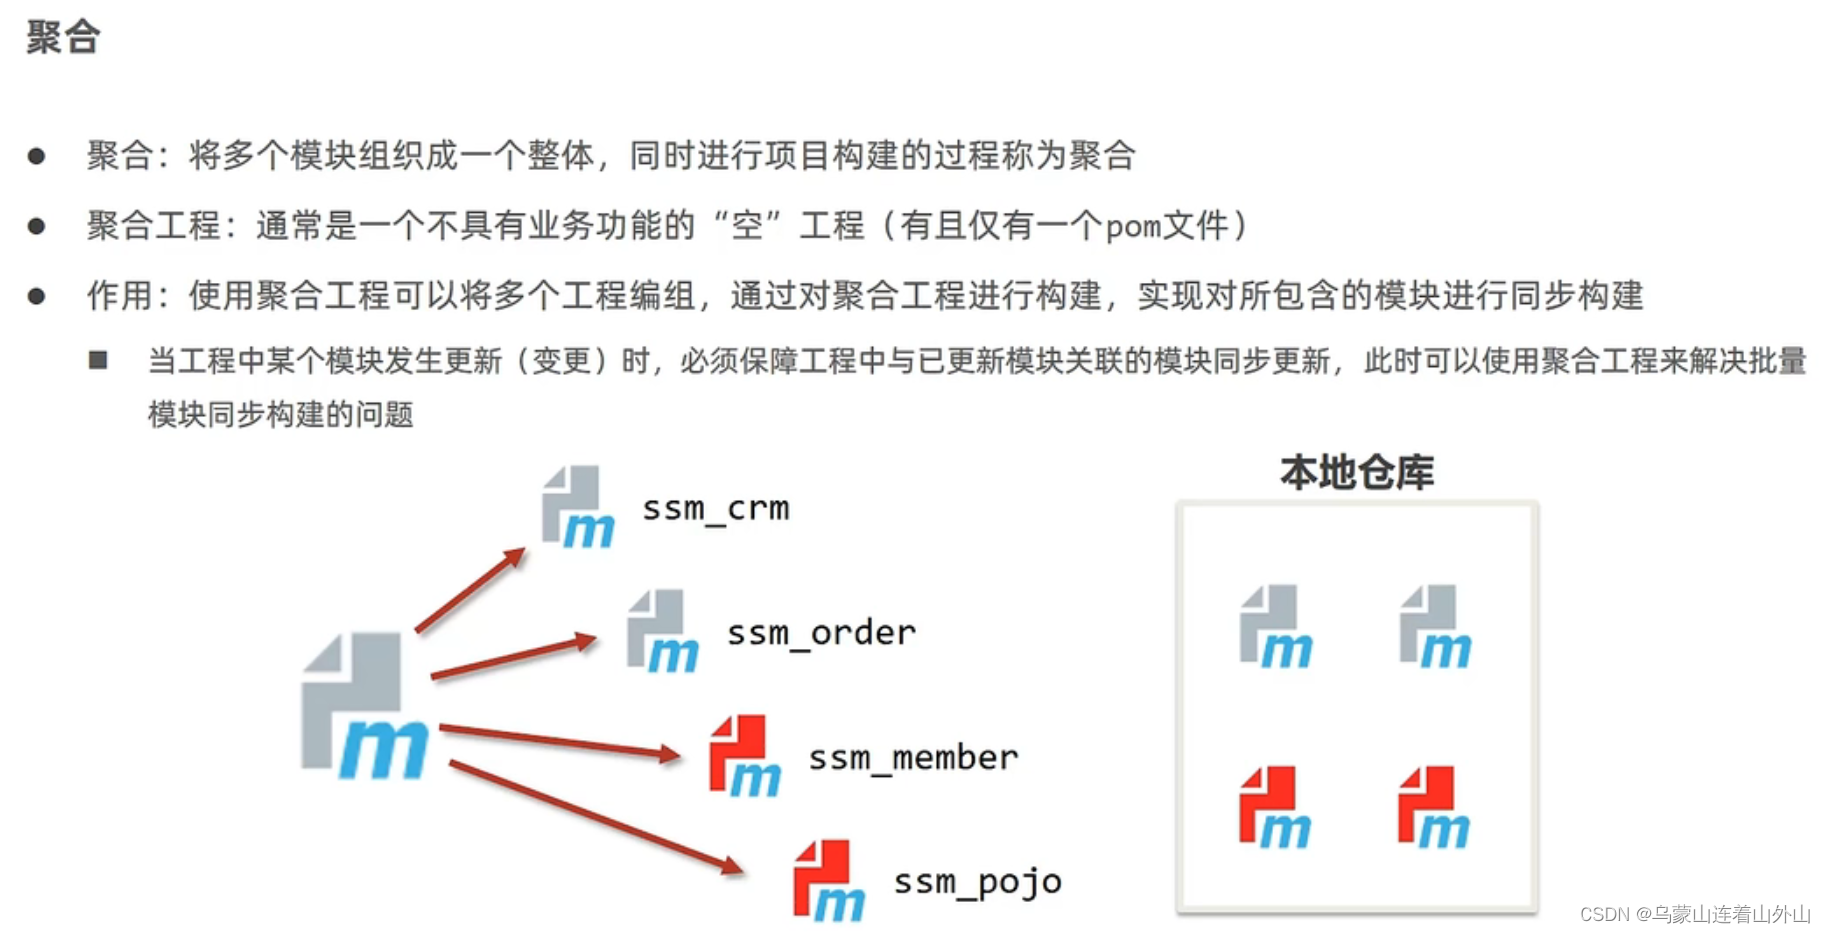
能避免以下问题:
聚合工程:
1.设置打包方式
<packaging>pom</packaging>2.聚合工程模块的配置:
    <!--设置管理的模块名称-->
    <modules>
        <module>../maven_02_ssm</module>
        <module>../maven_03_pojo</module>
        <module>../maven_04_dao</module>
    </modules>
而且聚合的时候,不管你moules写的顺序是怎么样的,它都会把没有依赖的先构建上。
继承
1.在父工程写dependceny依赖
2.在父工程写可以选择的依赖
    <!--定义依赖管理-->
    <dependencyManagement>
        <dependencies>
            <dependency>
                <groupId>junit</groupId>
                <artifactId>junit</artifactId>
                <version>${junit.version}</version>
                <scope>test</scope>
            </dependency>
        </dependencies>
    </dependencyManagement>
3.在子工程里面写继承
最后一句是帮忙定位的,不写也没关系
    <parent>
        <groupId>com.itheima</groupId>
        <artifactId>maven_01_parent</artifactId>
        <version>1.0-RELEASE</version>
        <relativePath>../maven_01_parent/pom.xml</relativePath>
    </parent>
4.子工程想要调用父工程里面可选择的依赖,要自己写
       <dependency>
            <groupId>junit</groupId>
            <artifactId>junit</artifactId>
            <scope>test</scope>
        </dependency>
5.属性
相当于用变量
然后一改变量,所有的都会改,很方便
1.设置变量
    <!--定义属性-->
    <properties>
        <spring.version>5.2.10.RELEASE</spring.version>
        <junit.version>4.12</junit.version>
        <mybatis-spring.version>1.3.0</mybatis-spring.version>
        <!--<jdbc.url>jdbc:mysql://127.0.0.1:3306/ssm_db</jdbc.url>-->
    </properties>
2.引用变量
        <dependency>
            <groupId>org.mybatis</groupId>
            <artifactId>mybatis-spring</artifactId>
            <version>${mybatis-spring.version}</version>
        </dependency>
6.配置文件统一管理
打开配置,这样在resource里面也可以扫到pom的变量了,就可以在resource里面用${}了。这里的路径意思是所有路的resources都继承parents里面pom.xml的功能
  <bulid>
            <resources>
                <resource>
                   <directory>${project.basedir}/src/main/resources</directory>
                    <filtering>true</filtering>
                </resource>
            </resources>
        </bulid>
解决没有web.xml依旧可以运行的功能
<build>
<plugin>
        <groupId>org.apache.maven.plugins</groupId>
        <artifactId>maven-war-plugin</artifactId>
        <version>3.2.3</version>
        <configuration>
          <failOnMissingWebXml>false</failOnMissingWebXml>
        </configuration>
      </plugin>
 </build>
可以引用的属性:
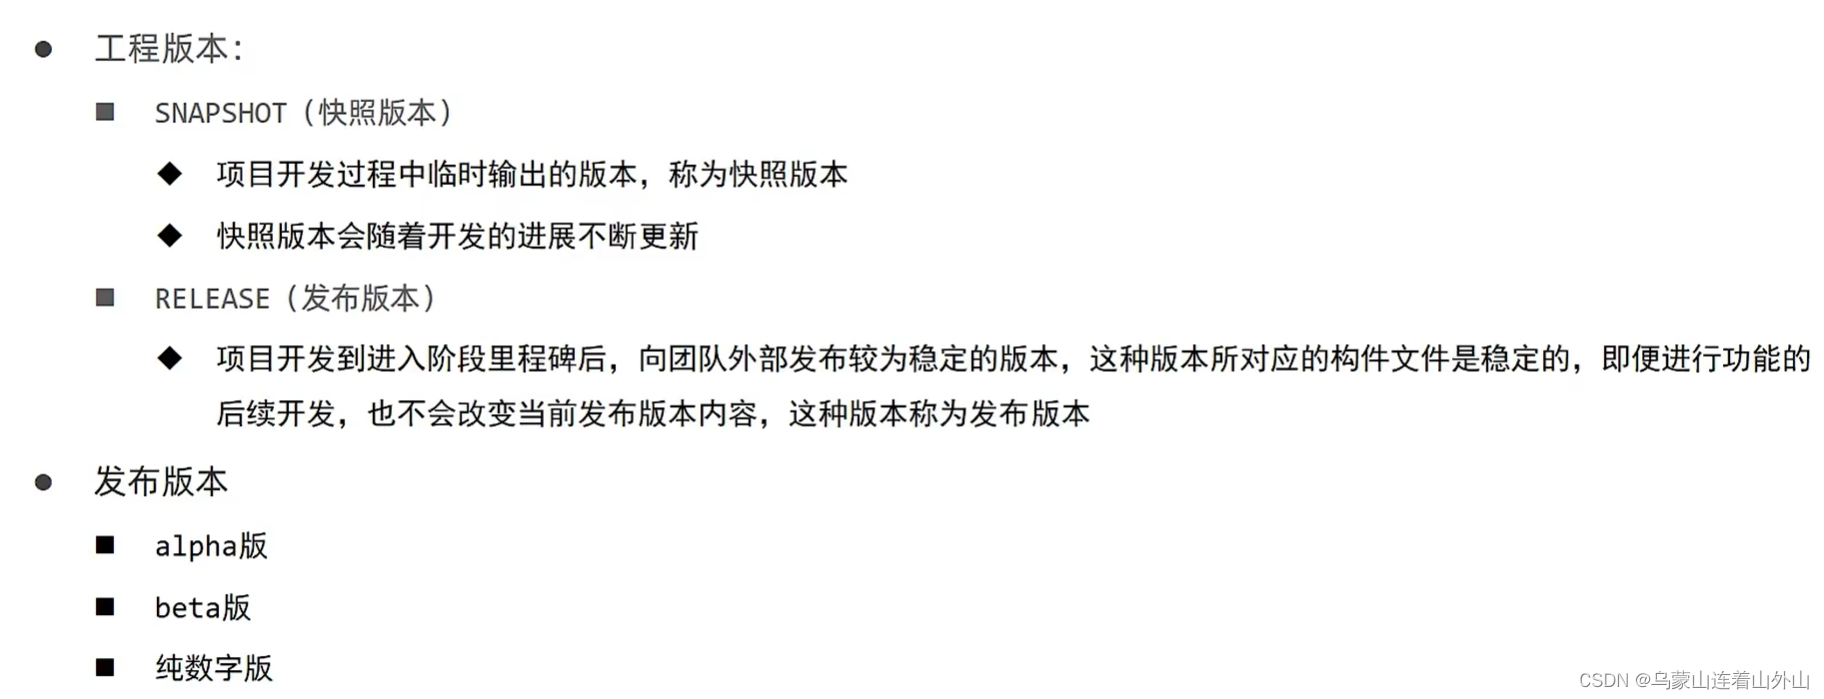
后缀版本的知识:
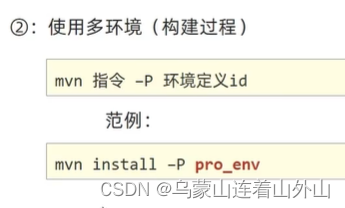
7.多环境开发配置

    <profiles>
        <!--开发环境-->
        <profile>
            <id>env_dep</id>
            <properties>
                <jdbc.url>jdbc:mysql://127.1.1.1:3306/ssm_db</jdbc.url>
            </properties>
            <!--设定是否为默认启动环境-->
            <activation>
                <activeByDefault>true</activeByDefault>
            </activation>
        </profile>
还可以在install的时候指定需要的环境
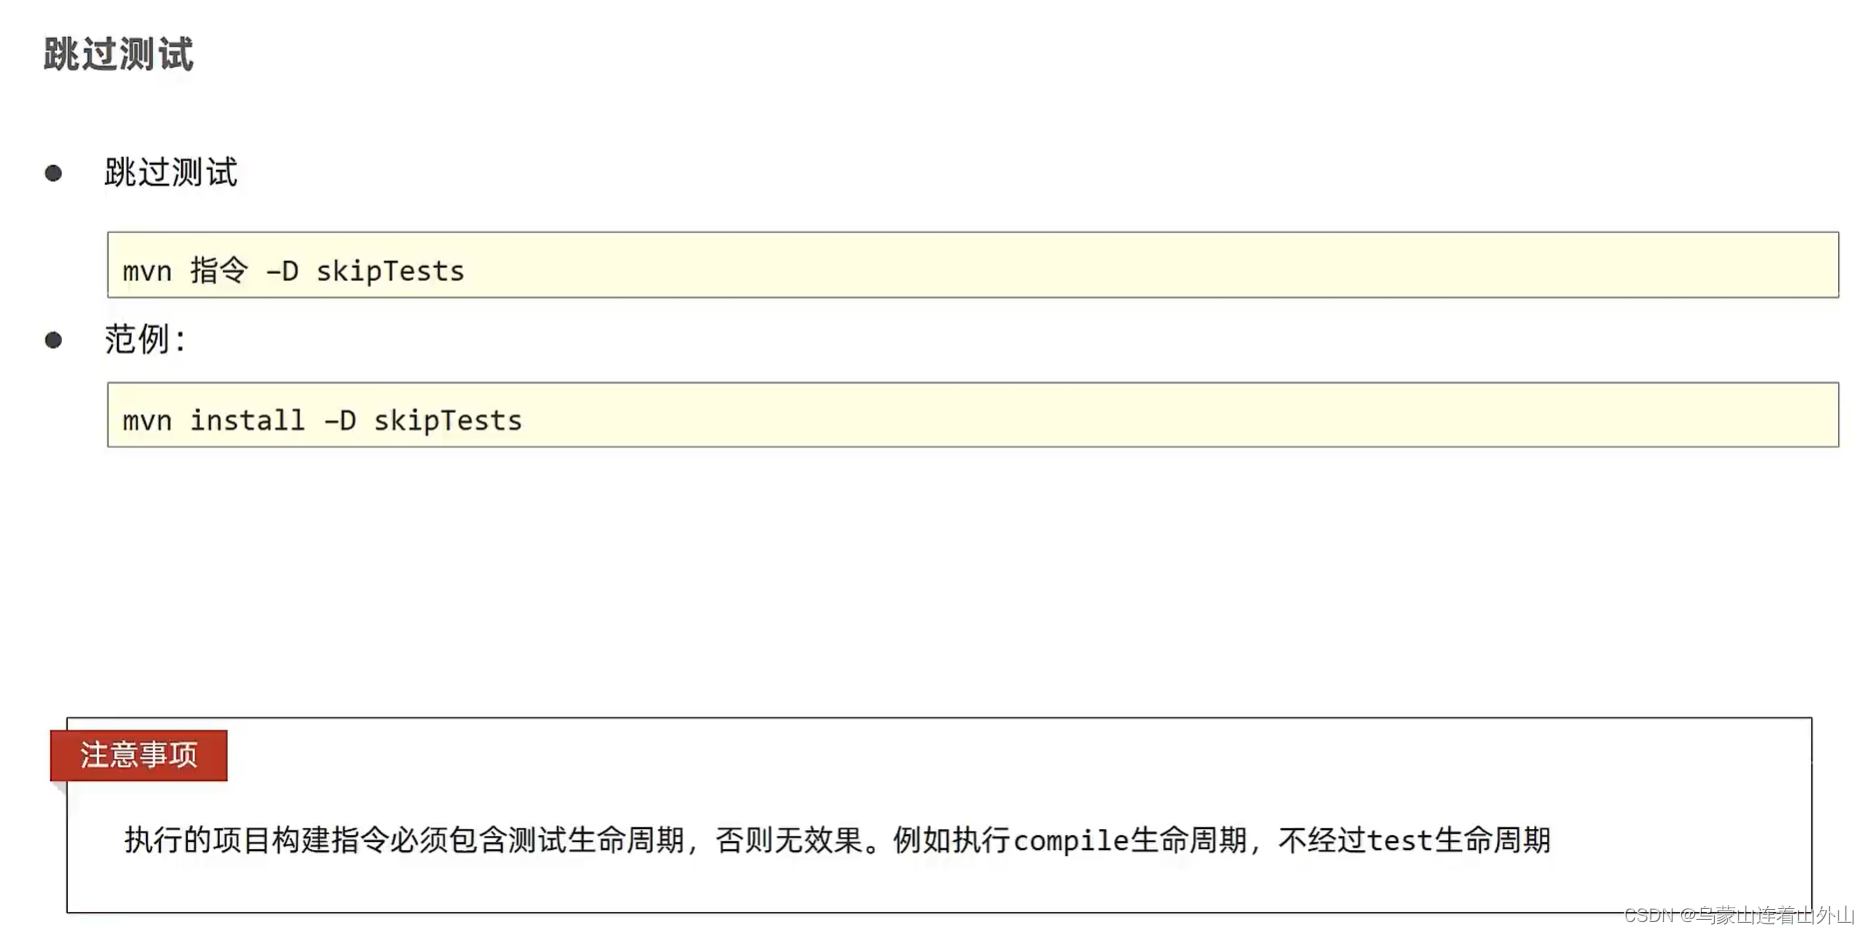
8.跳过测试
为什么要跳过呢?有的时候没有开发完,测试肯定是不通过的,所以要跳过测试
1.跳过所有test
2.跳过部分
每一个插件都有自己的配置,在configuration里面操作(总的是在pom.xml里面操作)
可以跳过,可以不跳过
可以包含,可以去除
        <plugins>
            <plugin>
                <artifactId>maven-surefire-plugin</artifactId>
                <version>2.12.4</version>
                <configuration>
                    <skipTests>false</skipTests>
                    <!--排除掉不参与测试的内容-->
                    <excludes>
                        <exclude>**/BookServiceTest.java</exclude>
                    </excludes>
                </configuration>
            </plugin>

        </plugins>
3.用命令
9.私服
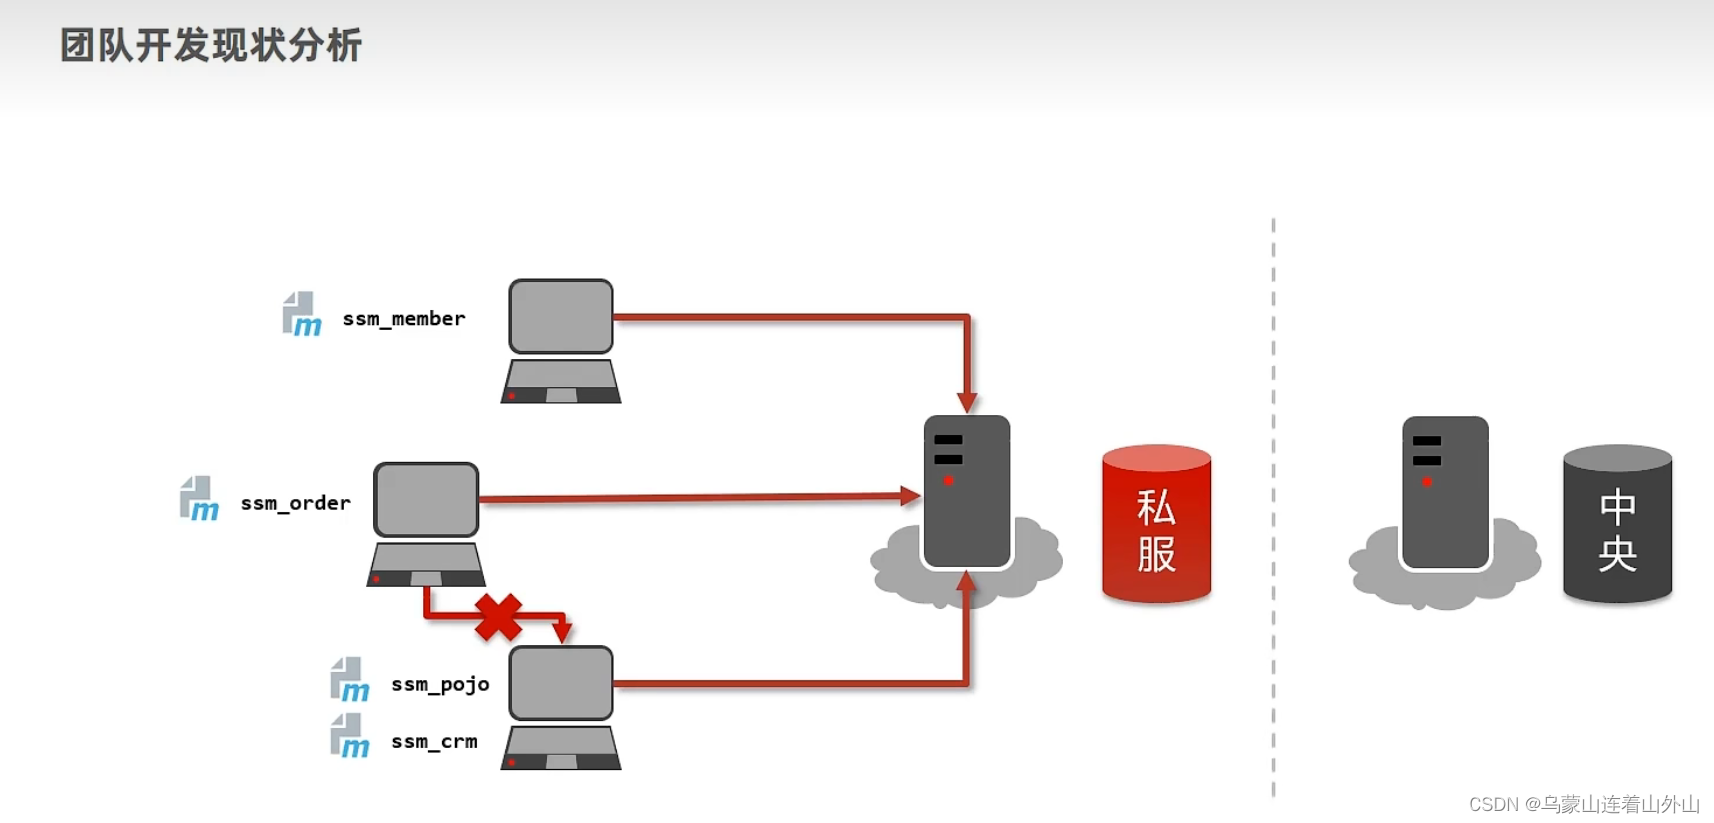
模拟中央
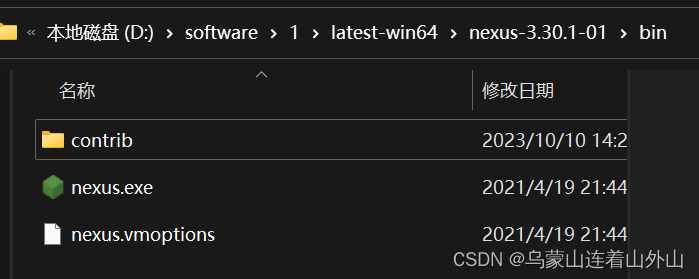
Nexus
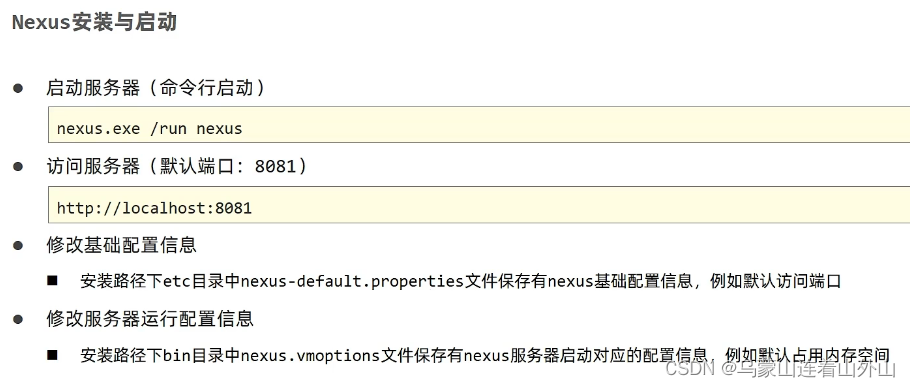
在目录下输入cmd 然后输入nexus.exe /run nexus
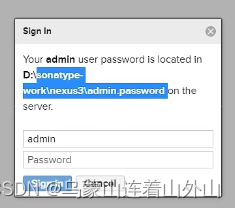
然后用浏览器打开localhost:8081
用户名是admin
密码在图中的地址上
还可以改端口号
10.私服仓库分类
11.本地仓库访问私服配置
和私服有关的配置都是在本地仓库中
1.配置私服的权限
    <server>
      <id>itheima-release</id>
      <username>admin</username>
      <password>200212yxh</password>
    </server>

     <server>
      <id>itheima-snopshot</id>
      <username>admin</username>
      <password>200212yxh</password>
    </server>
2.私服访问路径
id是名字
mirrorof是要哪些
url是地址
      <mirror>
  	    <id>maven-public</id>
		<mirrorOf>*</mirrorOf>
		<url>http://localhost:8081/repository/maven-public/</url>

      </mirror>
12.私服资源上传和下载
说明配到私服中的哪个仓库中,直接在idea里面的pom.xml里面操作
    <!--配置当前工程保存在私服中的具体位置-->
    <distributionManagement>
        <repository>
            <id>itheima-release</id>
            <url>http://localhost:8081/repository/itheima-release/</url>
        </repository>
        <snapshotRepository>
            <id>itheima-snapshot</id>
            <url>http://localhost:8081/repository/itheima-snapshot/</url>
        </snapshotRepository>
    </distributionManagement>
注意,报SNAPSHOT错误的时候,用下面的方法写就好了
<!--    <version>1.0-SNAPSHOT</version>-->
    <version>1.0</version>


 1842
1842


 被折叠的 条评论
为什么被折叠?
被折叠的 条评论
为什么被折叠?
 到【灌水乐园】发言


