


gpg使用
问题发现
以下报错是在openeuler20.03系统下发现的
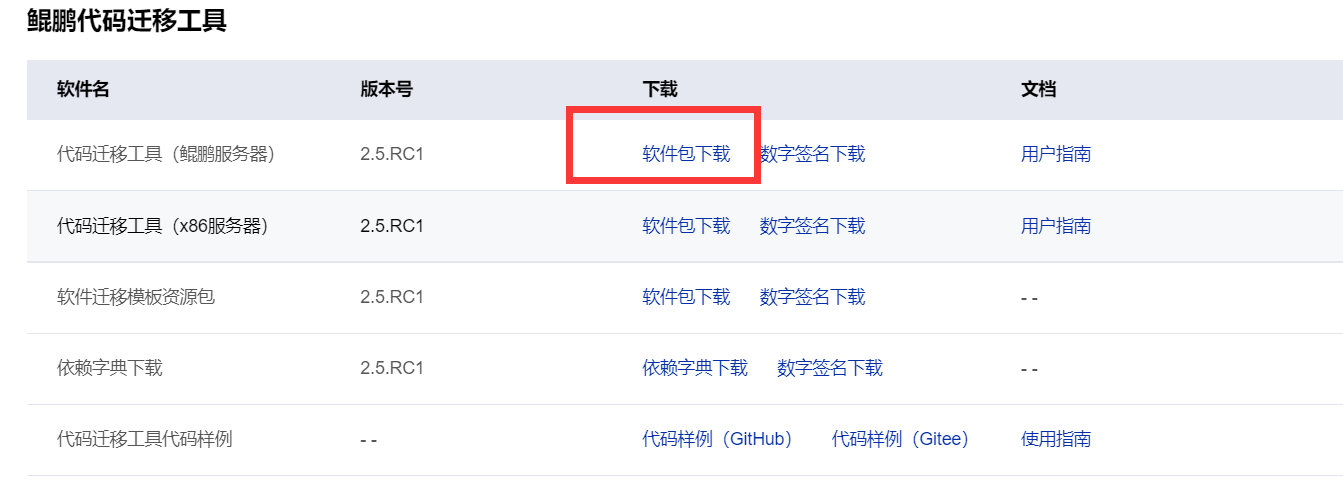
在鲲鹏社区下载鲲鹏代码迁移工具
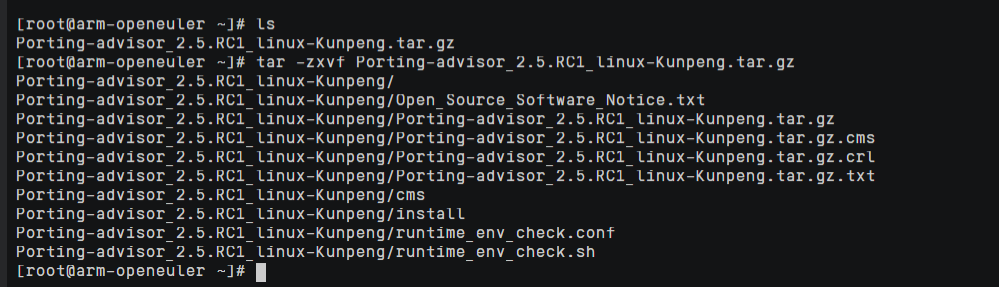
下载完成后进行解压安装

执行./install web安装web界面
开始出现报错
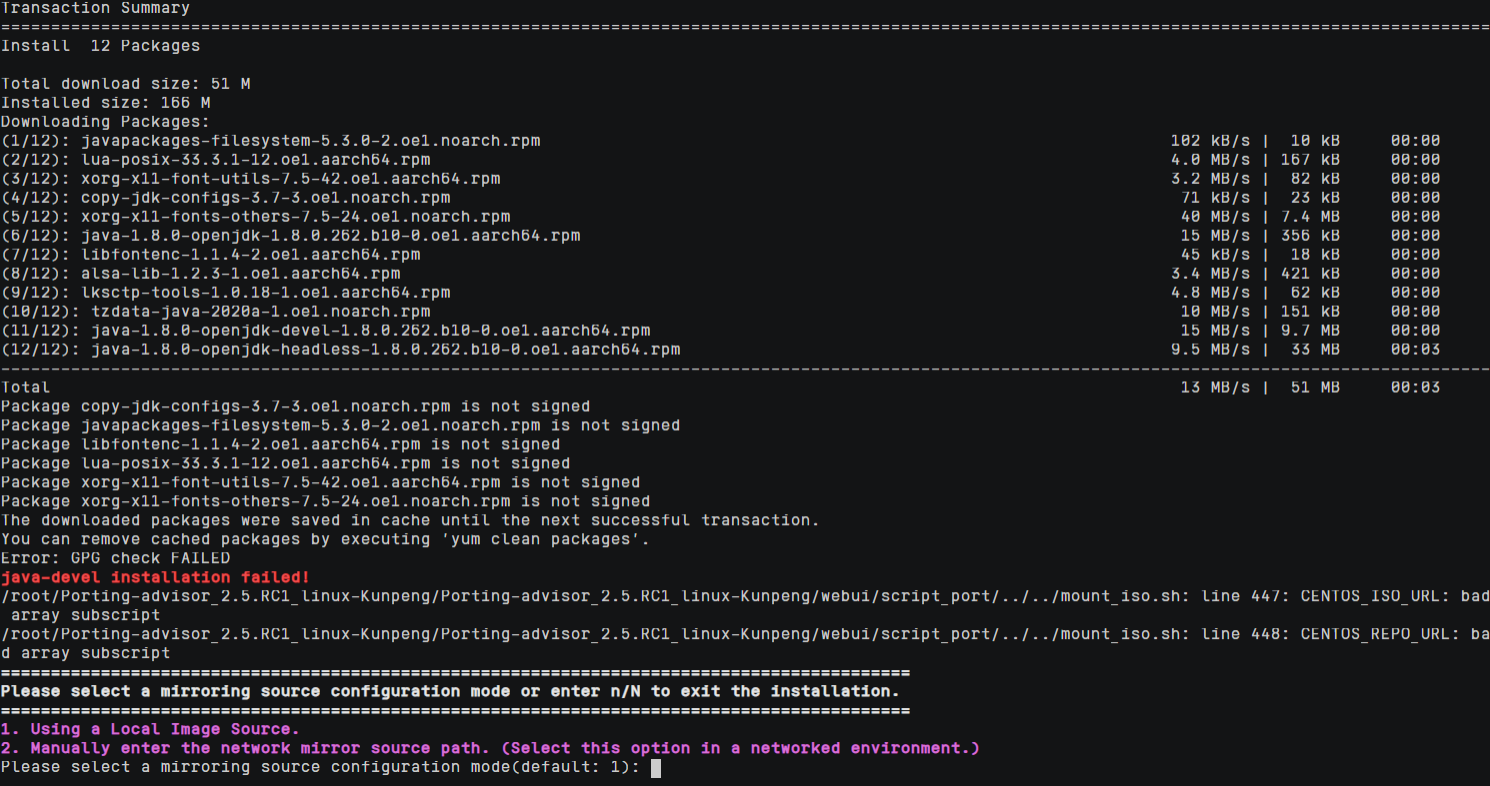
原来是因为我的gpg检查导致我的部分软件包无法成功下载
当关闭了gpgcheck之后便可以正常安装了
那么什么是gpgcheck呢?
gpgcheck介绍
gpgcheck是gpg签名是否开启的选项名称,1是开启,0是不开启,一般内部部署软件包下载可以关掉。
gpg签名主要用来在Linux实现官方发布的包的签名机制,主要为了软件下载使用的安全。
添加gpgcheck有效的防止了软件包被篡改的情况
gpg使用
gpg采用的是非对称加密方式,简单理解就是用公钥加密文件,用私钥解密文件。如果你需要发送加密信息,首先获取接收者的公钥,然后利用该公钥加密后传递,对方利用对应的私钥就可解密。也就是说,公钥是锁,私钥是钥匙。非对称加密方式很好地解决了传递信息的问题。
查看gpg信息
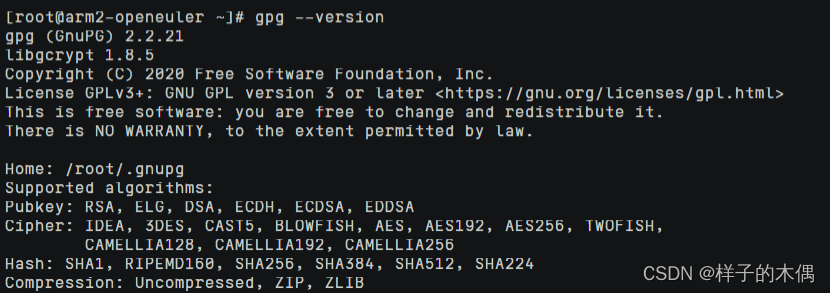
gpg --version查看gpg版本信息
生成主密钥
使用如下命令生成主密钥
gpg --full-generate-key
显示如下内容
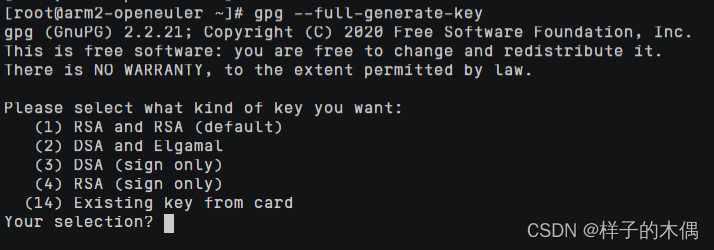
这一段是版权声明,选择自己使用的加密算法,默认选择第一个选项,表示加密和签名都使用RSA算法
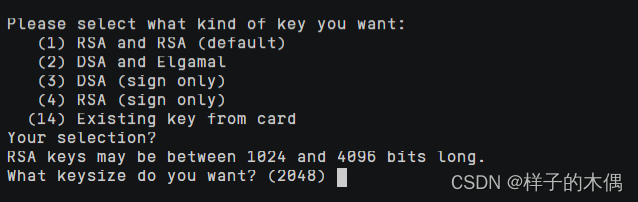
这里系统询问密钥长度 同样默认长度为2048 长度越长则越安全
接着开始设定密钥的有效期:
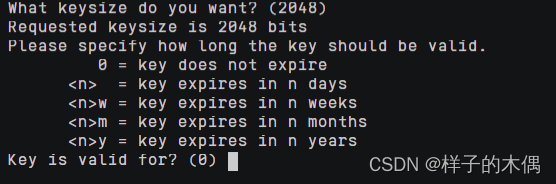
这里默认是没有期限的
之后就需要提供个人的信息
GnuPG needs to construct a user ID to identify your key.

Real name:
Email address:
Comment:
姓名填入英语拼音,下面的地址填入电子邮箱
comment这一项可以不用填写

输入O就表示确定Q表示放弃
这里可以通过N、C、E对名字和邮箱进行修改
这里我们输入O进入到下一步
稍后系统就会要求你做一些随机的举动,以生成一个随机数
We need to generate a lot of random bytes. It is a good idea to perform
some other action (type on the keyboard, move the mouse, utilize the
disks) during the prime generation; this gives the random number
generator a better chance to gain enough entropy.
We need to generate a lot of random bytes. It is a good idea to perform
some other action (type on the keyboard, move the mouse, utilize the
disks) during the prime generation; this gives the random number
generator a better chance to gain enough entropy.
稍后密钥就生成成功了
密钥管理
列出密钥
gpg --list-keys

第一行显示公钥文件名(pubring.kbx),第二行显示公钥特征(2048位,Hash字符串和生成时间),第三行显示"用户ID",第四行显示私钥特征。
删除密钥
gpg --delete-secret-keys [用户ID]
删除用户私钥
gpg --delete-keys [用户ID]
删除用户公钥
注意在删除公钥时必须要先删除对应的私钥部分才能成功过删除
删除子密钥
gpg --expert --edit-key [pud下方的字符]

gpg --expert --edit-key D2673C470EDD2A1EE169781C86A5F36CA4FAD524
gpg (GnuPG) 2.2.4; Copyright (C) 2017 Free Software Foundation, Inc.
This is free software: you are free to change and redistribute it.
There is NO WARRANTY, to the extent permitted by law.

Secret key is available.

sec  rsa3072/86A5F36CA4FAD524
     created: 2022-01-10  expires: never       usage: SC
     trust: ultimate      validity: ultimate
ssb  rsa3072/87E977522ACB63C9
     created: 2022-01-10  expires: never       usage: E
ssb  rsa2048/6DC53EC22366279E
     created: 2022-01-10  expires: never       usage: S
[ultimate] (1). zhaoyl <zhaoyl@qq.com>

gpg> key 6DC53EC22366279E

sec  rsa3072/86A5F36CA4FAD524
     created: 2022-01-10  expires: never       usage: SC
     trust: ultimate      validity: ultimate
ssb  rsa3072/87E977522ACB63C9
     created: 2022-01-10  expires: never       usage: E
ssb* rsa2048/6DC53EC22366279E
     created: 2022-01-10  expires: never       usage: S
[ultimate] (1). zhaoyl <zhaoyl@qq.com>

gpg> delkey 6DC53EC22366279E
Do you really want to delete this key? (y/N) y

sec  rsa3072/86A5F36CA4FAD524
     created: 2022-01-10  expires: never       usage: SC
     trust: ultimate      validity: ultimate
ssb  rsa3072/87E977522ACB63C9
     created: 2022-01-10  expires: never       usage: E
[ultimate] (1). zhaoyl <zhaoyl@qq.com>

gpg> save
输出密钥
公钥文件(.gnupg/pubring.kbx)以二进制形式储存,armor参数可以将其转换为ASCII码显示;
gpg --output public-key.txt --export [用户ID]
"用户ID"指定哪个用户的公钥,output参数指定输出文件名(public-key.txt)。
类似地,export-secret-keys参数可以转换私钥
导入密钥
gpg --import [密钥文件]
公钥文件可以上公钥服务器上寻找
gpg --keyserver keys.openpgp.org --search-keys [用户ID]
参考文章
导入密钥*
gpg --import [密钥文件]
公钥文件可以上公钥服务器上寻找
gpg --keyserver keys.openpgp.org --search-keys [用户ID]
参考文章


 640
640


 被折叠的 条评论
为什么被折叠?
被折叠的 条评论
为什么被折叠?
 到【灌水乐园】发言


