


自定义spring_boot的starter
自定义一个初始化页面的starter
创建一个父maven项目,用于spring-boot版本管理
| <modelVersion>4.0.0</modelVersion> <packaging>pom</packaging> <modules> <module>test_stater</module> <module>test_autoconfigre</module> </modules> <parent> <groupId>org.springframework.boot</groupId> <artifactId>spring-boot-starter-parent</artifactId> <version>2.3.9.RELEASE</version> <relativePath/> <!-- lookup parent from repository --> </parent> <groupId>org.chenlei.starter</groupId> <artifactId>starter_parent</artifactId> <version>1.0-SNAPSHOT</version> |
Spring_boot的版本到3.X的时候,依赖的JDK版本不同,编译时可能会报找不到对应的源,
| Error:java: 无效的源发行版: 13 或者时提示当前为52.(也就是JDK8),而目标源为61(其它版本JDK) |
创建stater模块,
用来管理自定义starter的核心依赖或者其它其三方组件,并在创建完autoconfigre后,添加autoconfigre依赖;这里我只做简单的demo,不需要其它
| <parent> <artifactId>starter_parent</artifactId> <groupId>org.chenlei.starter</groupId> <version>1.0-SNAPSHOT</version> </parent> <modelVersion>4.0.0</modelVersion> <artifactId>test_stater</artifactId> <dependencies> <dependency> <artifactId>test_autoconfigre</artifactId> <groupId>org.chenlei.starter</groupId> <version>1.0-SNAPSHOT</version> </dependency> </dependencies> |
创建autoconfigure模块,
主要用来实现自动配置逻辑,pom
| <parent> <artifactId>starter_parent</artifactId> <groupId>org.chenlei.starter</groupId> <version>1.0-SNAPSHOT</version> </parent> <modelVersion>4.0.0</modelVersion> <artifactId>test_autoconfigre</artifactId> <dependencies> <dependency> <groupId>org.springframework.boot</groupId> <artifactId>spring-boot-starter-web</artifactId> </dependency> </dependencies> |
自定义properties
| @ConfigurationProperties("com.chenlei.starter")//设置前缀 public class StarterProperties { private String name; public String getName() { return name; } public void setName(String name) { this.name = name; } } |
自定义controller
| //与Controller区别是它返回json controller返回视图 @RestController public class StarterController { private String name; @RequestMapping("/") public String hello(){ return name+"欢迎您!"; } public String getName() { return name; } public void setName(String name) { this.name = name; } public StarterController(String name) { this.name = name; } } |
自定义configure
| @Configuration //这里会自动加载配置类StarterProperties 并放入容器 @EnableConfigurationProperties(StarterProperties.class) //必须要配置com.chenlei.starter.name 当前配置类才生效 @ConditionalOnProperty("com.chenlei.starter.name") public class StarterConfigure { //在Configure中注入Properties并用来定义配置的各个bean 一般都是这样注入 @Autowired private StarterProperties starterProperties;
//虽然我们已经定义了@Controller,但是别的spring_boot项目引用我们的starter的时候 //因为包路径,不会扫描到我们的StarterController 所以需要自己注入 很多starter都是这样操作
@Bean public StarterController starterController(){ return new StarterController(starterProperties.getName()); } } |
根据SPI规范,在resources下的META-INF下创建,spring.factories文件内容如下
| org.springframework.boot.autoconfigure.EnableAutoConfiguration=\ com.starter_configure.StarterConfigure |
这样spring_boot在启动的时候,我们的StarterConfigure,就会被标记为自动配置类,它是通过读取所有spring.factories下的key值为 org.springframework.boot.autoconfigure.EnableAutoConfiguration 的标记为自动配置类并加载
使用
将项目安装到maven仓库,并在其它spring_boot项目引用依赖
| <dependency> <groupId>org.chenlei.starter</groupId> <artifactId>test_stater</artifactId> <version>1.0-SNAPSHOT</version> </dependency> |
别忘记配置类上添加的@ConditionalOnProperty("com.chenlei.starter.name")
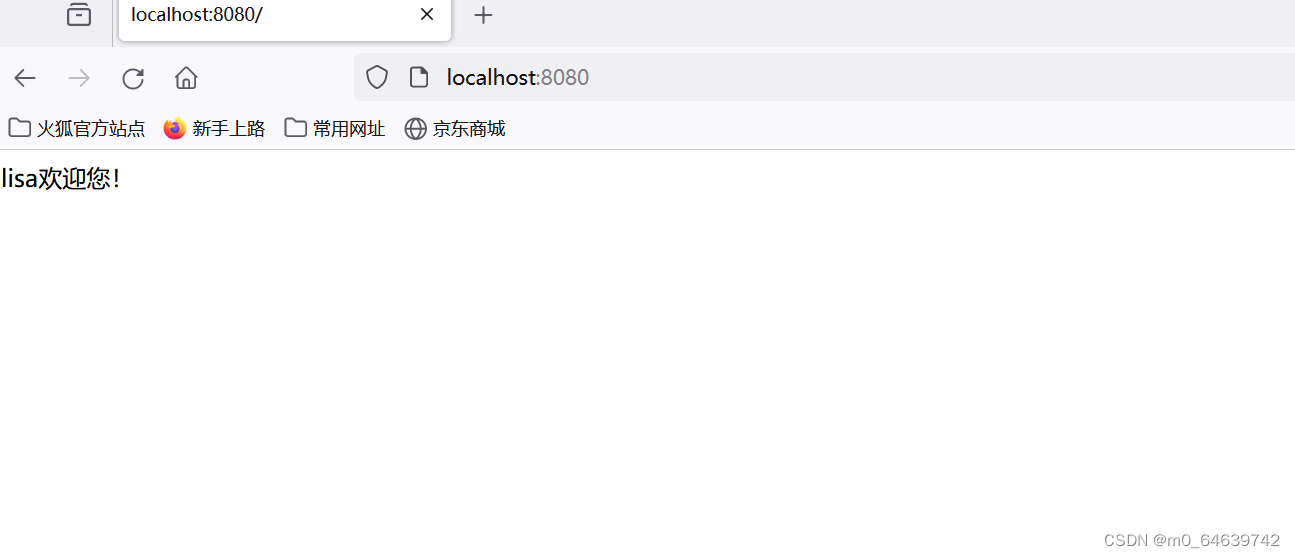
在application.properties中配置,启动就可以
| com.chenlei.starter.name=lisa |
结果


 1万+
1万+


 被折叠的 条评论
为什么被折叠?
被折叠的 条评论
为什么被折叠?
 到【灌水乐园】发言


