


 本文探讨了在Vue 3的setup语法糖中如何实现父子组件间的通信,通过定义props和emits,以及使用`@carried`进行事件触发。展示了如何在子组件中定义props并触发父组件的自定义事件。
父组件App.vue
<script setup>
import HelloWorld from './components/HelloWorld.vue'

function carried(value) {
  alert(`牛呀,都实现了!!!${value}`)
}
</script>

<template>
  <p>❀❀❀❀❀❀❀❀❀❀❀❀---app--vue---❀❀❀❀❀❀❀❀❀❀❀</p>

  <HelloWorld msg="Vite + Vue" wish="不掉发" wishes="变瘦" @carried="carried">
    <h3>实现插槽1</h3>

    <template v-slot:dome>
      <h4>实现插槽2</h4>
    </template>
  </HelloWorld>

  <p>❀❀❀❀❀❀❀❀❀❀❀❀---app--vue---❀❀❀❀❀❀❀❀❀❀❀</p>
</template>

<style scoped>
* {
  color: red;
}
</style>
子组件
在setup 语法糖中,setup可以接收两个参数,第一个参数是
props,也就是组件传值;第二个参数是context,上下文对象,context里面还有三个很重要的东西attrs,slots,emit。它们分别通过defineProps、defineEmits、defineExpose 获取,无需引入。
<script setup>
import { ref } from 'vue'
defineProps({
  msg: String,
  wish: String,
  wishes: String
})
const emit = defineEmits(['carried'])

function dream() {
  emit('carried', 666)
}
</script>

<template>
  <p>=================helloworld================</p>
  <h1>{{ msg }}</h1>
  <button @click="dream">点击实现</button>
  <slot></slot>
  <slot name="dome"></slot>
  <p>=================helloworld================</p>
</template>

<style scoped>
* {
  color: aqua;
}
button {
  background-color: aqua;
  color: white;
}
</style>
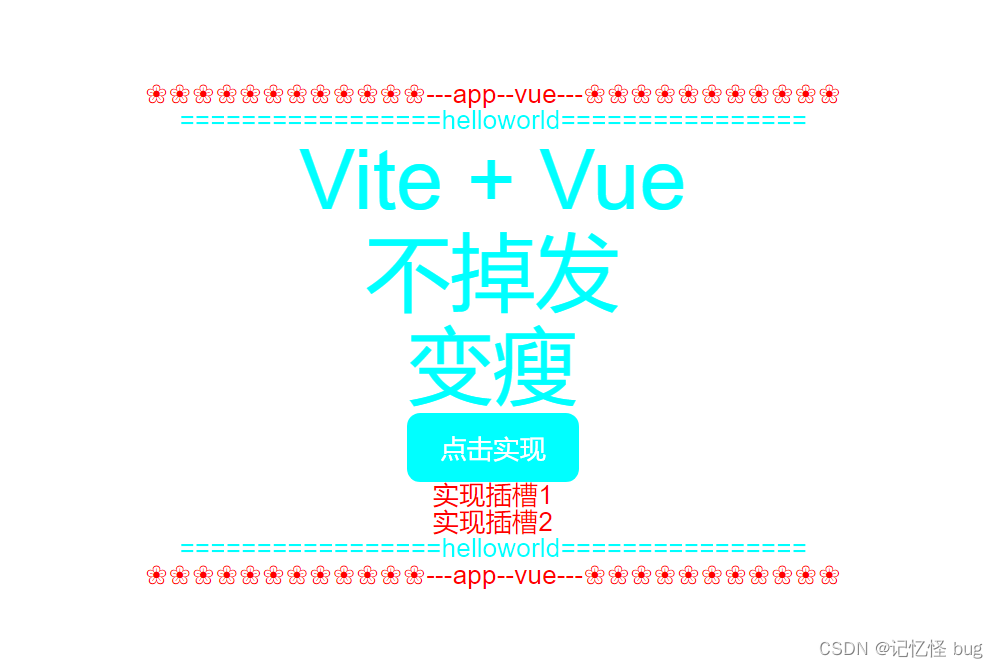
预览


 被折叠的 条评论
为什么被折叠?
被折叠的 条评论
为什么被折叠?
 到【灌水乐园】发言


