


目录
前言
TextIn 是上海合合信息科技股份有限公司旗下智能文字识别产品,专注文字识别领域16年,对企业、开发者、个人用户提供智能文字识别引擎、产品、云端服务。

一、SpringBoot项目集成TextIn.com API
我们的项目是Vue+SpringBoot架构,所以api的调用就放在了后端SpringBoot中。
1.准备工作
TextIn API中心: https://www.textin.com/document/index
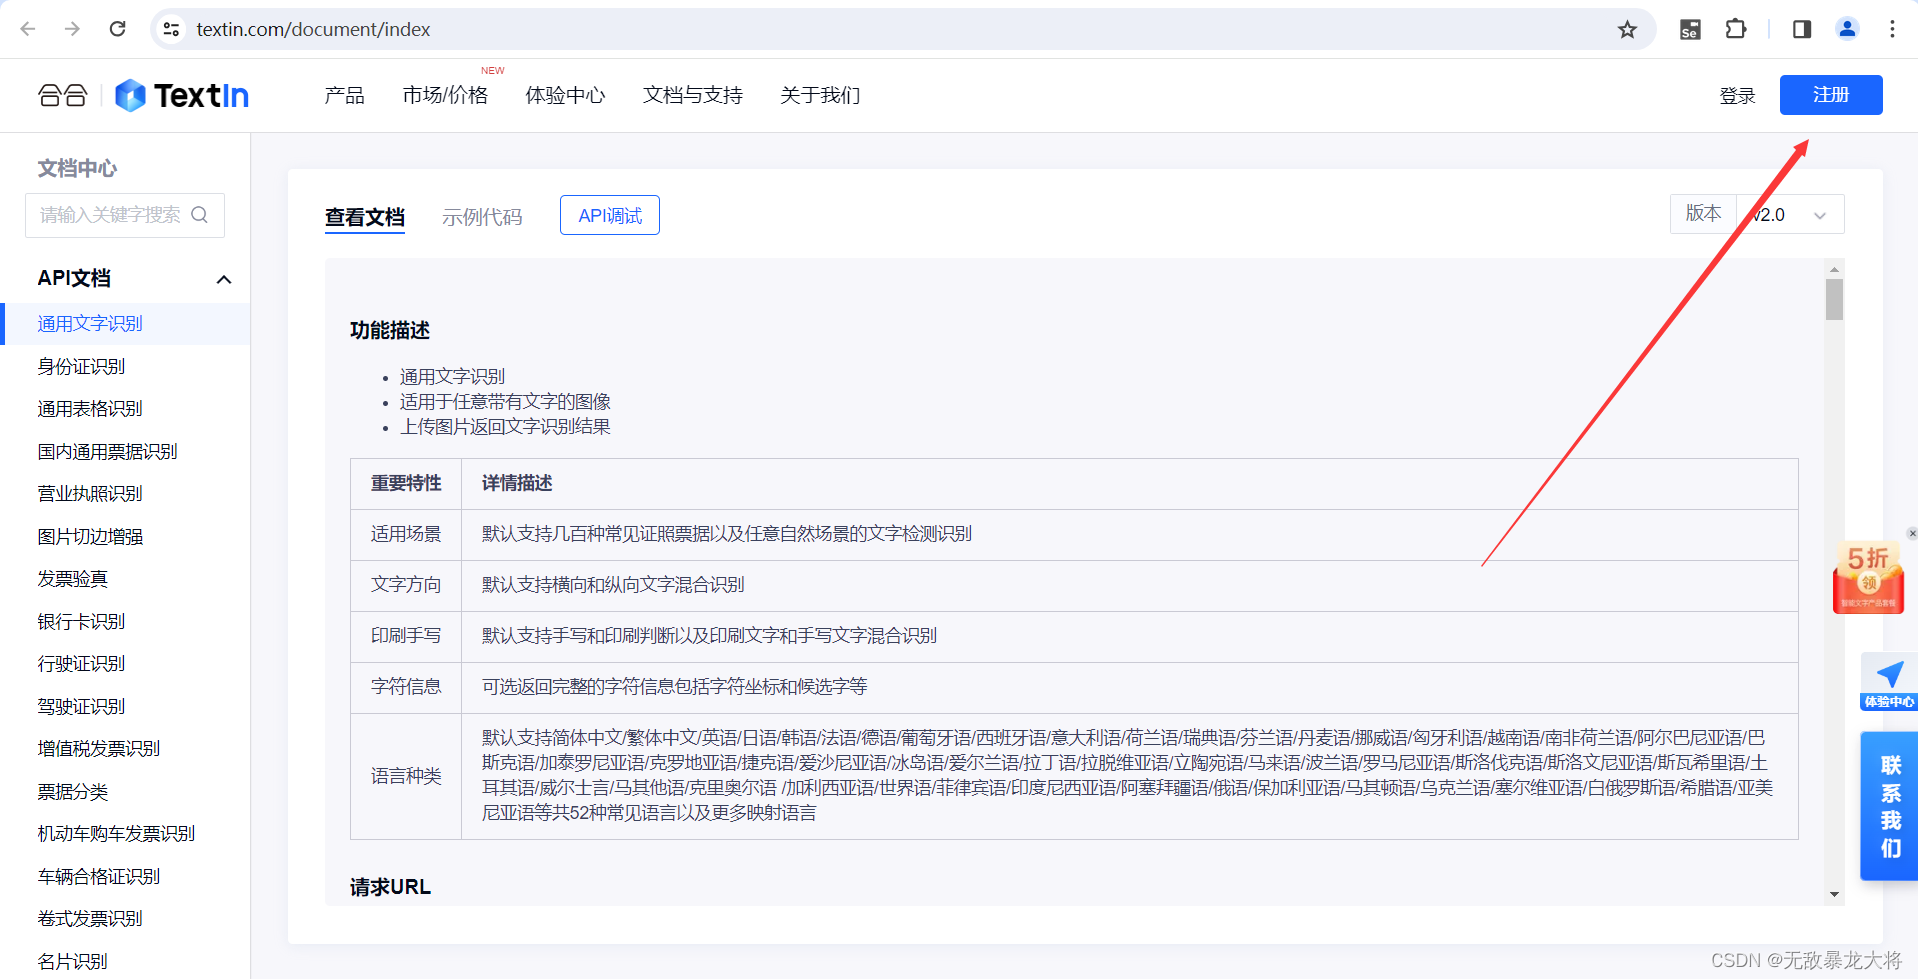
首先注册一个账号,并登录,新用户有1000次的免费调用次数。
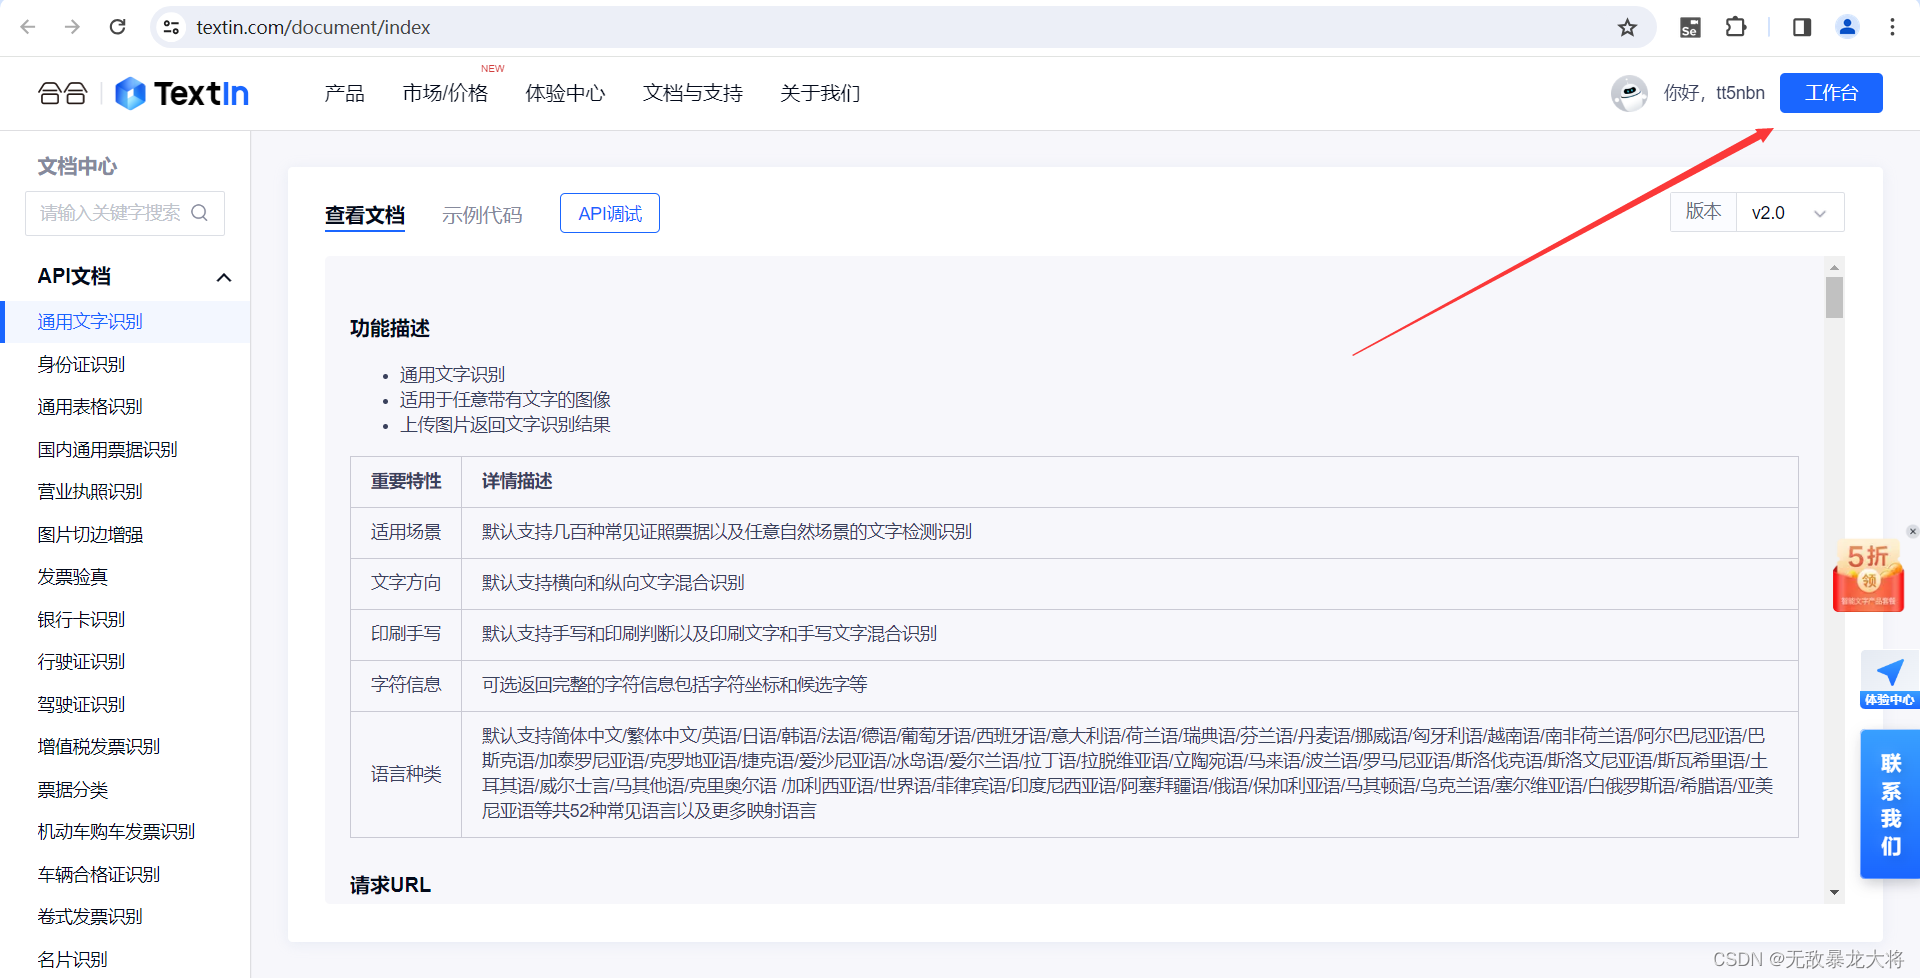
登录之后点击右上角的工作台。
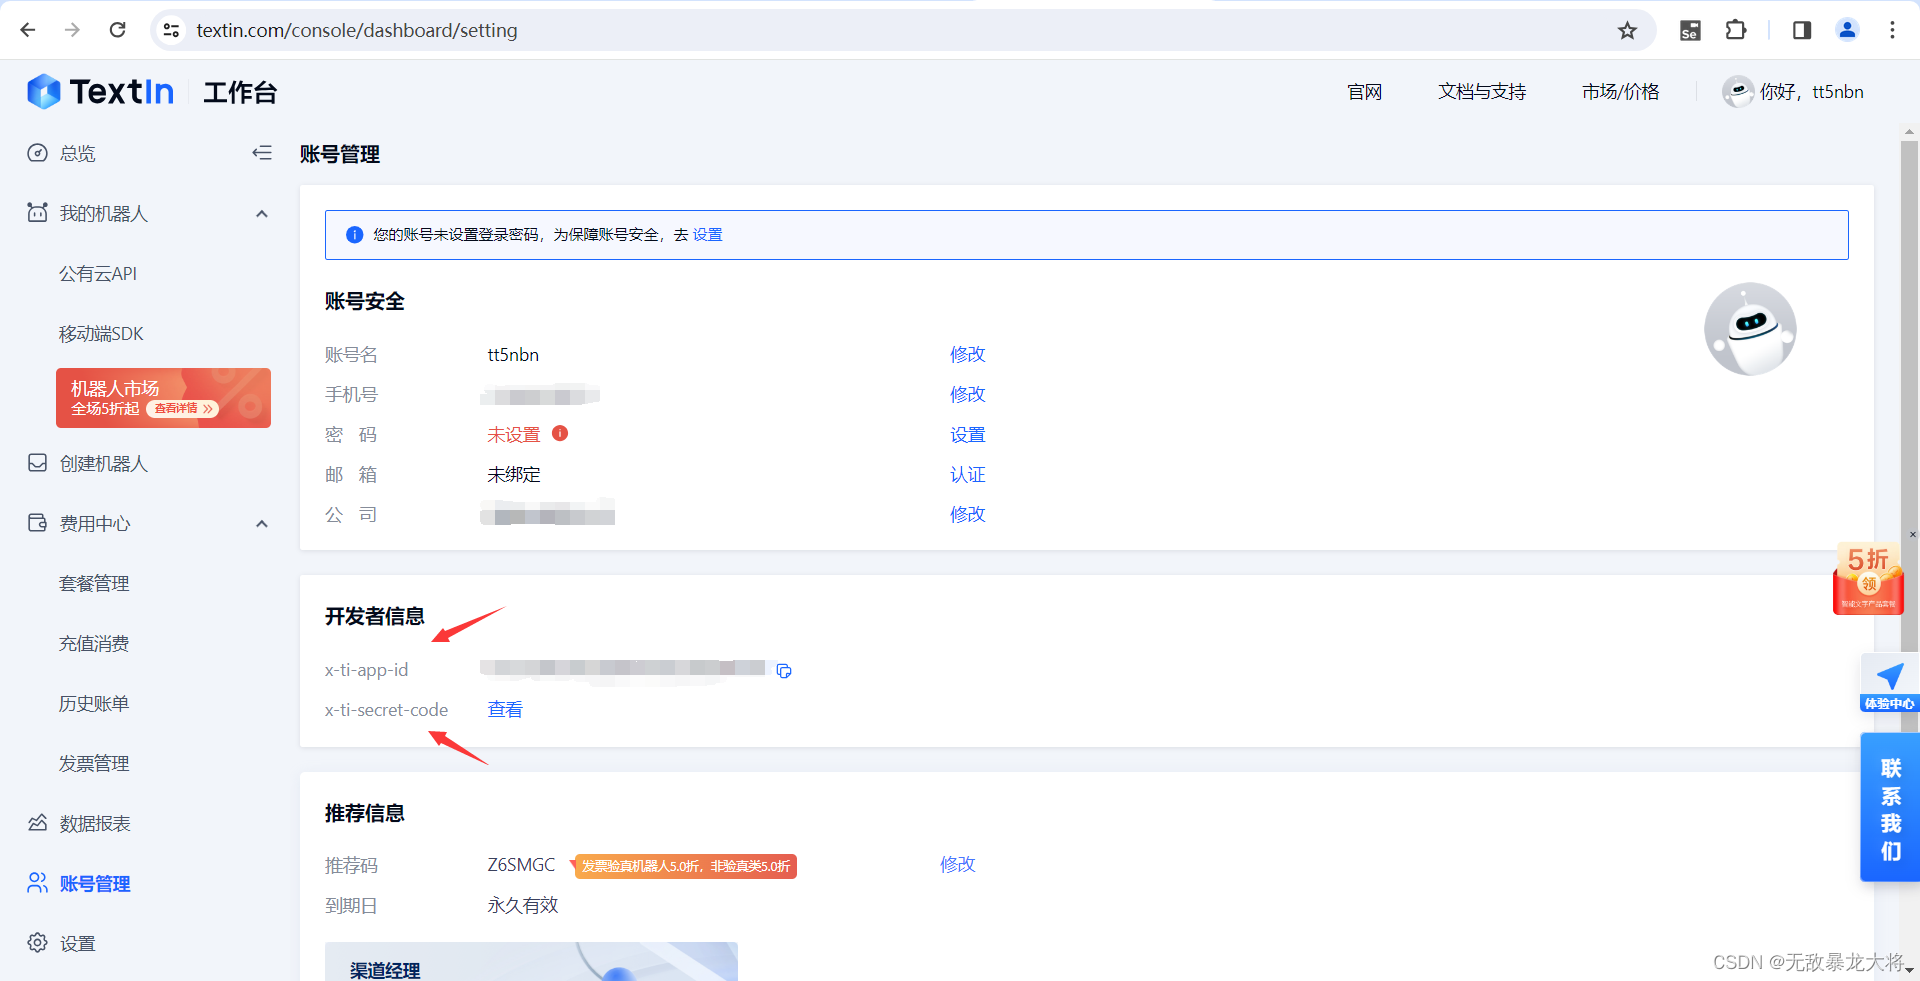
进入工作台之后点击账号管理可以看到x-ti-app-id和x-ti-secret-code,这两个之后会用到。
之后点击我的机器人->公有云API
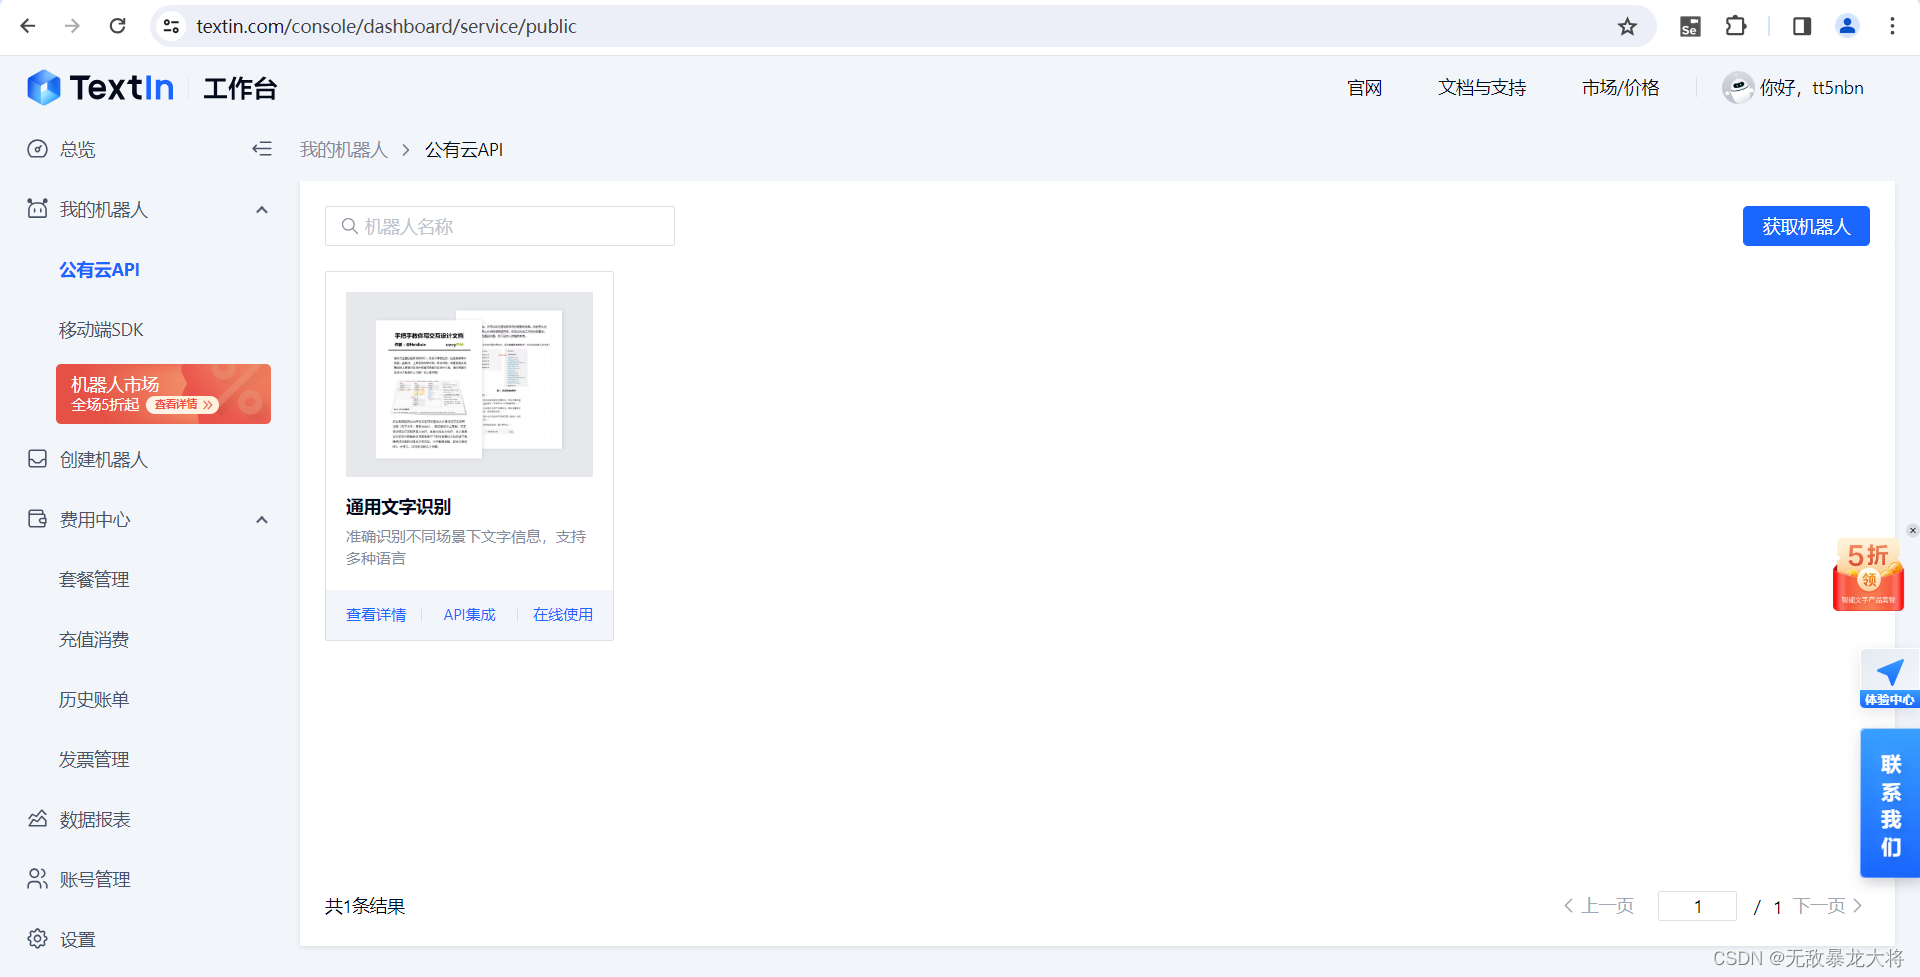
可以看到有一个通用文字识别的模块,新用户没有就先到右侧的获取机器人中购买,新用户可以免费买一个可调1000次的通用文字识别机器人。
2.配置TextIn.com API
打开SpringBoot项目,首先创建Service层。
public interface TextInService {
    String recognizeText(byte[] imageData) throws JsonProcessingException;
}
@Service
public class TextInServiceImpl implements TextInService  {

    @Value("${textin.appId}")
    private String appId;

    @Value("${textin.secretCode}")
    private String secretCode;

    @Override
    public String recognizeText(byte[] imageData) throws JsonProcessingException {
        String url = "https://api.textin.com/ai/service/v2/recognize";
        BufferedReader in = null;
        DataOutputStream out = null;
        String result = "";
        try {
            URL realUrl = new URL(url);
            HttpURLConnection conn = (HttpURLConnection)realUrl.openConnection();
            conn.setRequestProperty("connection", "Keep-Alive");
            conn.setRequestProperty("Content-Type", "application/octet-stream");
            conn.setRequestProperty("x-ti-app-id", appId);
            conn.setRequestProperty("x-ti-secret-code", secretCode);
            conn.setDoOutput(true);
            conn.setDoInput(true);
            conn.setRequestMethod("POST"); // 设置请求方式
            out = new DataOutputStream(conn.getOutputStream());
            out.write(imageData);
            out.flush();
            out.close();
            in = new BufferedReader(
                    new InputStreamReader(conn.getInputStream(), "UTF-8"));
            String line;
            while ((line = in.readLine()) != null) {
                result += line;
            }
        } catch (Exception e) {
            System.out.println("发送 POST 请求出现异常!" + e);
            e.printStackTrace();
        }
        finally {
            try {
                if (out != null) {
                    out.close();
                }
                if (in != null) {
                    in.close();
                }
            } catch (IOException ex) {
                ex.printStackTrace();
            }
        }

        ObjectMapper objectMapper = new ObjectMapper();
        JsonNode jsonNode = objectMapper.readTree(result);

        String textResult = "";
        JsonNode lines = jsonNode.get("result").get("lines");
        if (lines.isArray()) {
            for (JsonNode line : lines) {
                if (line.has("text")) {
                    String textValue = line.get("text").asText();
                    textResult+=textValue;
                }
            }
        }

        return textResult;
    }

}
2.1appId和secretCode
这两个分别对应之前提到过的x-ti-app-id和x-ti-secret-code,@Value 注解用于将属性值注入到对应的字段中。
	@Value("${textin.appId}")
    private String appId;

    @Value("${textin.secretCode}")
    private String secretCode;
打开项目的application.properties文件,加入以下代码。
textin.appId=换成你的x-ti-app-id
textin.secretCode=换成你的x-ti-secret-code
2.2Jackson
Jackson 是一个强大且灵活的 Java JSON 处理库,为 Java 开发者提供了便利的 JSON 数据处理解决方案。Api调用返回的结果类型就是JSON,Jackson可以极大地方便我们对它进行处理。
在项目的pom.xml文件中添加以下代码,即可在项目中引入Jackson。
		<dependency>
            <groupId>com.fasterxml.jackson.core</groupId>
            <artifactId>jackson-databind</artifactId>
            <version>2.12.5</version>
        </dependency>
2.3Controller层
Controller层代码
@CrossOrigin
@Controller
public class TextInController {
    @Autowired
    TextInService textInService;
    @ResponseBody
    @RequestMapping ("/recognize")
    public String recognizeText(@RequestParam("file") MultipartFile file) {
        try {
            return textInService.recognizeText(file.getBytes());
        } catch (IOException e) {
            e.printStackTrace();
            return "Error occurred while recognizing text";
        }
    }

}
二、Vue发送请求
以下代码仅供参考,大家CV的时候要注意把upload中action的值设置为自己的后端地址。
<template>
	<el-upload class="upload-demo" action="http://localhost:8080/recognize" :show-file-list="false"
		:on-success="handleUploadSuccess">
		<el-button size="small" type="primary">点击上传</el-button>
	</el-upload>
	<p>{{text}}</p>
</template>

<script>
	export default {
		data() {
			return {
				text: ''
			}
		},
		methods: {
			handleUploadSuccess(response, file) {
				this.text = response
				console.log(response)
			}
		}
	}
</script>

<style>
</style>
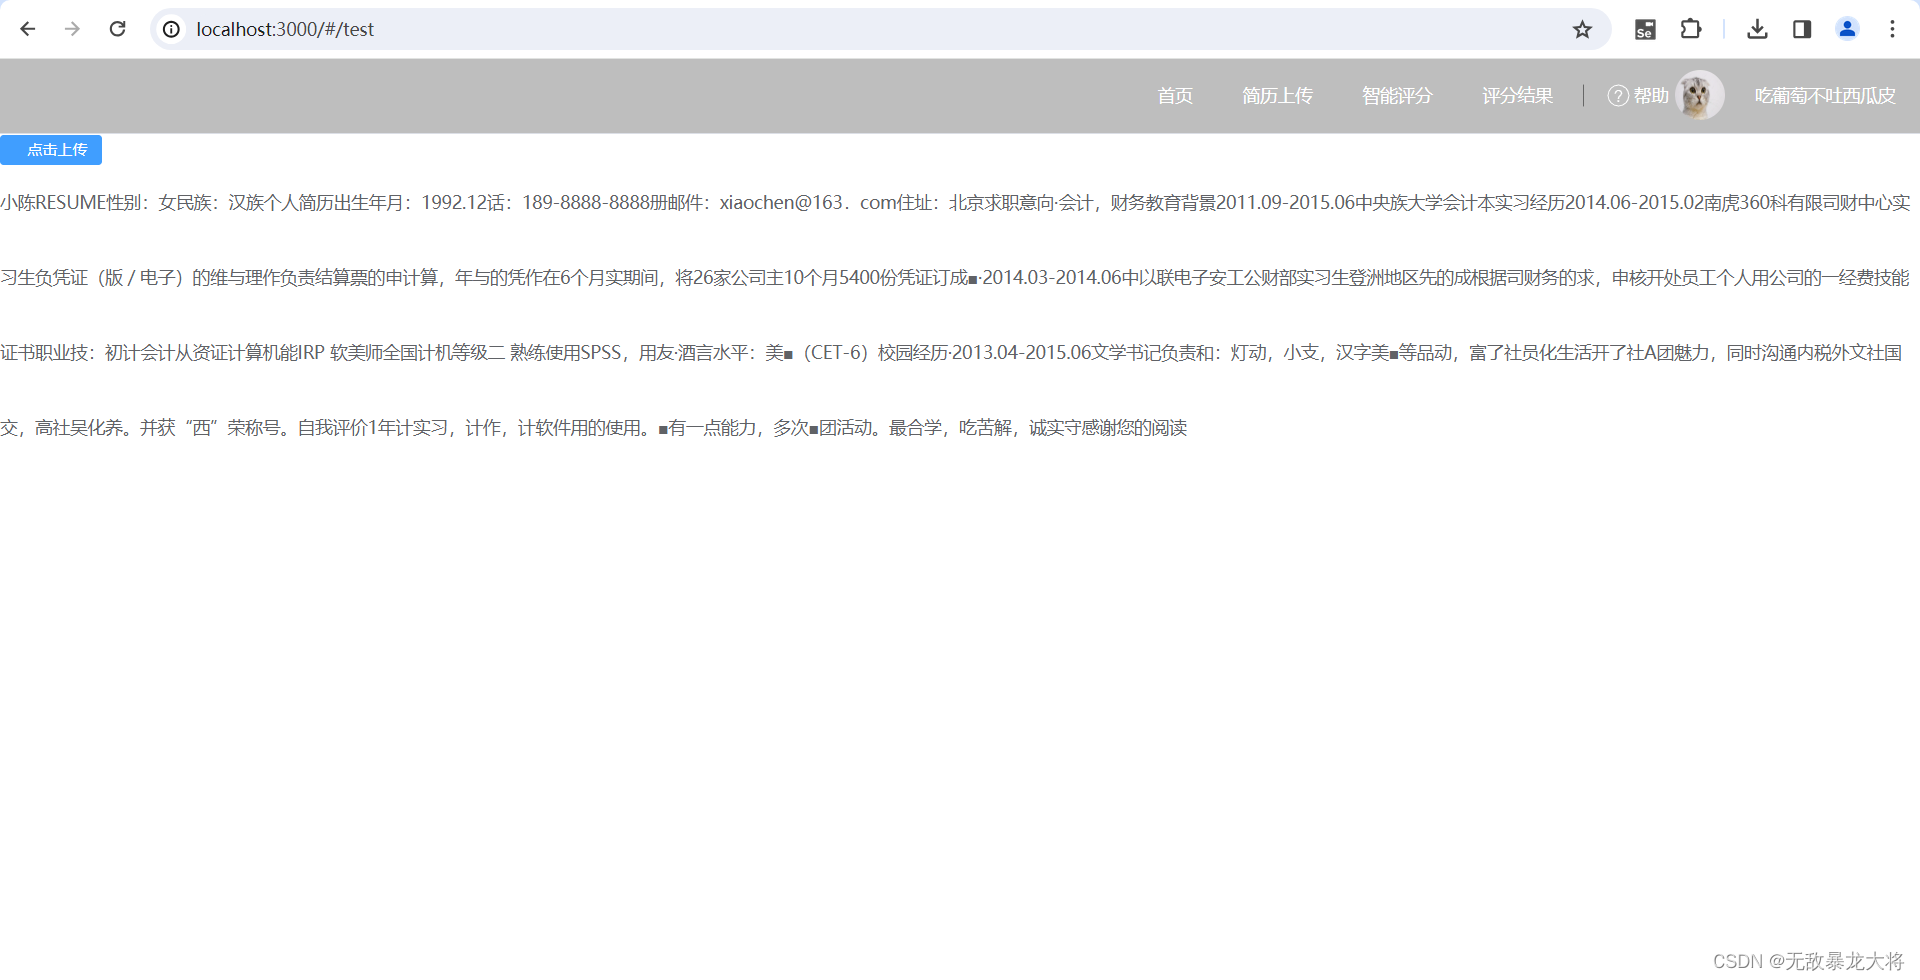
进入前端界面,选择图片上传即可得到文字识别的结果
三、图片切边增强
到目前为止,我们已经成功地调用了通用文字识别这个api,现在我们继续试试调用图片切边增强。
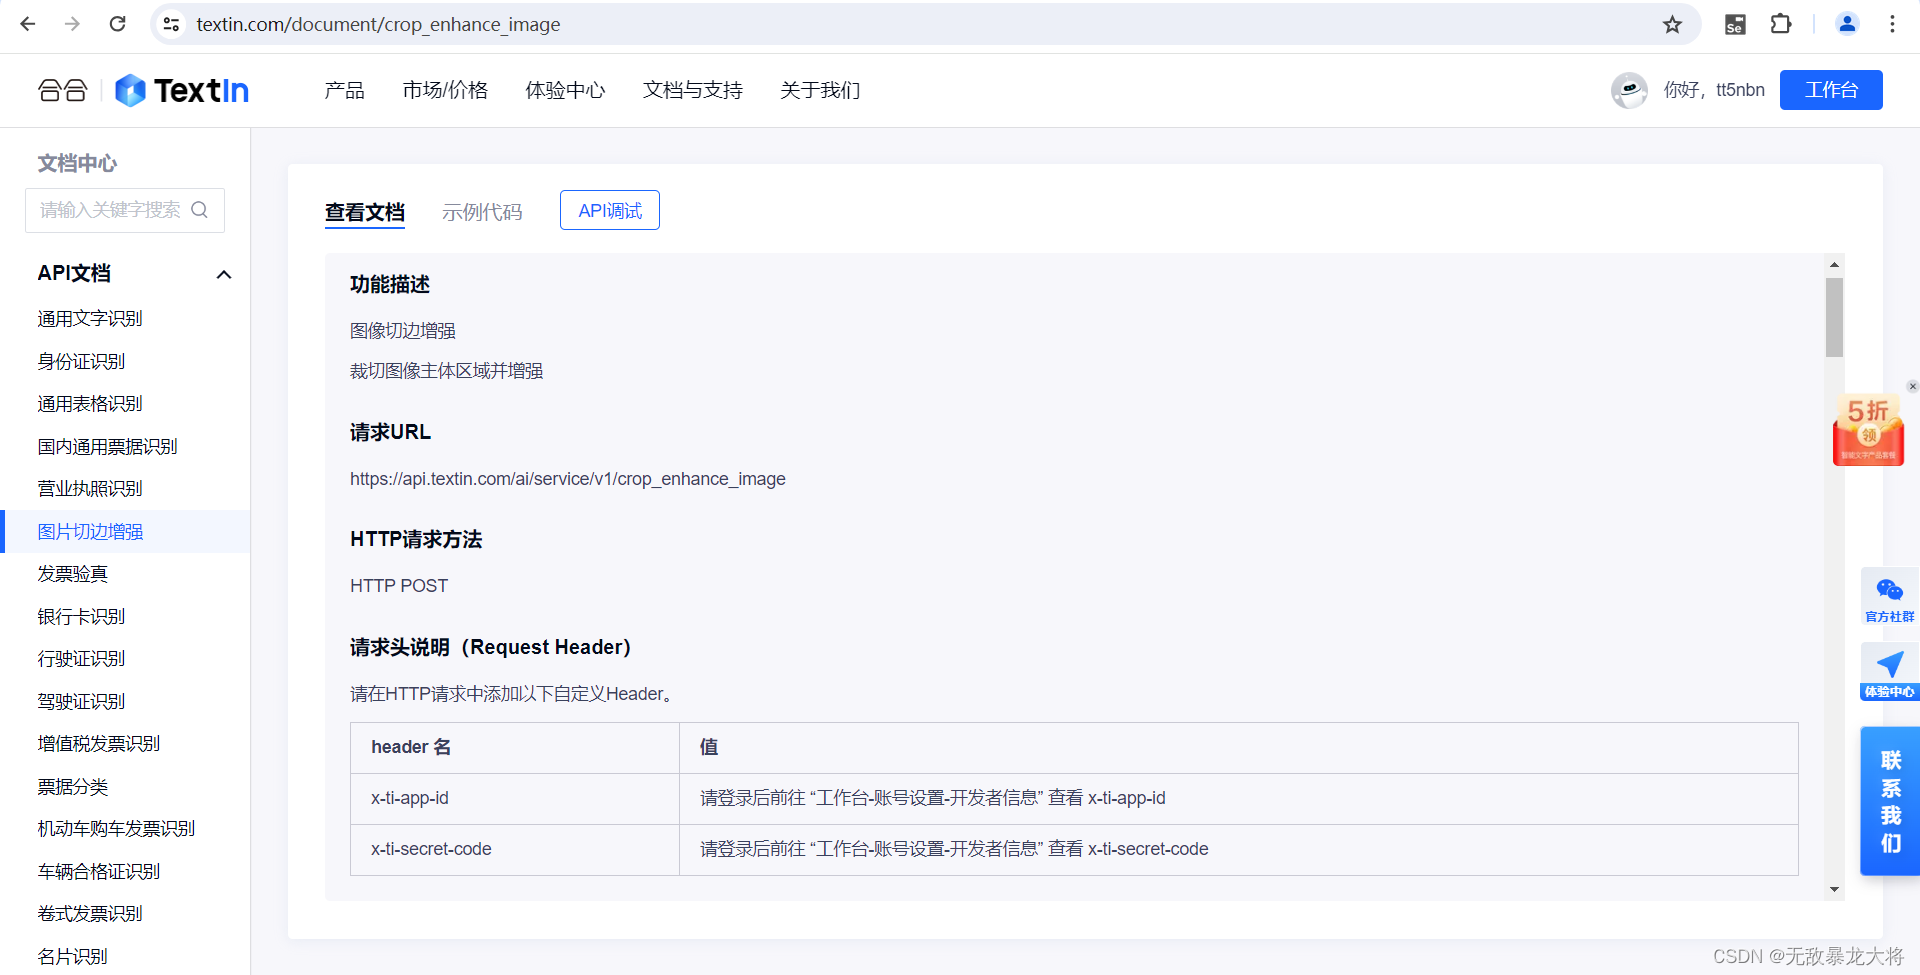
1.注意
大致流程和上面调用通用文字识别一致,要先购买一个图片切边增强的机器人(新用户可以免费买一个能调用100次的机器人),然后调用,但有个需要注意的地方:
之前通用文字识别返回给前端展示的结果是文字,但现在的切边增强返回的应该是一张图片
而在程序运行时,调用api返回的是json的数据类型。
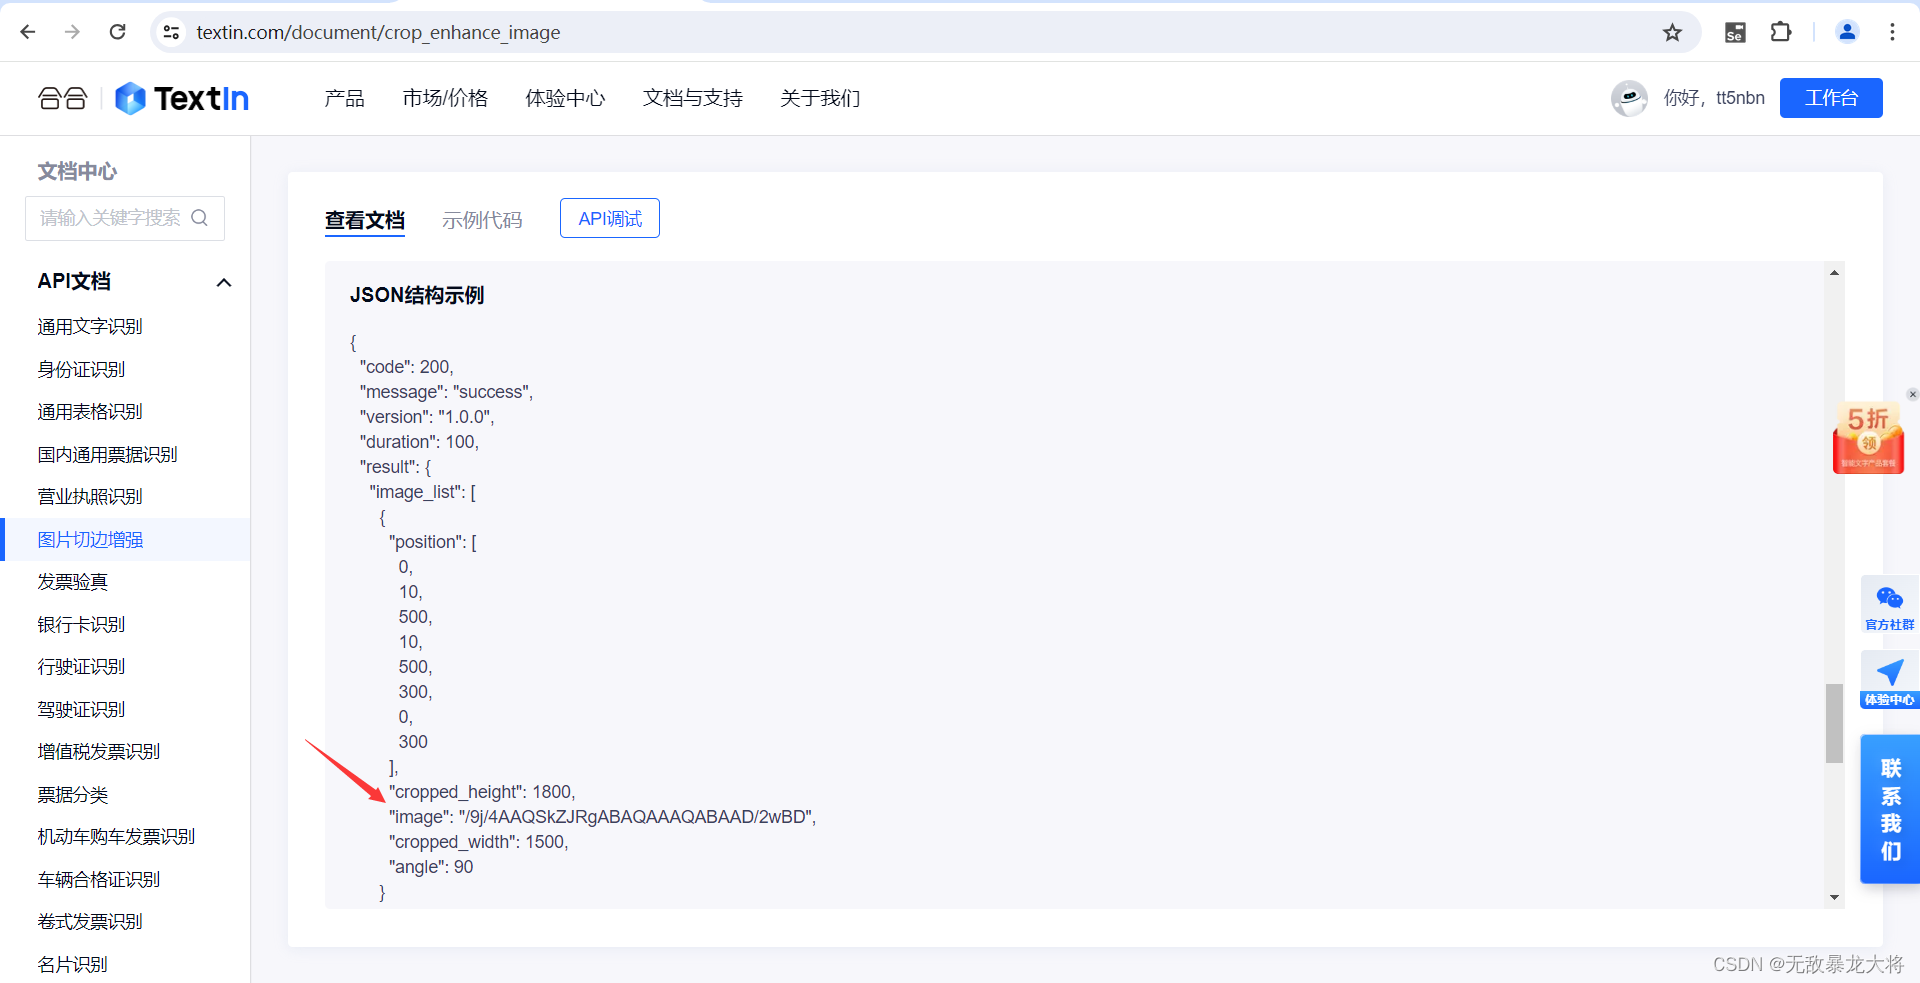
其中字段’image’对应的值就是图像处理后的jpg图片,base64格式。
在这个项目中要把字符串变成图片我们有两种思路:
①后端把字符串变回图片,然后将图片传回前端。
②后端把字符串传回前端,前端把字符串变回图片并展示。
考虑实现的难易,我们选择后者,后端把字符串传回前端,前端把字符串变回图片并展示。
2.实现
Service层
@Override
    public String enhanceImg(byte[] imageData) throws JsonProcessingException {
        String url = "https://api.textin.com/ai/service/v1/crop_enhance_image";
        BufferedReader in = null;
        DataOutputStream out = null;
        String result = "";
        try {
            URL realUrl = new URL(url);
            HttpURLConnection conn = (HttpURLConnection)realUrl.openConnection();
            conn.setRequestProperty("connection", "Keep-Alive");
            conn.setRequestProperty("Content-Type", "application/octet-stream");
            conn.setRequestProperty("x-ti-app-id", appId);
            conn.setRequestProperty("x-ti-secret-code", secretCode);
            conn.setDoOutput(true);
            conn.setDoInput(true);
            conn.setRequestMethod("POST"); // 设置请求方式
            out = new DataOutputStream(conn.getOutputStream());
            out.write(imageData);
            out.flush();
            out.close();
            in = new BufferedReader(
                    new InputStreamReader(conn.getInputStream(), "UTF-8"));
            String line;
            while ((line = in.readLine()) != null) {
                result += line;
            }
        } catch (Exception e) {
            System.out.println("发送 POST 请求出现异常!" + e);
            e.printStackTrace();
        }
        finally {
            try {
                if (out != null) {
                    out.close();
                }
                if (in != null) {
                    in.close();
                }
            } catch (IOException ex) {
                ex.printStackTrace();
            }
        }

        ObjectMapper mapper = new ObjectMapper();
        JsonNode root = mapper.readTree(result);


        JsonNode imageNode = root.path("result").path("image_list").get(0).path("image");
        String pictureData = imageNode.asText();
        return pictureData;
    }
Controller层
 @ResponseBody
    @RequestMapping ("/enhance")
    public String enhanceImg(@RequestParam("file") MultipartFile file) {
        try {
            return textInService.enhanceImg(file.getBytes());
        } catch (IOException e) {
            e.printStackTrace();
            return "Error occurred while recognizing text";
        }
    }
前端
<template>
	<el-upload class="upload-demo" action="http://localhost:8080/recognize" :show-file-list="false"
		:on-success="handleUploadSuccess">
		<el-button size="small" type="primary">点击上传</el-button>
	</el-upload>
	<el-text>{{text}}</el-text>
	<el-card style="width: 100%;height: 500px;margin-top: 10px;" shadow="hover">
		<el-text>图像切边增强</el-text>
		<el-upload class="upload-demo" action="http://localhost:8080/enhance" :show-file-list="false"
			:on-success="getGeneratedImageData">
			<el-button size="small" type="primary">点击上传</el-button>
		</el-upload>
		<img :src="imageData" alt="Generated Image">
	</el-card>
</template>

<script>
	export default {
		data() {
			return {
				text: '',
				imageData: ''
			}
		},
		methods: {
			handleUploadSuccess(response, file) {
				this.text = response
				console.log(response)
			},
			handleUploadSuccess2(response, file) {
				this.text2 = response
				console.log(response)
			},
			getGeneratedImageData(response) {
				this.imageData = 'data:image/jpeg;base64,' + response;
			}

		}

	}
</script>

<style>
</style>
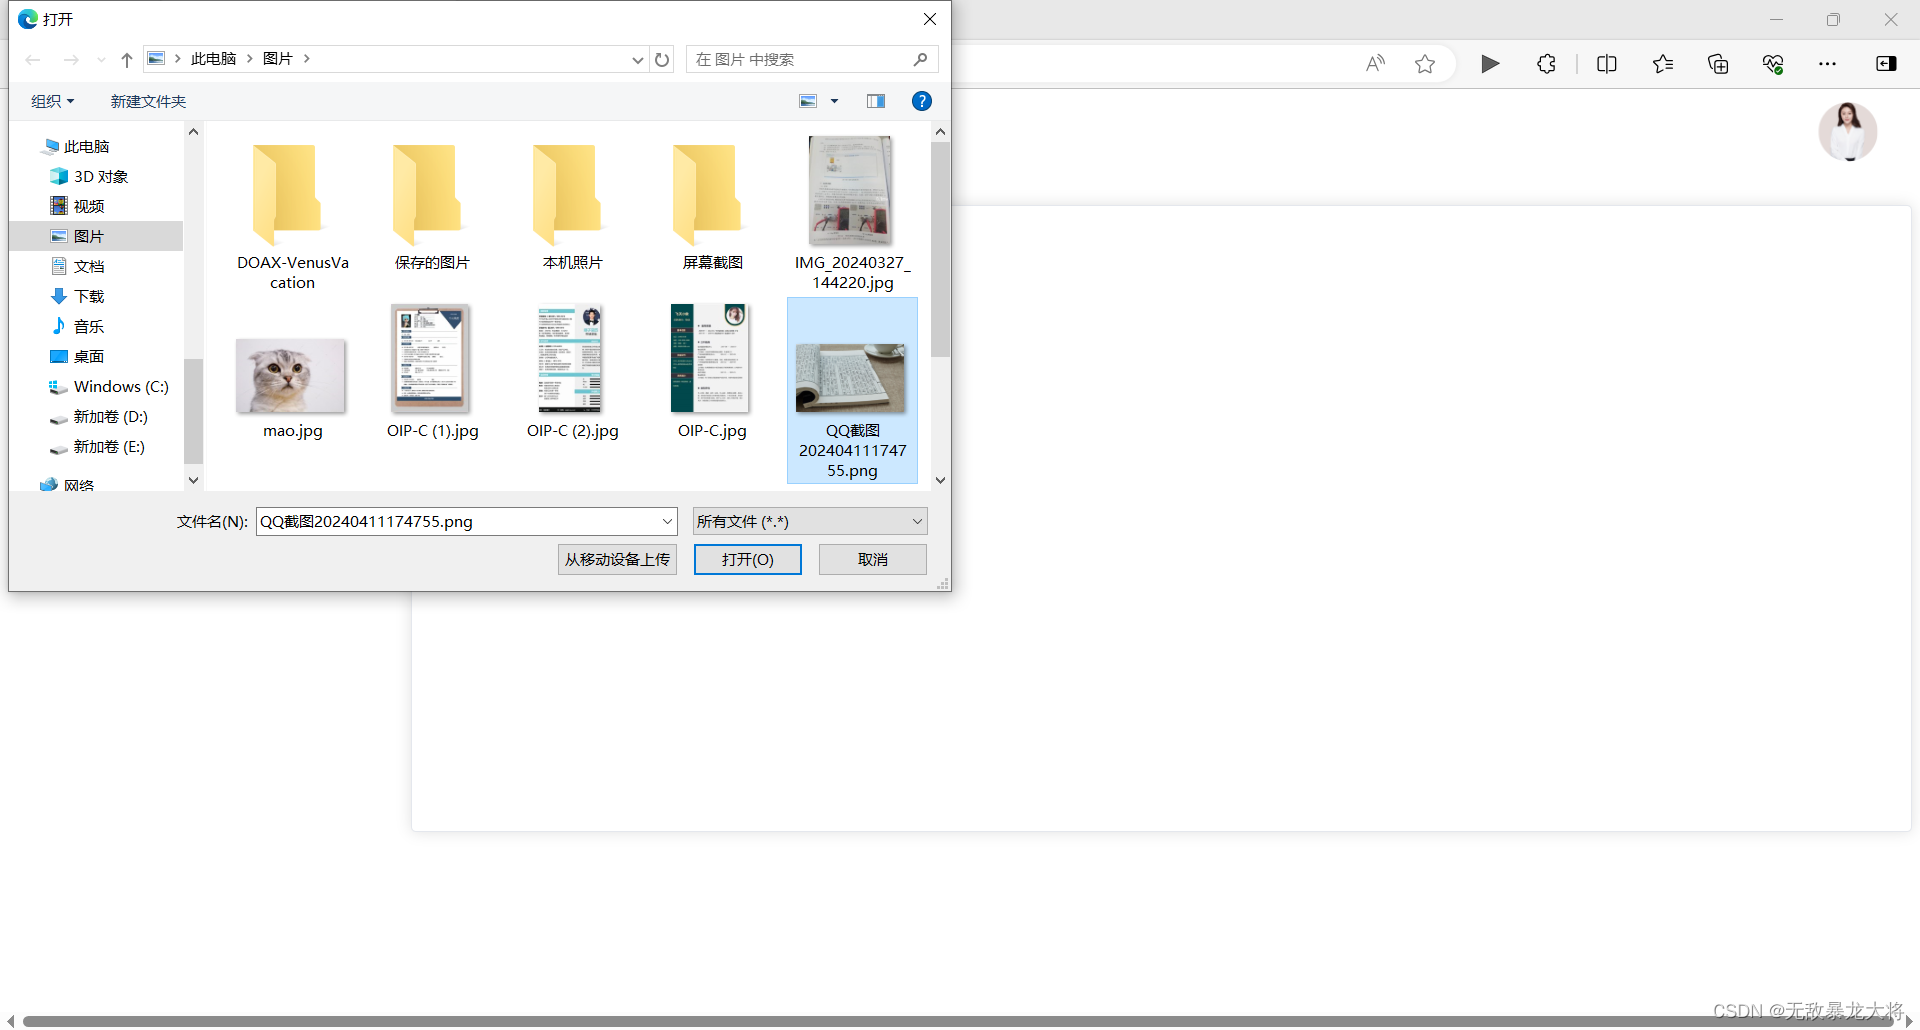
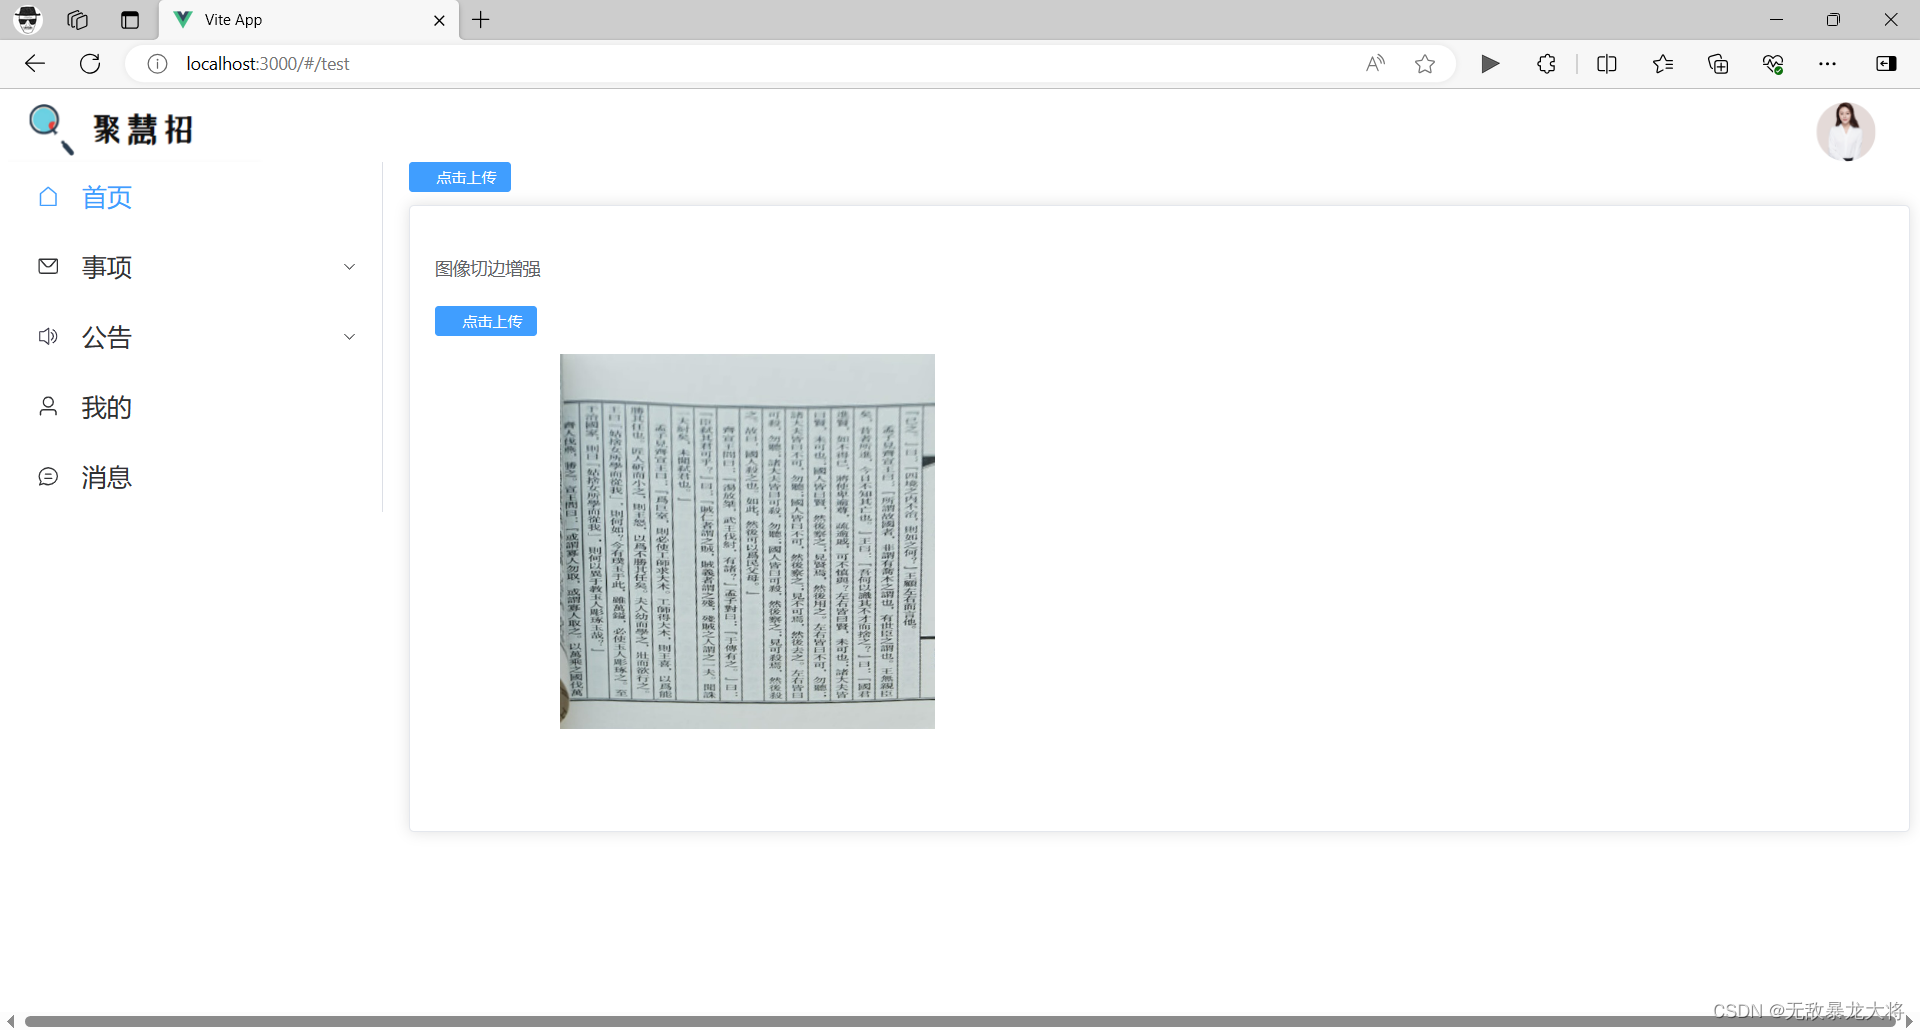
上传图片
可以看到我们成功地裁切图像主体区域并增强图像效果。
但这只是默认的效果,细心的同学可能会发现,我们在调用api的时候还可以指定若干参数。
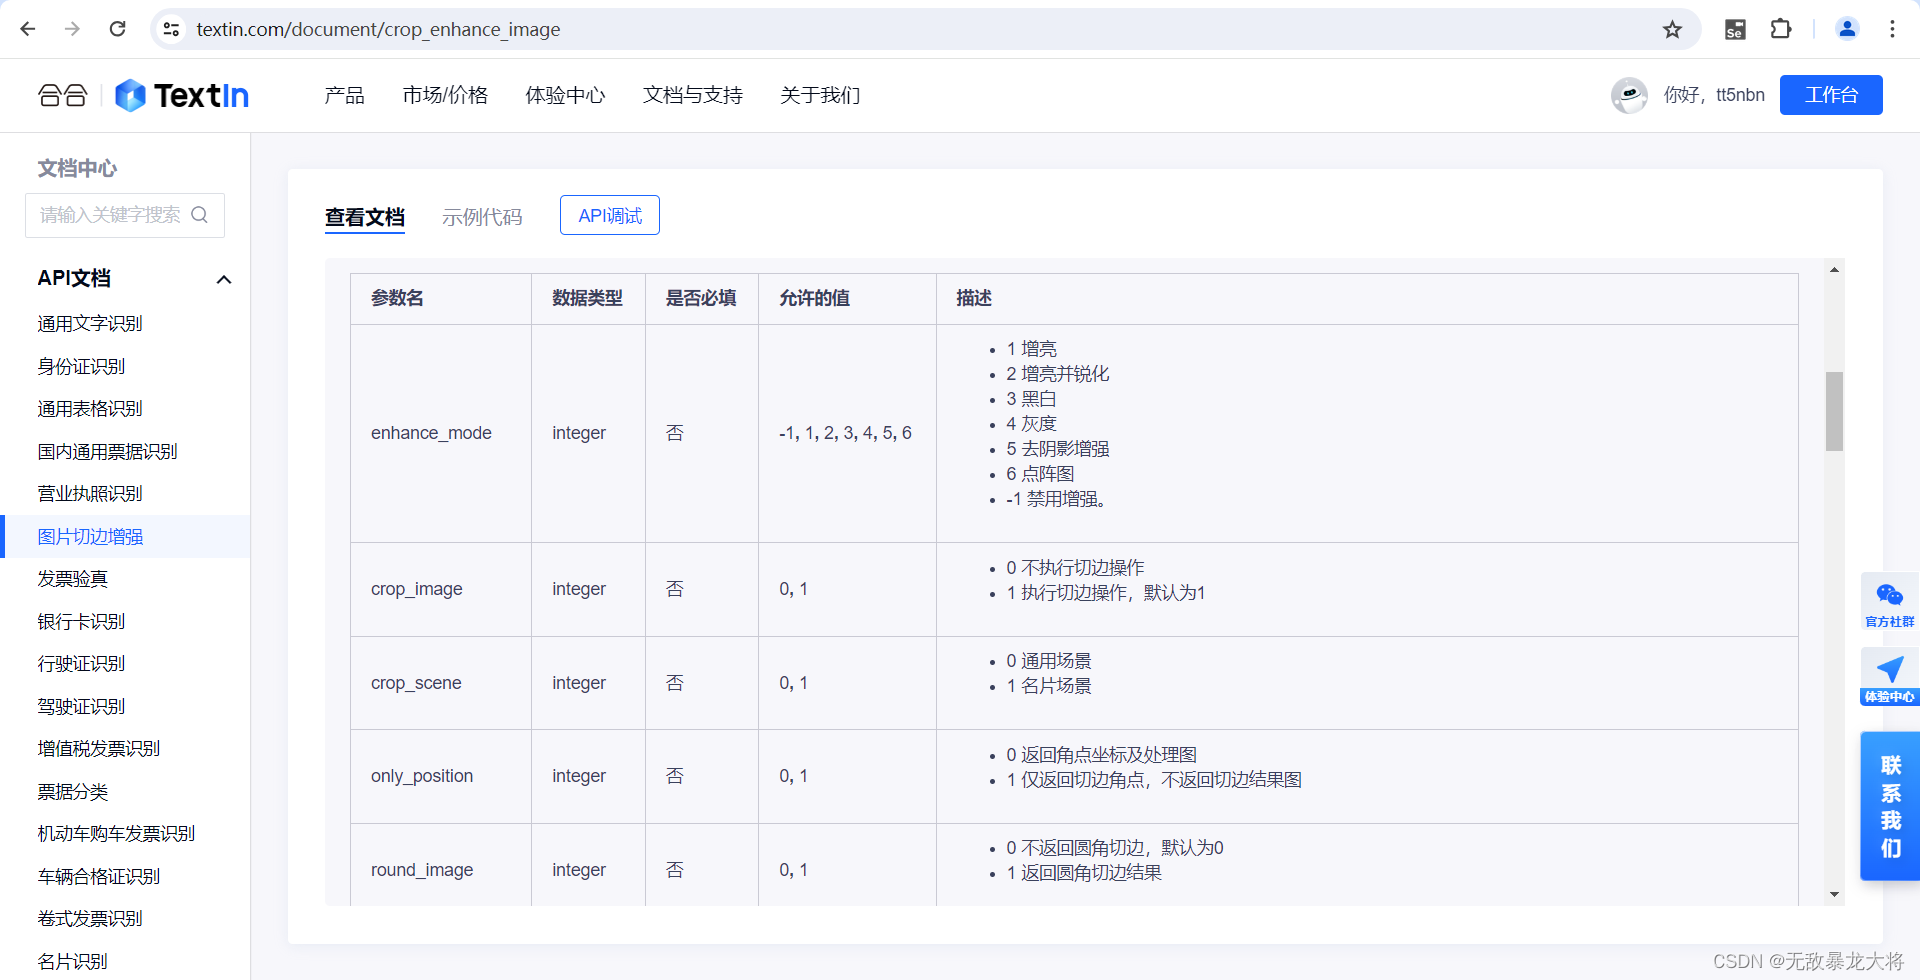
要使用这些参数,我们只需要在Service层请求网址后面以 {参数名}={参数值} 形式拼接到 URL 上的键值对。它以 ? 开头,不同参数之间使用 & 连接。形如 ?p1=v1&p2=v2
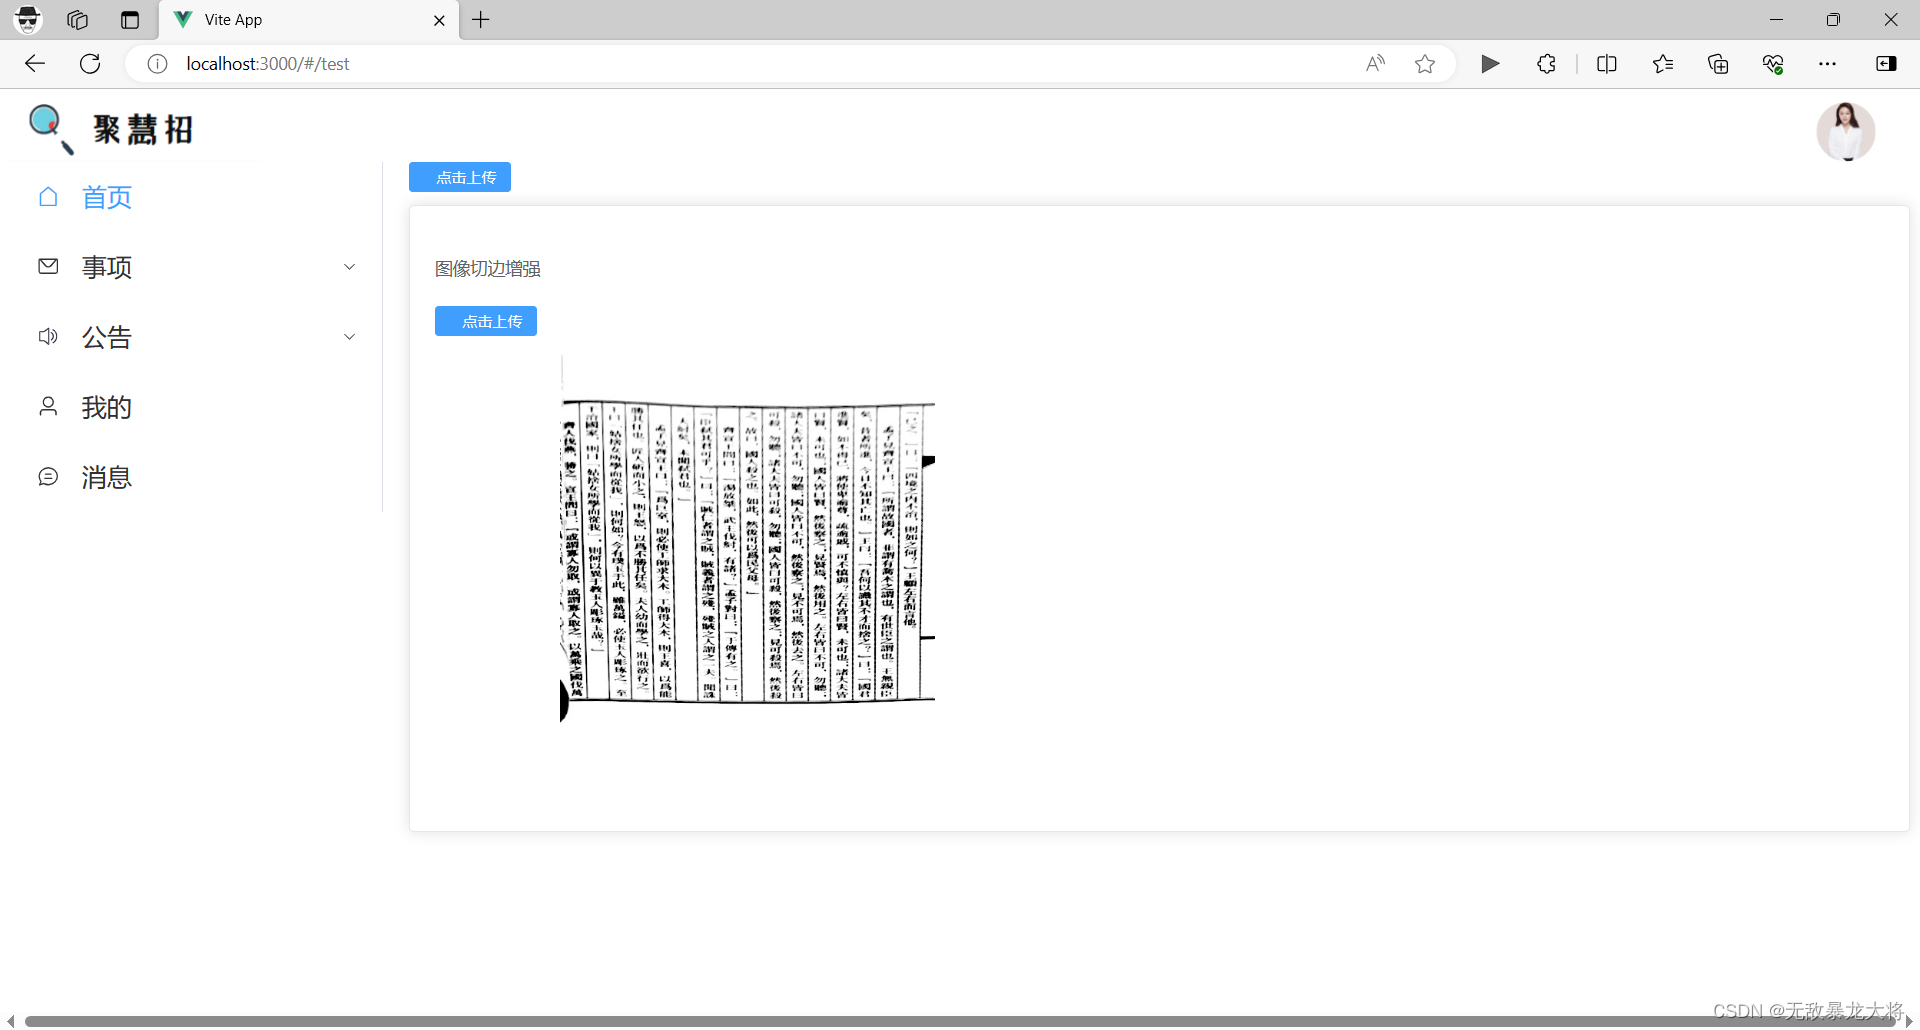
比如我想使用enhance_mode参数,让它生成黑白图片,就可以这样写:
String url = "https://api.textin.com/ai/service/v1/crop_enhance_image?enhance_mode=3";
再次上传图片就会得到黑白的效果。
四、总结
总体而言,TextIn.com API的文字识别和图像处理功能给我留下了深刻的印象。它在简化文字识别任务、提高工作效率方面具有巨大潜力。我期待着未来TextIn.com API在准确性和适应性上的持续改进,相信它将成为越来越多人的首选文字识别工具。


 915
915


 被折叠的 条评论
为什么被折叠?
被折叠的 条评论
为什么被折叠?
 到【灌水乐园】发言


