


文章目录
二、@RequestMapping注解最详细解析
2.1 @RequestMapping简介
作用:将请求和处理请求的控制器方法关联起来,建立映射关系。
位置:
1、标识类:设置映射请求的请求路径的初试信息
2、表示方法:设置映射请求的请求路径的具体信息
来一个标识类的代码实例吧:
先随便写个html文件,比如我写了一个叫demo.html
<!DOCTYPE html>
<html lang="en" xmlns:th="http://www.thymeleaf.org">
<head>
    <meta charset="UTF-8">
    <title>Demo</title>
</head>
<body>
  <div>Demo1</div>
</body>
</html>
然后再写一个Controller类:
package com.example.controller;

import org.springframework.stereotype.Controller;
import org.springframework.web.bind.annotation.RequestMapping;

@Controller
@RequestMapping("/demo")
public class DemoController {
    @RequestMapping("/demo1")
    public String toDemo(){
        return "demo";
    }
}
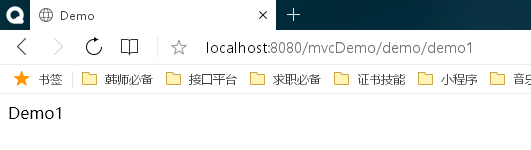
此时,我们就整了个servlet的路径是
http://localhost:端口号/项目名称/demo/demo1
他对应的显示页面是视图前缀(/WEB-INF/templates/)/demo/视图后缀(.html)
所以,我们打开服务器后,访问这个servlet如下:
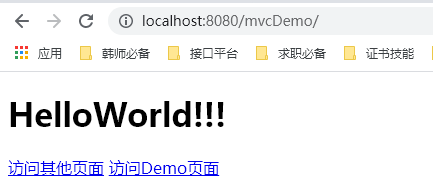
为了更好地理解,我们顺便改一下index.html文件如下(添加访问demo页面的超链接):
<!DOCTYPE html>
<html lang="en" xmlns:th="http://www.thymeleaf.org">
<head>
    <meta charset="UTF-8">
    <title>首页</title>
</head>
<body>
    <h1>HelloWorld!!!</h1>
    <!--
        @{}是thymeleaf的语法,这么写的好处是当项目路径改了,我们也可以通过他直接定位到绝对路径
        如果不这么写的话,就得写href="/mvcDemo/other"
    -->
    <a th:href="@{/other}">访问其他页面</a>
    <a th:href="@{/demo/demo1}">访问Demo页面</a>
</body>
</html>
重新部署服务器并打开:
点击访问Demo页面,会跳转到以下页面
 最低0.47元/天 解锁文章


 361
361


 被折叠的 条评论
为什么被折叠?
被折叠的 条评论
为什么被折叠?
 到【灌水乐园】发言


