


1.构造器
(1)Customers实体类
@Data
@NoArgsConstructor
@AllArgsConstructor
public class Customers implements Serializable {
    private Integer CustID;
    private String CustName;
    private String LoginPwd;
    private String phone;
    private String Email;
    private String add;
    private String Acc;
}
(2)applicationContext.xml配置文件设置
<?xml version="1.0" encoding="UTF-8" ?>
<beans xmlns="http://www.springframework.org/schema/beans"
       xmlns:xsi="http://www.w3.org/2001/XMLSchema-instance"
       xsi:schemaLocation="http://www.springframework.org/schema/beans
       http://www.springframework.org/schema/beans/spring-beans.xsd">

       <bean id="custDao" class="spring.dao.CustDaoImpl">

       <bean id="custService" class="spring.service.CustServiceImpl">
        <constructor-arg name="custDao" ref="custDao"/>
    </bean>
(3)Dao层的接口与实现类
接口:

实现类:
(4)Service层的接口和实现类
接口:

实现类:
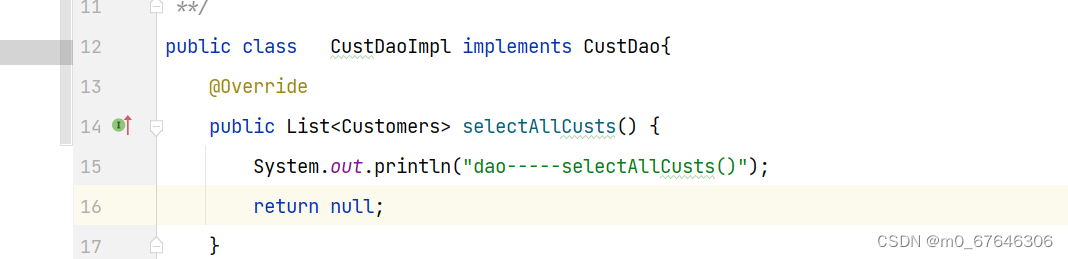
public class CustServiceImpl implements CustService{
    //声名一个Customers实体类的dao层对象
    private CustDao custDao;
    public CustServiceImpl() {
    }
    //依赖注入,把交给ioc管理的custDao对象指向为该类的custDao
    public CustServiceImpl(CustDao custDao) {
        this.custDao = custDao;
    }
    @Override
    public List<Customers> selectAllCusts() {
        System.out.println("service-----selectAllCusts()");
        //调用custDao对象的selectAllCusts
        custDao.selectAllCusts();
        return null;
    }
(5)编写测试类
public class TestCustomers {
    // 引入custService对象;
    ApplicationContext applicationContext = new
            ClassPathXmlApplicationContext("applicationContext.xml");
    CustService custService = (CustService) applicationContext.getBean("custService");
    @Test
    public void testSelectAll(){
        //调用custService对象的selectAllCusts方法
        custService.selectAllCusts();
    }

}
(6)运行结果
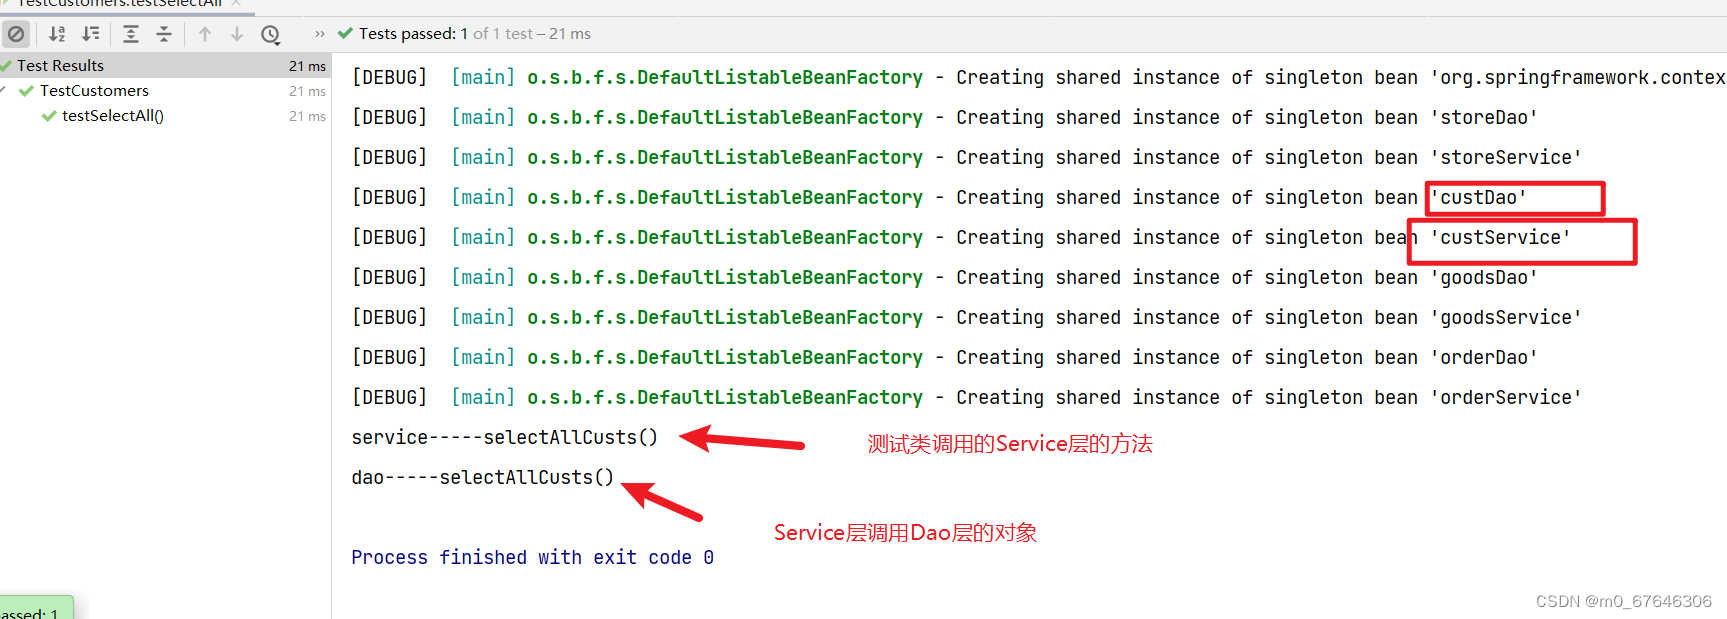
(7)总结:构造器是在配置文件中就指明了哪个对象注入到哪个类中,
被注入的哪个类只需要,创建一个参数类型是注入对象类型的带参构造方法,来接收注入的对象
这就是为什么Sercice层没像test测试类那样通过解析applicationContext.xml文件来获取对象的原因。
// 引入custService对象;
    ApplicationContext applicationContext = new
            ClassPathXmlApplicationContext("applicationContext.xml");
    CustService custService = (CustService) applicationContext.getBean("custService");
2.set方法引入(与构造器方法类似,具体有两点差别)
(1)配置文件(把之前的constructor-arg name标签换成了property)
<bean id="orderDao" class="spring.dao.OrderDaoImpl">
    </bean>
    <bean id="orderService" class="spring.service.OrderServiceImpl">
        <property name="orderDao" ref="orderDao"></property>
    </bean>
(2)带参的构造方法换成了set方法
//通过set方法引入
    public void setOrderDao(OrderDao orderDao){
        this.orderDao=orderDao;
    }
(3)运行结果
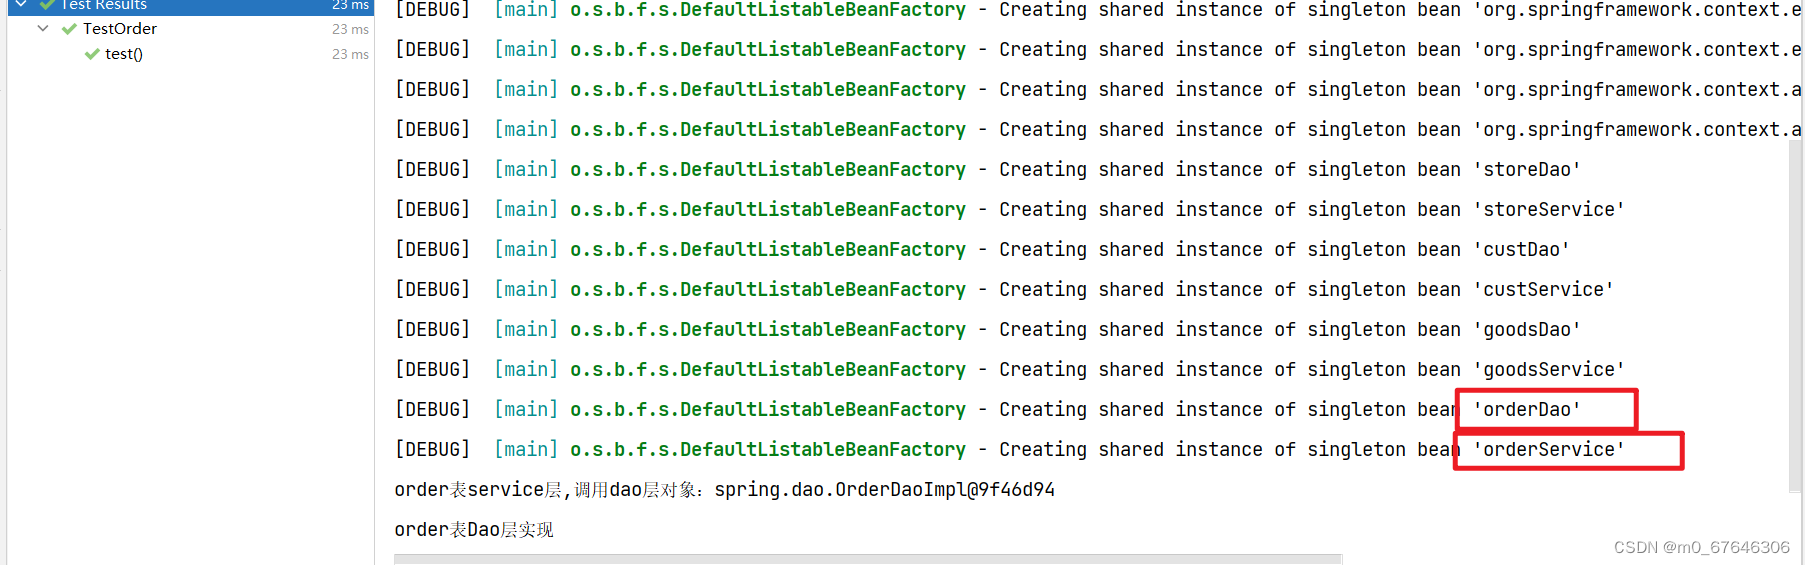
(4)总结:set注入方法与构造器方法原理大致相同
除了以上两点,其余代码类似
3.注解(相比于前两种更简便)
(1)配置文件引入组件(会自动扫描你指定的文件夹,通过注解把对象交给IOC管理)
<?xml version="1.0" encoding="UTF-8" ?>
<beans xmlns="http://www.springframework.org/schema/beans"
       xmlns:xsi="http://www.w3.org/2001/XMLSchema-instance"
       xmlns:context="http://www.springframework.org/schema/context"
       xsi:schemaLocation="http://www.springframework.org/schema/beans
       http://www.springframework.org/schema/beans/spring-beans.xsd
       http://www.springframework.org/schema/context
       https://www.springframework.org/schema/context/spring-context.xsd">
<!--注解的组件扫描-->
    <context:component-scan base-package="spring"/>
(2)Dao层对象storeDao
//注解方式引入
@Repository("storeDao")
public class StoreDaoImpl implements StoreDao {
    @Override
    public List<Stores> selectAllStore() {
        System.out.println("store表的dao层");
        return null;
    }
}
(3)Service层对象storeService
//注解方式将该类交给IOC生成对象为storeService
@Service("storeService")
public class StoreServiceImpl implements StoreService {
    //依赖注入
    @Autowired
    //指明注入的对象name属性
    @Qualifier("storeDao")
    private StoreDao storeDao;
    @Override
    public List<Stores> selectAllStores() {
        storeDao.selectAllStore();
        System.out.println("store表的service层,调用dao层对象:"+storeDao);
        return null;
    }
}
(4)测试类
public class TestStores {
    //依赖注入
    ClassPathXmlApplicationContext classPathXmlApplicationContext = new ClassPathXmlApplicationContext("applicationContext.xml");
    StoreService storeService = (StoreService) classPathXmlApplicationContext.getBean("storeService");
    @Test
    public void test1() {
        //调用storeService对象的selectAllStores()方法
        storeService.selectAllStores();
    }
}
(5)运行结果
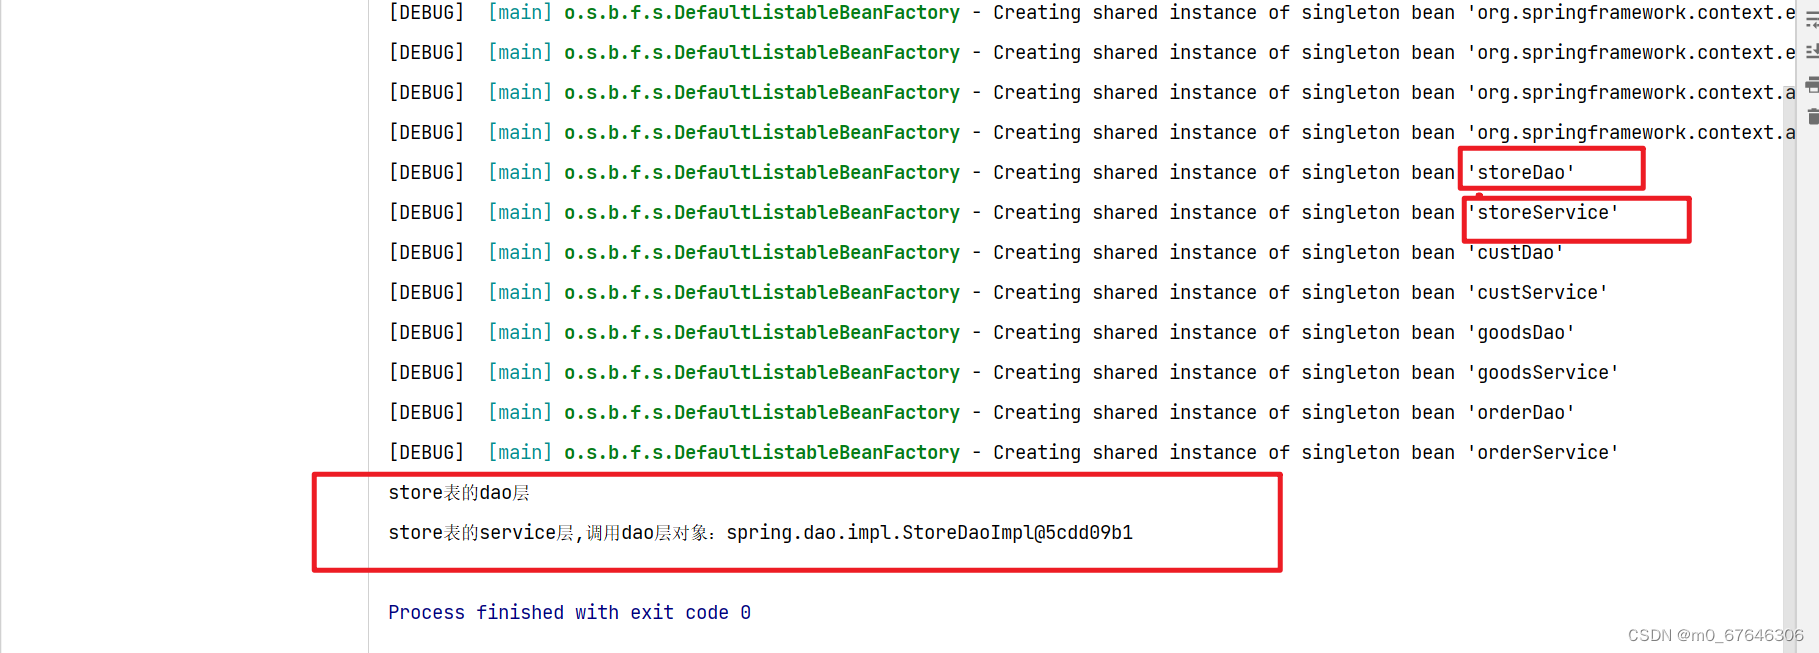
(6)总结:依赖于注解的方法要比前两种的方法更为简便
但是具体要用哪一种,根据需求来定。


 1368
1368

 被折叠的 条评论
为什么被折叠?
被折叠的 条评论
为什么被折叠?
 到【灌水乐园】发言


