


<template>
<div>
<div style="margin: 10px 0">
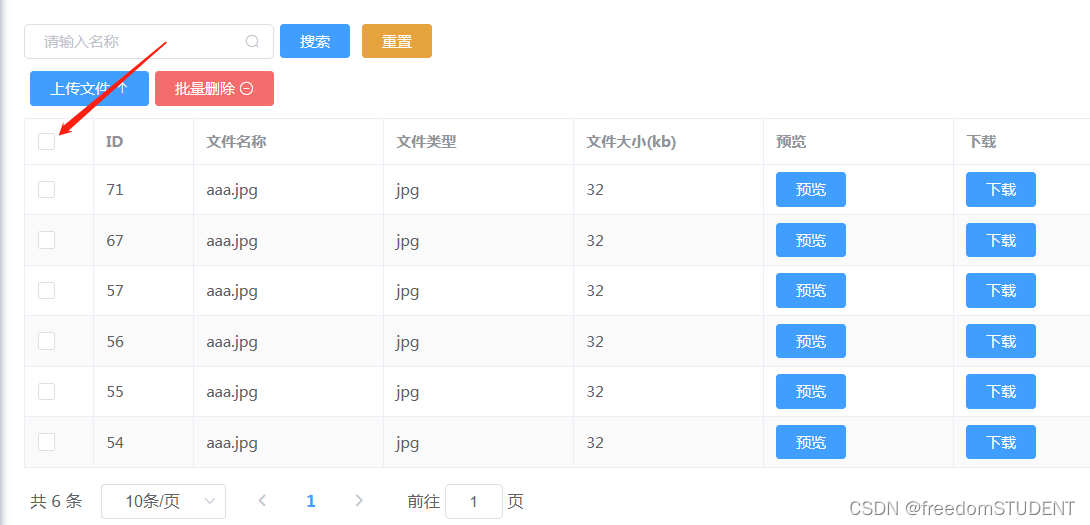
<el-input style="width: 200px" placeholder="请输入名称" suffix-icon="el-icon-search" v-model="name"></el-input>
<el-button class="ml-5" type="primary" @click="load">搜索</el-button>
<el-button type="warning" @click="reset">重置</el-button>
</div>
<div style="margin: 10px 0">
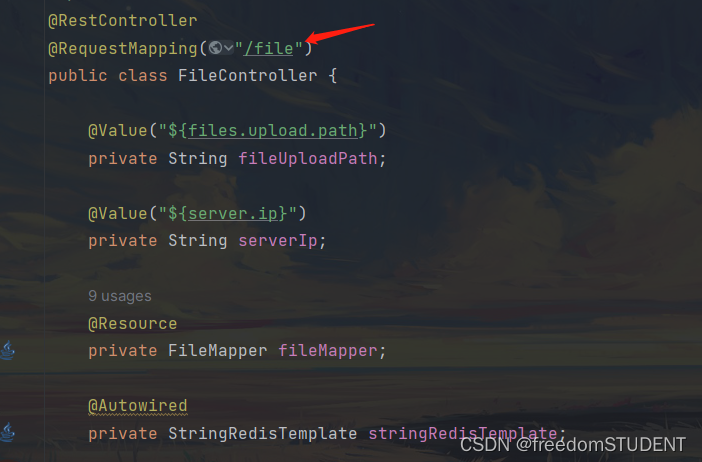
<el-upload :action="'http://' + serverIp + ':9090/file/upload'" :show-file-list="false"
:on-success="handleFileUploadSuccess" style="display: inline-block">
<el-button type="primary" class="ml-5">上传文件 <i class="el-icon-top"></i></el-button>
</el-upload>
<el-popconfirm
class="ml-5"
confirm-button-text='确定'
cancel-button-text='我再想想'
icon="el-icon-info"
icon-color="red"
title="您确定批量删除这些数据吗?"
@confirm="delBatch"
>
<el-button type="danger" slot="reference">批量删除 <i class="el-icon-remove-outline"></i></el-button>
</el-popconfirm>
</div>
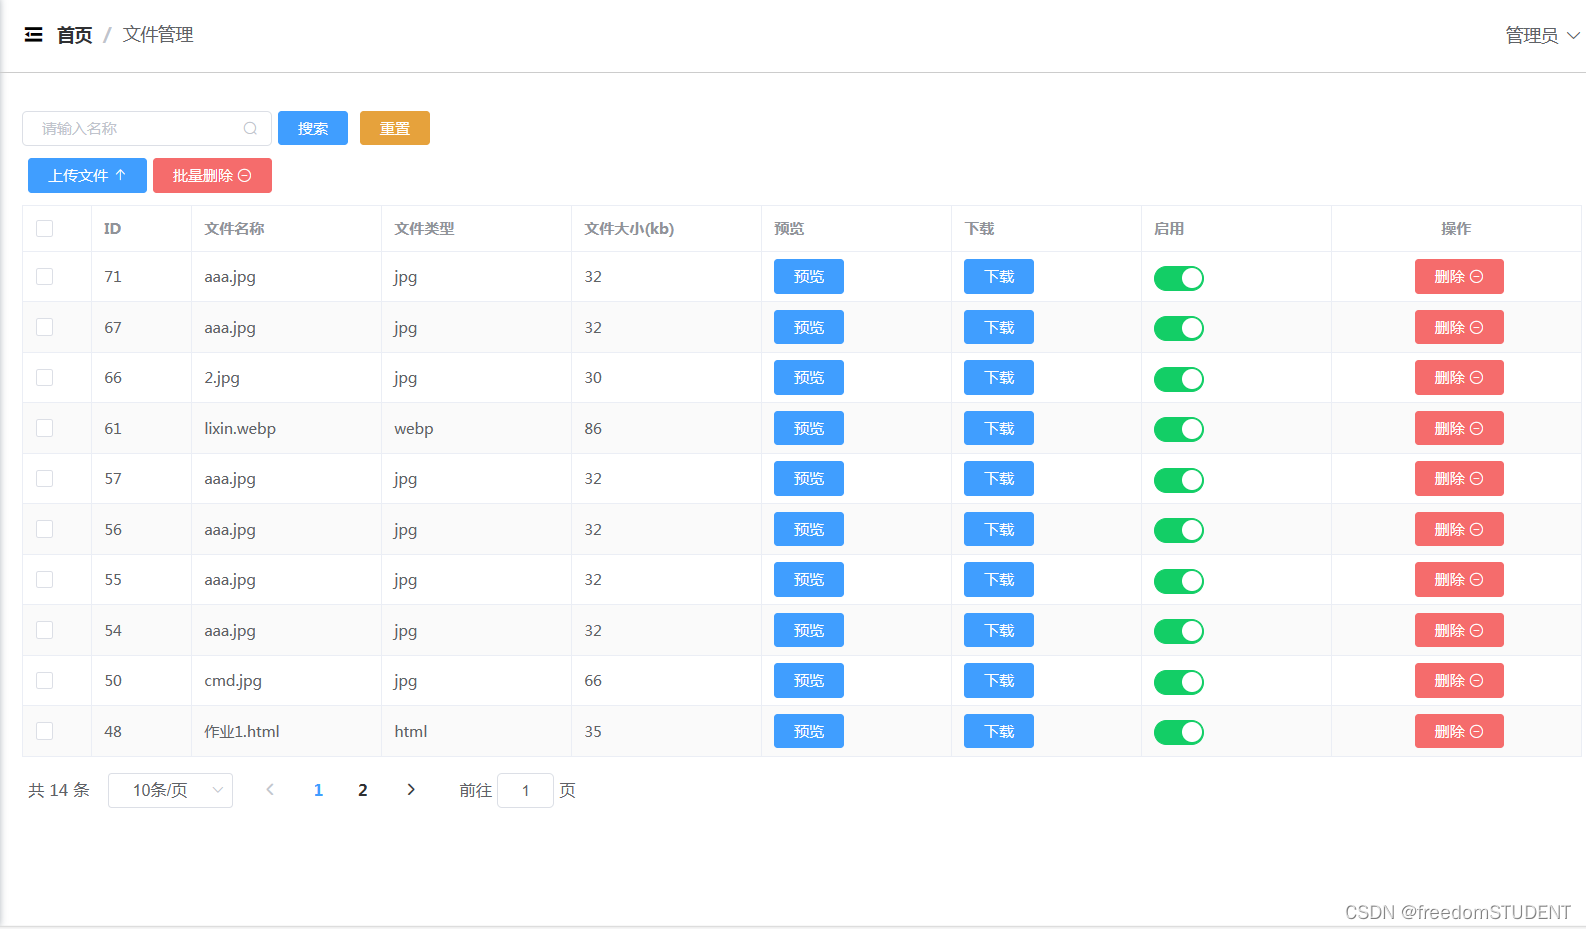
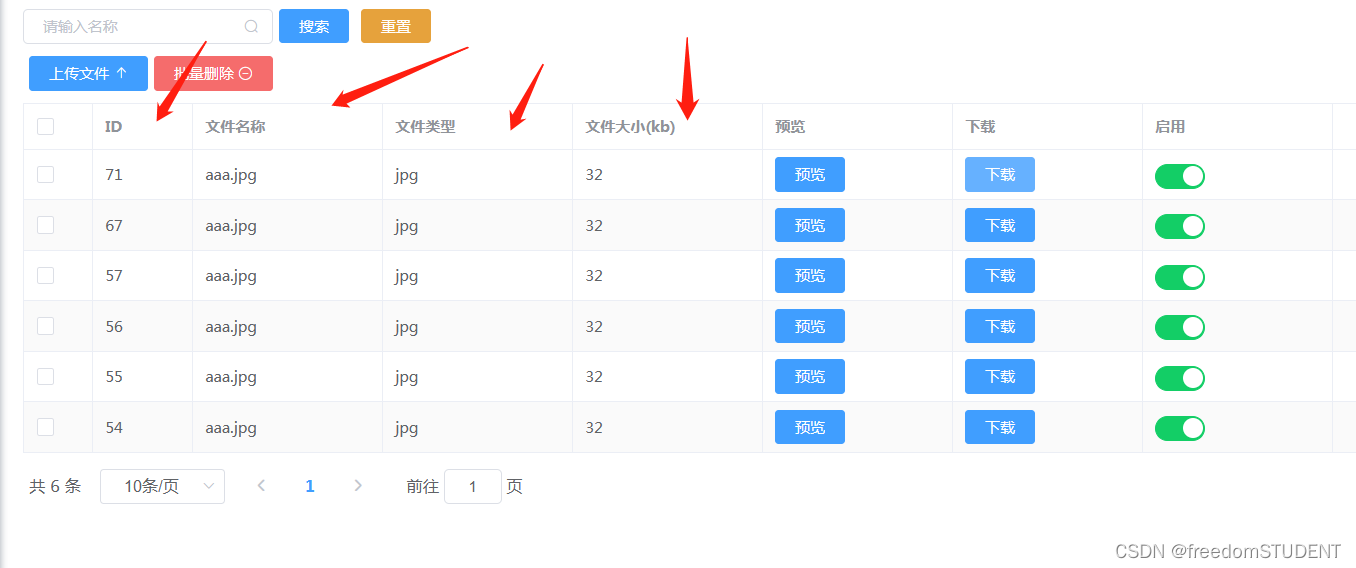
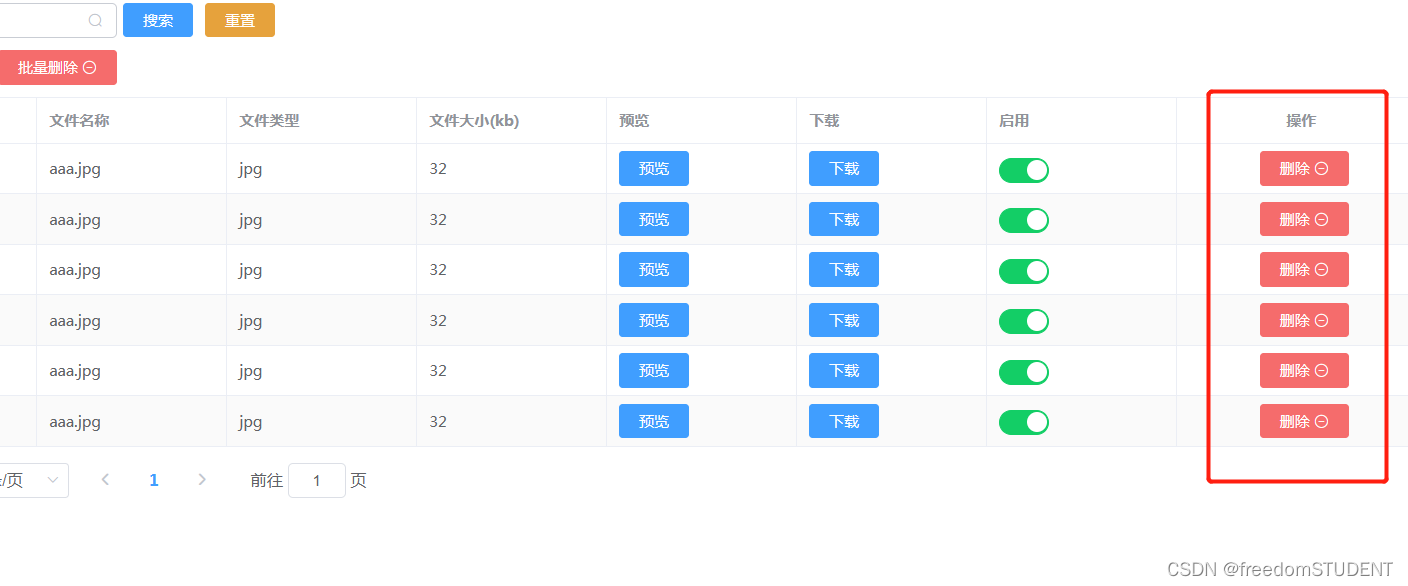
<el-table :data="tableData" border stripe :header-cell-class-name="'headerBg'"
@selection-change="handleSelectionChange">
<el-table-column type="selection" width="55"></el-table-column>
<el-table-column prop="id" label="ID" width="80"></el-table-column>
<el-table-column prop="name" label="文件名称"></el-table-column>
<el-table-column prop="type" label="文件类型"></el-table-column>
<el-table-column prop="size" label="文件大小(kb)"></el-table-column>
<el-table-column label="预览">
<template slot-scope="scope">
<el-button type="primary" @click="preview(scope.row.url)">预览</el-button>
</template>
</el-table-column>
<el-table-column label="下载">
<template slot-scope="scope">
<el-button type="primary" @click="download(scope.row.url)">下载</el-button>
</template>
</el-table-column>
<el-table-column label="启用">
<template slot-scope="scope">
<el-switch v-model="scope.row.enable" active-color="#13ce66" inactive-color="#ccc"
@change="changeEnable(scope.row)"></el-switch>
</template>
</el-table-column>
<el-table-column label="操作" width="200" align="center">
<template slot-scope="scope">
<el-popconfirm
class="ml-5"
confirm-button-text='确定'
cancel-button-text='我再想想'
icon="el-icon-info"
icon-color="red"
title="您确定删除吗?"
@confirm="del(scope.row.id)"
>
<el-button type="danger" slot="reference">删除 <i class="el-icon-remove-outline"></i></el-button>
</el-popconfirm>
</template>
</el-table-column>
</el-table>
<div style="padding: 10px 0">
<el-pagination
@size-change="handleSizeChange"
@current-change="handleCurrentChange"
:current-page="pageNum"
:page-sizes="[2, 5, 10, 20]"
:page-size="pageSize"
layout="total, sizes, prev, pager, next, jumper"
:total="total">
</el-pagination>
</div>
</div>
</template>
<script>
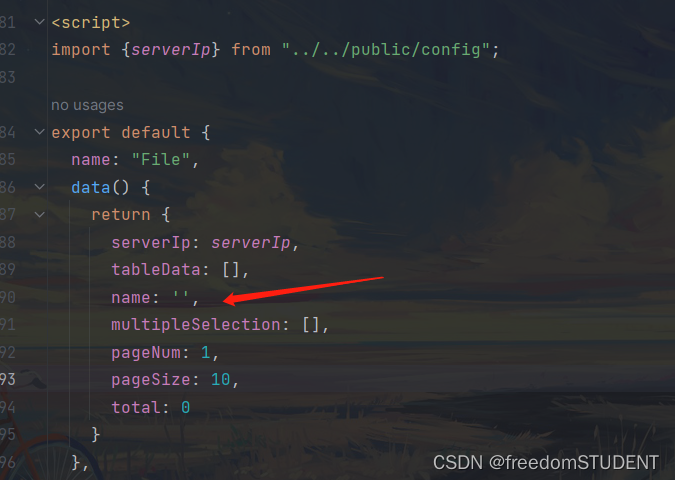
import {serverIp} from "../../public/config";
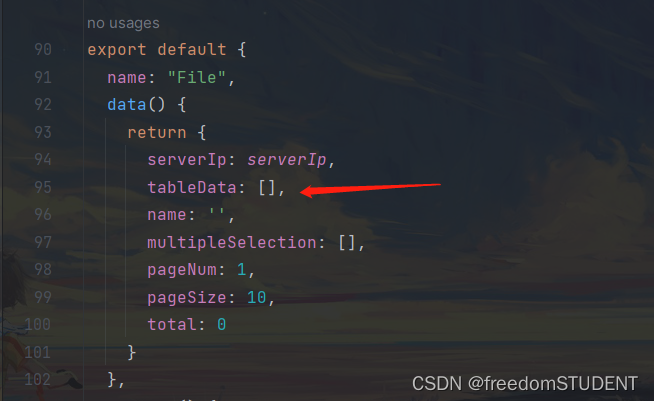
export default {
name: "File",
data() {
return {
serverIp: serverIp,
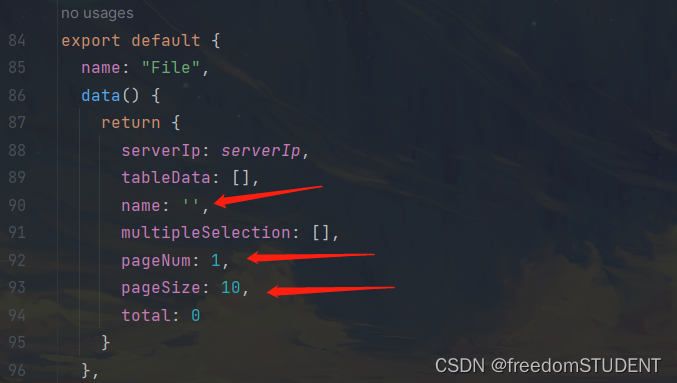
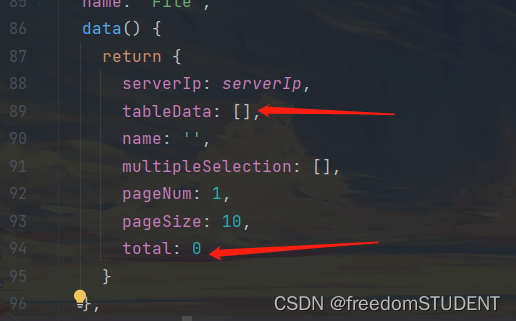
tableData: [],
name: '',
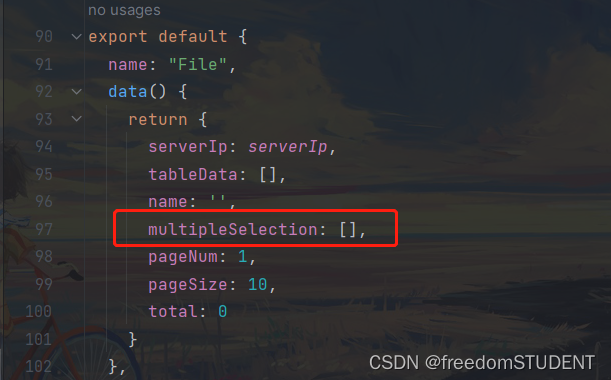
multipleSelection: [],
pageNum: 1,
pageSize: 10,
total: 0
}
},
created() {
this.load()
},
methods: {
load() {
this.request.get("/file/page", {
params: {
pageNum: this.pageNum,
pageSize: this.pageSize,
name: this.name,
}
}).then(res => {
this.tableData = res.data.records
this.total = res.data.total
})
},
changeEnable(row) {
this.request.post("/file/update", row).then(res => {
if (res.code === '200') {
this.$message.success("操作成功")
}
})
},
del(id) {
this.request.delete("/file/" + id).then(res => {
if (res.code === '200') {
this.$message.success("删除成功")
this.load()
} else {
this.$message.error("删除失败")
}
})
},
handleSelectionChange(val) {
console.log(val)
this.multipleSelection = val
},
delBatch() {
let ids = this.multipleSelection.map(v => v.id) // [{}, {}, {}] => [1,2,3]
this.request.post("/file/del/batch", ids).then(res => {
if (res.code === '200') {
this.$message.success("批量删除成功")
this.load()
} else {
this.$message.error("批量删除失败")
}
})
},
reset() {
this.name = ""
this.load()
},
handleSizeChange(pageSize) {
console.log(pageSize)
this.pageSize = pageSize
this.load()
},
handleCurrentChange(pageNum) {
console.log(pageNum)
this.pageNum = pageNum
this.load()
},
handleFileUploadSuccess(res) {
console.log(res)
this.$message.success("上传成功")
this.load()
},
download(url) {
window.open(url)
},
preview(url) {
window.open('https://file.keking.cn/onlinePreview?url=' + encodeURIComponent(window.btoa((url))))
},
}
}
</script>
<style scoped>
</style>
目录
第一部分
 <div style="margin: 10px 0">
      <el-input style="width: 200px" placeholder="请输入名称" suffix-icon="el-icon-search" v-model="name"></el-input>
      <el-button class="ml-5" type="primary" @click="load">搜索</el-button>
      <el-button type="warning" @click="reset">重置</el-button>
    </div>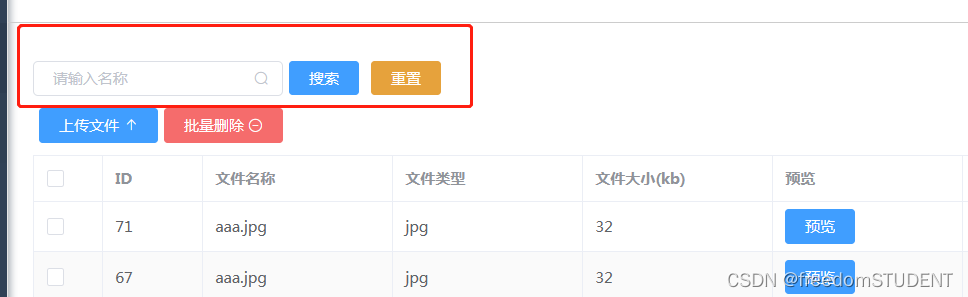
第一小节
<el-input style="width: 200px" placeholder="请输入名称" suffix-icon="el-icon-search" v-model="name"></el-input>suffix-icon="el-icon-search" 搜索的图标
v-model="name" 表单元素上创建双向数据绑定 ,其属性为name
第二小节
<el-button class="ml-5" type="primary" @click="load">搜索</el-button>
type="primary": 这将按钮的类型设置为“主要”
@click="load": 这是一个 Vue 的事件监听器。当用户点击这个按钮时,它会触发名为load的方法或函数。
load 方法如下
load() {
  this.request.get("/file/page", {
    params: {
      pageNum: this.pageNum,
      pageSize: this.pageSize,
      name: this.name,
    }
  }).then(res => {

    this.tableData = res.data.records
    this.total = res.data.total

  })
},
使用get 请求从 / file/page 路径中加载文件数据。

后端方法代码如下:
params: {
pageNum: this.pageNum,
pageSize: this.pageSize,
name: this.name,
}
这个请求带有一些参数,pageNum , pageSize ,name,这些参数分别从组件的 data 属性中获取
.then(res => {
this.tableData = res.data.records
this.total = res.data.total
当 get 请求成功返回后,.then 方法就会被调用, 该方法会接收到一个 res 参数,它代表服务器的响应,这里它将响应的 records 设置组件的 tableData 的属性 ,将 total 设置为组件的 total 属性。
第三小节
<el-button type="warning" @click="reset">重置</el-button>
  reset() {
      this.name = ""
      this.load()
    },
- this.name = "": 这是将
this.name设置为空字符串的语句。其中this关键字指向当前对象,所以这行代码的意思是将当前对象的name属性重置为空字符串。- this.load(): 这行代码调用了当前对象的
load方法。这意味着,当你调用reset方法时,除了将name属性重置为空字符串外,还会执行load方法。
第二部分
<div style="margin: 10px 0">
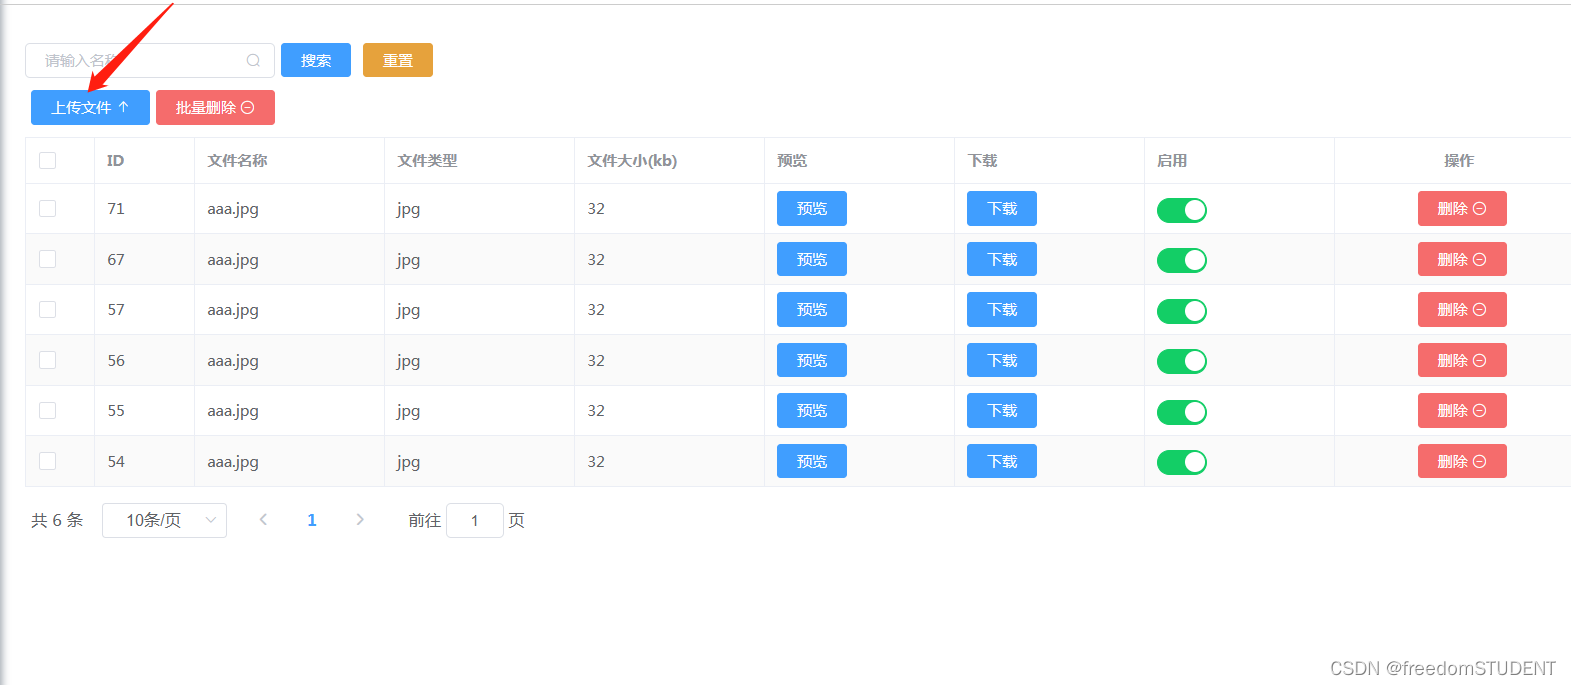
<el-upload :action="'http://' + serverIp + ':9090/file/upload'" :show-file-list="false"
:on-success="handleFileUploadSuccess" style="display: inline-block">
<el-button type="primary" class="ml-5">上传文件 <i class="el-icon-top"></i></el-button>
</el-upload>这一部分代码主要写文件上传
后端代码如下:
<el-upload ...>: 这是 Element UI 的上传组件。
第一小节
<el-upload :action="'http://' + serverIp + ':9090/file/upload'" :show-file-list="false",:on-success="handleFileUploadSuccess" style="display: inline-block">
:action="'http://' + serverIp + ':9090/file/upload'": 这是上传文件的 URL。它动态地通过拼接 serverIp(服务器IP地址)和端口号9090来构建。
:show-file-list="false": 这意味着在上传文件后,不会显示已上传的文件列表。
:on-success="handleFileUploadSuccess": 当文件上传成功时,会调用 handleFileUploadSuccess 方法。
 handleFileUploadSuccess(res) {
      console.log(res)
      this.$message.success("上传成功")
      this.load()
    },
定义了一个名为 handleFileUploadSuccess 的函数方法,它接收 res 参数,这个函数主要的作用是处理文件上传成功后的响应。
console.log(res): 使用console.log打印传入的响应对象res。这通常用于调试,以查看服务器返回的具体信息。- this.$message.success("上传成功"),显示上传成功这个消息
- this.load() 调用上文的Load 方法重新加载数据
第二小节
<el-button type="primary" class="ml-5">上传文件 <i class="el-icon-top"></i></el-button>
上传文件按钮
第三部分
 <el-popconfirm
          class="ml-5"
          confirm-button-text='确定'
          cancel-button-text='我再想想'
          icon="el-icon-info"
          icon-color="red"
          title="您确定批量删除这些数据吗?"
          @confirm="delBatch"
      >
        <el-button type="danger" slot="reference">批量删除 <i class="el-icon-remove-outline"></i></el-button>
      </el-popconfirm>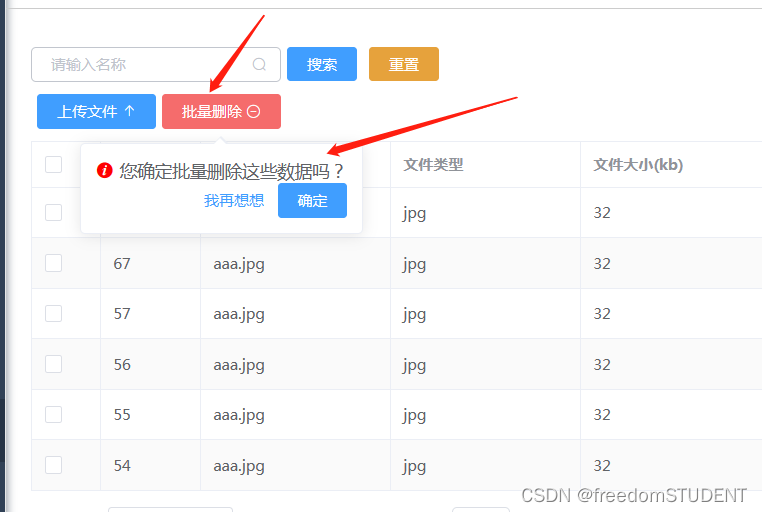
后端代码如下:
第一小节
<el-popconfirm
    class="ml-5"
    confirm-button-text='确定'
    cancel-button-text='我再想想'
    icon="el-icon-info"
    icon-color="red"
    title="您确定批量删除这些数据吗?"
    @confirm="delBatch"
>
<el-popconfirm ...>: 这是 Element UI 的弹出确认框组件
confirm-button-text='确定' 确认按钮的文本设置为确定

cancel-button-text='我再想想': 取消按钮的文本设置为“我再想想”。
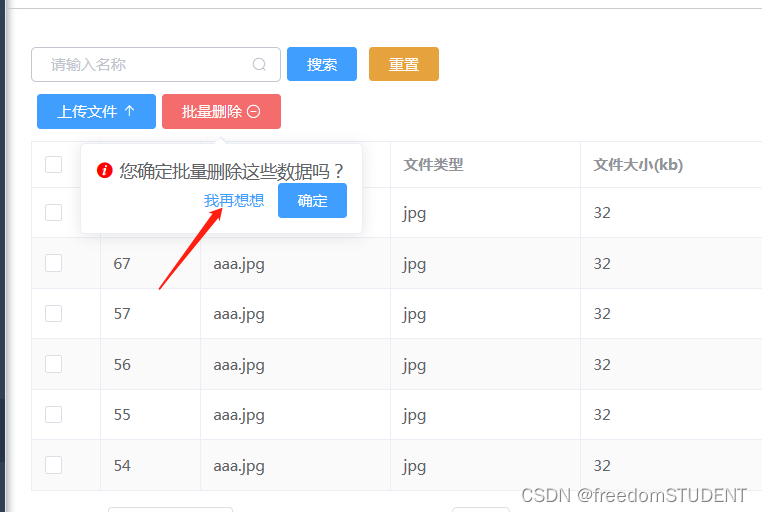
icon="el-icon-info": 在弹出框中显示一个信息图标
icon-color="red": 将图标的颜色设置为红色。
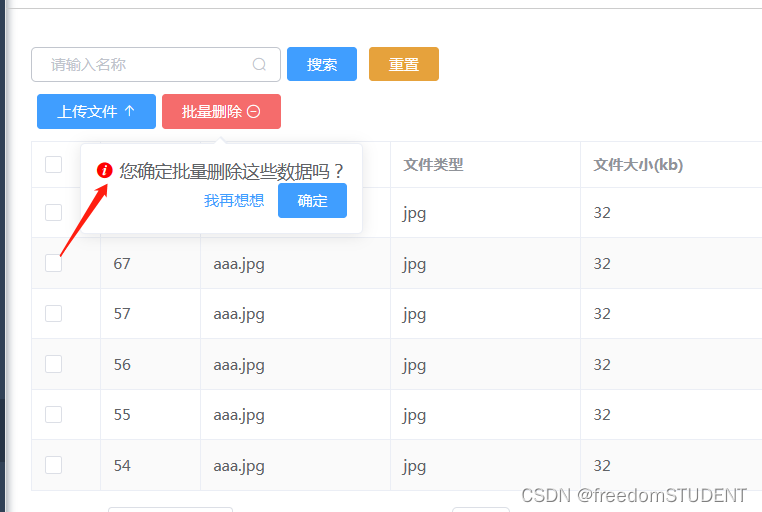
title="您确定批量删除这些数据吗?": 弹出框的标题设置为“您确定批量删除这些数据吗?”
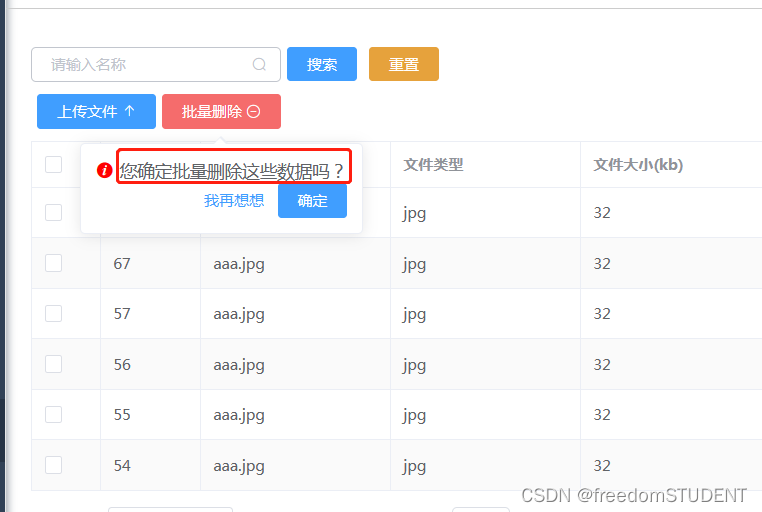
@confirm="delBatch": 当用户点击确认按钮时,会触发名为 "delBatch" 的方法。
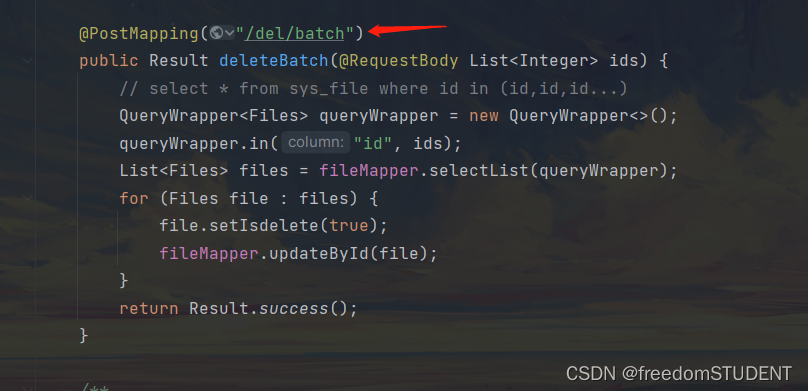
  delBatch() {
      let ids = this.multipleSelection.map(v => v.id)
      this.request.post("/file/del/batch", ids).then(res => {
        if (res.code === '200') {
          this.$message.success("批量删除成功")
          this.load()
        } else {
          this.$message.error("批量删除失败")
        }
      })
    },
delBatch() {: 定义了一个名为 delBatch 的方法
let ids = this.multipleSelection.map(v => v.id): 这一行从this.multipleSelection数组中提取每个对象的id属性,并创建一个新的数组ids。例如,如果this.multipleSelection是[{id: 1}, {id: 2}, {id: 3}],那么ids将会是[1, 2, 3]。
this.request.post("/file/del/batch", ids).then(res => {: 使用 this.request.post 方法向服务器发送一个 POST 请求,以删除指定的数据。服务器的URL是 /file/del/batch,并且传递了之前提取的 ids 作为请求的数据。然后,它等待服务器的响应,并在收到响应后执行提供的回调函数。
if (res.code === '200') {: 检查服务器响应中的 code 是否为 '200'。在 HTTP 协议中,'200' 表示请求成功。
this.$message.success("批量删除成功"): 如果服务器响应表示成功,则显示一个成功的消息,告诉用户“批量删除成功”。
this.load(): 调用当前对象的 load 方法。这可能是重新加载数据、重新渲染组件或其他与加载相关的操作。
第二小节
<el-button type="danger" slot="reference">批量删除 <i class="el-icon-remove-outline"></i></el-button>
type="danger": 这设置了按钮的类型为 "danger"。在许多 UI 框架中,不同的按钮类型有不同的颜色和样式,通常 "danger" 类型的按钮会有一种红色或深色的外观,表示这是一个警告或危险的按钮。
第四部分
<el-table :data="tableData" border stripe :header-cell-class-name="'headerBg'"
@selection-change="handleSelectionChange">
<el-table-column type="selection" width="55"></el-table-column>
<el-table-column prop="id" label="ID" width="80"></el-table-column>
<el-table-column prop="name" label="文件名称"></el-table-column>
<el-table-column prop="type" label="文件类型"></el-table-column>
<el-table-column prop="size" label="文件大小(kb)"></el-table-column>
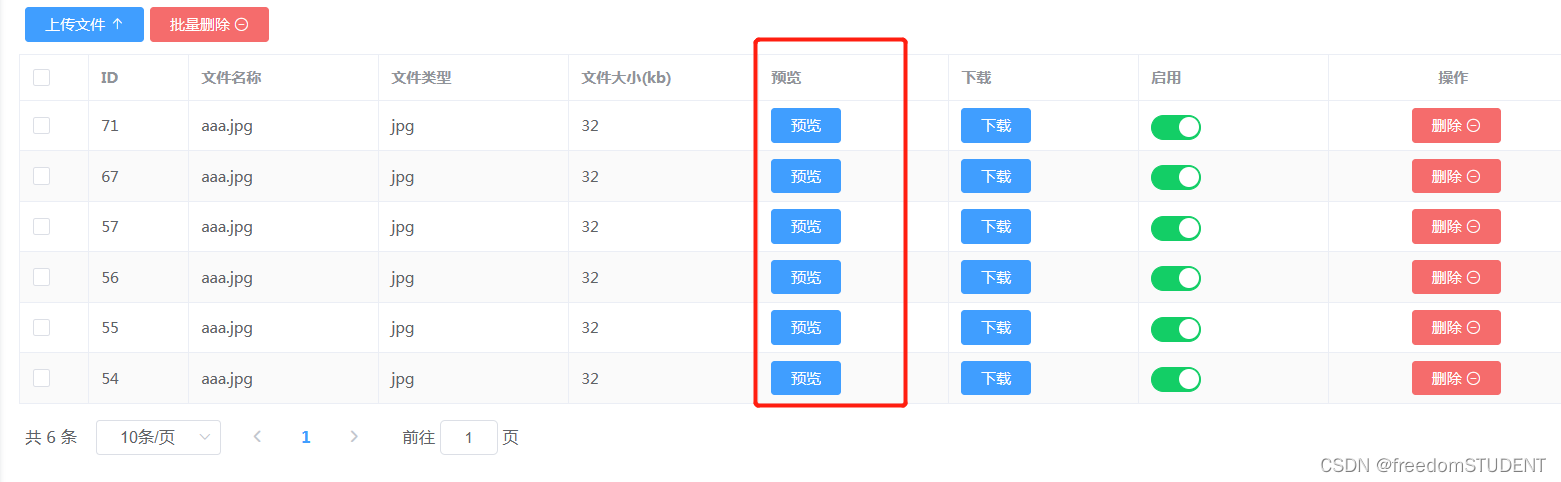
<el-table-column label="预览">
<template slot-scope="scope">
<el-button type="primary" @click="preview(scope.row.url)">预览</el-button>
</template>
</el-table-column>
<el-table-column label="下载">
<template slot-scope="scope">
<el-button type="primary" @click="download(scope.row.url)">下载</el-button>
</template>
</el-table-column>
<el-table-column label="启用">
<template slot-scope="scope">
<el-switch v-model="scope.row.enable" active-color="#13ce66" inactive-color="#ccc"
@change="changeEnable(scope.row)"></el-switch>
</template>
</el-table-column>
<el-table-column label="操作" width="200" align="center">
<template slot-scope="scope">
<el-popconfirm
class="ml-5"
confirm-button-text='确定'
cancel-button-text='我再想想'
icon="el-icon-info"
icon-color="red"
title="您确定删除吗?"
@confirm="del(scope.row.id)"
>
<el-button type="danger" slot="reference">删除 <i class="el-icon-remove-outline"></i></el-button>
</el-popconfirm>
</template>
</el-table-column>
</el-table>第一小节
<el-table :data="tableData" border stripe :header-cell-class-name="'headerBg'"
@selection-change="handleSelectionChange">
:data="tableData": 绑定表格的数据源到 tableData 属性。这意味着你想使用 Vue 实例中的 tableData 数据来填充表格。
:header-cell-class-name="'headerBg'": 使用动态属性绑定将表头的单元格类名设置为 headerBg。这意味着你希望自定义表头的样式,并可能已经在 CSS 中定义了 .headerBg 这个类。
@selection-change="handleSelectionChange": 这是一个事件监听器,监听表格的选择变化。当用户选择或取消选择某个行时,会触发 handleSelectionChange 方法。
第二小节
<el-table-column type="selection" width="55"></el-table-column>
type="selection": 这个属性设置列的类型为选择列。选择列通常用于全选或反选表格中的行。
第三小节
<el-table-column prop="id" label="ID" width="80"></el-table-column>
<el-table-column prop="name" label="文件名称"></el-table-column>
<el-table-column prop="type" label="文件类型"></el-table-column>
<el-table-column prop="size" label="文件大小(kb)"></el-table-column>
第四小节
<el-table-column label="预览">
  <template slot-scope="scope">
    <el-button type="primary" @click="preview(scope.row.url)">预览</el-button>
  </template>
</el-table-column>
<template slot-scope="scope">: 使用 <template> 标签和 slot-scope 属性来定义一个具名插槽。具名插槽允许你在插槽内容中使用作用域变量。在这里,scope 是传递给该插槽的作用域变量。
@click="preview(scope.row.url)": 监听按钮的点击事件,当按钮被点击时,调用名为 preview 的方法,并传递 scope.row.url 作为参数。
 preview(url) {
      window.open('https://file.keking.cn/onlinePreview?url=' + encodeURIComponent(window.btoa((url))))
},-
preview(url) {: 定义了一个名为preview的方法,该方法接受一个参数url。 -
window.open('https://file.keking.cn/onlinePreview?url=' + encodeURIComponent(window.btoa((url)))): 这行代码执行以下操作:window.open: 用于打开一个新的浏览器窗口或标签页。'https://file.keking.cn/onlinePreview?url=': 这是要打开的链接的基础部分,它指向一个在线预览服务。encodeURIComponent: 对后面的URL参数进行编码,确保特殊字符被正确处理。window.btoa((url)): 使用btoa方法对url进行Base64编码。这通常用于在URL中传递二进制数据。
第五小节
<el-table-column label="下载">
  <template slot-scope="scope">
    <el-button type="primary" @click="download(scope.row.url)">下载</el-button>
  </template>
</el-table-column>
  download(url) {
      window.open(url)
    },
第六小节
<el-table-column label="启用">
  <template slot-scope="scope">
    <el-switch v-model="scope.row.enable" active-color="#13ce66" inactive-color="#ccc"
               @change="changeEnable(scope.row)"></el-switch>
  </template>
</el-table-column>
v-model="scope.row.enable": 使用 Vue 的双向数据绑定将开关的状态绑定到当前行的 enable 属性。
active-color="#13ce66" 和 inactive-color="#ccc": 分别设置开关的激活颜色和未激活颜色。

@change="changeEnable(scope.row)": 当开关状态发生变化时,调用名为 changeEnable 的方法,并传递当前行的对象作为参数。
changeEnable(row) {
      this.request.post("/file/update", row).then(res => {
        if (res.code === '200') {
          this.$message.success("操作成功")
        }
      })
    },
这一段代码定义了一个名为changeEnable 的方法,它接收一个参数 row
使用 this.request.post 方法发送一个post请求到服务器的 "/file/update" 路径,并将
row作为请求的数据。
if (res.code === '200') {: 检查响应(来自服务器的响应)中的 code 是否为 '200'。在 HTTP 协议中,'200' 通常表示请求成功。
this.$message.success("操作成功"):
第七小节
<el-table-column label="操作" width="200" align="center">
  <template slot-scope="scope">
    <el-popconfirm
        class="ml-5"
        confirm-button-text='确定'
        cancel-button-text='我再想想'
        icon="el-icon-info"
        icon-color="red"
        title="您确定删除吗?"
        @confirm="del(scope.row.id)"
    >
      <el-button type="danger" slot="reference">删除 <i class="el-icon-remove-outline"></i></el-button>
    </el-popconfirm>
  </template>
</el-table-column>
 参考第三部分
del(id) {
      this.request.delete("/file/{id}" + id).then(res => {
        if (res.code === '200') {
          this.$message.success("删除成功")
          this.load()
        } else {
          this.$message.error("删除失败")
        }
      })
    },

第五部分
<div style="padding: 10px 0">
  <el-pagination
      @size-change="handleSizeChange"
      @current-change="handleCurrentChange"
      :current-page="pageNum"
      :page-sizes="[2, 5, 10, 20]"
      :page-size="pageSize"
      layout="total, sizes, prev, pager, next, jumper"
      :total="total">
  </el-pagination>
</div>
<el-pagination ... > ... </el-pagination>: 这是 Element UI 的分页组件,用于实现分页功能。
@size-change="handleSizeChange": 当每页显示的数量发生变化时,触发 handleSizeChange 方法。
@current-change="handleCurrentChange": 当当前页码发生变化时,触发 handleCurrentChange 方法。
 handleCurrentChange(pageNum) {
      console.log(pageNum)
      this.pageNum = pageNum
      this.load()
    },
handleCurrentChange(pageNum) {: 定义了一个名为handleCurrentChange的方法,该方法接受一个参数pageNum。console.log(pageNum): 在控制台输出当前页码。这通常用于调试目的,以便了解pageNum的值。this.pageNum = pageNum: 将当前页码的值赋给组件的pageNum数据属性。这里使用this关键字来访问组件实例。this.load(): 调用组件的load方法。重新加载数据。
:current-page="pageNum": 使用 Vue 的数据绑定将当前页码绑定到 pageNum 数据属性上。

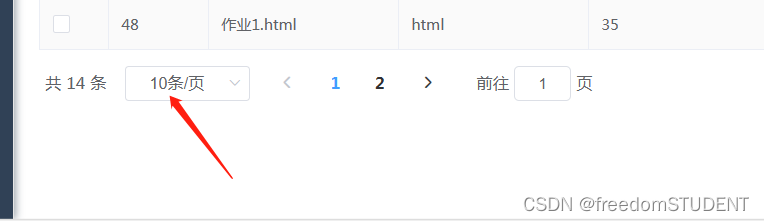
:page-sizes="[2, 5, 10, 20]": 设置每页显示数量的选项为2、5、10和20。

:page-size="pageSize": 使用 Vue 的数据绑定将每页显示的数量绑定到 pageSize 数据属性上。
layout="total, sizes, prev, pager, next, jumper": 定义分页组件的布局,包括总页数、每页显示数量的选择、上一页、页码、下一页和跳转至特定页的输入框。
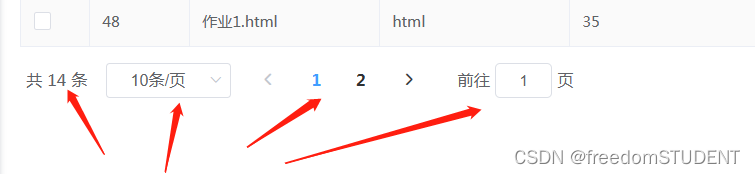
:total="total": 使用 Vue 的数据绑定将总页数绑定到 total 数据属性上。
</el-pagination>: 结束 <el-pagination> 组件标签


 5296
5296


 被折叠的 条评论
为什么被折叠?
被折叠的 条评论
为什么被折叠?
 到【灌水乐园】发言


