


一、组合式API
- setup选项
- 执行时机:比 beforeCreate更早
- setup函数中,获取不到 this (this是undefined)
- 数据和函数,需要在 setup 最后return,才能模板中应用
- 通过 setup 语法糖简化代码
// 不使用 setup 语法糖的写法,每个数据,方法都需要在 return 中声明,否则无法使用
<script>
	export default {
	  setup() {
	    // 数据
	    const message = 'hello'
	    const logMessage = () => {
	      console.log('方法被调用了')
	    }
	    return {
	      message,
	      logMessage
	    }
	    // console.log('setup函数');
	  },
	  beforeCreate() {
	    console.log('beforeCreate函数');
	  },
	}
</script>

<template>
  {{ message }}
  <button @click="logMessage">按钮</button>
</template>
// 使用 setup 语法糖,大大的简化了代码书写 <script setup> const message = 'hello Vue3' const logMessage = () => { console.log('log') } </script> <template> {{ message }} <button @click="logMessage">按钮</button> </template> - reactive 和 ref
- reactive:接收一个对象类型的数据,返回一个响应式对象
- ref:接收简单类型 或 复杂类型,返回一个响应式的对象
- 本质: 在原有传入数据的基础上,外层包了又包了一层对象,包成了复杂类型
- 底层,包成复杂类型之后,再借助 reactive 实现的响应式
- 注意点:访问数据,在脚本中需要通过 xxx.value,在模板中可以直接使用
<script setup>
	import { reactive, ref } from 'vue'
	const count = reactive({ number: 0 })
	const addCount = () => {
	  count.number++
	}
	const a = ref(1)
	console.log(a.value)
</script>

<template>
  {{ count.number }}
  {{ a }}
  <button @click="addCount">+1</button>
</template>
- 计算属性(computed)
- 语法:
const 计算属性 = computed( () => { return 计算返回的结果 } ) - 计算属性中不应该有”副作用“,如:异步请求,操作DOM…
- 避免直接修改计算属性的值,虽然提供了get、set,除非是特殊情况(全选/反选)
- 语法:
<script setup>
import { computed, reactive } from 'vue';

const list = reactive([1, 2, 3, 4, 5, 6, 7, 8, 9, 10])
const listFilter = computed(() =>
  list.filter(item => item > 2)
)

const listAddOneNumber = () => {
  list.push(Math.floor(Math.random() * 100))
}
</script>

<template>
  {{ list }}
  <br>
  {{ listFilter }}

  <button @click="listAddOneNumber">加一个数字</button>
</template>
- 监听(watch)
- 语法:
watch( ref 对象,(newValue, oldValue) => {}) - 可以监听单个数据,也可以监听多个数据
- 监听多个数据:同时监听多个响应式数据的变化,不管哪个数据发生了变化都会触发回调
- immediate
- 说明:在监听器创建
立即触发回调,响应式数据变化后继续执行回调
- 说明:在监听器创建
- deep
- 语法:
watch( ref 对象,(newValue, oldValue) => {}, {deep: true, immediate}) - 深度监视,默认watch 进行的是 浅层监视
- const ref1 = ref(简单类型)
可以直接监视 - const ref2 = ref(复杂类型)
监视不到复杂类型内部数据的变化
- 语法:
- 对于对象中的单个属性,进行监视
- 语法:watch( () => userInfo.age, (newValue, oldValue) => {})
- 语法:
<script setup>
	import { ref, watch } from 'vue';

	const count = ref(0)
	const name = ref('张三')

	const addCount = () => {
	  count.value++
	}

	const changeName = () => {
	  name.value = name.value === '李四' ? '张三' : '李四'
	}

	// 监视单个数据的变化
	watch(count, (newValue, oldValue) => {
	  console.log('数据变化了')
	  console.log(newValue, oldValue)
	})

	// 监视多个数据的变化
	// watch([ref对象1,ref对象2], (newValue, oldValue)=>{})
	watch([count, name], (newValue, oldValue) => {
	  console.log('数据变化了')
	  console.log(newValue, oldValue)
	})
</script>

<template>
	  {{ count }}
	  <br>
	  <button @click="addCount">count+1</button>
	  <br>
	  {{ name }}
	  <br>
	  <button @click="changeName">changeName</button>
</template>
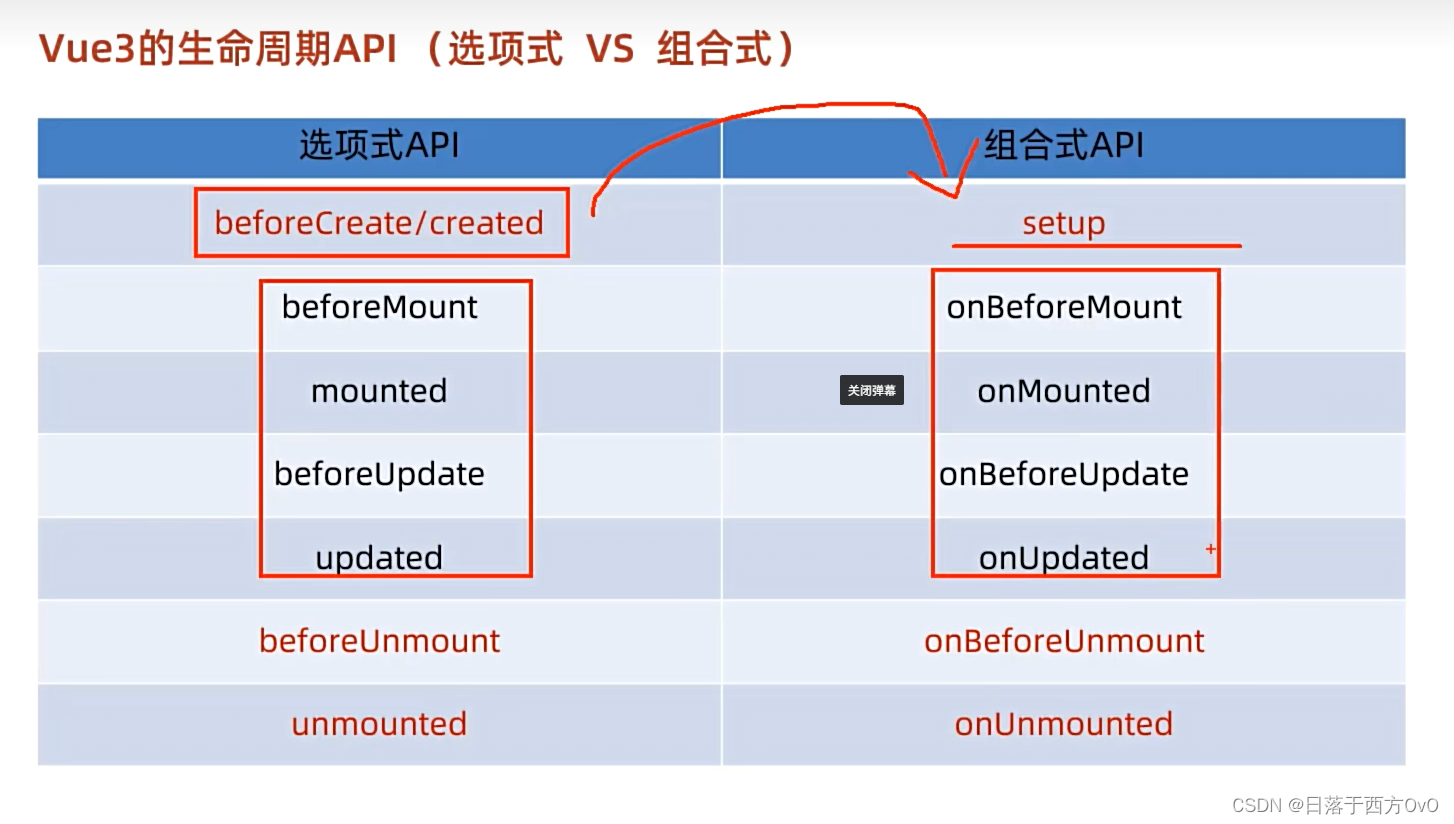
- 生命周期API
- 组合式API下的父传子
- 给子组件,以添加属性的方式传值
- 在子组件中,通过 props 接收
- 在子组件中:
- 由于写了 setup,所以无法直接配置 props 选项
- 所以: 此处需要借助于 ”编译器宏“ 函数 接收 子组件传递的数据
- 在子组件中:
// 父组件
<script setup>
// 父传子
// 1. 给子组件,添加属性的方式传值
// 2. 在子组件,通过 props 接收
import son from './components/Son.vue';

let car = '宝马'
</script>

<template>
  <div class="contain">
    <h3>父组件</h3>
     <!-- 1. 给子组件,添加属性的方式传值 -->
    <son :car="car"></son>
  </div>
</template>

<style scoped>
 .contain {
  border: 5px solid;
  padding: 50px;
 }
</style>
// 子组件
<script setup>
// 子组件
// 由于写了 setup,所以无法直接配置 props 选项
// 所以: 此处需要借助于 ”编译器宏“ 函数 接收 子组件传递的数据
const props = defineProps({
    car: String
})
</script>


<template>
    <div class="son">我是子组件,{{ car }}</div>
</template>

<style scoped>
.son {
    border: 1px solid;
    padding: 30px;
}
</style>
- 组合式 API 下的子传父
- 父组件中给子组件通过
@绑定事件 - 子组件内部通过
emit方法触发事件- 在子组件内部,需要通过
defineEmits编译器宏生成 emit 方法

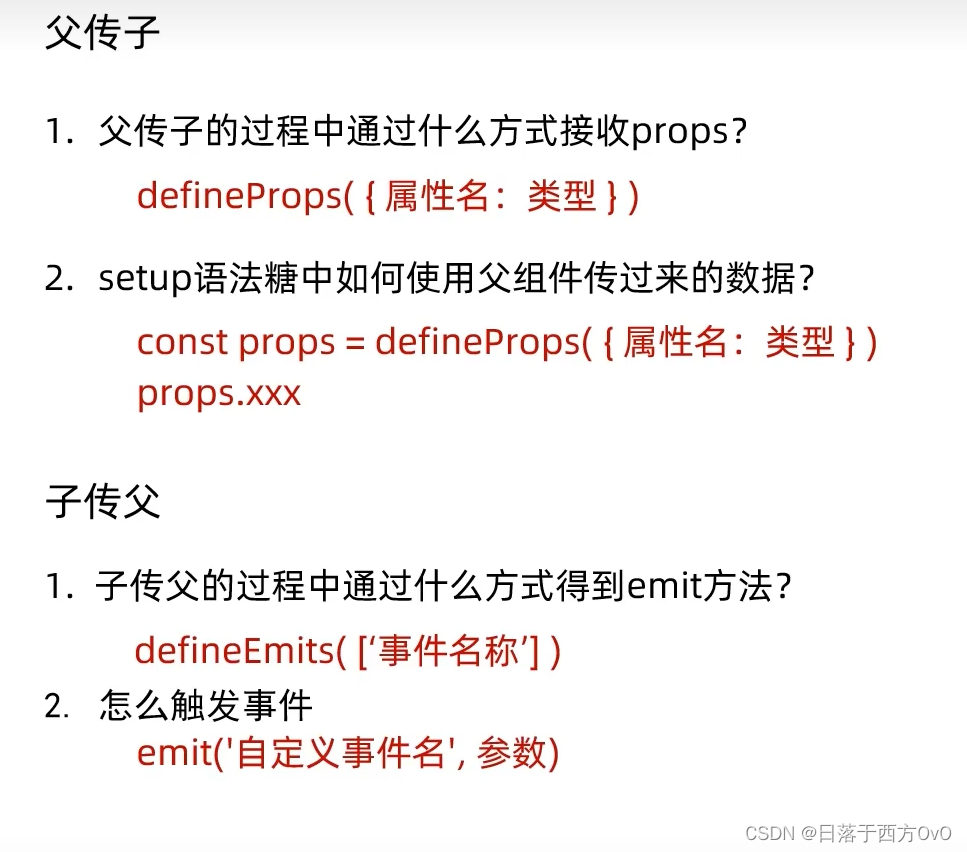
- 在子组件内部,需要通过
- 模板引用以及defineExpose宏函数
- 模板引用:通过
ref标识获取真实的 dom 对象或组件实例对象 - defineExpose()
- 默认情况下在 <script setup> 语法糖下
组件内部的属性和方法是不开放给父组件访问的,可以通过 defineExpose编译宏指定哪些属性和方法允许访问
- 默认情况下在 <script setup> 语法糖下
- 获取模板引用的时机最早也得在
组件挂载完毕后才能获取
- 模板引用:通过
// 父组件
<script setup>
import { onMounted, reactive, ref } from 'vue';
import testRef from './components/testRef.vue';

const inp = ref(null)

onMounted(() => {
  inp.value.focus()
})

const getFocus = () => {
  inp.value.focus()
  console.log(inp.value)
}

const childrenEle = ref(null)
const getChild = () => {
  console.log(childrenEle.value.count)
}

</script>

<template>
  <input type="text" ref="inp">
  <br>
  <button @click="getFocus">点击获取焦点</button>
  <br>
  <testRef ref="childrenEle"></testRef>
  <br>
  <button @click="getChild">点击获取子节点</button>
</template>

// 子组件
<script setup>
    const count = 999
    defineExpose({
        count
    })
</script>
<template>
    {{ count }}
</template>
- 跨层传递普通数据
- 顶层组件通过
provide函数提供数据 - 底层组件通过
inject函数获取数据 - 在调用 provide函数时,第二个参数设置为
ref 对象 - 顶层组件可以向底层组件传递方法,
底层组件调用方法可以修改顶层组件中的数据
- 顶层组件通过
// 顶层组件
<script setup>
	import { provide, ref } from 'vue';
	import CenterCom from './components/center-com.vue';
	let count = ref(50)
	const changeCount = (newValue) => {
	  count.value = newValue
	}
	provide('TopCount', count)
	provide('changeCount',changeCount)
</script>

<template>
  <h1>我是顶层组件</h1>
  <CenterCom />
</template>

// 底层组件
<script setup>
	import { inject } from 'vue';
	const TopCount = inject('TopCount')
	const changeCount = inject('changeCount')

	const myChangeCount = () => {
	    changeCount(20)
	}
</script>

<template>
    <h3>底层组件 | {{ TopCount }}</h3>
    <button @click="myChangeCount">点击修改Count</button>
</template>
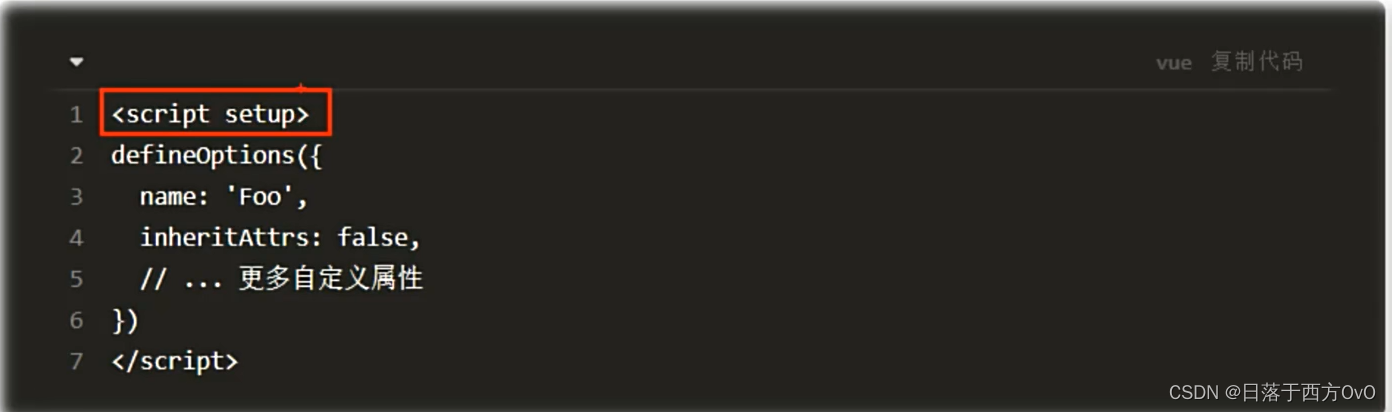
二、Vue3.3版本新特性 - defineOptions
在 Vue 3.3 中新引入了
defineOptions宏,顾名思义,主要是用来定义Options API的选项。可以用 defineOptions 定义任意的选项,props,emits,expose,slots除外(因为这些都可以使用 defineXXX 来做到)
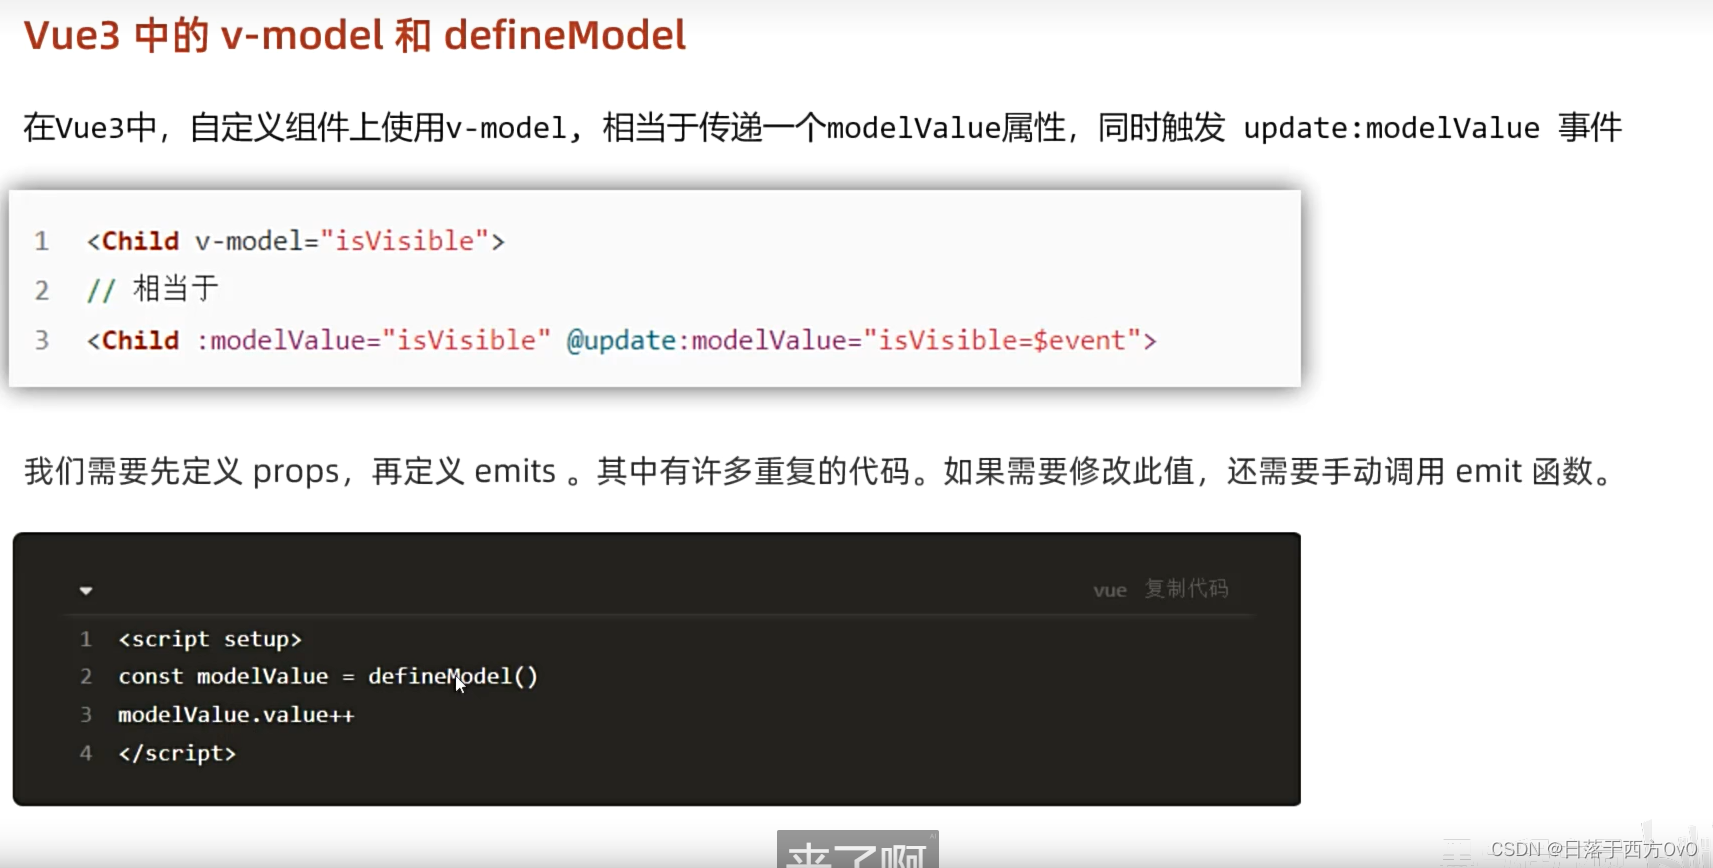
三、Vue3 中的 v-model 和 defineModel
在 Vue3 中,自定义组件上使用 v-model,相当于传递一个 modelValue 属性,同时触发 update:modelValue事件
<Child v-model="isVisible"/>
// 相当于
<Child :modelValue="isVisable" @update:modelValue = "isVisible = $event"
// 原始写法
// 父组件
<script setup>
   import ModelTest from './components/model-test.vue';
   import { ref } from 'vue';
   let count = ref(999)
</script>

<template>
 <ModelTest v-model="count" />
 {{ count }}
</template>

// 子组件
<script setup>
/* let count = defineModel()
++count.value */
   defineProps({
       modelValue: Number
   })

   const emit = defineEmits(['update:modelValue'])
</script>

<template>
   <input type="text"
   :value="modelValue"
   @input="e => emit('update:modelValue',+e.target.value)"
   >
</template>
Pinia
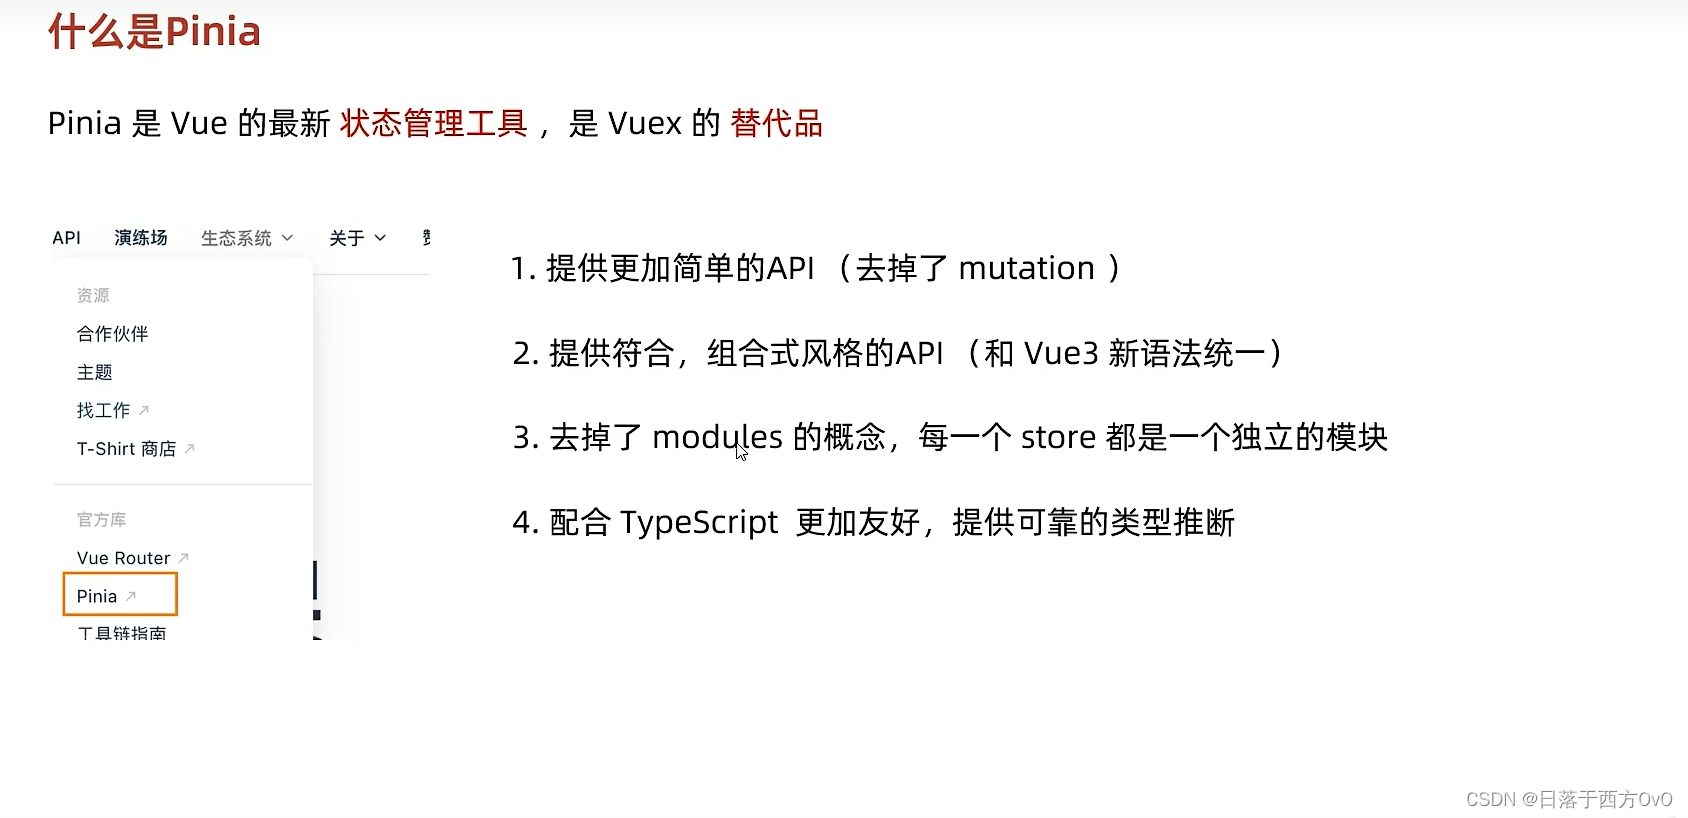
- 什么是Pinia
- 如何使用 Pinia
import {defineStore} from 'pinia';
import { computed, ref } from 'vue';

// 组合式API写法
export const useCounterStore = defineStore('counter',()=> {
	// 定义 state
    const count = ref(10)
    const msg = ref('hello pinia')

	// 定义 actions
    const addCount = () => count.value++
    const subCount = () => count.value--

	// 定义getters
    const doubleCount = computed(()=> count.value * 2)

	// 必须对外暴露
    return {
        count,
        msg,
        addCount,
        subCount,
        doubleCount
    }
})
-
Pinia 的持久化
- 安装插件
npm i pinia-plugin-persistedstate - 在main.js中导入并 给 pinia 使用该插件
import { createApp } from 'vue' import { createPinia } from 'pinia'; // 导入持久化插件 import piniaPlugin from 'pinia-plugin-persistedstate'; import './style.css' import App from './App.vue' const pinia = createPinia() // 创建pinia实例 pinia.use(piniaPlugin) const app = createApp(App) // 创建根实例 app.use(pinia) // pinia插件的安装配置 app.mount('#app') // 试图的挂载- 在 store中,配置属性,使用该插件
import { defineStore } from 'pinia'; import { computed, ref } from 'vue'; export const useCounterStore = defineStore('counter', () => { const count = ref(10) const msg = ref('hello pinia') const addCount = () => count.value++ const subCount = () => count.value-- const doubleCount = computed(() => count.value * 2) return { count, msg, addCount, subCount, doubleCount } }, // 使用 持久化 插件 { persist: true }) - 安装插件
-
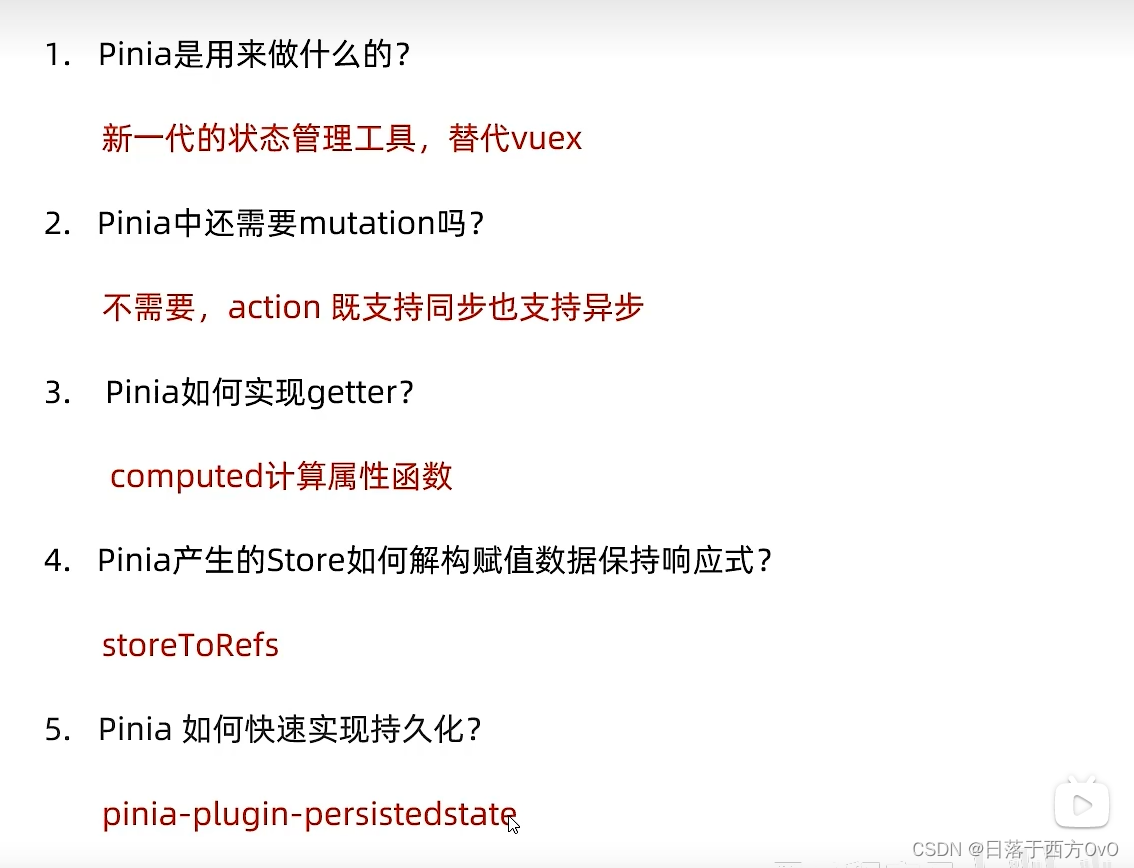
总结:


 2296
2296


 被折叠的 条评论
为什么被折叠?
被折叠的 条评论
为什么被折叠?
 到【灌水乐园】发言


