


原文链接:双系统安装01–新安装win11与统信UOS
Hello,大家好啊!在这个数字化时代,很多用户为了满足工作和个人需求,经常会在同一台电脑上安装多个操作系统。Windows 11和统信UOS桌面操作系统1060作为两款广受欢迎的操作系统,很多用户希望能在同一台电脑上同时使用它们。今天,我就给大家带来Windows系统与统信UOS双系统安装系列的第一篇文章,将指导大家如何分别新安装Windows 11系统与统信UOS桌面操作系统1060,实现双系统共存。
准备工作
在开始安装之前,需要做一些准备工作:
- 备份数据:操作系统安装和分区可能会导致数据丢失,务必先备份重要数据。
- 制作安装介质:分别下载Windows 11和统信UOS桌面操作系统1060的ISO文件,并制作成USB启动盘。
- 确保硬件兼容:检查你的电脑是否满足Windows 11和统信UOS的系统要求。
安装步骤
1. 安装Windows 11
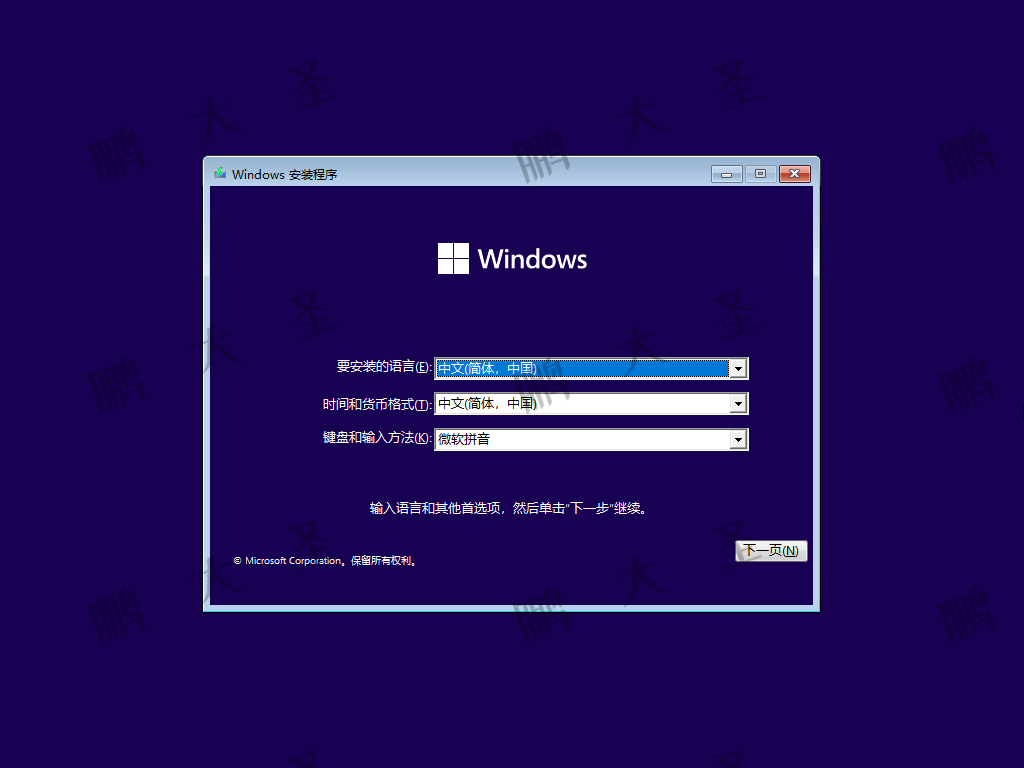
- 启动电脑并从Windows 11的USB启动盘引导。
- 按照屏幕提示进行安装,选择语言、时间和键盘输入设置,点击“安装”。
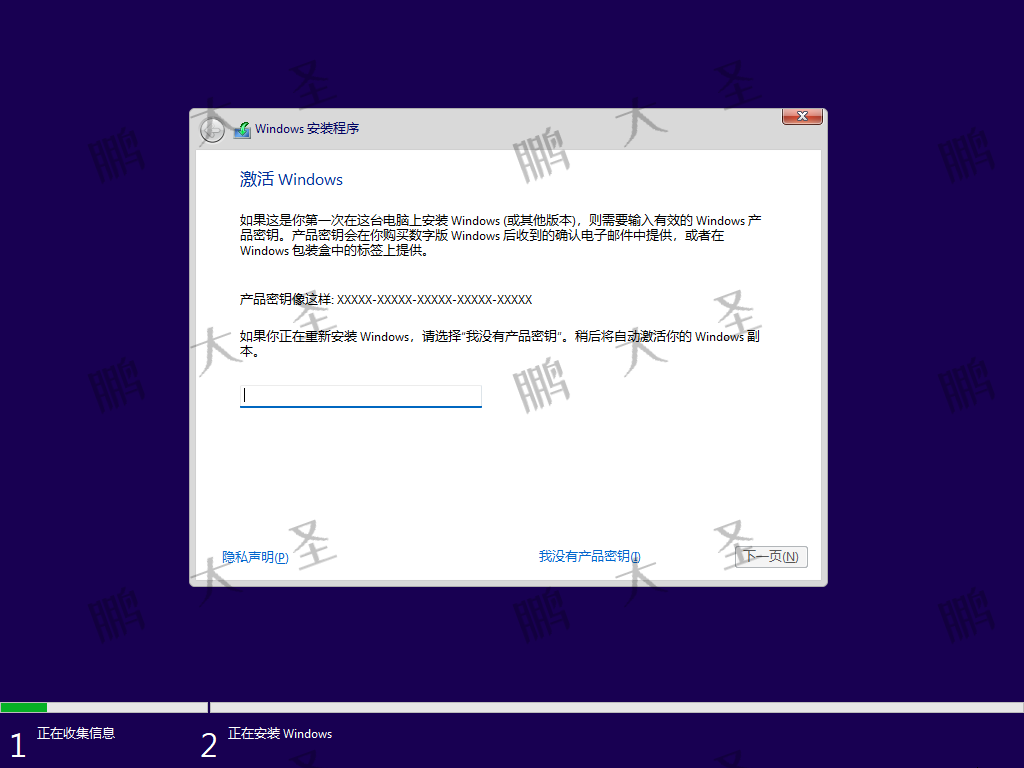
- 输入产品密钥(如果没有,可以选择跳过,稍后激活)。
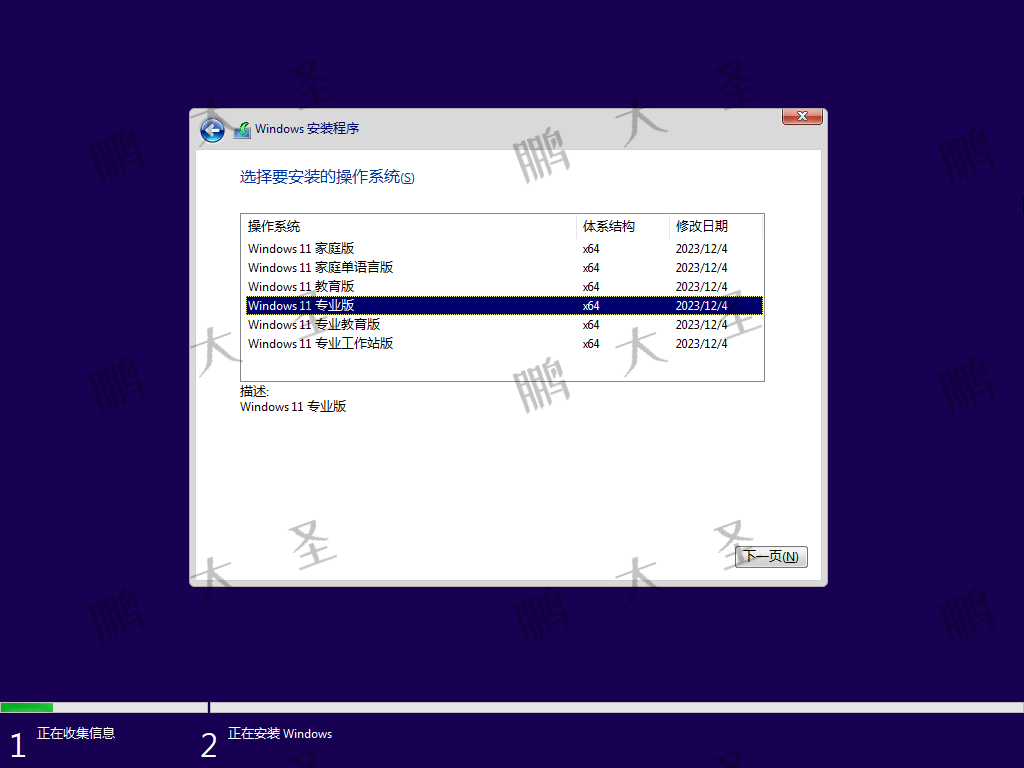
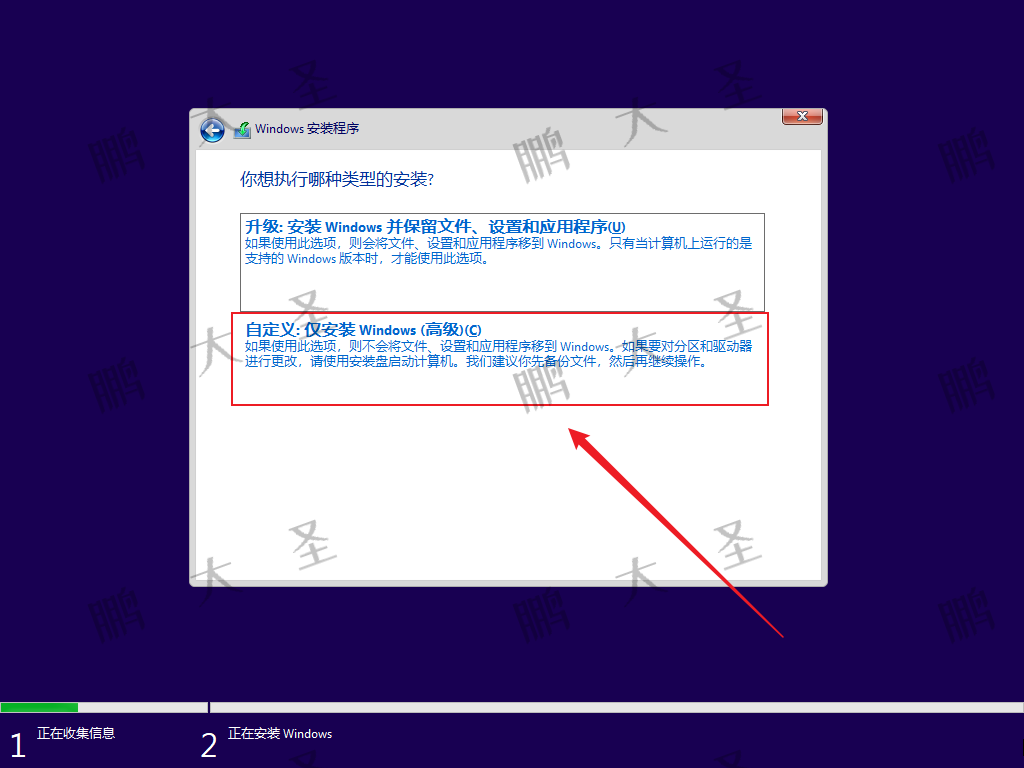
- 选择安装类型:选择“自定义:仅安装Windows(高级)”。
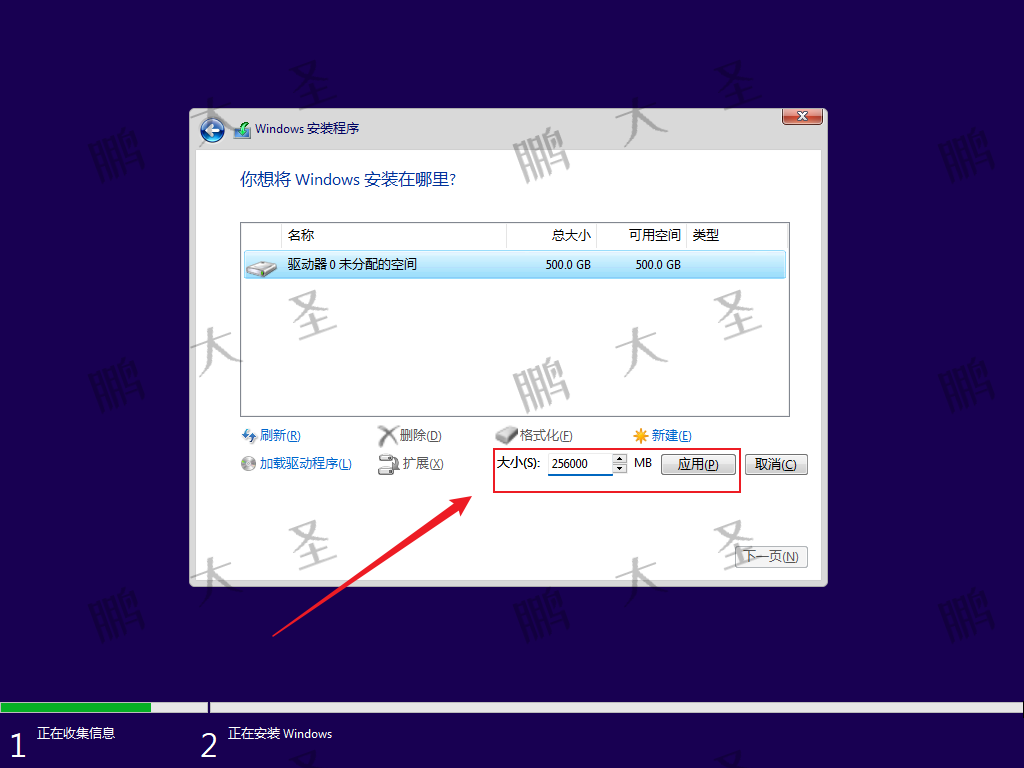
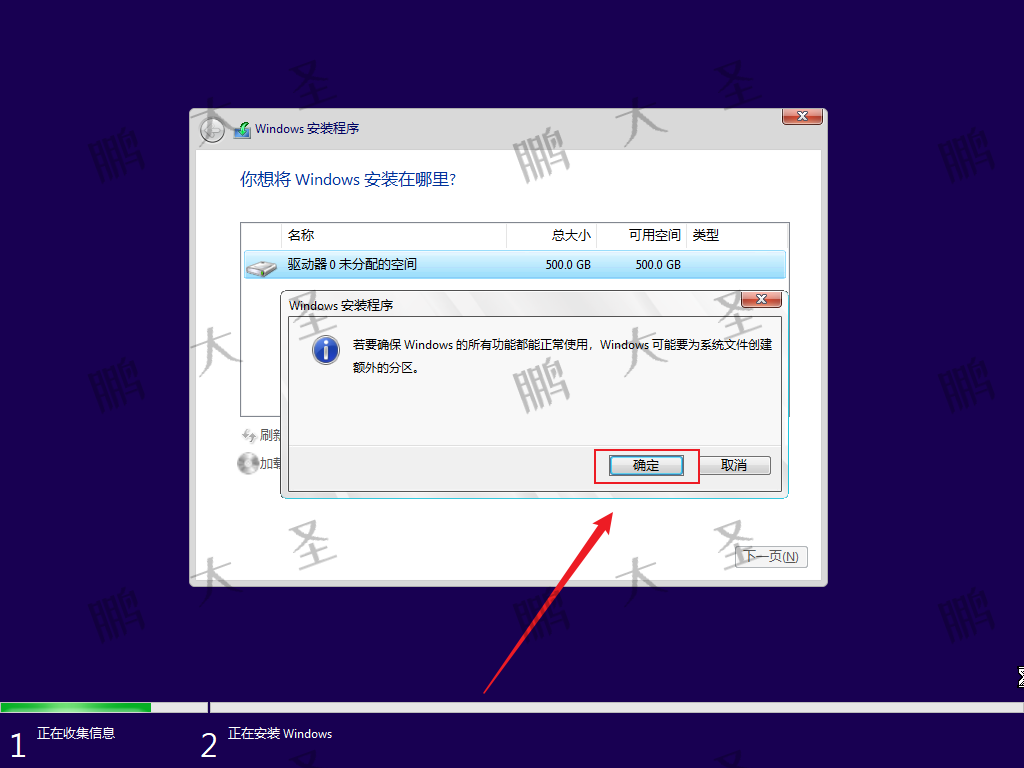
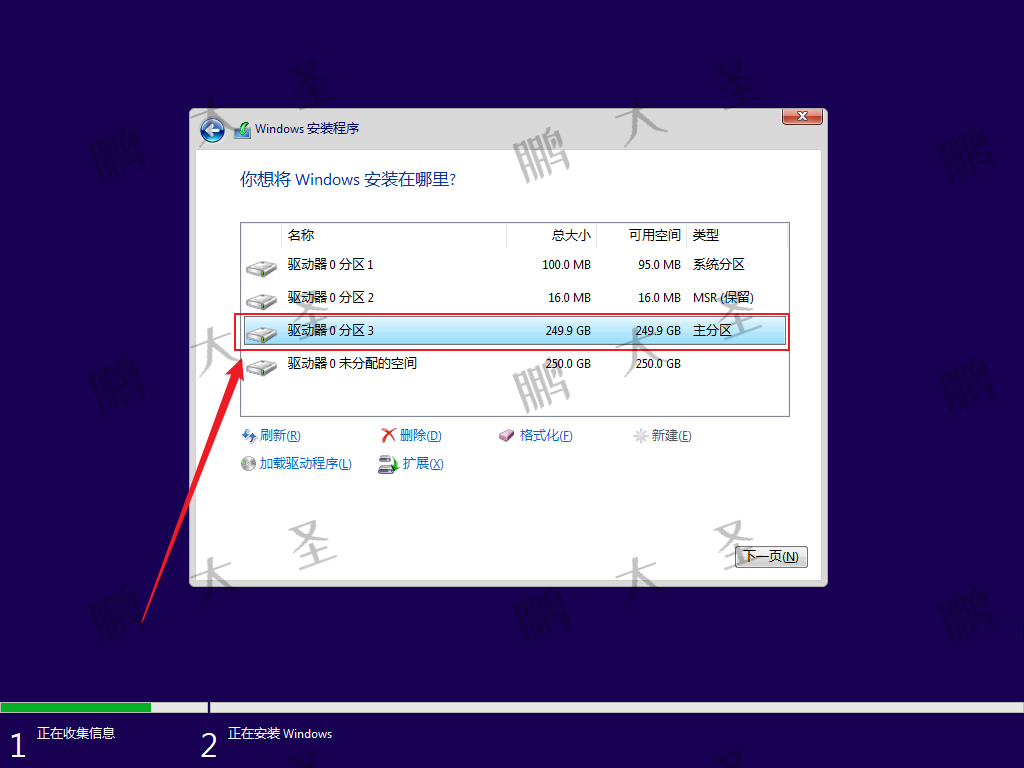
- 分区:为Windows 11创建一个新的分区,并留出足够的空间给统信UOS(推荐留出至少64GB)。继续安装直到完成。
2. 安装统信UOS桌面操作系统1060
在Windows 11安装完成并确认一切正常后,接着安装统信UOS。
- 启动电脑并从统信UOS的USB启动盘引导。
- 选择安装语言和偏好设置,点击“安装统信UOS”。
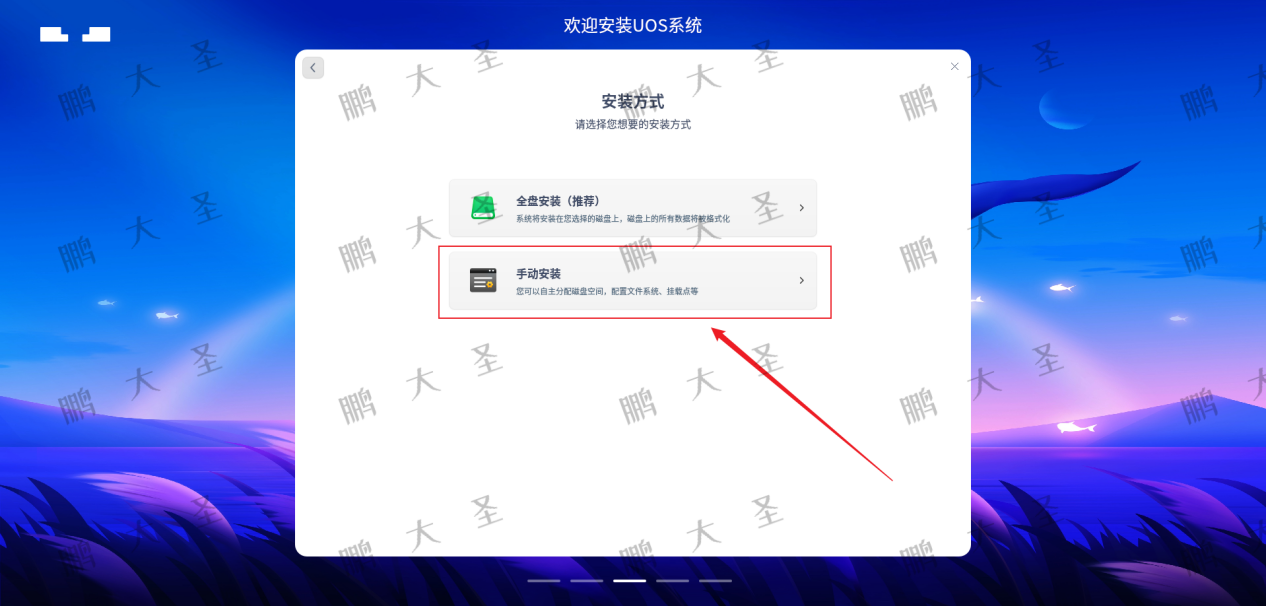
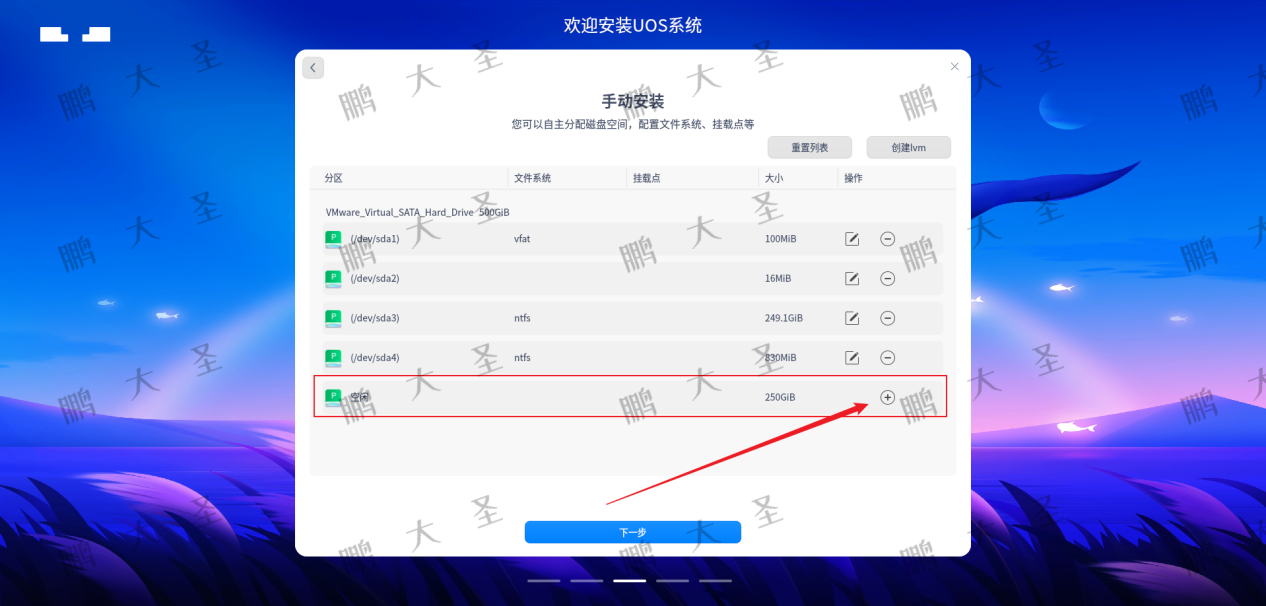
- 分区选择:在安装器中,选择“其他选项”进行分区管理。在之前为统信UOS留出的空间中,创建**/(根)、swap(交换分区,可选)、以及/boot**(引导分区)分区。
- 完成安装:根据屏幕指示完成统信UOS的安装过程。
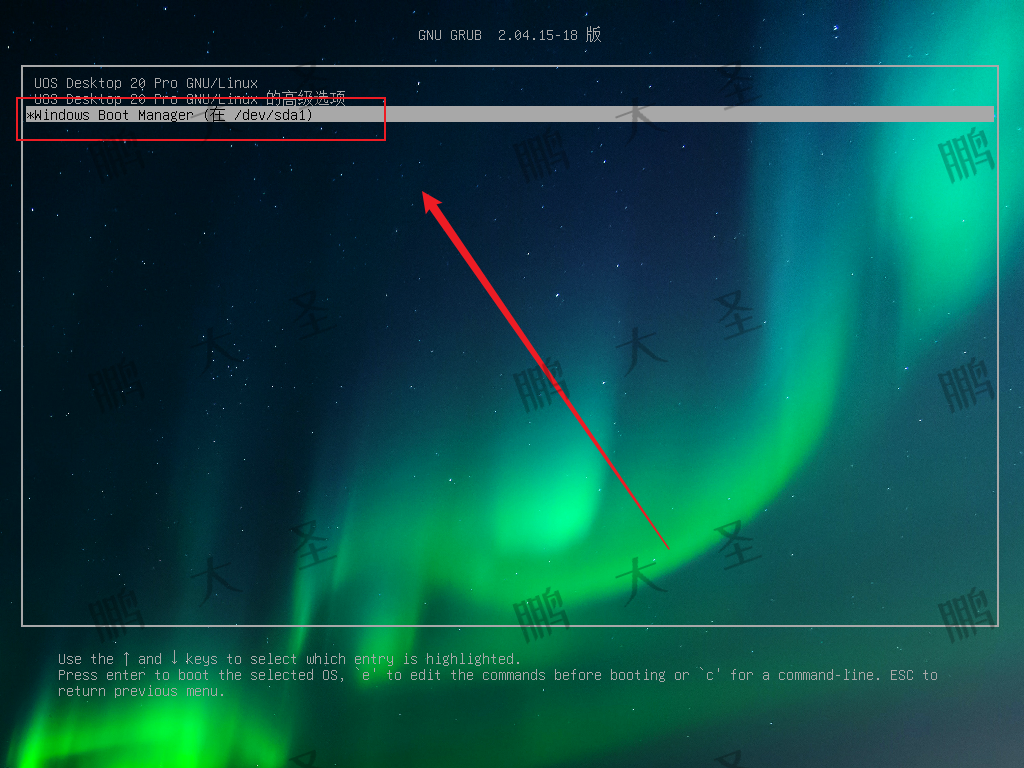
完成双系统安装
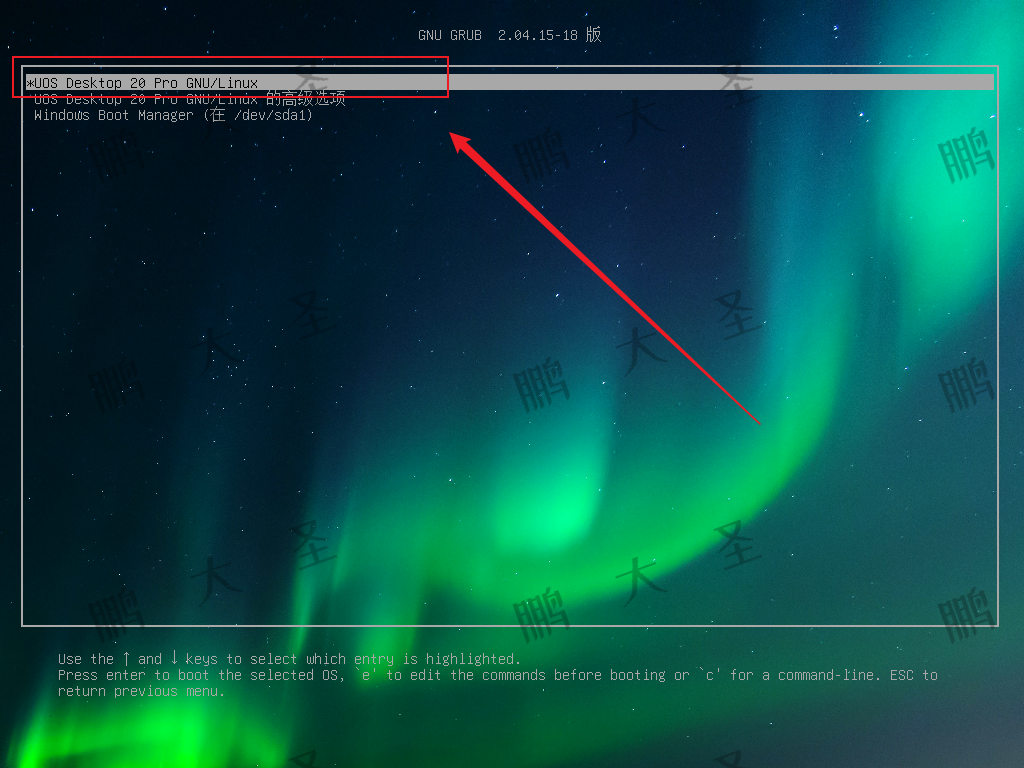
安装完成后,重启电脑,你会看到一个启动管理器(GRUB),在这里你可以选择启动Windows 11或统信UOS桌面操作系统1060。至此,双系统安装完成,你可以根据需要选择不同的操作系统。
注意事项
- 安装过程中需要小心分区,以免误删重要数据。
- 确保在BIOS中启用了从USB启动的选项,以便从USB启动盘引导。
- 安装双系统可能会遇到启动管理器配置问题,确保跟随正确的指引,以避免启动问题。
1.安装win11
2.现在安装

3.激活Windows
4.安装专业版
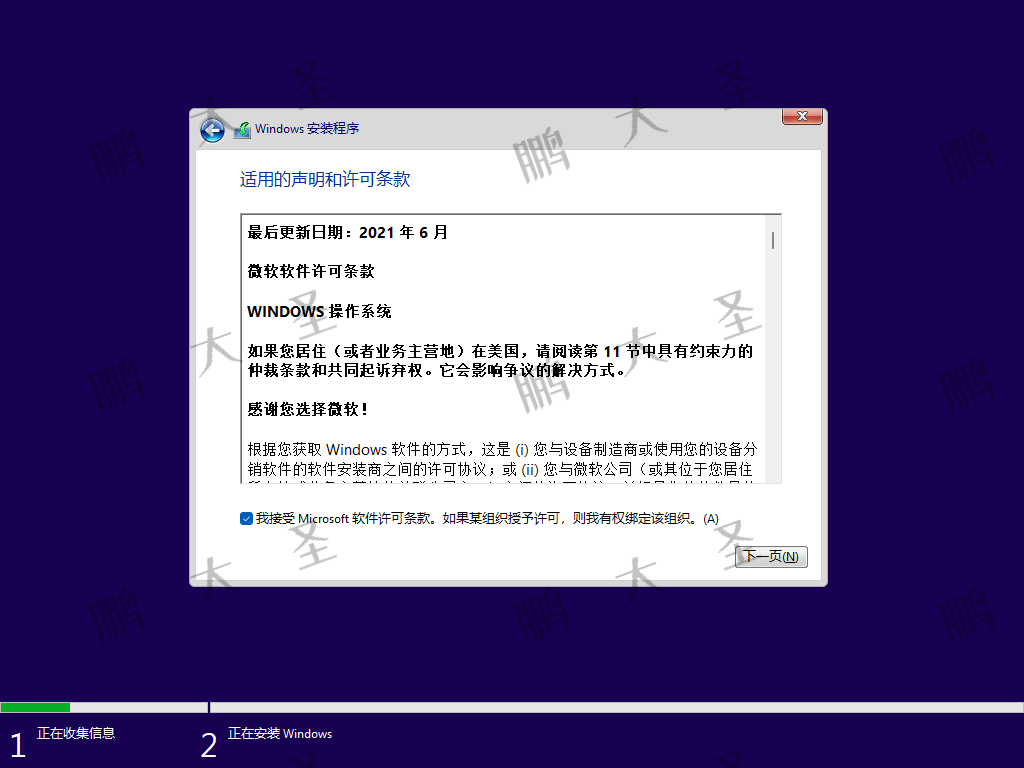
5.同意许可
6.高级安装
7.点击新建
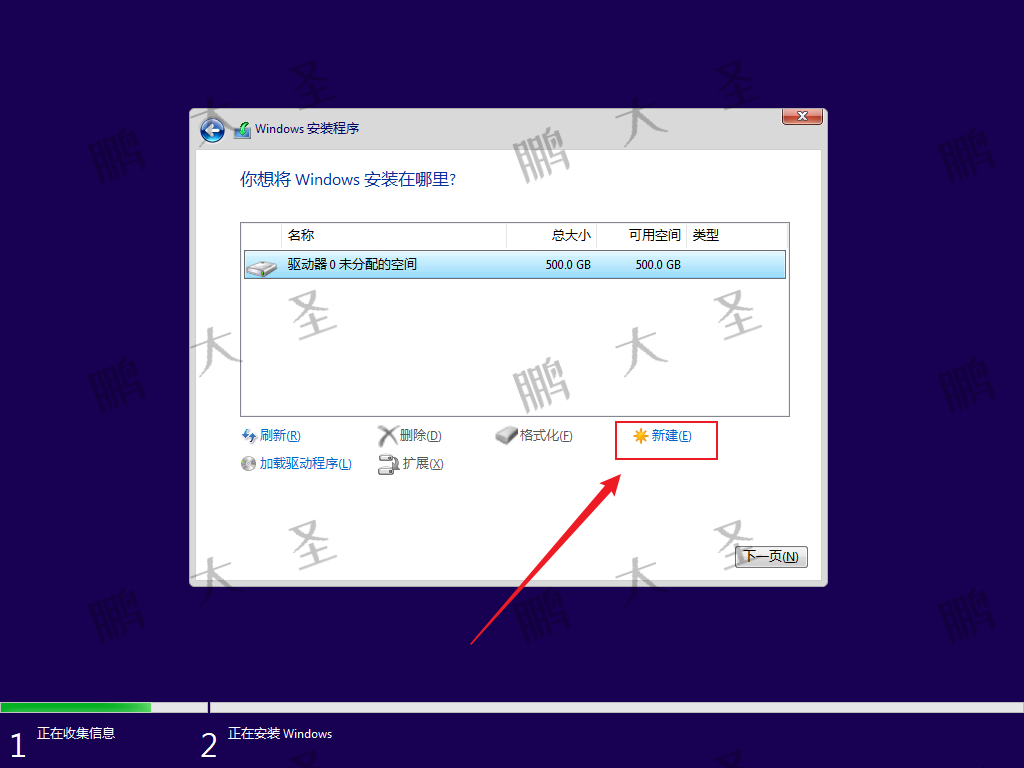
8.设置大小250GB
9.点击确认
10.选择主分区安装
11.安装中

12.立即重启

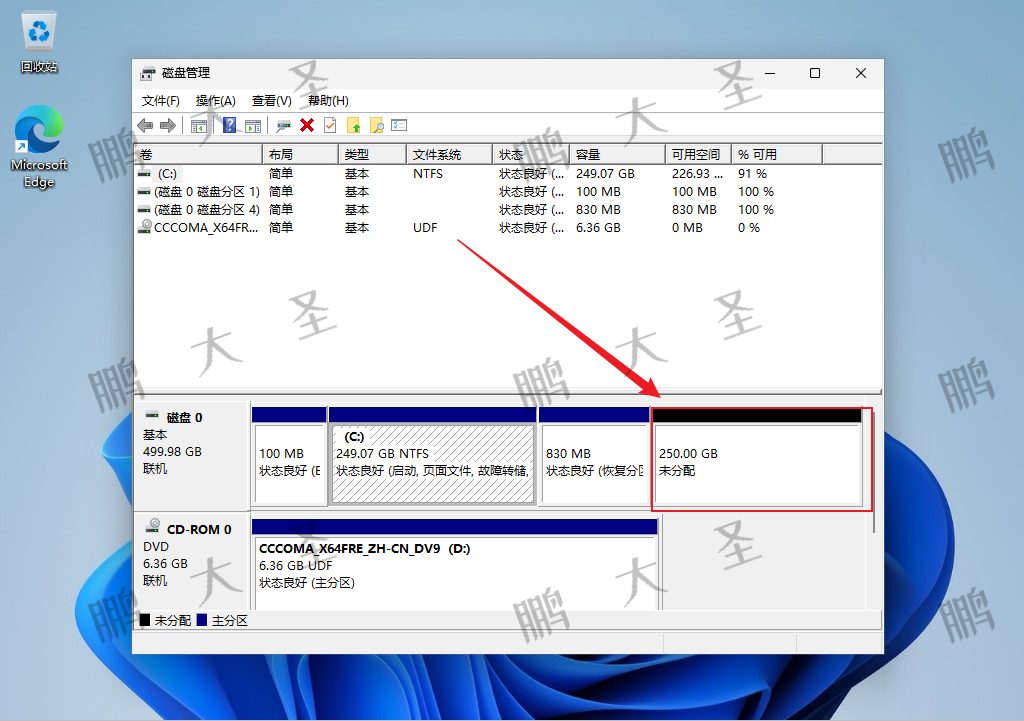
13.查看磁盘情况
14.安装统信UOS

15.选择语言

16.校验镜像

17.手动安装
18.选择空闲空间
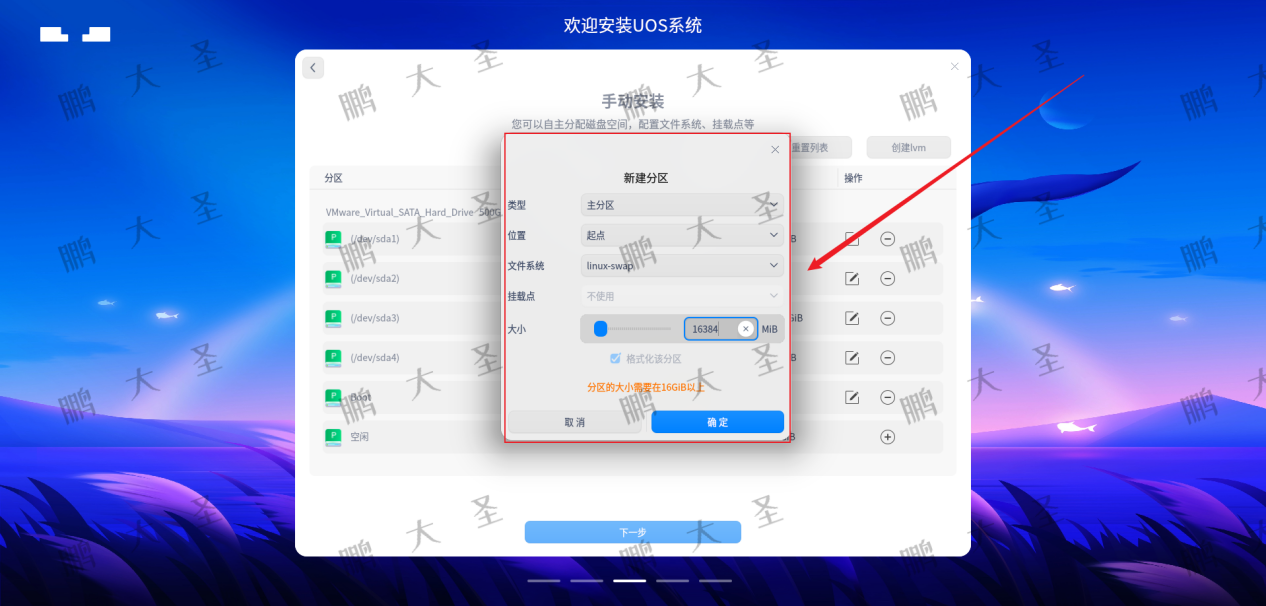
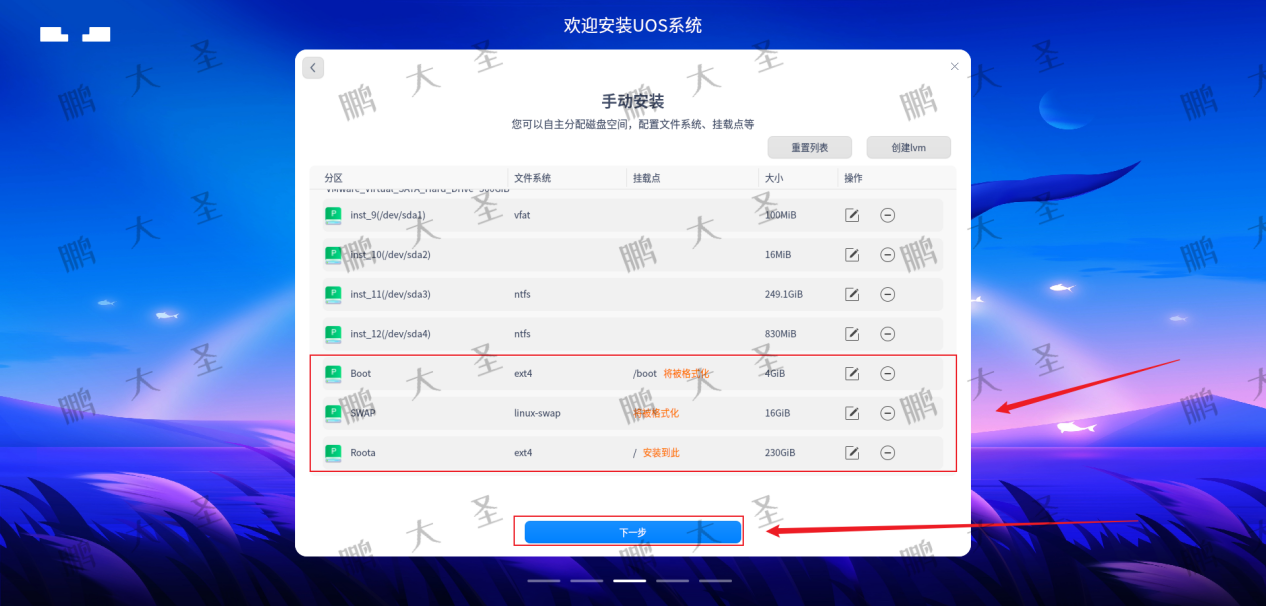
19.设置/boot大小4GB

20.设置交换分区16GB
(默认是内存的两倍,实例系统内存为16GB已经足够大,因此设置交换16GB够用)
21.剩余分给/分区

22.分区完成
23.设置用户

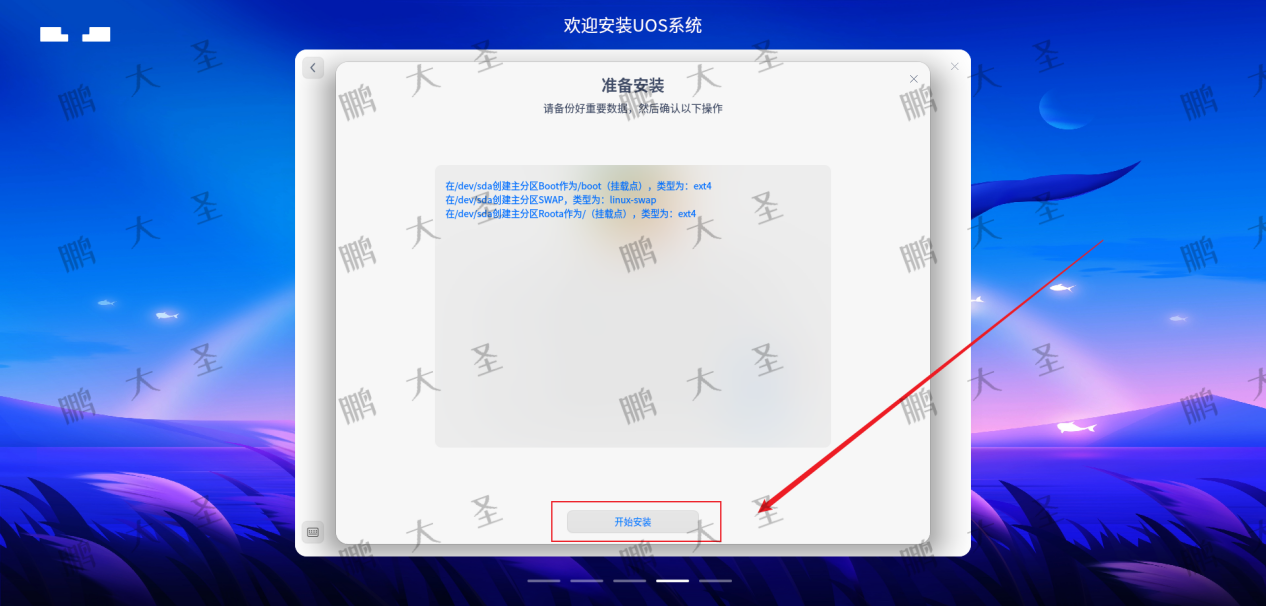
24.开始安装
25.安装中

26.立即重启

27.启动UOS
28.登录系统

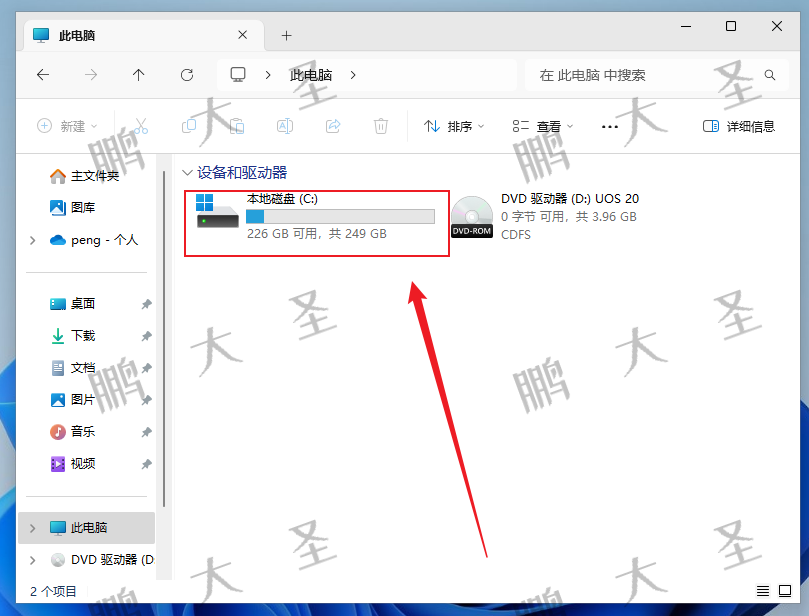
29.查看磁盘
(默认数据盘可以使用,但由于示例中win系统安装时已经加密,因此数据盘无法使用)

30.启动win11系统
31.登录系统

32.查看磁盘空间
通过上述步骤,你现在应该已经成功在一台电脑上安装了Windows 11和统信UOS双系统。这种配置不仅让你能够体验到两个操作系统的不同优势,也大大提高了电脑的使用灵活性。希望这篇文章能够帮助到想要安装双系统的朋友们,如果你觉得有用,请不要吝啬你的分享和转发。同时,别忘了点个关注和在看,以便未来获取更多有用的技术信息和解决方案。


 3672
3672

 被折叠的 条评论
为什么被折叠?
被折叠的 条评论
为什么被折叠?
 到【灌水乐园】发言


