


 本文介绍了如何使用SpringBootAdmin搭建服务端和客户端,包括配置SpringBootActuator端点、添加安全认证、设置监控中心和客户端连接,以及自定义事件通知。
Spring Boot Admin 是一个网络应用程序,用于管理和监控 Spring Boot 应用程序。每个应用程序都被视为客户端,并向管理服务器注册。在幕后,Spring Boot Actuator 端点发挥着神奇的作用。
一、搭建Springboot Admin服务端
新建一个Maven模块,在pom文件中引入父工程,有助于保持组织内多个项目的一致性
    <parent>
        <artifactId>smart-extend</artifactId>
        <groupId>com.jungle</groupId>
        <version>1.0.2</version>
    </parent>
引入必要依赖:
<!-- SpringWeb模块 -->
<dependency>
<groupId>org.springframework.boot</groupId>
<artifactId>spring-boot-starter-web</artifactId>
<version>2.7.5</version>
</dependency>
<!-- spring security 安全认证 -->
<dependency>
<groupId>org.springframework.boot</groupId>
<artifactId>spring-boot-starter-security</artifactId>
<version>2.7.5</version>
</dependency>
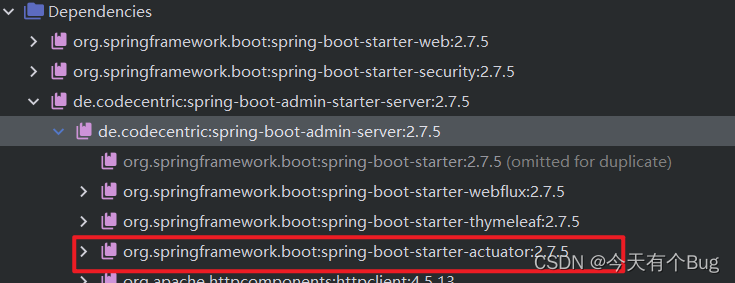
<!-- Springboot Admin管理端依赖 -->
<dependency>
<groupId>de.codecentric</groupId>
<artifactId>spring-boot-admin-starter-server</artifactId>
<version>2.7.5</version>
</dependency>
<!-- Lombok -->
<dependency>
<groupId>org.projectlombok</groupId>
<artifactId>lombok</artifactId>
</dependency>
添加目录:src/main/resources和src/main/java,在java目录下添加包名:com.smart.monitor.admin
在com.smart.monitor.admin包下新建启动类MonitorAdminApplication :
/**
 * Admin 监控启动程序
 *
 * @author jungle
 */
@SpringBootApplication
public class MonitorAdminApplication {

    public static void main(String[] args) {
        SpringApplication.run(MonitorAdminApplication.class, args);
        System.out.println("Admin 监控启动成功");
    }

}
新建application.yml文件并添加内容:
配置端口和服务名称
server:
  port: 9112
spring:
  application:
    name: smart-monitor-admin
配置服务端登录的用户名密码,以及管理服务器静态资源和api服务访问的路径前缀 /monitor。
--- # 监控中心服务端配置
spring:
  security:
    user:
      name: jungle
      password: 123456
  boot:
    admin:
      ui:
        title: Smart-服务监控中心 #自定义服务端名称
      context-path: /monitor
Actuator 监控端点的配置项
management:
endpoints:
web:
exposure:
include: '*' #大多数端点默认不通过 http 公开,我们公开了所有端点。在生产过程中,应谨慎选择要公开的端点。
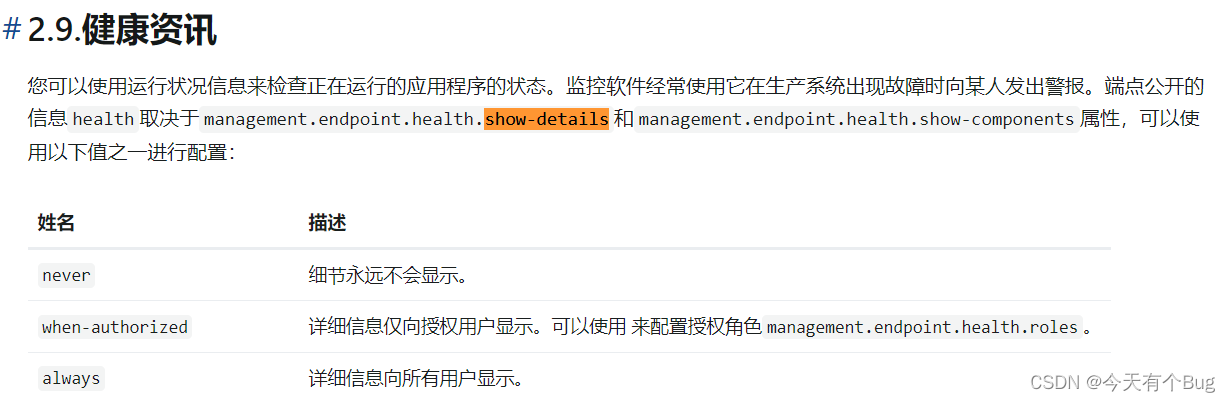
endpoint:
health:
show-details: ALWAYS #何时显示完整的运行状况详细信息
logfile:
external-file: ./logs/smart-monitor-admin.log更多配置详情:
Production-ready Features 可ctrl+f搜索相关配置
添加监控 安全配置,启用安全性,并为管理应用程序添加登录界面。
在com.smart.monitor.admin包下添加config包并新建配置类AdminServerConfig :添加@EnableAdminServer注解使服务端可用(或者在启动类上加)
/**
 * springboot-admin server配置类
 *
 * @author jungle
 */
@Configuration
@EnableAdminServer
public class AdminServerConfig {


}
新建配置类SecurityConfig:
import de.codecentric.boot.admin.server.config.AdminServerProperties;
import org.springframework.context.annotation.Bean;
import org.springframework.security.config.annotation.web.builders.HttpSecurity;
import org.springframework.security.config.annotation.web.configuration.EnableWebSecurity;
import org.springframework.security.web.SecurityFilterChain;
import org.springframework.security.web.authentication.SavedRequestAwareAuthenticationSuccessHandler;

/**
 * admin 监控 安全配置
 *
 * @author jungle
 */
@EnableWebSecurity
public class SecurityConfig {

    private final String adminContextPath;

    public SecurityConfig(AdminServerProperties adminServerProperties) {
        this.adminContextPath = adminServerProperties.getContextPath();
    }

    @Bean
    public SecurityFilterChain filterChain(HttpSecurity httpSecurity) throws Exception {
        SavedRequestAwareAuthenticationSuccessHandler successHandler = new SavedRequestAwareAuthenticationSuccessHandler();
        successHandler.setTargetUrlParameter("redirectTo");
        successHandler.setDefaultTargetUrl(adminContextPath + "/");

        return httpSecurity
                .headers().frameOptions().disable()
                .and().authorizeRequests()
                .antMatchers(adminContextPath + "/assets/**"
                    , adminContextPath + "/login"
                    , "/actuator"
                    , "/actuator/**"
                ).permitAll()
                .anyRequest().authenticated()
                .and()
                .formLogin().loginPage(adminContextPath + "/login")
                .successHandler(successHandler).and()
                .logout().logoutUrl(adminContextPath + "/logout")
                .and()
                .httpBasic().and()
                .csrf()
                .disable()
                .build();
    }

}
浏览器访问:http://localhost:9112/monitor,输入配置的用户名密码登录:

二、搭建Springboot Admin客户端
在自己项目中添加以下依赖:
                <!--springboot admin 监控-->
                <dependency>
                    <groupId>de.codecentric</groupId>
                    <artifactId>spring-boot-admin-starter-client</artifactId>
                </dependency>
application.yml中添加配置,也可以在其它环境中配置,入dev,prod
配置服务端的地址和用户名密码
--- # 监控中心配置
spring.boot.admin.client:
# 增加客户端开关
enabled: true
url: http://127.0.0.1:9112/monitor
instance:
service-host-type: IP #选择发送服务主机时应考虑的信息IP / HOST_NAME / CANONICAL_HOST_NAME
username: jungle
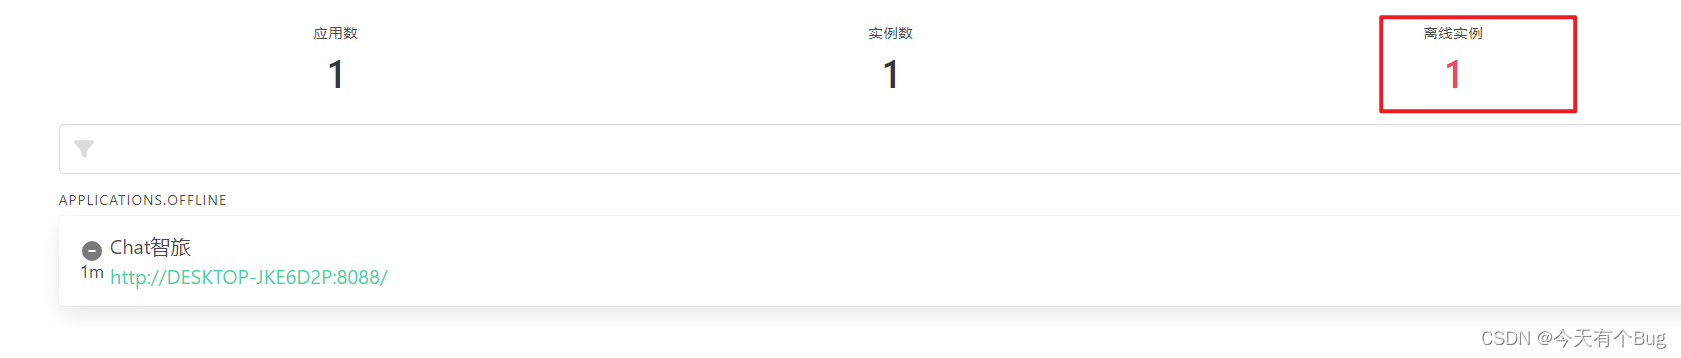
password: 123456启动自己的后端服务,可在监控页面查看到:

IP和HOST_NAME:
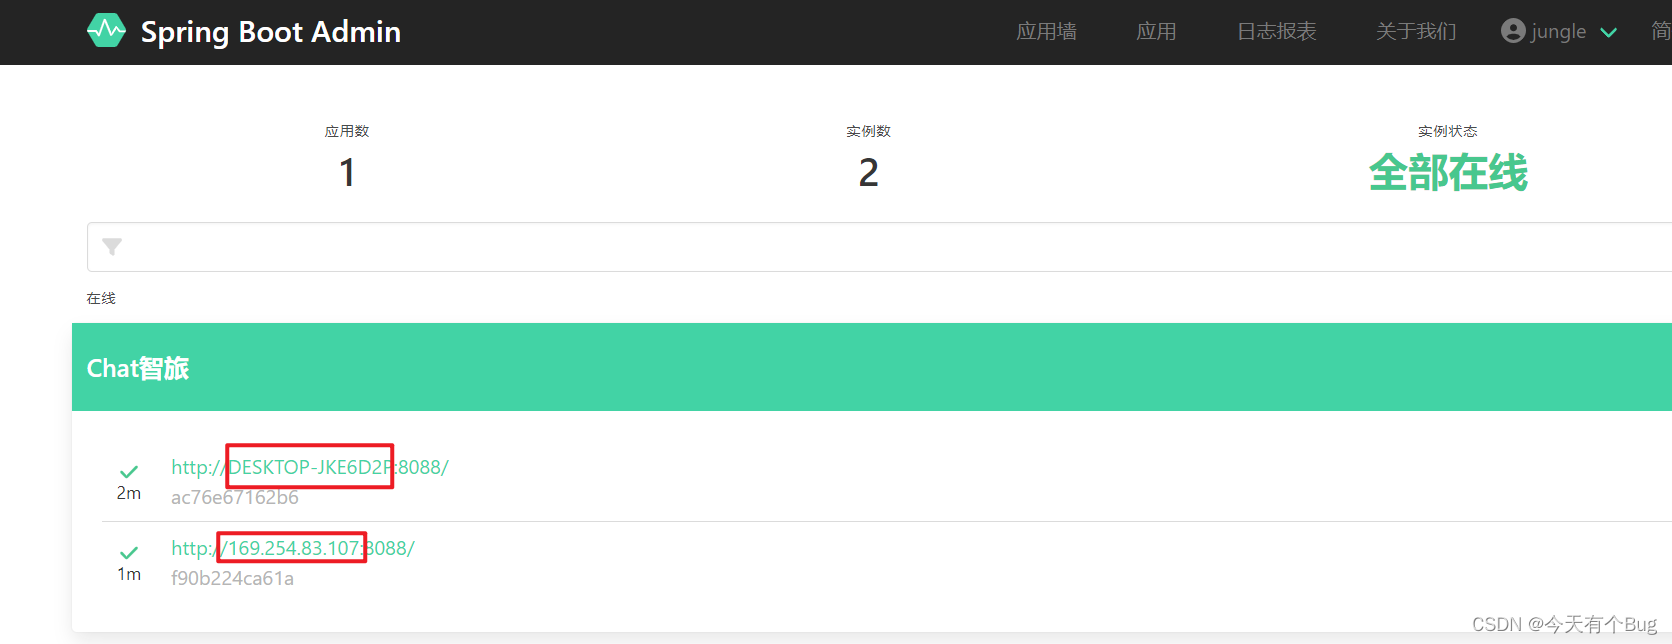
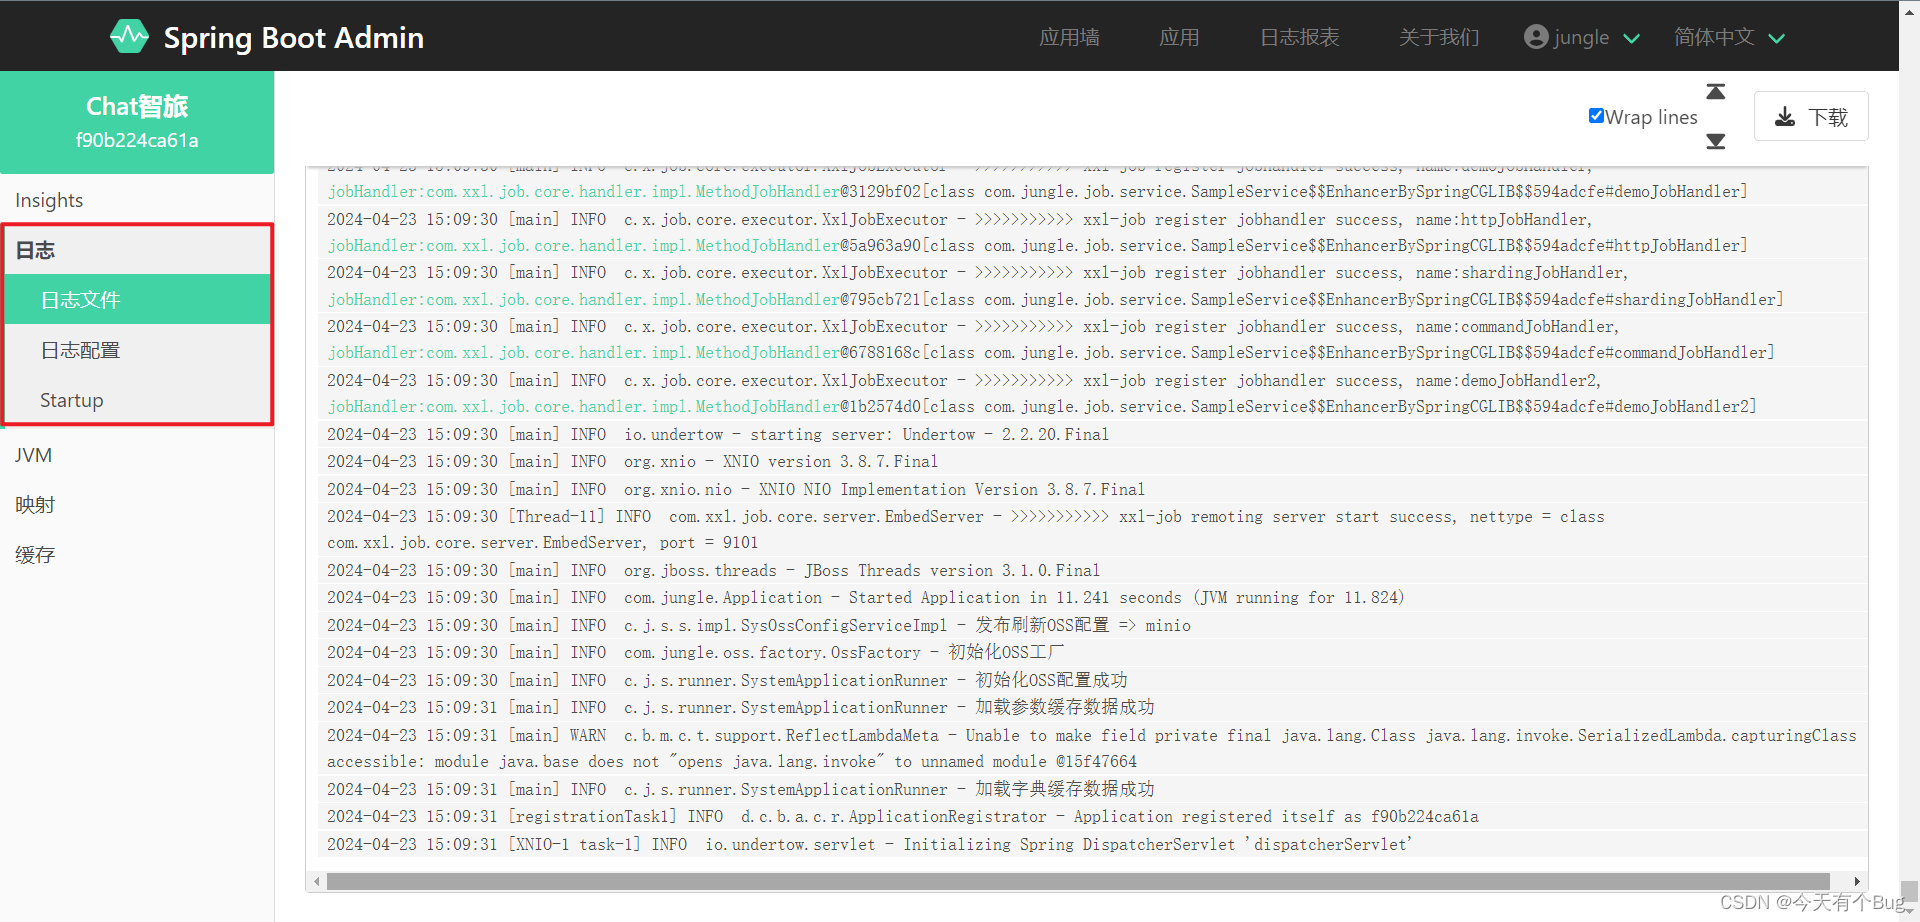
点击已注册到服务端的应用程序:

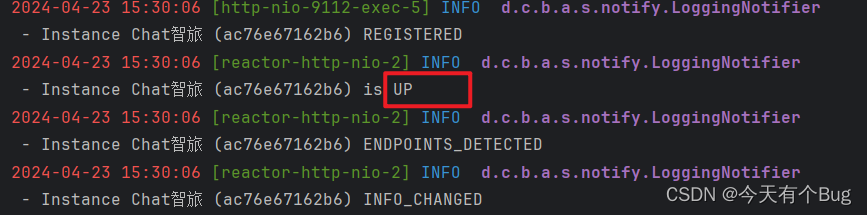
自定义事件通知处理
添加CustomNotifier 类继承AbstractEventNotifier 重写doNotify方法配置有服务上线或宕机时的通知:
@Component
public class CustomNotifier extends AbstractEventNotifier {

  private static final Logger LOGGER = LoggerFactory.getLogger(LoggingNotifier.class);

  public CustomNotifier(InstanceRepository repository) {
    super(repository);
  }

  @Override
  @SuppressWarnings("all") //关闭警告
  protected Mono<Void> doNotify(InstanceEvent event, Instance instance) {
    return Mono.fromRunnable(() -> {
      if (event instanceof InstanceStatusChangedEvent) {
        LOGGER.info("Instance {} ({}) is {}", instance.getRegistration().getName(), event.getInstance(),
            ((InstanceStatusChangedEvent) event).getStatusInfo().getStatus());
      }
      else {
        LOGGER.info("Instance {} ({}) {}", instance.getRegistration().getName(), event.getInstance(),
            event.getType());
      }
    });
  }

}
当有服务上线或宕机时的日志:


 830
830


 被折叠的 条评论
为什么被折叠?
被折叠的 条评论
为什么被折叠?
 到【灌水乐园】发言


