


加载资源
首先Spring大部分功能主要是根据配置进行切入点,所以我们首先要分析的就是XmlBeanFactory
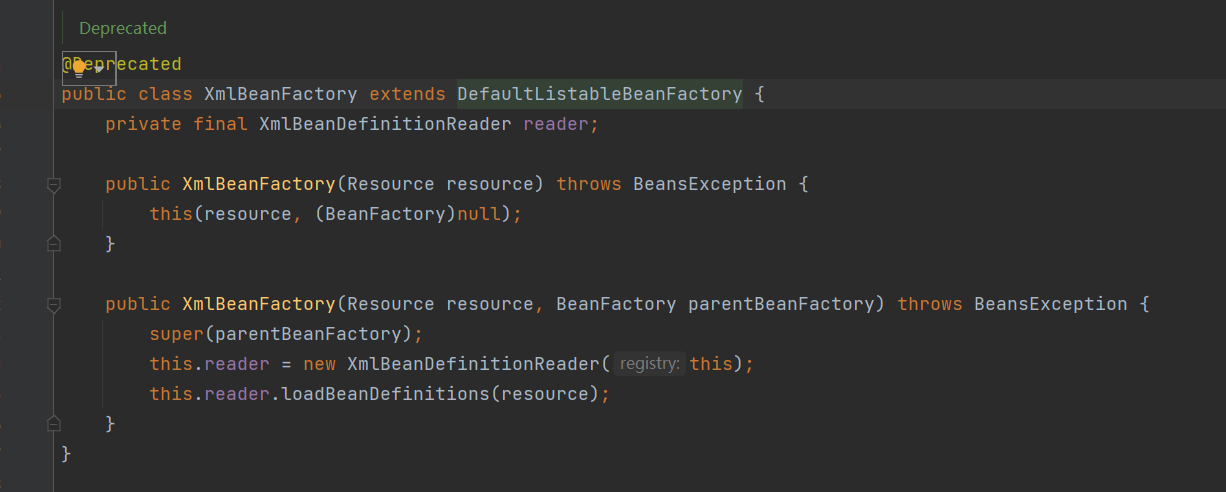
XmlBeanFactory首先调用参数为resource的构造方法:
public XmlBeanFactory(Resource resource) throws BeansException {
        this(resource, (BeanFactory)null);
    }
构造方法的内部又调用构造方法
 public XmlBeanFactory(Resource resource, BeanFactory parentBeanFactory) throws BeansException {
        super(parentBeanFactory);
        this.reader = new XmlBeanDefinitionReader(this);
        this.reader.loadBeanDefinitions(resource);
    }
根据分析,加载资源主要使用的是XmlBeanDefinitionReader类进行,但是在创建创建reader之前,调用了父类的构造方法。(这个我们稍后分析)
我们首先分析参数Resource类
UML图如下:
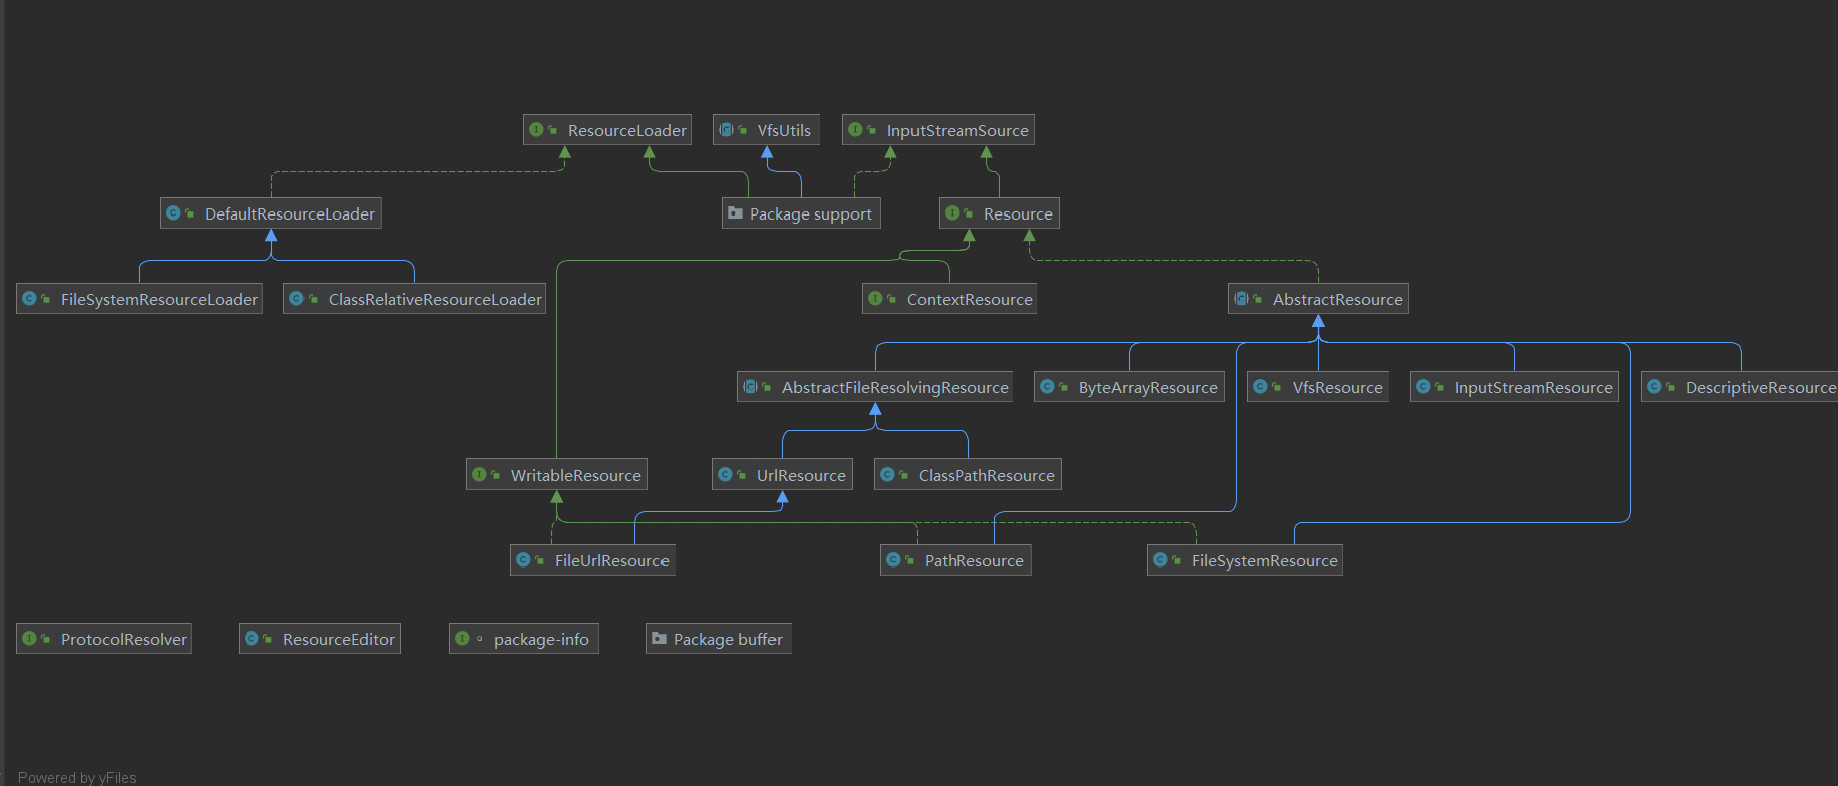
Spring配置文件读取主要通过ClassPathResource实现的,而ClassPath的父类Resource封装了底层资源,并且对于不同来源的资源文件都有一个对应Resource实现:
文件:FileSystemResource
Classpath资源:ClassPathResource
URL资源:UrlResource
InputStream:InputResource
Byte数组:ByteResource
Resourse结构:
public interface Resource extends InputStreamSource {
    //是否存在
    boolean exists();
    //是否可读
    default boolean isReadable() {
        return this.exists();
    }
    //是否打开
    default boolean isOpen() {
        return false;
    }
    //是否是文件
    default boolean isFile() {
        return false;
    }
    //转换为URL
    URL getURL() throws IOException;
    //转换为URI
    URI getURI() throws IOException;
    //转换为文件
    File getFile() throws IOException;
     //NIO管道
    default ReadableByteChannel readableChannel() throws IOException {
        return Channels.newChannel(this.getInputStream());
    }
    //获取的资源长度
    long contentLength() throws IOException;
    //上一次修改的时间
    long lastModified() throws IOException;
    //基于当前资源创建相对资源
    Resource createRelative(String relativePath) throws IOException;
    //获取文件名
    @Nullable
    String getFilename();
    //描述信息(打印错误信息)
    String getDescription();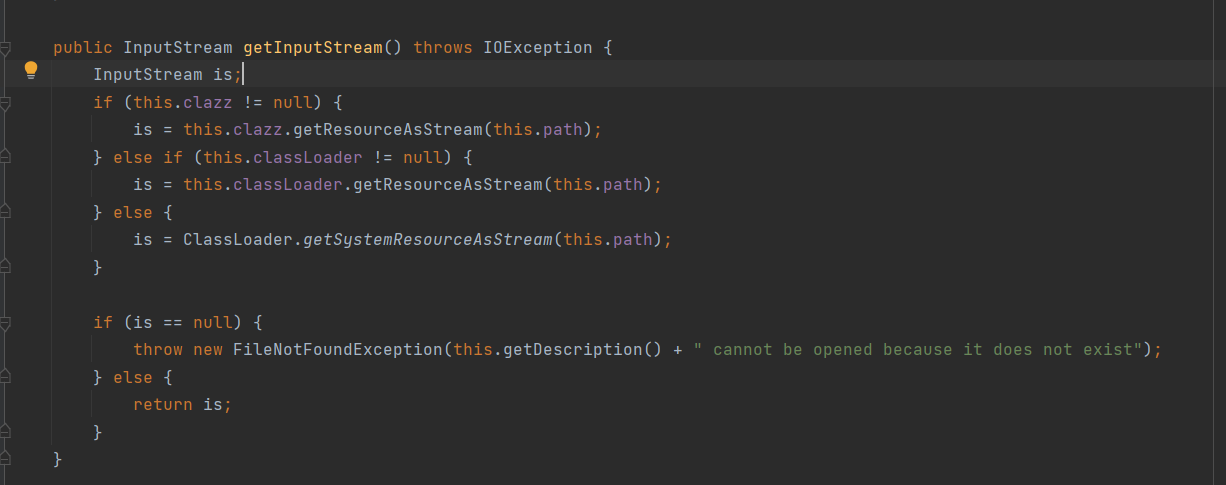
}Resource接口对于资源文件进行统一处理:
Resource resource = new ClassPathSource("bean.xml");
InputStream is = resource.getInputStream();ClassPathSource获取输入流逻辑如下,通过class或者classLoader提高的底层方法获取到输入流
FileSystemSource获取输入流逻辑如下,简单暴力直接new了一个输入流:
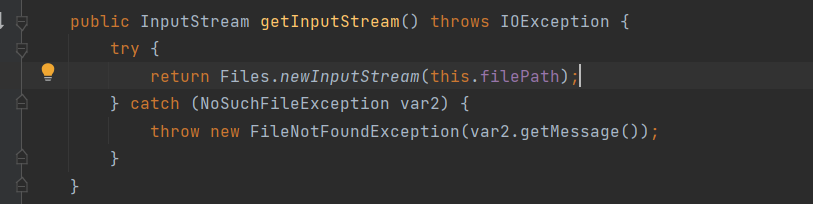
有了输入流,换句话说,就是我们可以读取配置文件了,而Spring的读取配置文件全权委托给XmlBeanDefinitionReader类进行读取
ignoredDependencyInterfaces
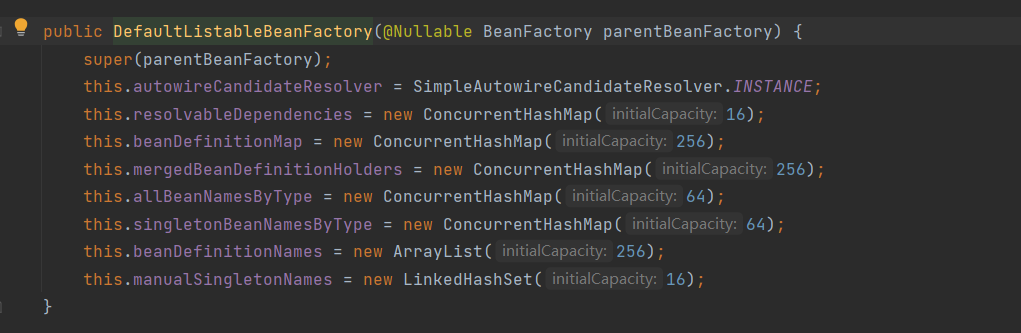
在XmlBeanDefinitionReader.reader读取文件之前,调用了父类的构造方法:

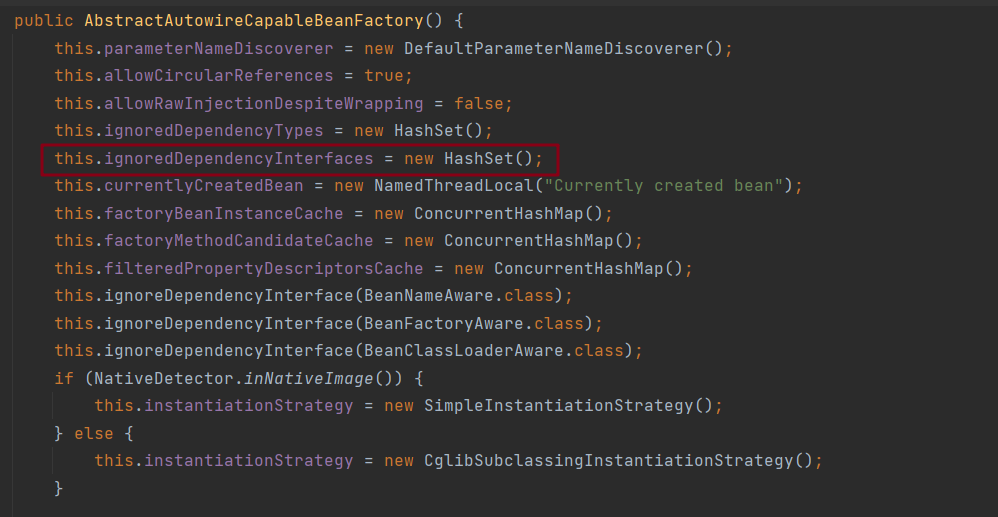
而在父类中再次调用父类的构造方法
而在该方法中,郝佳老师提醒我们关注ignoredDependencyInterfaces方法,此方法的存在的意义就是忽略给定接口的自动装配功能

书中摘要:
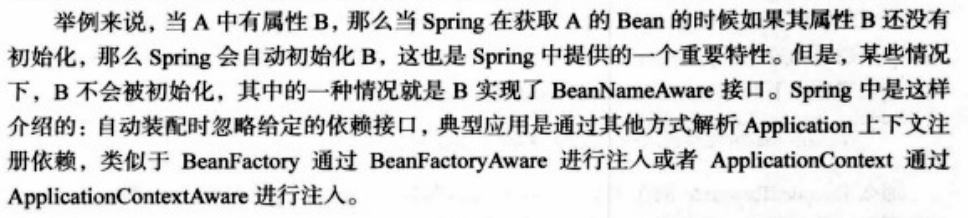
总体意思不是很理解,通过网上查阅资料,大致意思就是忽略自动装配类的Set方法。使其不能自动注入
举例:
普通的pojo
@Component
public class BeanB {
}
接口关键方法setBeanB
public interface BeanInterface {

    public void setBeanB(BeanB beanB);

}
需要自动装配的类beanA
public class BeanA implements BeanInterface {

    private BeanB beanB;

    public BeanB getBeanB() {
        return beanB;
    }

    public void setBeanB(BeanB beanB) {
        this.beanB = beanB;
    }
}
配置类:
@Configuration
public class BeanConfig {

    //开启自动装配
    @Bean(autowire = Autowire.BY_TYPE)
    public BeanA beanA() {
        return new BeanA();
    }
}
测试类
   public static void main(String[] args) {
        AnnotationConfigApplicationContext context = new AnnotationConfigApplicationContext();
        context.register(SpringContextDemo.class);
        context.refresh();
        BeanA a = context.getBean(BeanA.class);
        System.out.println(a.getBeanB());
    }
执行结果:
beanB存在值
添加ignoreDependencyInterface方法逻辑
public static void main(String[] args) {
AnnotationConfigApplicationContext context = new AnnotationConfigApplicationContext();
context.register(SpringContextDemo.class);
//加一行代码
context.getBeanFactory().ignoreDependencyInterface(BeanInterface.class);
context.refresh();
BeanA a = context.getBean(BeanA.class);
System.out.println(a.getBeanB());
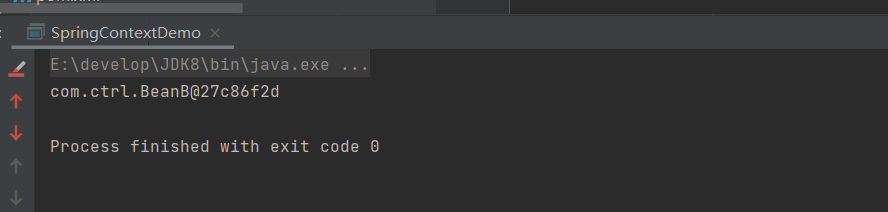
}执行结果:

在未添加ignoreDependencyInterface方法逻辑时,Spring可以通过set方法在自动注入为BeanInterface的BeanB赋值,而beanA的自动装配需要依赖于BeanB,所以通过BeanA获取BeanB存在值
添加ignoreDependencyInterface方法逻辑时,Spring忽略了BeanInterface的set方法,所以为装配BeanB,所以通过BeanA获取BeanB为null
ignoreDependencyInterface是在Bean自动装配的BY_NAME和BY_TYPE模式下忽略该接口的set方法里面的依赖注入
读取文件
当获取到字节流时,我们就可以读取配置文件,但是Spring将读取文件的任务全权委托给XmlBeanDefinitionReader,现在学习这个类
XmlBeanDefinitionReader类有一个方法,loadBeanDefinitions:
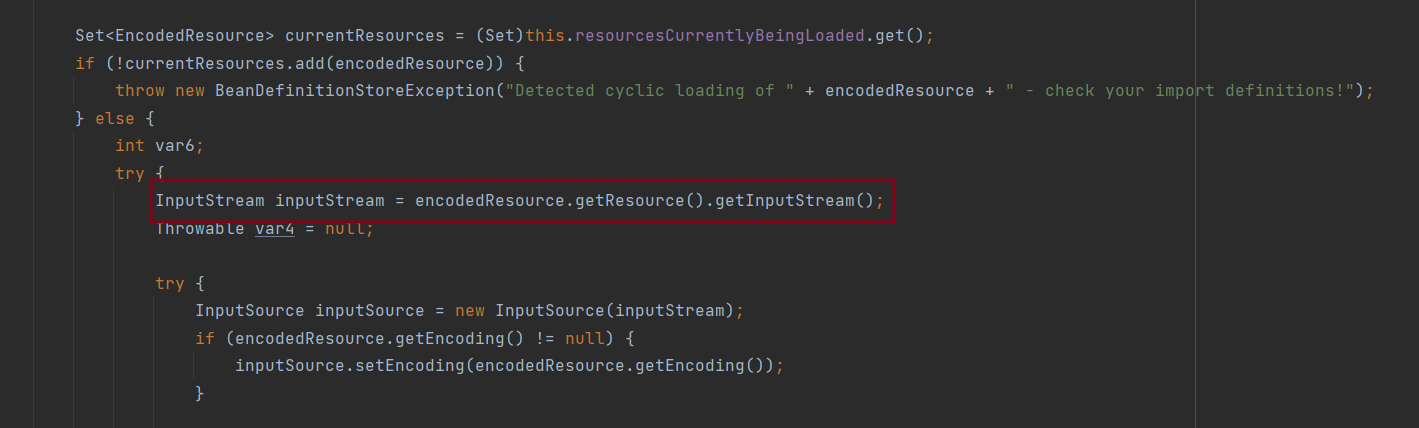
public int loadBeanDefinitions(EncodedResource encodedResource) throws BeanDefinitionStoreException {
Assert.notNull(encodedResource, "EncodedResource must not be null");
if (this.logger.isTraceEnabled()) {
this.logger.trace("Loading XML bean definitions from " + encodedResource);
}
Set<EncodedResource> currentResources = (Set)this.resourcesCurrentlyBeingLoaded.get();
if (!currentResources.add(encodedResource)) {
throw new BeanDefinitionStoreException("Detected cyclic loading of " + encodedResource + " - check your import definitions!");
} else {
int var6;
try {
InputStream inputStream = encodedResource.getResource().getInputStream();
Throwable var4 = null;
try {
InputSource inputSource = new InputSource(inputStream);
if (encodedResource.getEncoding() != null) {
inputSource.setEncoding(encodedResource.getEncoding());
}
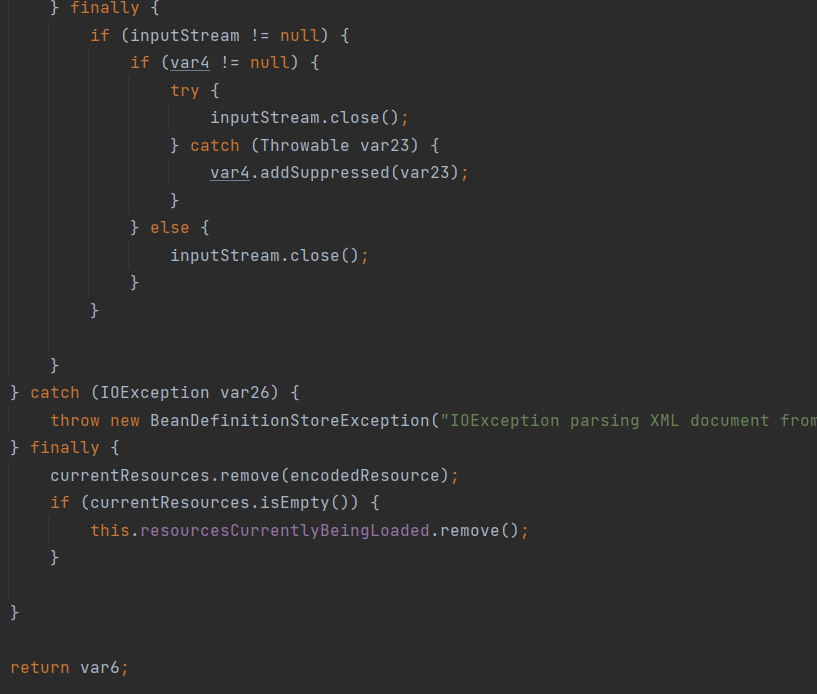
var6 = this.doLoadBeanDefinitions(inputSource, encodedResource.getResource());
} catch (Throwable var24) {
var4 = var24;
throw var24;
} finally {
if (inputStream != null) {
if (var4 != null) {
try {
inputStream.close();
} catch (Throwable var23) {
var4.addSuppressed(var23);
}
} else {
inputStream.close();
}
}
}
} catch (IOException var26) {
throw new BeanDefinitionStoreException("IOException parsing XML document from " + encodedResource.getResource(), var26);
} finally {
currentResources.remove(encodedResource);
if (currentResources.isEmpty()) {
this.resourcesCurrentlyBeingLoaded.remove();
}
}
return var6;
}
}首先Spring对于输入的Resouce进行了编码处理,根据传入的Resouce和编码以及字符集得到一个新的经过编码的Resouce

校验参数并打印日志

通过属性来记录已经加载的资源

通过encodeResource得到Resource并获得输出流,根据输入流生成InputSource
逻辑核心部分,开始加载

关闭流,并删除已加载的资源,避免重复加载
进入方法doLoadBeanDefinitions()
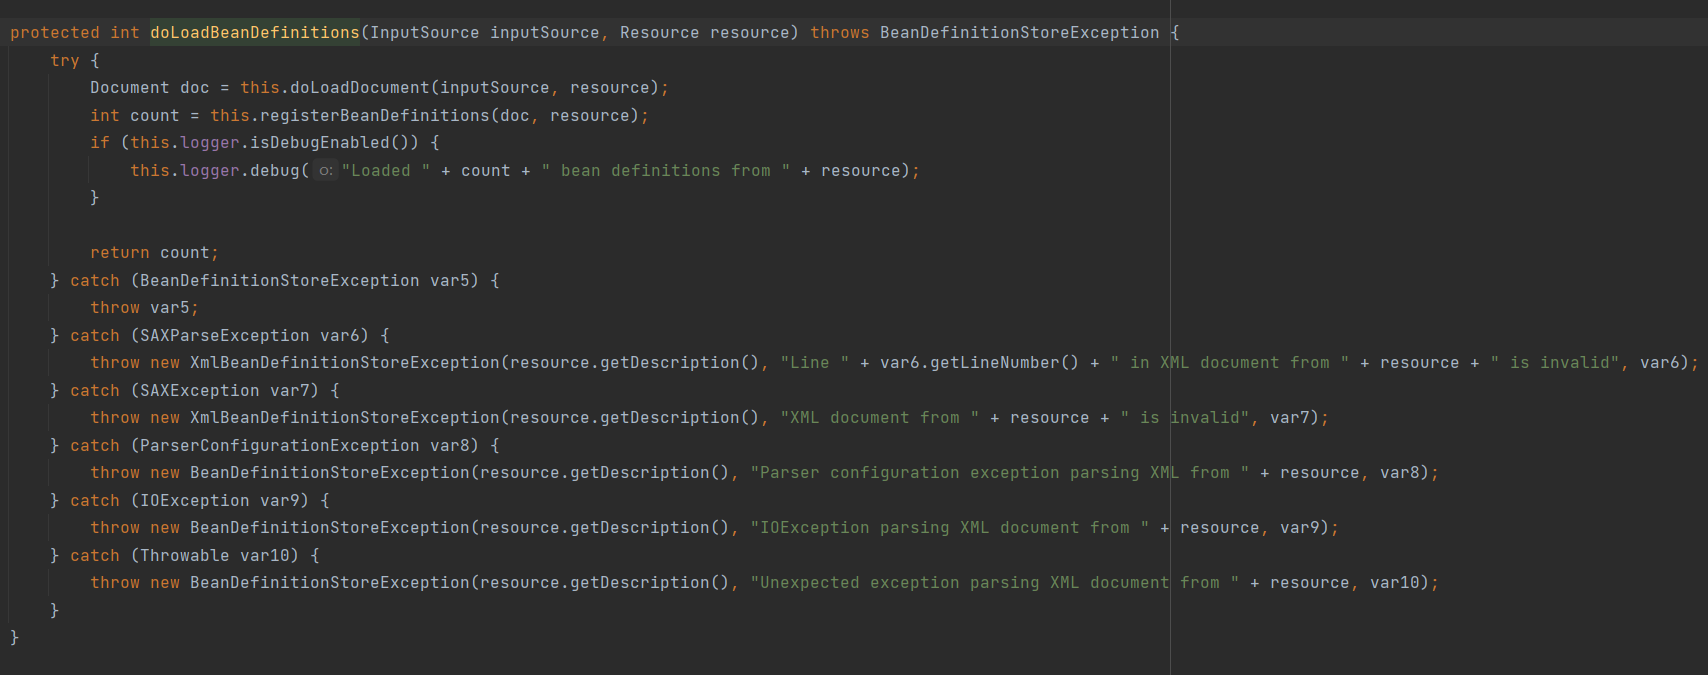
这个方法就做了两件事:
加载XML资源得到对应的Document
注册Bean信息
校验文件类型
进入方法doLoadDocument(InputSource inputSource, Resource resource)
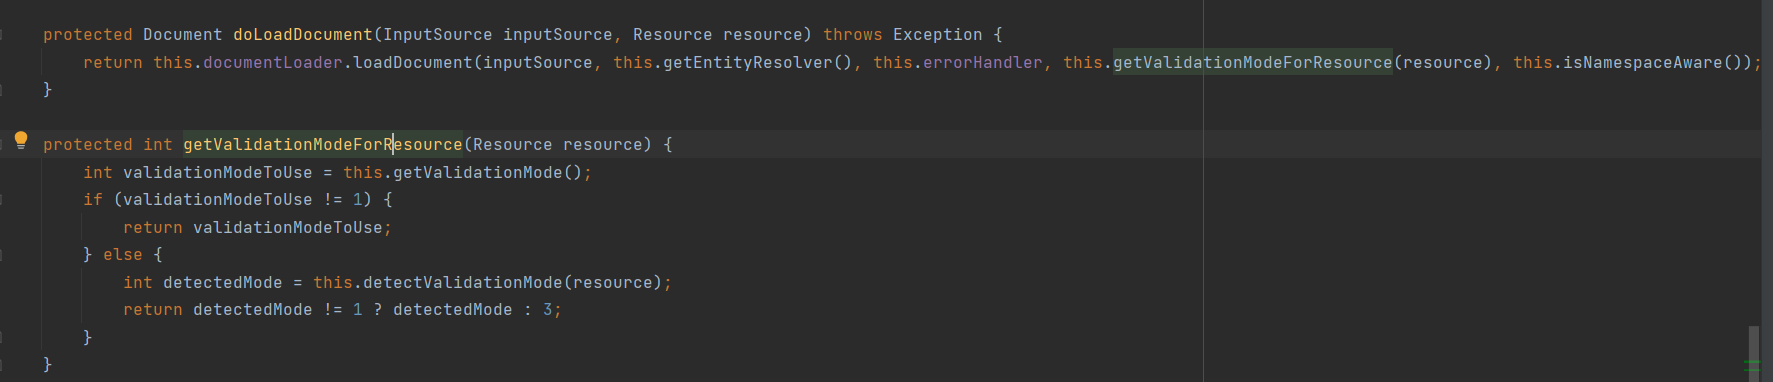
首先进行了XML文件类型的判断即方法getValidationModeForResource(Resource resource)

0==>NONE
1==>自动加载
2==>DTD
3==>XSD
protected int getValidationModeForResource(Resource resource) {
        //获取当前的XML文件的类型编码
        int validationModeToUse = this.getValidationMode();
        //如果不是1直接返回
        if (validationModeToUse != 1) {
            return validationModeToUse;
        } else {
            //否则执行此处
            int detectedMode = this.detectValidationMode(resource);
            return detectedMode != 1 ? detectedMode : 3;
        }
}方法detectValidationMode(resource)
    protected int detectValidationMode(Resource resource) {
        //判断资源状态
        if (resource.isOpen()) {
            throw new BeanDefinitionStoreException("Passed-in Resource [" + resource + "] contains an open stream: cannot determine validation mode automatically. Either pass in a Resource that is able to create fresh streams, or explicitly specify the validationMode on your XmlBeanDefinitionReader instance.");
        } else {
            InputStream inputStream;
            try {
                //获取资源输入流
                inputStream = resource.getInputStream();
            } catch (IOException var5) {
                throw new BeanDefinitionStoreException("Unable to determine validation mode for [" + resource + "]: cannot open InputStream. Did you attempt to load directly from a SAX InputSource without specifying the validationMode on your XmlBeanDefinitionReader instance?", var5);
            }

            try {
                return this.validationModeDetector.detectValidationMode(inputStream);
            } catch (IOException var4) {
                throw new BeanDefinitionStoreException("Unable to determine validation mode for [" + resource + "]: an error occurred whilst reading from the InputStream.", var4);
            }
        }
}方法this.validationModeDetector.detectValidationMode(inputStream)
public int detectValidationMode(InputStream inputStream) throws IOException {
        try {
            //获取BufferedReader
            BufferedReader reader = new BufferedReader(new InputStreamReader(inputStream));
            Throwable var3 = null;

            int var6;
            try {
                //是否是DTD标识
                boolean isDtdValidated = false;

                String content;
                //一行一行读
                while((content = reader.readLine()) != null) {
                    content = this.consumeCommentTokens(content);
                    //跳过注释和空行
                    if (!this.inComment && StringUtils.hasText(content)) {
                        //如果存在“DOCTYPE”属性就是DTD
                        if (this.hasDoctype(content)) {
                            isDtdValidated = true;
                            break;
                        }
                        //读到开始符号“<” 文件类型校验一定在开始符号前
                        if (this.hasOpeningTag(content)) {
                            break;
                        }
                    }
                }
                //0==>NONE
                //1==>自动加载
                //2==>DTD
                //3==>XSD
                var6 = isDtdValidated ? 2 : 3;
            } catch (Throwable var16) {
                var3 = var16;
                throw var16;
            } finally {
                if (reader != null) {
                    if (var3 != null) {
                        try {
                            reader.close();
                        } catch (Throwable var15) {
                            var3.addSuppressed(var15);
                        }
                    } else {
                        reader.close();
                    }
                }

            }

            return var6;
        } catch (CharConversionException var18) {
            return 1;
        }
    }
加载XML文件并获取对应的Document对象
通过createDocumentBuilderFactory创建DocumentBuilderFactory,通过createDocumentBuilderFactory创建DocumentBuilder解析器对象,在根据inputSource解析返回Doucument对象

这里的逻辑不是很重要,重要的参数EntityResolver
EntityResolver
EntityResolver顾名思义就是实体分解器,实际上对于SAX而言,解析一个XML文件,SAX首先读取该文档上的声明,根据声明去寻找相应的DTD定义,一遍对文档进行一个验证。默认的寻找规则即通过网络(实际上就是声明的DTD的URI地址)来下载响应的DTD声明,并进行认证。当然,下载是一个很漫长的过程,而且当网络中断或不可用时,由于未找到想用DTD声明会报错。
而EntityResolver的作用就是项目本身就可以提供一个如何寻找DTD声明的方法,即由程序来实现寻找DTD声明的过程,比如我们将DTD文件放到项目的中的某处,在实现时直接将此文档读取并返回给SAX即可。这样就避免了通过网络来寻找响应的声明。
DTD文件:

publicId:“-//mybatis.org//DTD Mapper 3.0//EN”
systemId:"http://mybatis.org/dtd/mybatis-3-mapper.dtd"
XSD文件:

publicId:null
systemId:" http://maven.apache.org/xsd/maven-4.0.0.xsd"
而在Spring中,主要是通过DelegatingEntityResolver类中的resolveEntity()方法来解析验证
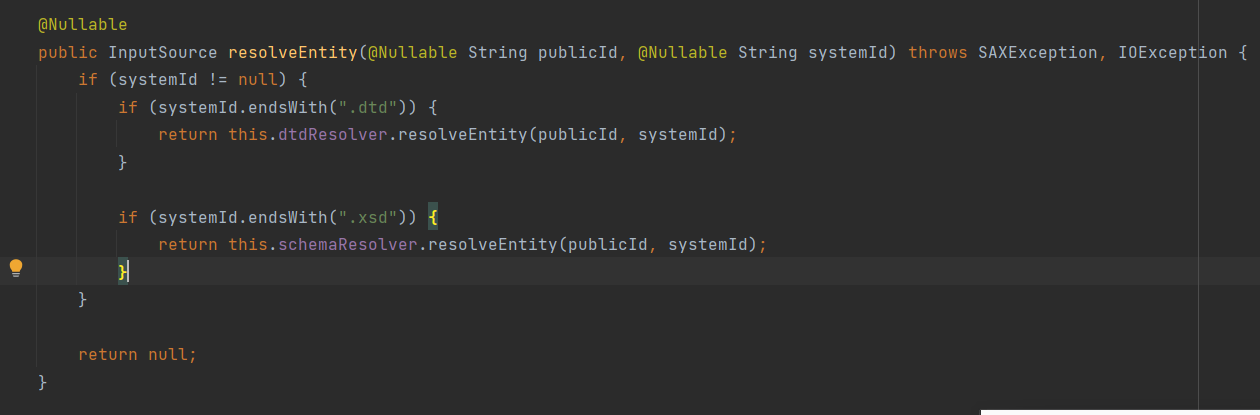
而对于DTD文件:
public InputSource resolveEntity(@Nullable String publicId, @Nullable String systemId) throws IOException {
        if (logger.isTraceEnabled()) {
            logger.trace("Trying to resolve XML entity with public ID [" + publicId + "] and system ID [" + systemId + "]");
        }
        //当systemId不为空并且是以“.dtd”结尾时才会解析
        if (systemId != null && systemId.endsWith(".dtd")) {
            //获取最后“/”出现的位置
            int lastPathSeparator = systemId.lastIndexOf(47);
            //获取“Spring-beans”在最后“/”第一次出现的位置
            int dtdNameStart = systemId.indexOf("spring-beans", lastPathSeparator);
            //当不存在“Spring-beans”时
            if (dtdNameStart != -1) {
                //手动赋值
                String dtdFile = "spring-beans.dtd";
                if (logger.isTraceEnabled()) {
                    logger.trace("Trying to locate [" + dtdFile + "] in Spring jar on classpath");
                }

                try {
                    //在当前路径下查找指定的资源
                    Resource resource = new ClassPathResource(dtdFile, this.getClass());
                    InputSource source = new InputSource(resource.getInputStream());
                    source.setPublicId(publicId);
                    source.setSystemId(systemId);
                    if (logger.isTraceEnabled()) {
                        logger.trace("Found beans DTD [" + systemId + "] in classpath: " + dtdFile);
                    }

                    return source;
                } catch (FileNotFoundException var8) {
                    if (logger.isDebugEnabled()) {
                        logger.debug("Could not resolve beans DTD [" + systemId + "]: not found in classpath", var8);
                    }
                }
            }
        }

        return null;
    }
对于XSD文件:
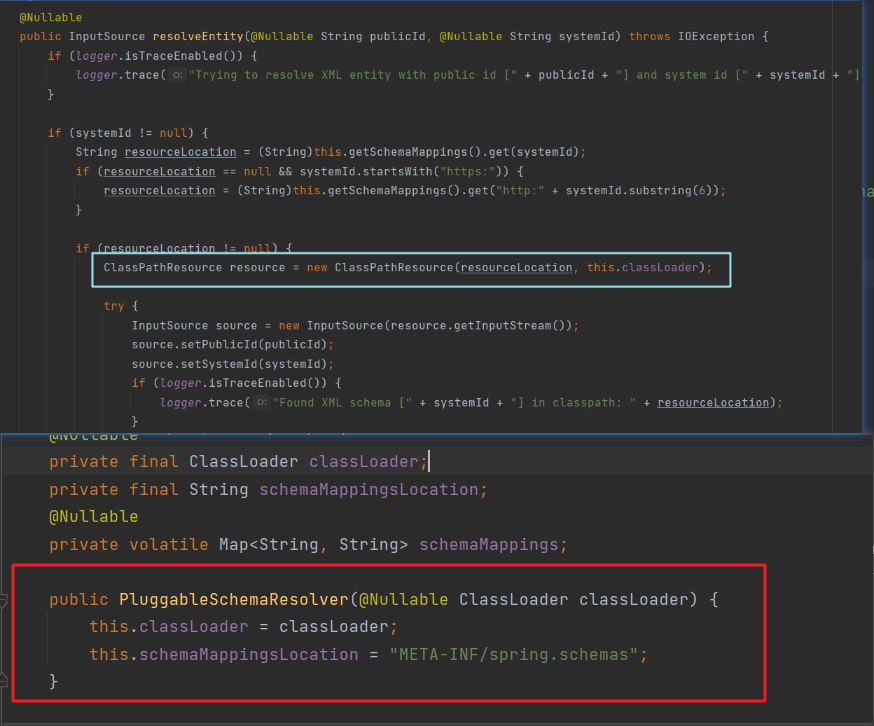
默认是去"META-INF/spring.schemas"文件夹中获取指定的资源
解析及注册Bean
Spring注册Bean主要通过registerBeanDefinitions方法实现
registerBeanDefinitions:
public int registerBeanDefinitions(Document doc, Resource resource) throws BeanDefinitionStoreException {
        //实例化BeanDefinitionDocumentReader
        BeanDefinitionDocumentReader documentReader = this.createBeanDefinitionDocumentReader();
        //获取容器内已经注册的bean
        int countBefore = this.getRegistry().getBeanDefinitionCount();
        //加载及注册bean
        documentReader.registerBeanDefinitions(doc, this.createReaderContext(resource));
        //此次加载及注册的bean的个数
        return this.getRegistry().getBeanDefinitionCount() - countBefore;
    }
这里的核心功能就是
documentReader.registerBeanDefinitions(doc, this.createReaderContext(resource));
我们进入registerBeanDefinitions方法:

而这个方法的核心功能就是this.doRegisterBeanDefinitions(doc.getDocumentElement());
进入doRegisterBeanDefinitions方法
protected void doRegisterBeanDefinitions(Element root) {
        BeanDefinitionParserDelegate parent = this.delegate;
        //专门处理解析
        this.delegate = this.createDelegate(this.getReaderContext(), root, parent);
        //判断是否是默认路径(默认路径:"http://www.springframework.org/schema/beans")
        if (this.delegate.isDefaultNamespace(root)) {
            //处理“profile”属性
            String profileSpec = root.getAttribute("profile");
            if (StringUtils.hasText(profileSpec)) {
                //当获取的"profile"不为空时,按照“,”";"进行切割获取到字符串数组
                String[] specifiedProfiles = StringUtils.tokenizeToStringArray(profileSpec, ",; ");
                if (!this.getReaderContext().getEnvironment().acceptsProfiles(specifiedProfiles)) {
                    if (this.logger.isDebugEnabled()) {
                        this.logger.debug("Skipped XML bean definition file due to specified profiles [" + profileSpec + "] not matching: " + this.getReaderContext().getResource());
                    }

                    return;
                }
            }
        }
        //解析前增强
        this.preProcessXml(root);
        //解析bean
        this.parseBeanDefinitions(root, this.delegate);
        //解析后增强
        this.postProcessXml(root);
        this.delegate = parent;
    }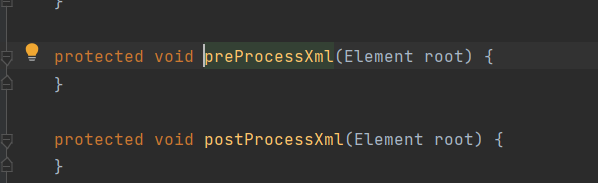
其实前置和后置方法都是无方法体的空方法,主要是便于子类实现,如果我们需要在Spring解析XML文件之前或者以后进行操作,那么我们就可以实现这个类并重写相关方法
我们进入parseBeanDefinitions
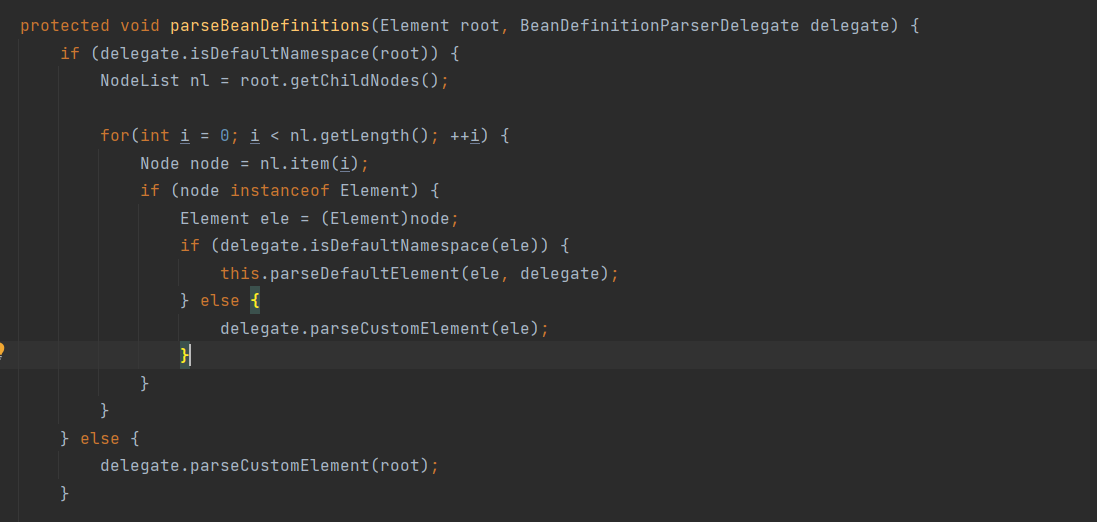
  protected void parseBeanDefinitions(Element root, BeanDefinitionParserDelegate delegate) {
         //判断根节点是否是默认命名空间
        if (delegate.isDefaultNamespace(root)) {
            //获取所有的子节点
            NodeList nl = root.getChildNodes();
            //遍历自己点
            for(int i = 0; i < nl.getLength(); ++i) {
                Node node = nl.item(i);
                if (node instanceof Element) {
                    Element ele = (Element)node;
                    //判断是否是默认命名空间
                    if (delegate.isDefaultNamespace(ele)) {
                        //解析默认标签
                        this.parseDefaultElement(ele, delegate);
                    } else {
                        //解析自定义标签
                        delegate.parseCustomElement(ele);
                    }
                }
            }
        } else {
            //解析自定义标签
            delegate.parseCustomElement(root);
        }

    }
关于默认标签的的解析我们下个章节在学习


 1万+
1万+

 被折叠的 条评论
为什么被折叠?
被折叠的 条评论
为什么被折叠?
 到【灌水乐园】发言


