文章目录
0 前言
🔥 这两年开始毕业设计和毕业答辩的要求和难度不断提升,传统的毕设题目缺少创新和亮点,往往达不到毕业答辩的要求,这两年不断有学弟学妹告诉学长自己做的项目系统达不到老师的要求。
为了大家能够顺利以及最少的精力通过毕设,学长分享优质毕业设计项目,今天要分享的是
🚩 基于树莓派的口罩佩戴检测识别系统
🥇学长这里给一个题目综合评分(每项满分5分)
- 难度系数:4分
- 工作量:4分
- 创新点:3分
🧿 选题指导, 项目分享:
1 简介
2 主要器件
- 树莓派4B开发板
- 树莓派摄像头,
- 有线音箱,用于播报检测到异常时的语音播报使用
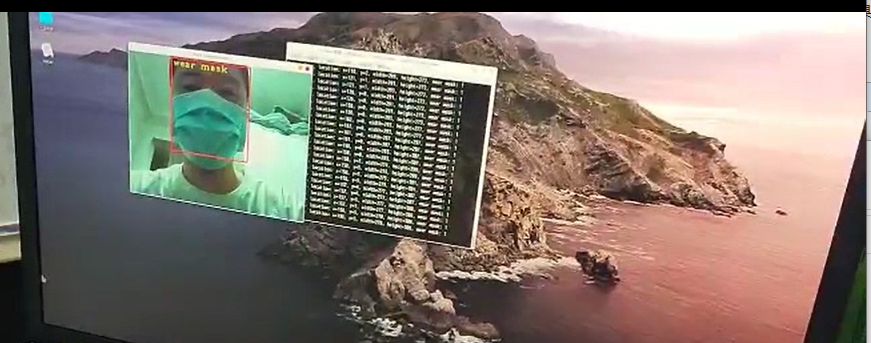
3 实现效果
功能
1.树莓派口罩检测结果实时显示
2.通过检测结果实现语音播报自动控制
3.数据上传服务器远程监测结果
4 硬件设计
树莓派4B
简介
树莓派自问世以来,受众多计算机发烧友和创客的追捧,曾经一“派”难求。别看其外表“娇小”,内“心”却很强大,视频、音频等功能通通皆有,可谓是“麻雀虽小,五脏俱全”。自从树莓派问世以来,经历了A型、A+型、B型、B+型、2B型、3B型、3B+型、4B型等型号的演进。2019年6月25日,树莓派基金会宣布树莓派4B版本发布。
树莓派4B对外接口

扩展接口的定义如下图

树莓派4B主板尺寸

5 软件说明
Debian-Pi-Aarch64-树莓派操作系统
安装系统
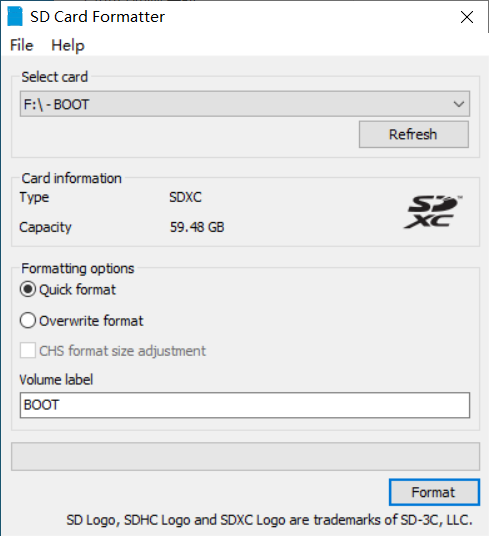
将安装系统的TF使用【SD Card Formatter】格式化。
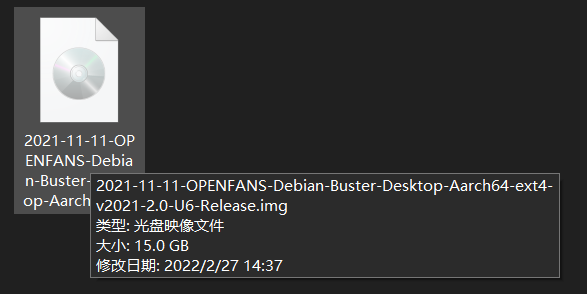
下载最新的无桌面增强版系统镜像。
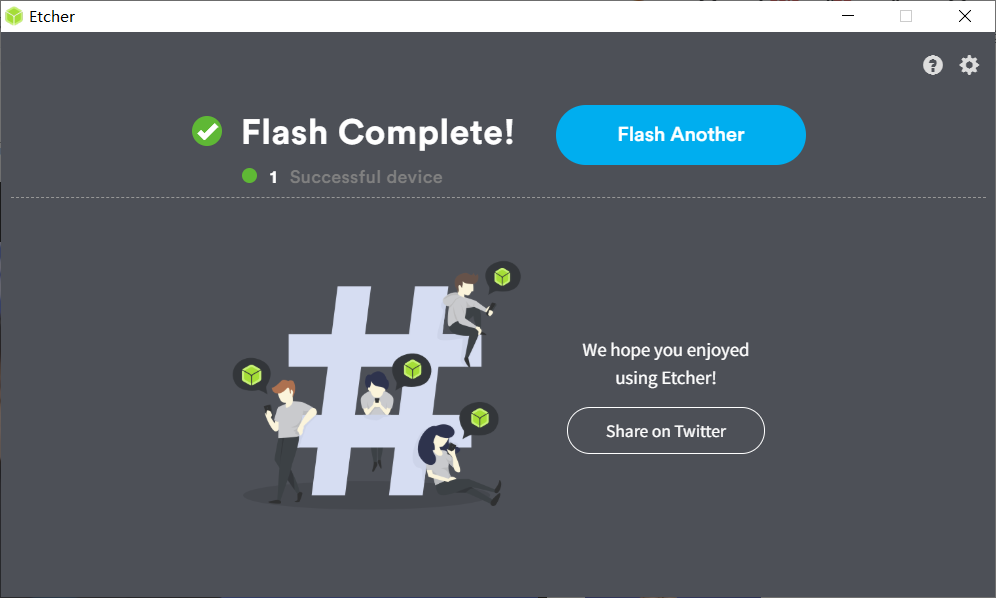
使用【balenaEtcher】刻录镜像,等待完成。
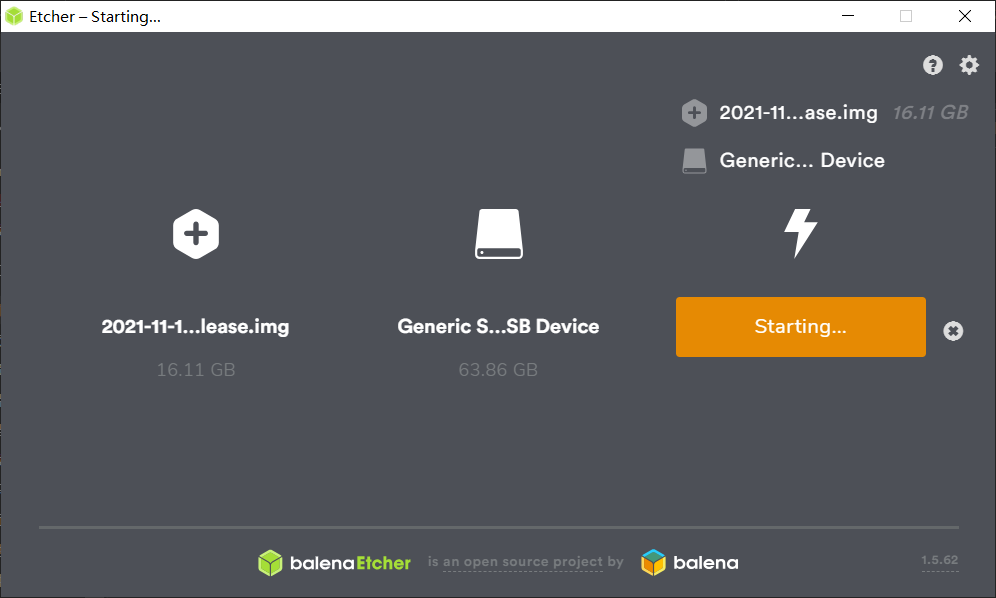
刻录完成
进入BOOT分区,修改【wpa_supplicant.conf】文件。如果没有BOOT分区则重新插拔一下TF卡即可。
## To use this file, you should run command "systemctl disable network-manager" and reboot system. (Do not uncomment this line!) ##

country=CN
ctrl_interface=DIR=/var/run/wpa_supplicant GROUP=netdev
update_config=1


## WIFI 1 (Do not uncomment this line!)

network={
    ssid="your-wifi1-ssid"
    psk="wifi1-password"
    priority=1
    id_str="wifi-1"
}


## WIFI 2 (Do not uncomment this line!)

#network={
#    ssid="your-wifi2-ssid"
#    psk="wifi2-password"
#    priority=2
#    id_str="wifi-2"
#}
将TF卡插入树莓派启动,在此期间,树莓派会自动重启几次。
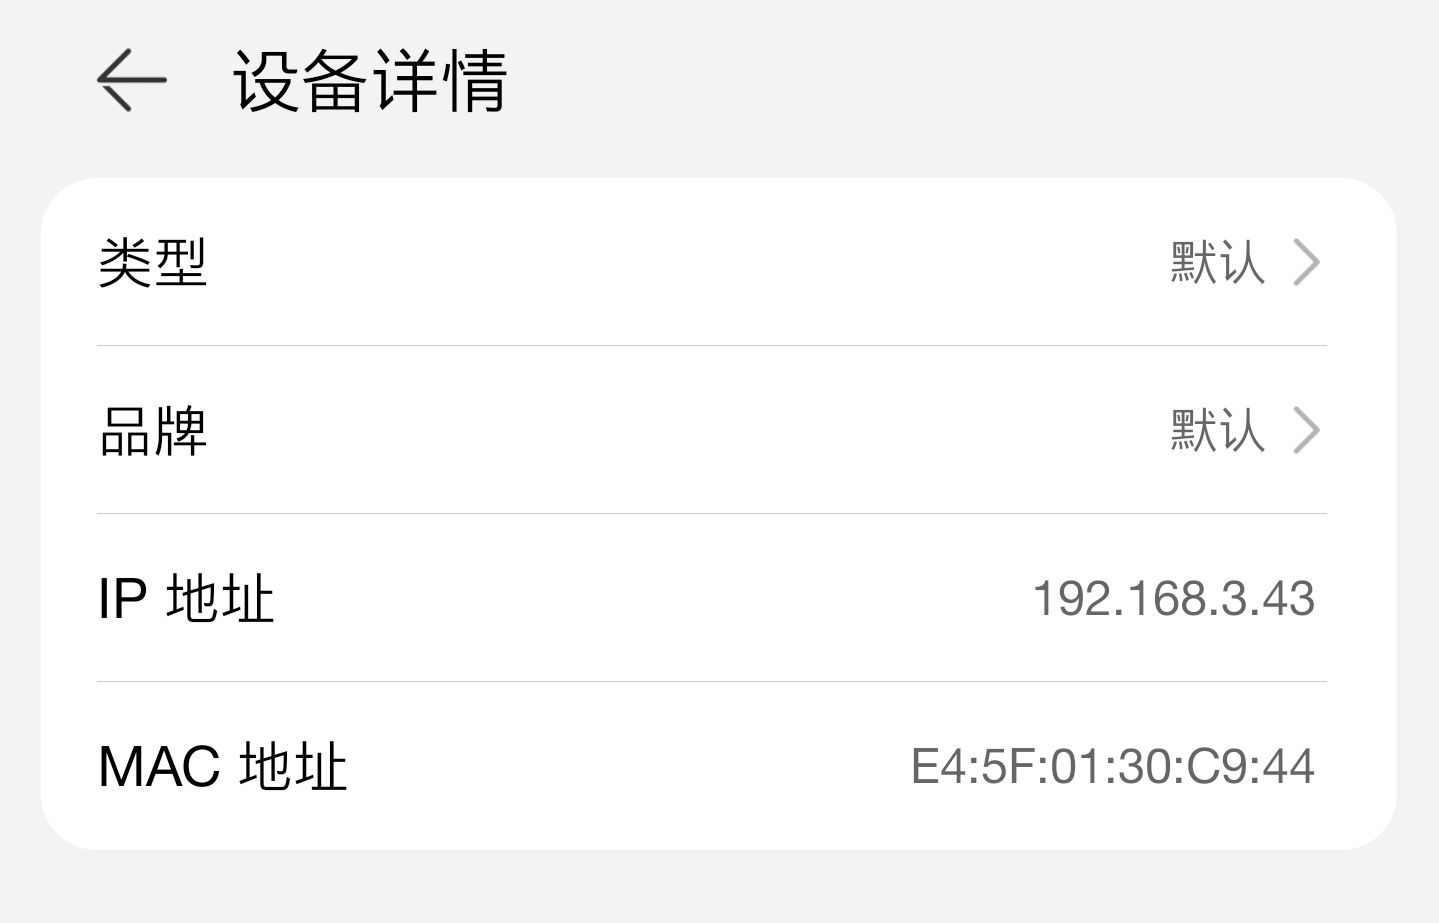
树莓派启动成功后,通过路由器查看树莓派的ip
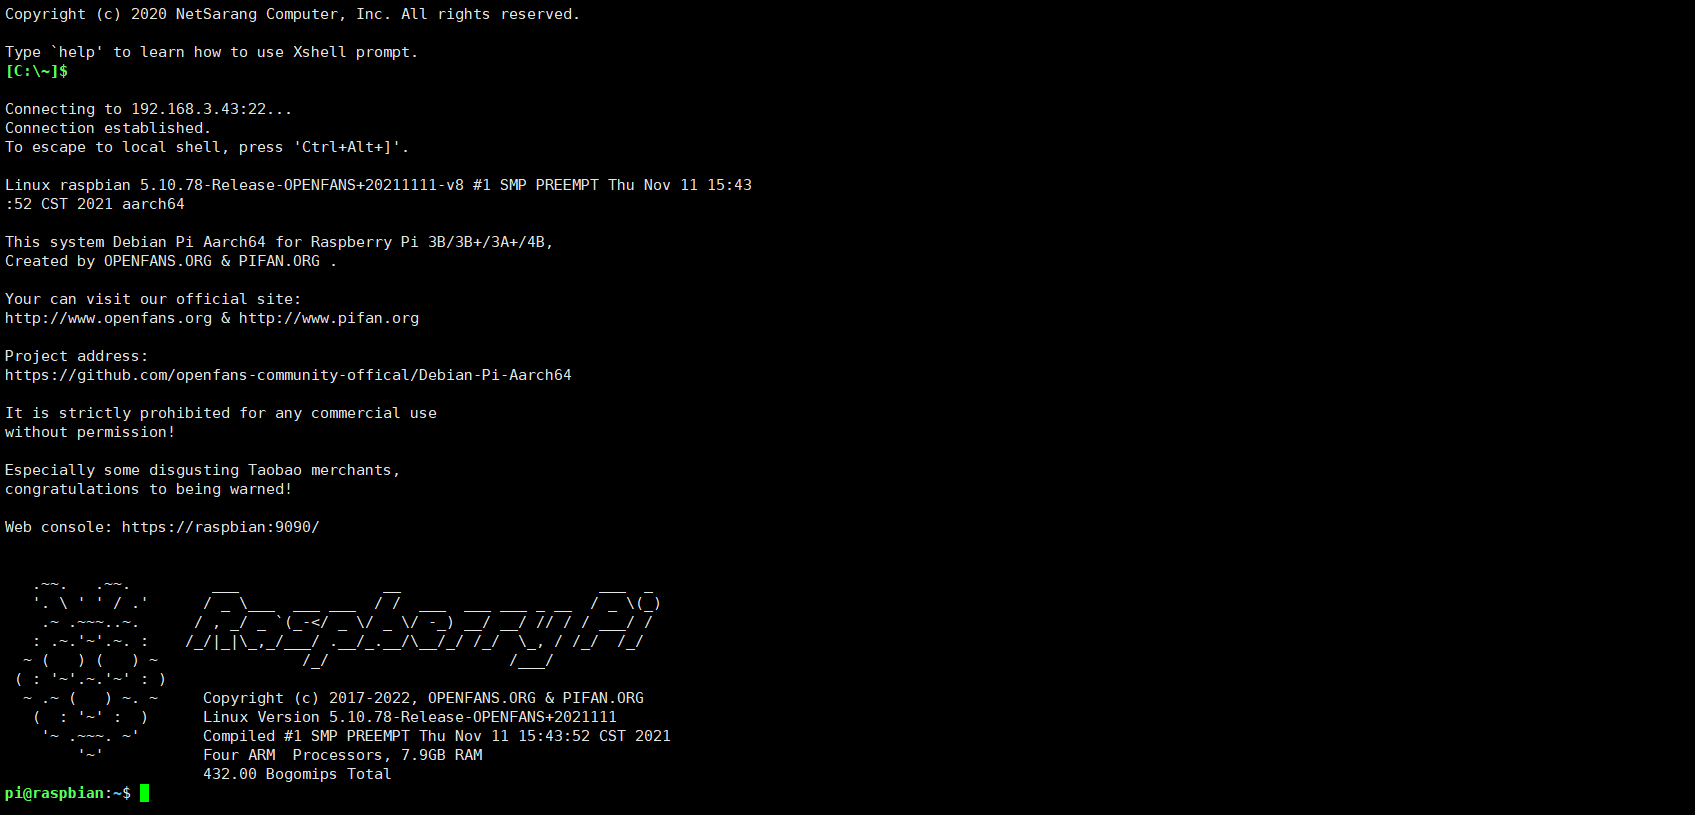
使用Xshell7连接树莓派,默认用户名密码为【pi】、【raspberry】
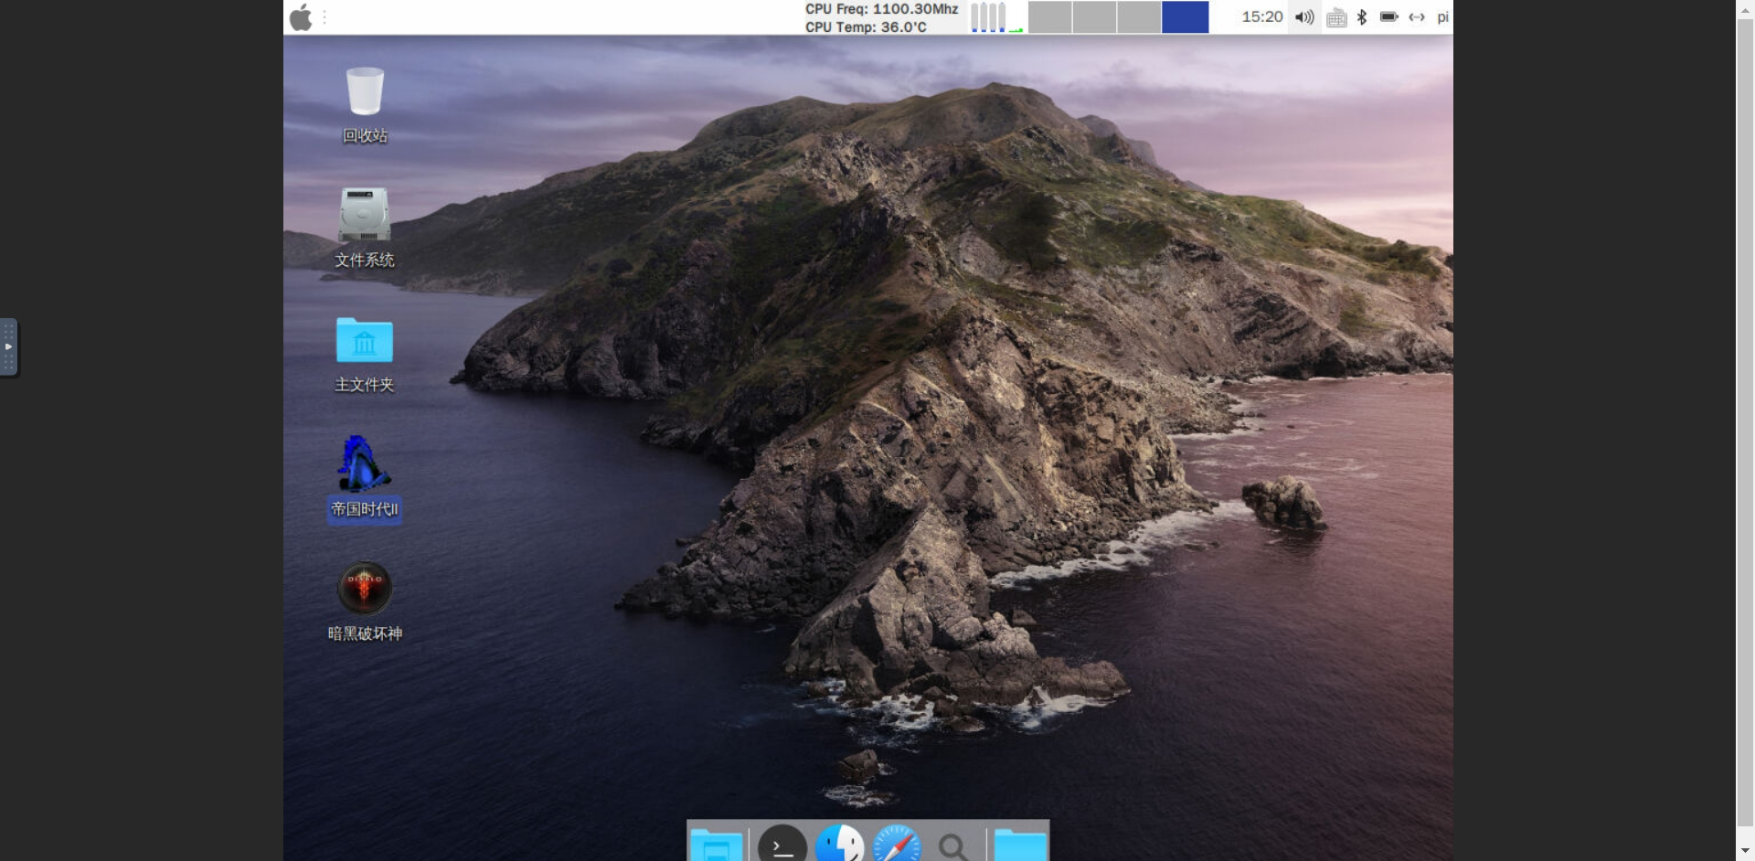
vnc-远程连接树莓派
VNC远程桌面访问Web界面

点击【连线】,输入密码,默认为【raspberry】

点击【Send Password】
opencv:摄像头人脸数据采集,人脸数据显示等
安装 OpenCV
安装基础组件:
sudo apt-get update
sudo apt-get install libjpeg-dev libatlas-base-dev libjpeg-dev libtiff5-dev libpng12-dev libqtgui4 libqt4-test libjasper-dev
然后安装 OpenCV:
sudo pip3 install opencv-python
一般情况,你是不可能安装成功的,99.999% 会出现以下错误:
Collecting opencv-python
  Downloading https://www.piwheels.org/simple/opencv-python/opencv_python-3.4.4.19-cp35-cp35m-linux_armv7l.whl (7.4MB)
    45% |██████████████▍                 | 3.3MB 15kB/s eta 0:04:20
THESE PACKAGES DO NOT MATCH THE HASHES FROM THE REQUIREMENTS FILE. If you have updated the package versions, please update the hashes. Otherwise, examine the package contents carefully; someone may have tampered with them.
    opencv-python from https://www.piwheels.org/simple/opencv-python/opencv_python-3.4.4.19-cp35-cp35m-linux_armv7l.whl#sha256=329d9d9fdd62b93d44a485aeaab4602c6f5b8555ea8bcc7dbcdc62c90cfe2c3f:
        Expected sha256 329d9d9fdd62b93d44a485aeaab4602c6f5b8555ea8bcc7dbcdc62c90cfe2c3f
             Got        869c7994c40b84ac09f244f768db9269d52d3265d376441e8516a47f24711ef2
这可能是由于网速太慢了,没有下载完整的文件,所以不完整的文件的md5和期望的不一样。
我们首先下载 whl 文件到本地:
# 浏览器直接访问就可以
https://www.piwheels.org/simple/opencv-python/opencv_python-3.4.4.19-cp35-cp35m-linux_armv7l.whl
然后上传到树莓派,使用以下命令安装:
sudo pip3 install opencv_python-3.4.4.19-cp35-cp35m-linux_armv7l.whl
如果出现以下代码,说明安装成功:
Processing ./opencv_python-3.4.4.19-cp35-cp35m-linux_armv7l.whl
Requirement already satisfied: numpy>=1.12.1 in /usr/lib/python3/dist-packages (from opencv-python==3.4.4.19)
Installing collected packages: opencv-python
Successfully installed opencv-python-3.4.4.19
6 部分核心代码
void RunTime(std::string det_model_dir,
              std::string class_model_dir,
              cv::VideoCapture cap) {
    cv::Mat img;
    cap >> img;
    // Prepare
    float shrink = 0.2;
    int width = img.cols;
    int height = img.rows;
    int s_width = static_cast<int>(width * shrink);
    int s_height = static_cast<int>(height * shrink);

    // Detection
    MobileConfig config;
    config.set_model_dir(det_model_dir);

    // Create Predictor For Detction Model
    std::shared_ptr<PaddlePredictor> predictor =
        CreatePaddlePredictor<MobileConfig>(config);

    // Get Input Tensor
    std::unique_ptr<Tensor> input_tensor0(std::move(predictor->GetInput(0)));
    input_tensor0->Resize({1, 3, s_height, s_width});
    auto* data = input_tensor0->mutable_data<float>();

    // Do PreProcess
    std::vector<float> detect_mean = {104.f, 117.f, 123.f};
    std::vector<float> detect_scale = {0.007843, 0.007843, 0.007843};
    pre_process(img, s_width, s_height, detect_mean, detect_scale, data, false);

    // Detection Model Run
    predictor->Run();

    // Get Output Tensor
    std::unique_ptr<const Tensor> output_tensor0(
        std::move(predictor->GetOutput(0)));
    auto* outptr = output_tensor0->data<float>();
    auto shape_out = output_tensor0->shape();
    int64_t out_len = ShapeProduction(shape_out);

    // Filter Out Detection Box
    float detect_threshold = 0.3;
    std::vector<Object> detect_result;
    for (int i = 0; i < out_len / 6; ++i) {
      if (outptr[1] >= detect_threshold) {
        Object obj;
        int xmin = static_cast<int>(width * outptr[2]);
        int ymin = static_cast<int>(height * outptr[3]);
        int xmax = static_cast<int>(width * outptr[4]);
        int ymax = static_cast<int>(height * outptr[5]);
        int w = xmax - xmin;
        int h = ymax - ymin;
        cv::Rect rec_clip =
            cv::Rect(xmin, ymin, w, h) & cv::Rect(0, 0, width, height);
        obj.rec = rec_clip;
        detect_result.push_back(obj);
      }
      outptr += 6;
    }

    // Classification
    config.set_model_dir(class_model_dir);

    // Create Predictor For Classification Model
    predictor = CreatePaddlePredictor<MobileConfig>(config);

    // Get Input Tensor
    std::unique_ptr<Tensor> input_tensor1(std::move(predictor->GetInput(0)));
    int classify_w = 128;
    int classify_h = 128;
    input_tensor1->Resize({1, 3, classify_h, classify_w});
    auto* input_data = input_tensor1->mutable_data<float>();
    int detect_num = detect_result.size();
    std::vector<float> classify_mean = {0.5f, 0.5f, 0.5f};
    std::vector<float> classify_scale = {1.f, 1.f, 1.f};
    float classify_threshold = 0.5;
    for (int i = 0; i < detect_num; ++i) {
      cv::Rect rec_clip = detect_result[i].rec;
      cv::Mat roi = img(rec_clip);

      // Do PreProcess
      pre_process(roi,
                  classify_w,
                  classify_h,
                  classify_mean,
                  classify_scale,
                  input_data,
                  true);

      // Classification Model Run
      predictor->Run();

      // Get Output Tensor
      std::unique_ptr<const Tensor> output_tensor1(
          std::move(predictor->GetOutput(1)));
      auto* outptr = output_tensor1->data<float>();

      // Draw Detection and Classification Results
      cv::rectangle(img, rec_clip, cv::Scalar(0, 0, 255), 2, cv::LINE_AA);
      std::string text = outptr[1] > classify_threshold ? "wear mask" : "no mask";
      std::cout << outptr[1] << std::endl;


    if(outptr[1] < 0.5)
    {
            ofstream outfile;
            outfile.open("../result.txt");
        outfile << "000000000" << endl;
        outfile.close();
    }
    else
    {
        ofstream outfile;
            outfile.open("../result.txt");
        outfile << "111111111" << endl;
        outfile.close();
    }


      int font_face = cv::FONT_HERSHEY_COMPLEX_SMALL;
      double font_scale = 1.f;
      int thickness = 1;
      cv::Size text_size =
          cv::getTextSize(text, font_face, font_scale, thickness, nullptr);
      float new_font_scale = rec_clip.width * 0.7 * font_scale / text_size.width;
      text_size =
          cv::getTextSize(text, font_face, new_font_scale, thickness, nullptr);
      cv::Point origin;
      origin.x = rec_clip.x + 5;
      origin.y = rec_clip.y + text_size.height + 5;
      cv::putText(img,
                  text,
                  origin,
                  font_face,
                  new_font_scale,
                  cv::Scalar(0, 255, 255),
                  thickness,
                  cv::LINE_AA);
    }
    cv::imshow("Mask Detection Demo", img);


}


 1万+
1万+


 被折叠的 条评论
为什么被折叠?


