


文章目录
Sqoop 安装部署
一、安装 sqoop
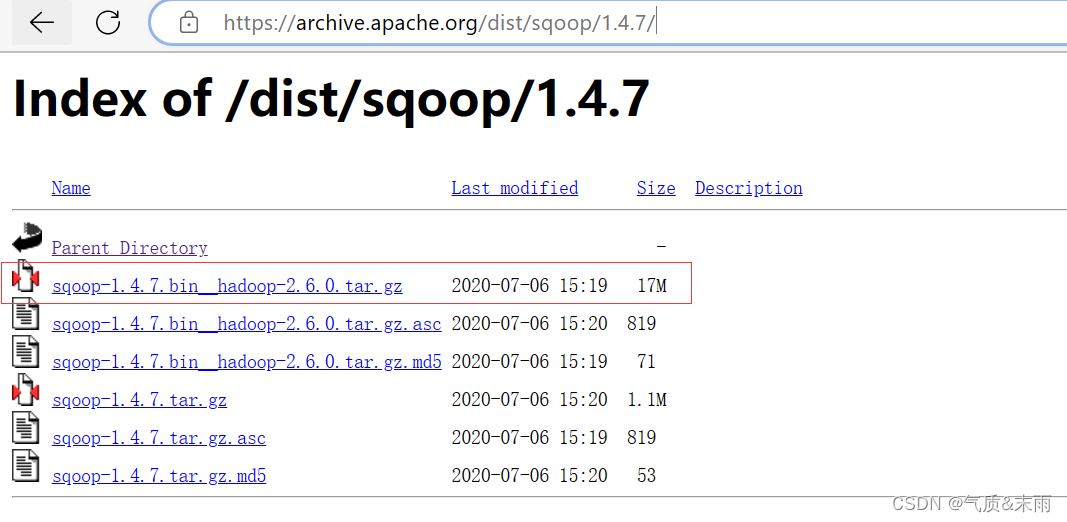
sqoop 下载地址:https://archive.apache.org/dist/sqoop/1.4.7/
我们的hadoop3.13 版本的,对应的sqoop是1.4.7,我们下1.4.7版本的就行了。
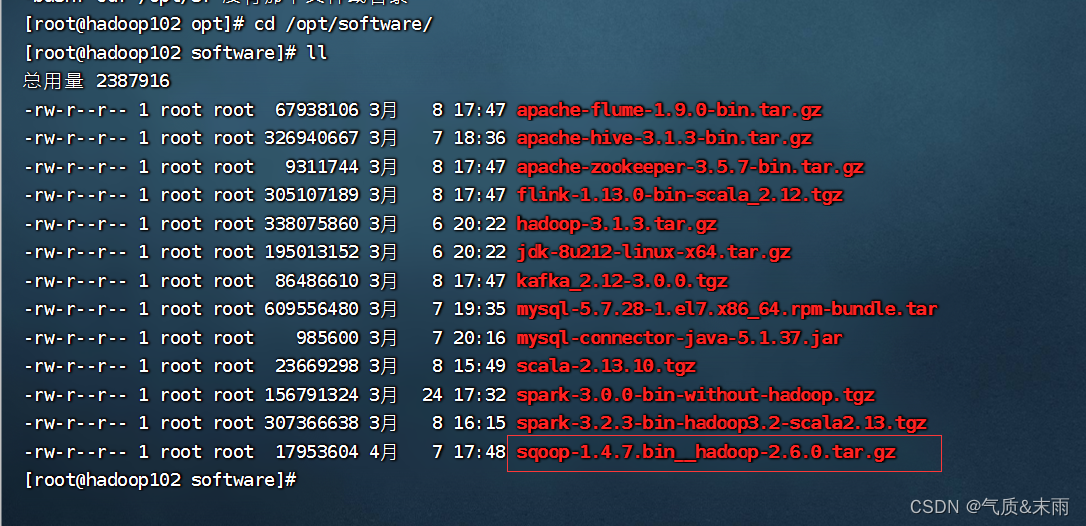
上传到 linux 的 /opt/software 目录下
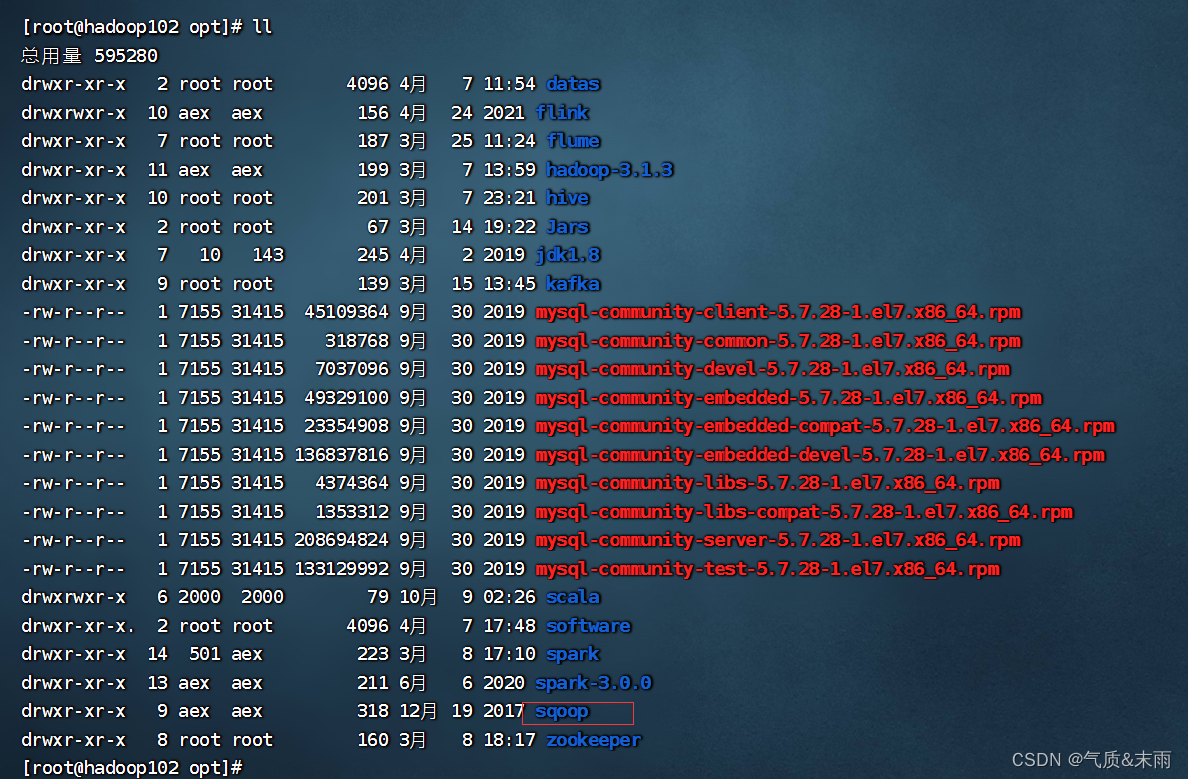
接下来解压到,/opt 目录下
输入命令: tar -zxvf sqoop-1.4.7.bin__hadoop-2.6.0.tar.gz -C /opt/

输入命令: mv sqoop-1.4.7.bin__hadoop-2.6.0/ sqoop 把名字改为sqoop
二、修改配置文件
Sqoop的配置文件与大多数大数据框架类似,在sqoop根目录下的conf目录中
1、重命名配置文件
输入命令: mv sqoop-env-template.sh sqoop-env.sh

2、修改配置文件
输入命令:vim sqoop-env.sh 添加如下配置
export ZOOKEEPER_HOME=/opt/zookeeper
export HADOOP_COMMON_HOME=/opt/hadoop-3.1.3
export HADOOP_MAPRED_HOME=/opt/hadoop-3.1.3
export HIVE_HOME=/opt/hive
export ZOOKEEPER_HOME=/opt/zookeeper
export ZOOCFGDIR=/opt/zookeeper
然后把 mysql 的驱动,拷贝到 sqoop 的 lib 目录下就可以了
三、测试验证
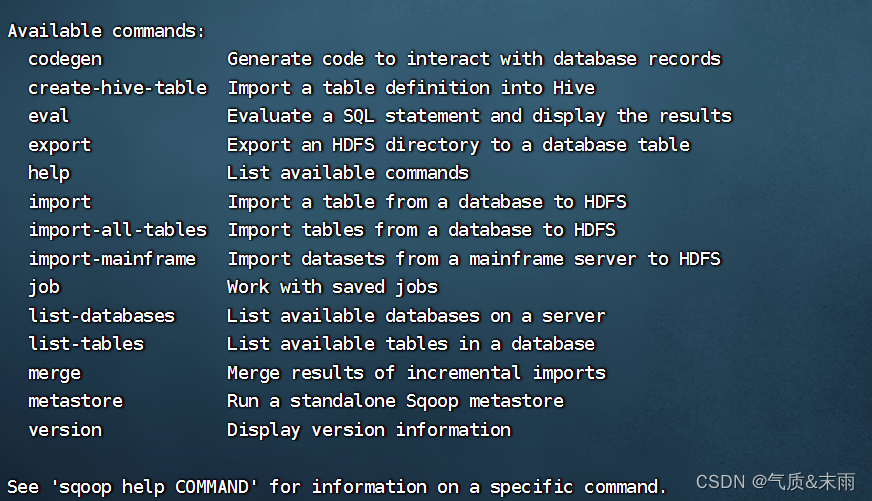
1、测试
输入命令:bin/sqoop help 可以看到命令提示
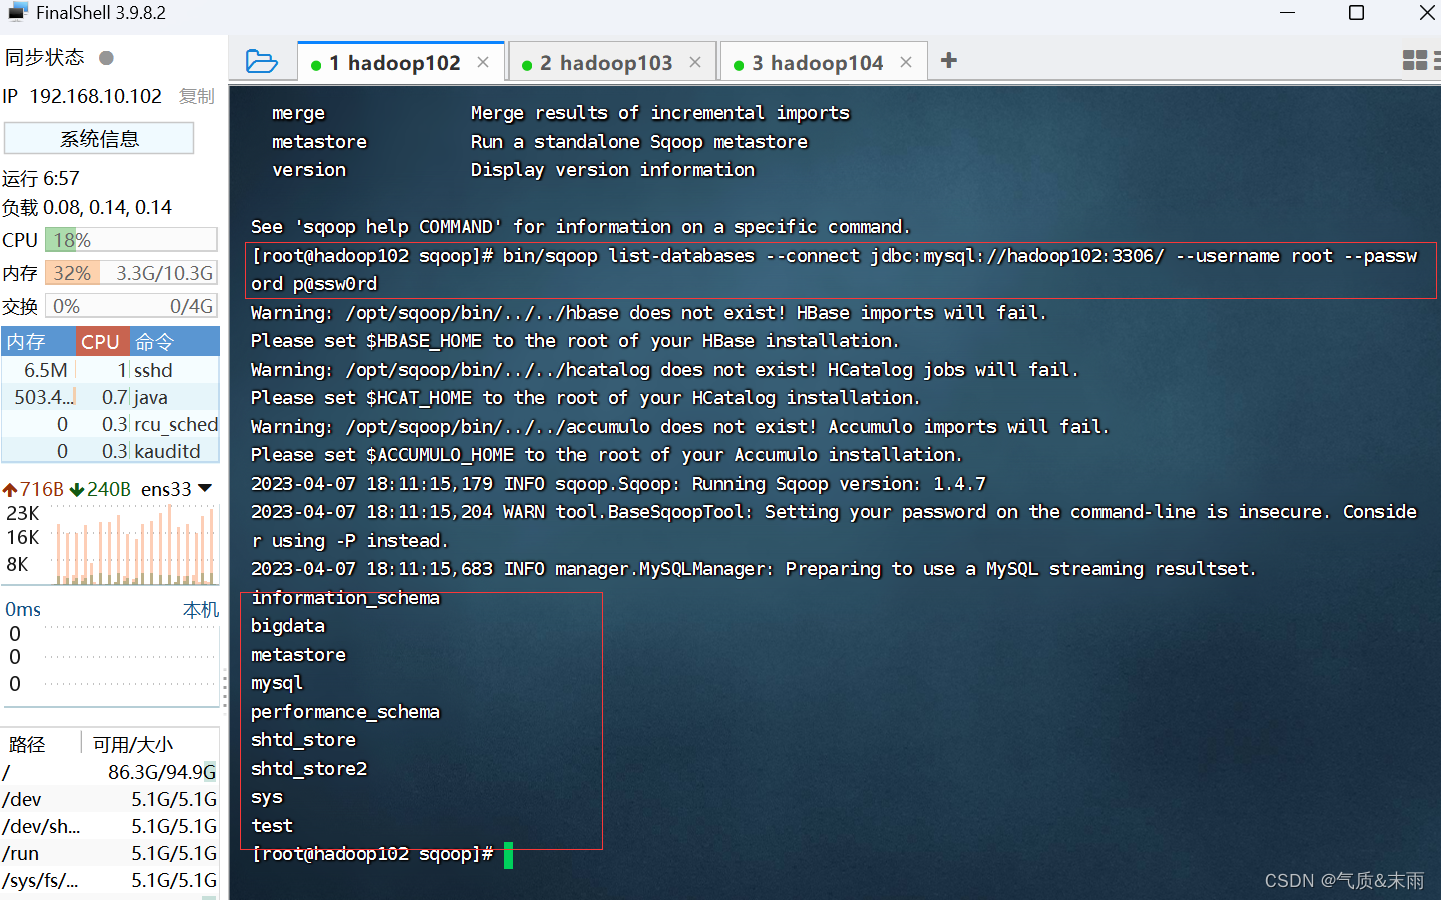
2、测试Sqoop是否能够成功连接数据库
输入命令:bin/sqoop list-databases --connect jdbc:mysql://hadoop102:3306/ --username root --password p@ssw0rd 可以看到已经连接成功了
四、mysql 数据导入到 hdfs
输入代码: 下面是语法格式,前面四行都是与mysql相关的,下面是哪行就是与 hdfs 相关的
bin/sqoop import \   --导入
--connect jdbc:mysql://hadoop102:3306/shtd_store \  --mysql数据库连接
--username root \			-- 用户
--password p@ssw0rd \       --密码
--table user_info \         --表名
--target-dir /user/dates \	--hdfs 文件地址
--delete-target-dir \   --如果有这个文件就删除,在公司里就不要用了,测试的时候还可以
--num-mappers 1 \			--mappers 数量
--fields-terminated-by "\t"  --数据的分割符


 3602
3602


 被折叠的 条评论
为什么被折叠?
被折叠的 条评论
为什么被折叠?
 到【灌水乐园】发言


