


1.项目介绍
本项目利用百度AI的人脸识别技术,开发了一个可以人脸识别的项目,涉及网络连接、文件处理、图像处理、数据库管理及音视频处理等多个方面。下面我将一一介绍项目的具体流程。
2.百度ai准备
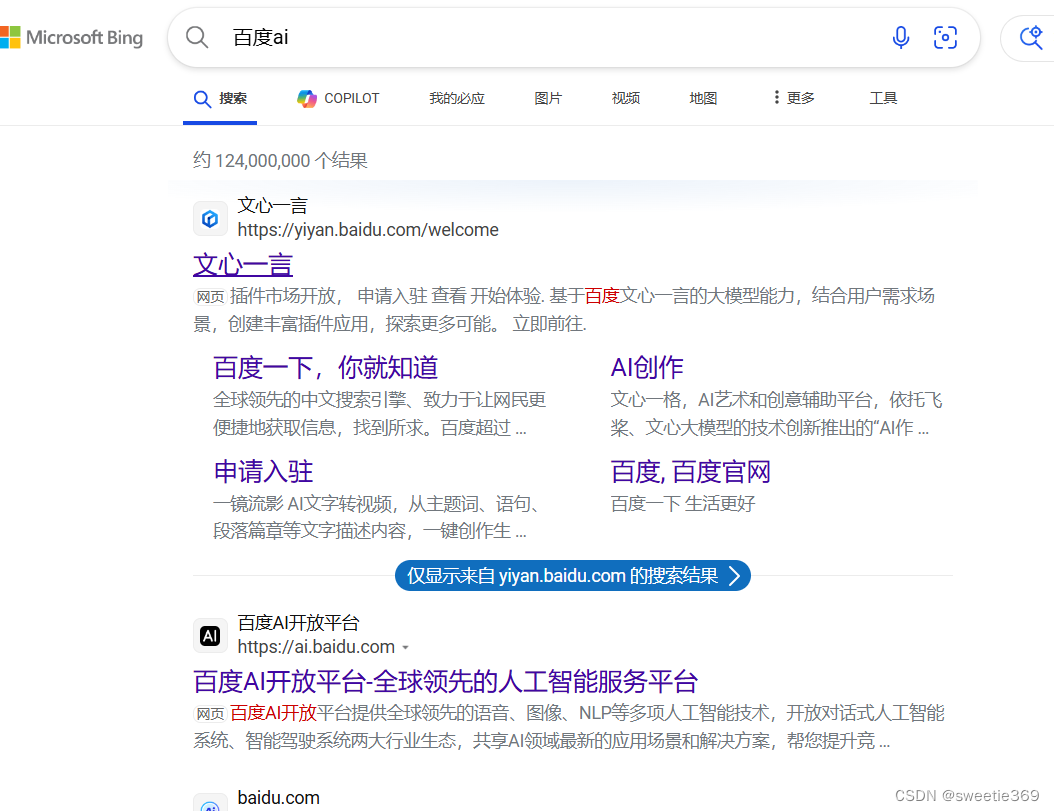
2.1搜索“百度ai”,并点击进入。
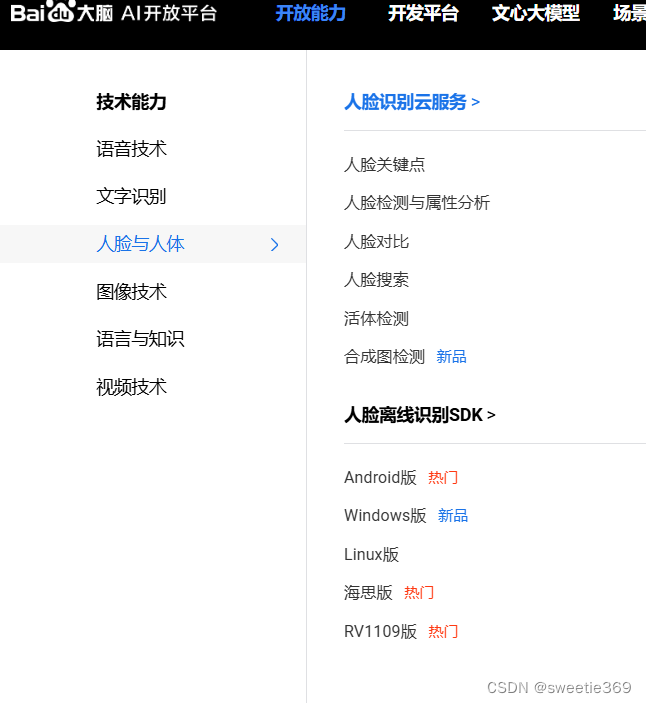
2.2点击“开发能力”,再点击“人脸与人体”,最后选择“人脸识别云服务”。
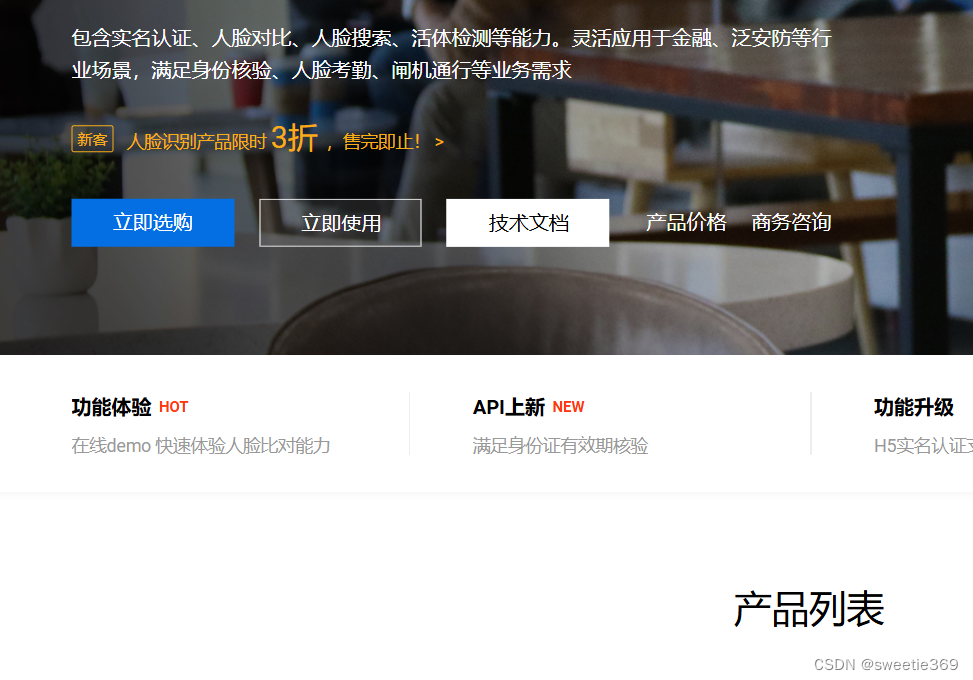
2.3点击“立即使用”
2.4点击“免费尝鲜”
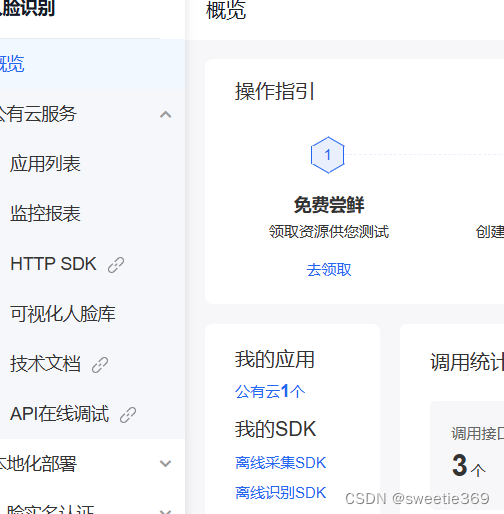
在里面领取所有的资源,完成个人的注册。
2.5点击“创建应用”

2.6创建人脸库
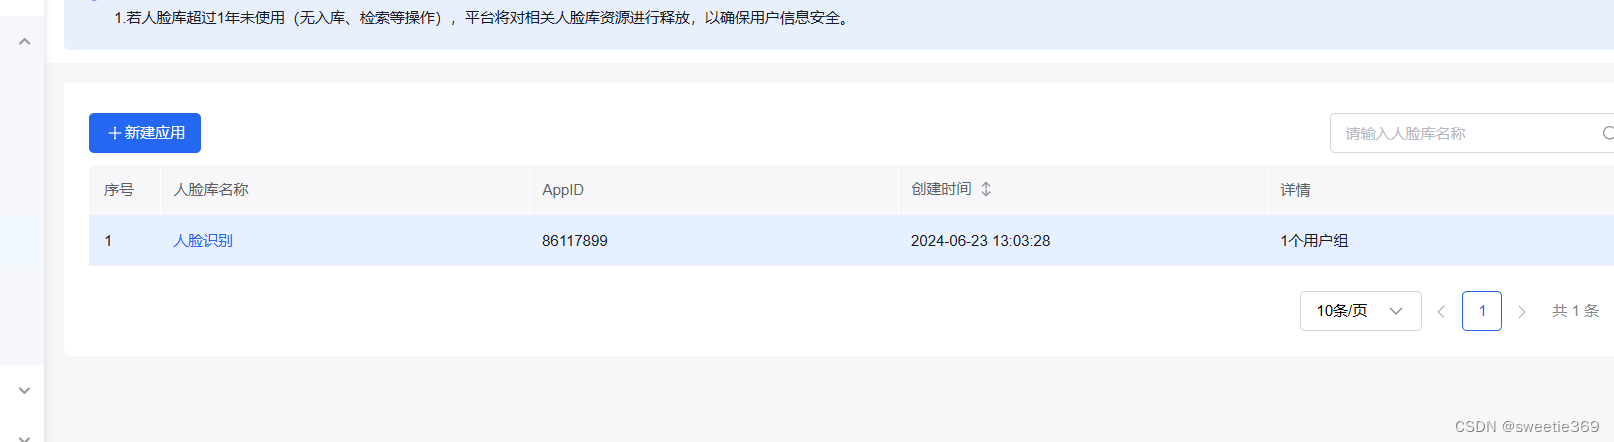
2.7存入照片信息

3创建一个.net 的windows窗体应用
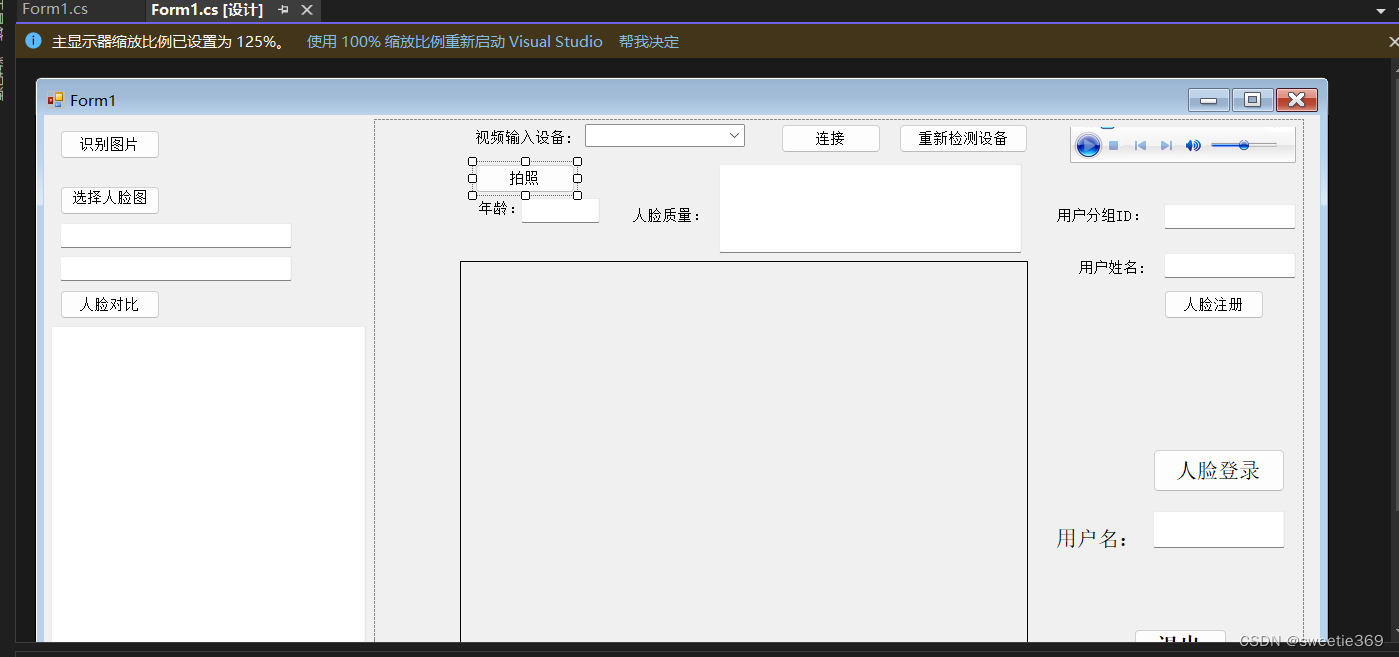
3.1窗体应用

3.2选择控件搭建界面
3.3对控件进行代码实现
3.3.1对api的填写
 private string APP_ID = "";
 private string API_KEY = "";
 private string SECRET_KEY = "";
3.3.2打开摄像头
打开摄像头,准备进行拍照
private void CameraConn()
{
if (comboBox1.Items.Count<=0)
{
MessageBox.Show("请插入视频设备");
return;
}
videoSource = new VideoCaptureDevice(videoDevices[comboBox1.SelectedIndex].MonikerString);
videoSource.DesiredFrameSize = new System.Drawing.Size(320, 240);
videoSource.DesiredFrameRate = 1;
videoSourcePlayer1.VideoSource = videoSource;
videoSourcePlayer1.Start();
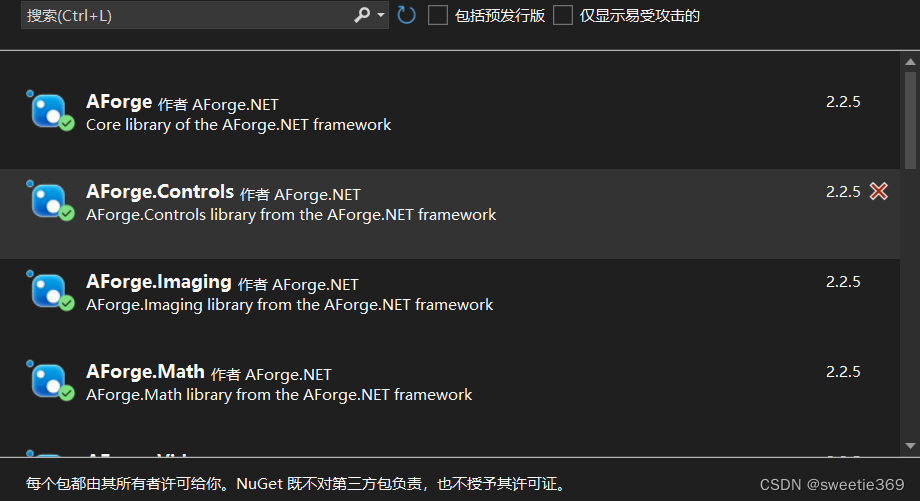
}3.4nuget的准备
需要安装如下几个negut包
3.5进行人脸检测
使用一个名为 Detect 的方法,它接收一个 object image 参数,检测人脸并分析其特征。也就是将传入的图像转换为 Bitmap 64格式,调用百度人脸检测API,并返回检测结果。最后将信息输出到显示界面
public void Detect(object image)
        {
            if (image!=null &&  image is Bitmap)
            {
                try
                {
                    Bitmap img = (Bitmap)image;
                    var imgByte = Bitmap2Byte(img);
                    Image im =img ;
                    string image1 = ConvertImageToBase64(im);
                    string imageType = "BASE64";

                    if (imgByte != null)
                    {
                        // 如果有可选参数
                        var options = new Dictionary<string, object>{
                            {"max_face_num", 2},
                            {"face_fields", "age,qualities,beauty"}
                        };
                        var result = client.Detect(image1, imageType,options);
                        FaceDetectInfo detect = JsonHelper.DeserializeObject<FaceDetectInfo>(result.ToString());
                        if (detect!=null && detect.result_num>0)
                        {
                            ageText.Text = detect.result[0].age.TryToString();
                            this.location = detect.result[0].location;
                            StringBuilder sb = new StringBuilder();
                            if (detect.result[0].qualities != null)
                            {
                                if (detect.result[0].qualities.blur >= 0.7)
                                {
                                    sb.AppendLine("人脸过于模糊");
                                }
                                if (detect.result[0].qualities.completeness >= 0.4)
                                {
                                    sb.AppendLine("人脸不完整");
                                }
                                if (detect.result[0].qualities.illumination <= 40)
                                {
                                    sb.AppendLine("灯光光线质量不好");
                                }
                                if (detect.result[0].qualities.occlusion!=null)
                                {
                                    if (detect.result[0].qualities.occlusion.left_cheek>=0.8)
                                    {
                                        sb.AppendLine("左脸颊不清晰");
                                    }
                                    if (detect.result[0].qualities.occlusion.left_eye >= 0.6)
                                    {
                                        sb.AppendLine("左眼不清晰");
                                    }
                                    if (detect.result[0].qualities.occlusion.mouth >= 0.7)
                                    {
                                        sb.AppendLine("嘴巴不清晰");
                                    }
                                    if (detect.result[0].qualities.occlusion.nose >= 0.7)
                                    {
                                        sb.AppendLine("鼻子不清晰");
                                    }
                                    if (detect.result[0].qualities.occlusion.right_cheek >= 0.8)
                                    {
                                        sb.AppendLine("右脸颊不清晰");
                                    }
                                    if (detect.result[0].qualities.occlusion.right_eye >= 0.6)
                                    {
                                        sb.AppendLine("右眼不清晰");
                                    }
                                    if (detect.result[0].qualities.occlusion.chin >= 0.6)
                                    {
                                        sb.AppendLine("下巴不清晰");
                                    }
                                    if (detect.result[0].pitch>=20)
                                    {
                                        sb.AppendLine("俯视角度太大");
                                    }
                                    if (detect.result[0].roll>=20)
                                    {
                                        sb.AppendLine("脸部应该放正");
                                    }
                                    if (detect.result[0].yaw>=20)
                                    {
                                        sb.AppendLine("脸部应该放正点");
                                    }
                                }

                            }
                            if (detect.result[0].location.height<=100 || detect.result[0].location.height<=100)
                            {
                                sb.AppendLine("人脸部分过小");
                            }
                            textBox4.Text = sb.ToString();
                            if (textBox4.Text.IsNull())
                            {
                                textBox4.Text = "OK";
                            }
                        }
                    }
                }
                catch (Exception ex)
                {
                    ClassLoger.Error("Form1.image", ex);
                }
            }

        }
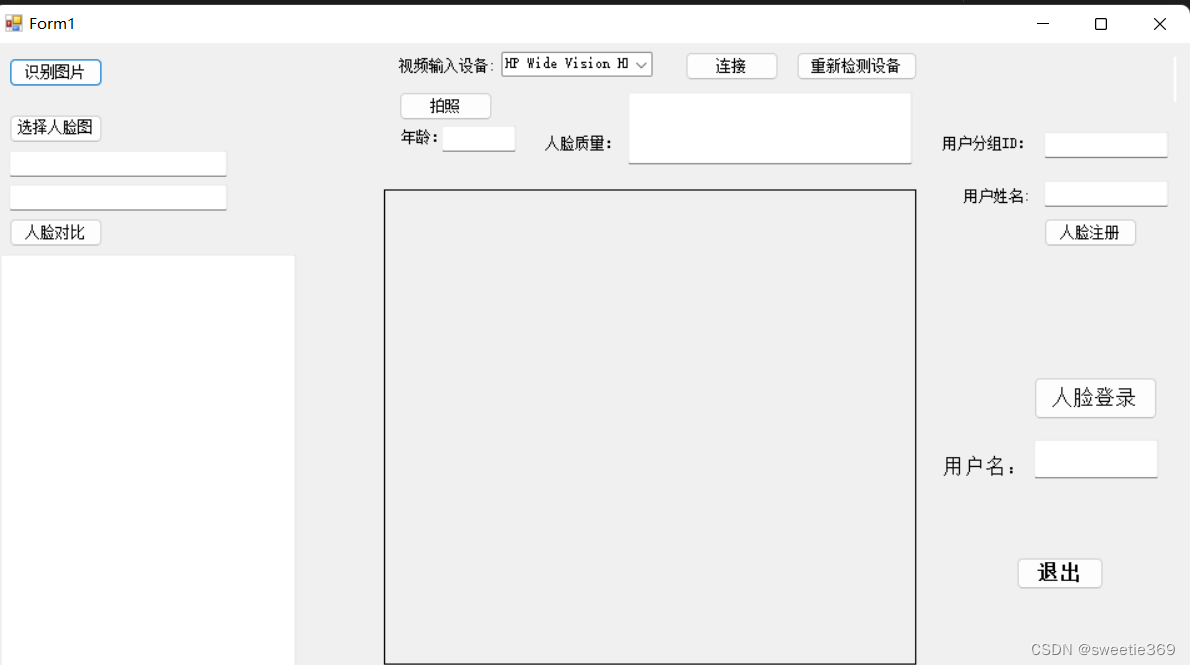
4运行结果
开始会出现如下的界面
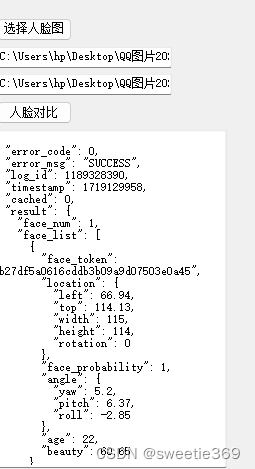
对照片进行对比,并进行了结果的输出。
5.项目总结
在项目中,我们利用了百度的人脸识别API来实现人脸检测、特征提取、人脸比对等功能。首先,我们熟悉了百度AI开放平台的API文档,了解了各接口的使用方法、参数配置以及返回值格式。
通过C#的HttpClient或RestSharp等库,我们编写了API调用的封装代码,实现了对百度人脸API的访问。在调用API时,我们按照文档要求传递了必要的参数,如API Key、Secret Key、图片URL或Base64编码的图片数据等,并处理了API的响应结果。
在项目中,我们解决了图片预处理、API调用异常处理、结果解析等问题。图片预处理包括调整图片大小、格式转换等,以确保符合API的要求。对于API调用中出现的异常,我们编写了相应的错误处理逻辑,以提高程序的健壮性。
通过调用百度人脸API,我们成功实现了人脸检测、关键点定位、人脸比对等功能,并在项目中进行了集成和测试。整个项目过程不仅提高了我们对人脸识别技术的理解,也加深了我们对C#编程和网络编程的掌握。


 1211
1211

 被折叠的 条评论
为什么被折叠?
被折叠的 条评论
为什么被折叠?
 到【灌水乐园】发言


