


目录
任务: 完成基于Vue-cli中的Vue-router的使用
一、实验目的
目的:学习基于Vue-cli中的Vue-router的使用
任务: 完成基于Vue-cli中的Vue-router的使用
二、实验要求
1、实验内容与要求
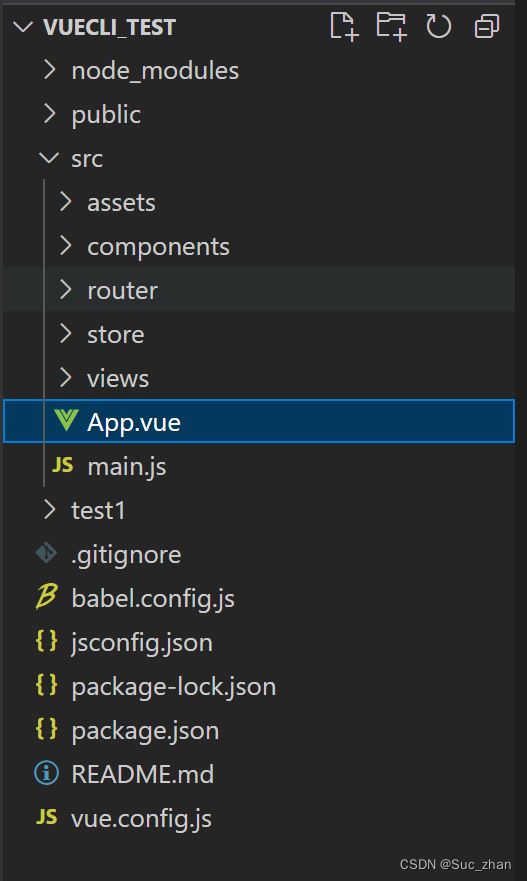
创建vue-cli的项目
项目构建成功之后通过运行指令使用项目
在views下创建test.vue页面添加到App.vue通过router的语法
然后通过router文件夹下的index.js配置路由然后在也面点击跳转到路由test页面
要求通过该实验的练习,学习并会使用Vue-router的基本语法,以及路由跳转和路由嵌套
具体操作步骤:
1)通过Vue-cli构建创建项目
2)通过指令运行Vue-cli脚手架
3)创建test.vue的页面
4)配置路由设置在主页面进行跳转看是否跳转成功,至少设计3个组件,组件内容自定。
2、实验安排方式:上机编码。
三、实验代码
App.vue
<template>
  <div id="nav">
    <router-link to="/">Home</router-link> |
    <router-link to="/about">About</router-link>|
    <router-link to="/test">第一个页面</router-link>|
    <router-link to="/first">第二个页面</router-link>|
    <router-link to="/second">第三个页面</router-link>|

  </div>

  <router-view/>

</template>

<style>
#app {
  font-family: Avenir, Helvetica, Arial, sans-serif;
  -webkit-font-smoothing: antialiased;
  -moz-osx-font-smoothing: grayscale;
  text-align: center;
  color: #2c3e50;
}

#nav {
  padding: 30px;
}

#nav a {
  font-weight: bold;
  color: #0a5011;
}

#nav a.router-link-exact-active {
  color: #42b983;
}
</style>
Main.js
import { createApp } from 'vue'
import App from './App.vue'
import router from './router'


let a = 1;
createApp(App).use(router).mount('#app')
index.js
import { createRouter, createWebHashHistory } from 'vue-router'
import Home from '../views/Home.vue'
import test from '../views/test'
import FirstView from '../views/FirstView'
import SecondView from '../views/SecondView'
const routes = [
  {
    path: '/',
    name: 'Home',
    component: Home
  },
  {
    path:"/test",
    name:'test',
    component:test
  },
  {
    path:"/first",
    name:'first',
    component:FirstView
  },
  {
    path:"/second",
    name:'second',
    component:SecondView
  },
  {
    path: '/about',
    name: 'About',
    // route level code-splitting
    // this generates a separate chunk (about.[hash].js) for this route
    // which is lazy-loaded when the route is visited.
    component: () => import(/* webpackChunkName: "about" */ '../views/About.vue')
  }
]

const router = createRouter({
  history: createWebHashHistory(),
  routes
})

export default router
HelloWorld.vue
<template>
  <div class="hello">
    <h1>{{ msg }}</h1>
    <p>
      For a guide and recipes on how to configure / customize this project,<br>
      check out the
      <a href="https://cli.vuejs.org" target="_blank" rel="noopener">vue-cli documentation</a>.
    </p>
    <h3>Installed CLI Plugins</h3>
    <ul>
      <li><a href="https://github.com/vuejs/vue-cli/tree/dev/packages/%40vue/cli-plugin-babel" target="_blank" rel="noopener">babel</a></li>
      <li><a href="https://github.com/vuejs/vue-cli/tree/dev/packages/%40vue/cli-plugin-router" target="_blank" rel="noopener">router</a></li>
      <li><a href="https://github.com/vuejs/vue-cli/tree/dev/packages/%40vue/cli-plugin-vuex" target="_blank" rel="noopener">vuex</a></li>
    </ul>
    <h3>Essential Links</h3>
    <ul>
      <li><a href="https://vuejs.org" target="_blank" rel="noopener">Core Docs</a></li>
      <li><a href="https://forum.vuejs.org" target="_blank" rel="noopener">Forum</a></li>
      <li><a href="https://chat.vuejs.org" target="_blank" rel="noopener">Community Chat</a></li>
      <li><a href="https://twitter.com/vuejs" target="_blank" rel="noopener">Twitter</a></li>
      <li><a href="https://news.vuejs.org" target="_blank" rel="noopener">News</a></li>
    </ul>
    <h3>Ecosystem</h3>
    <ul>
      <li><a href="https://router.vuejs.org" target="_blank" rel="noopener">vue-router</a></li>
      <li><a href="https://vuex.vuejs.org" target="_blank" rel="noopener">vuex</a></li>
      <li><a href="https://github.com/vuejs/vue-devtools#vue-devtools" target="_blank" rel="noopener">vue-devtools</a></li>
      <li><a href="https://vue-loader.vuejs.org" target="_blank" rel="noopener">vue-loader</a></li>
      <li><a href="https://github.com/vuejs/awesome-vue" target="_blank" rel="noopener">awesome-vue</a></li>
    </ul>
  </div>
</template>

<script>
export default {
  name: 'HelloWorld',
  props: {
    msg: String
  }
}
</script>

<!-- Add "scoped" attribute to limit CSS to this component only -->
<style scoped>
h3 {
  margin: 40px 0 0;
}
ul {
  list-style-type: none;
  padding: 0;
}
li {
  display: inline-block;
  margin: 0 10px;
}
a {
  color: #42b983;
}
</style>
附件.vue
<template>
    <p>
       这是一个附件
    </p>
</template>
<script>
export default{
    name:'sub1',
}
</script>
About.vue
<template>
  <div class="about">
    <h1>This is a about page.</h1>
  </div>
</template>
Test.vue
<template>
    <h2>第一个页面</h2>
    <h3>This is the first page</h3>
    <hr>
    <sub-1></sub-1>
</template>

<script>
import Sub1 from './附件.vue'
export default{
    name:"test",
    components:{
        'sub-1':Sub1,
    }
}

</script>

<style scoped>
h2{
    color:#0a5011;
}
h3{
    color:#0a5011;
}
</style>
FirstView.vue
<template>
    <h2>第二个页面</h2>
    <h3>This is the second page.</h3>
    <hr>
    <sub-1></sub-1>
</template>

<script>
import sub1 from './附件.vue'
export default{
    name:"first",
    components:{
        'sub-1':sub1,
    }
}

</script>

<style scoped>
h2{
    color:#0a5011;
}
h3{
    color:#0a5011;
}
</style>
SecondView.vue
<template>
    <h2>第三个页面</h2>
    <h3>THis is the third page.</h3>
    <hr>
    <sub-1></sub-1>

</template>

<script>
import sub1 from './附件.vue'
export default{
    name:"second",
    components:{
        'sub-1':sub1,
    }
}

</script>

<style scoped>
h2{
    color:#0a5011;
}
h3{
    color:#0a5011;
}
</style>
Home.vue
<template>
  <div class="home">
    <img alt="Vue logo" src="../assets/logo.png">
    <HelloWorld msg="Welcome to Your Vue.js App"/>
  </div>
</template>

<script>
// @ is an alias to /src
import HelloWorld from '@/components/HelloWorld.vue'

export default {
  name: 'HomeView',
  components: {
    HelloWorld
  }
}
</script>
四、实验结果
图一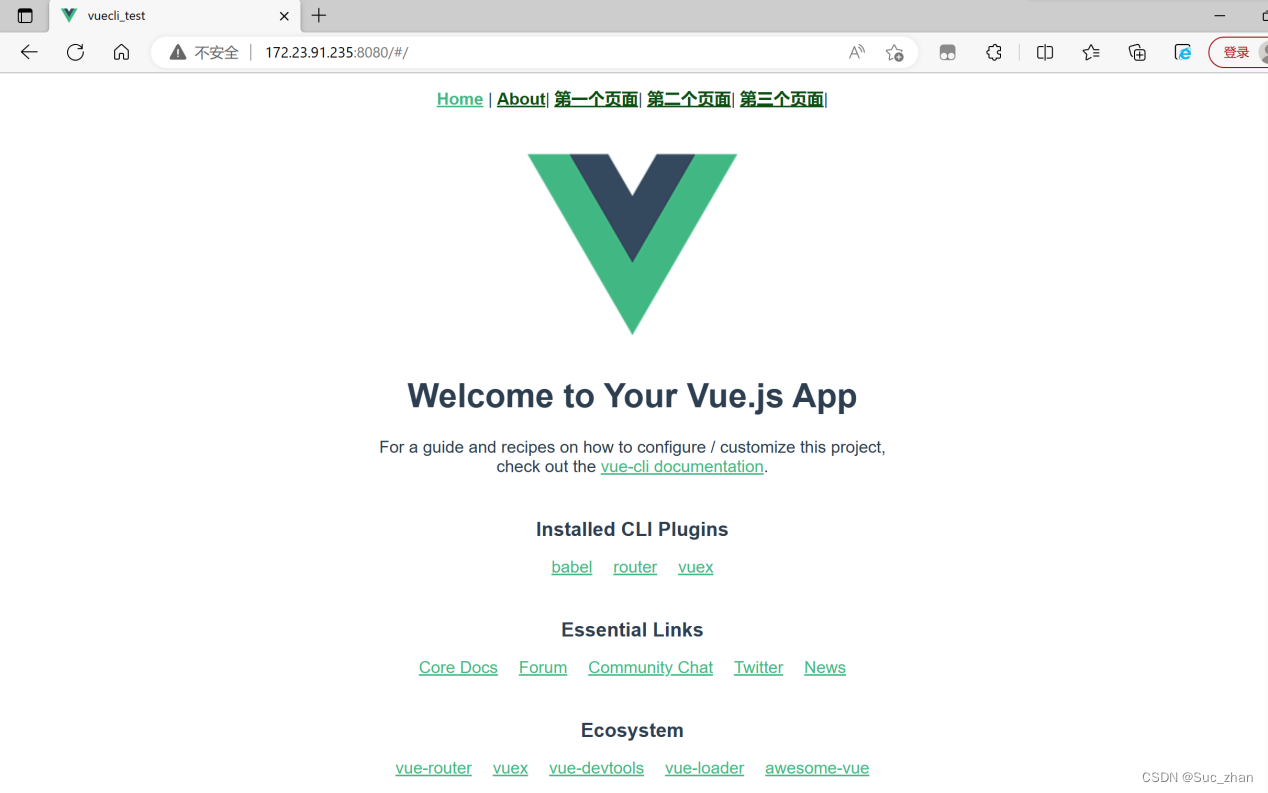
图2
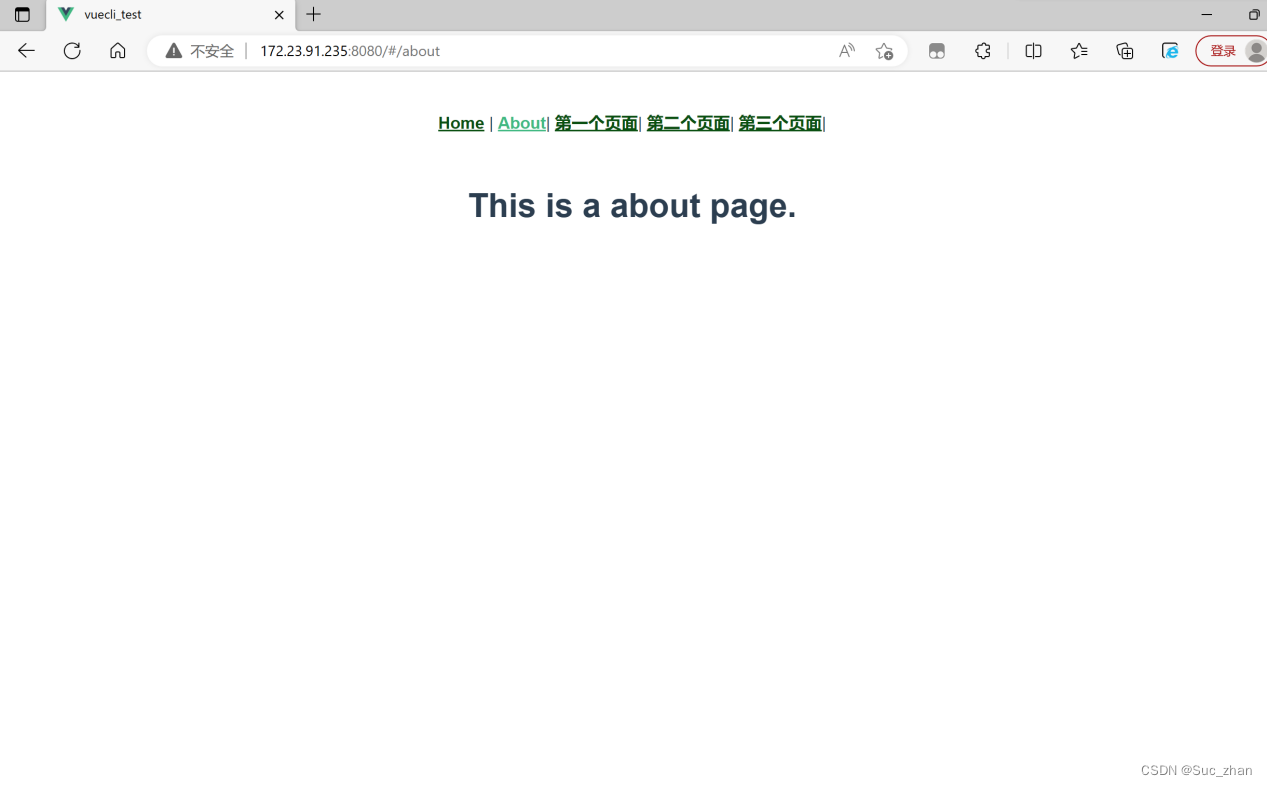
图3
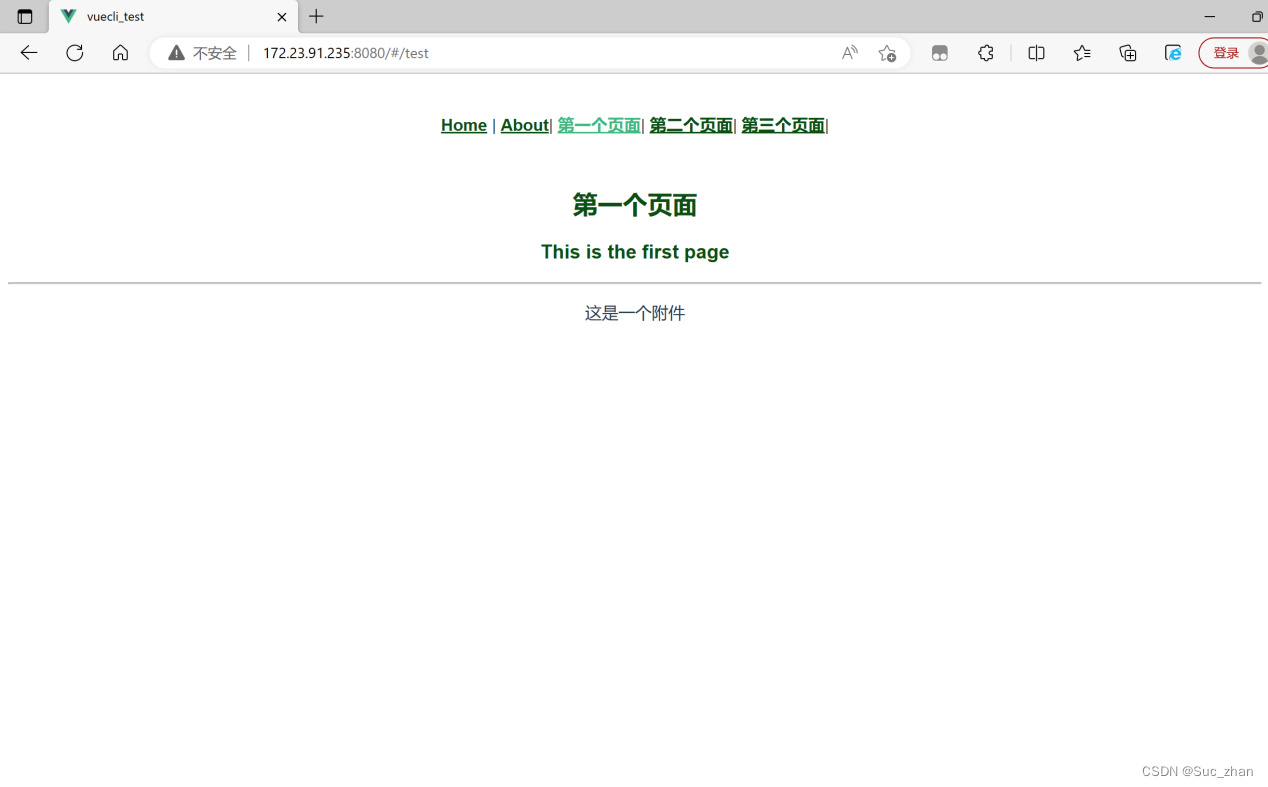
图4
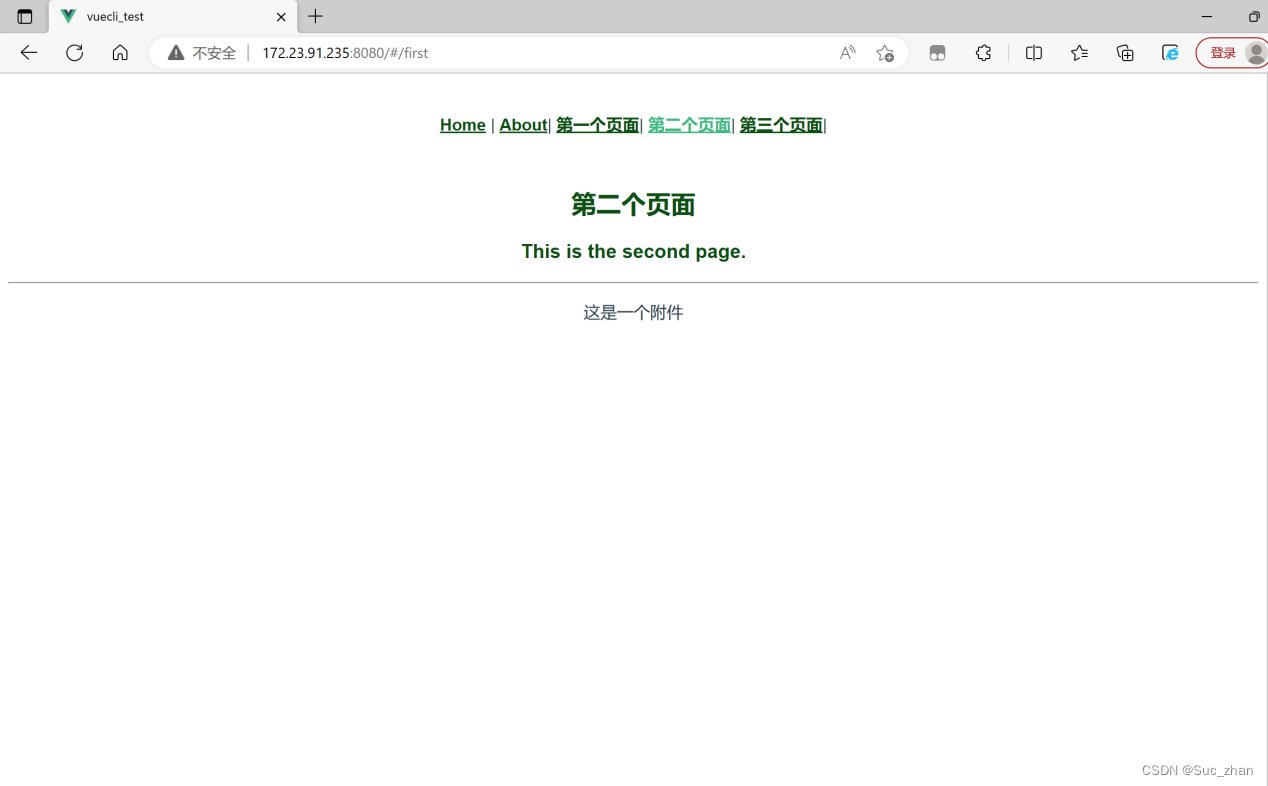
图5
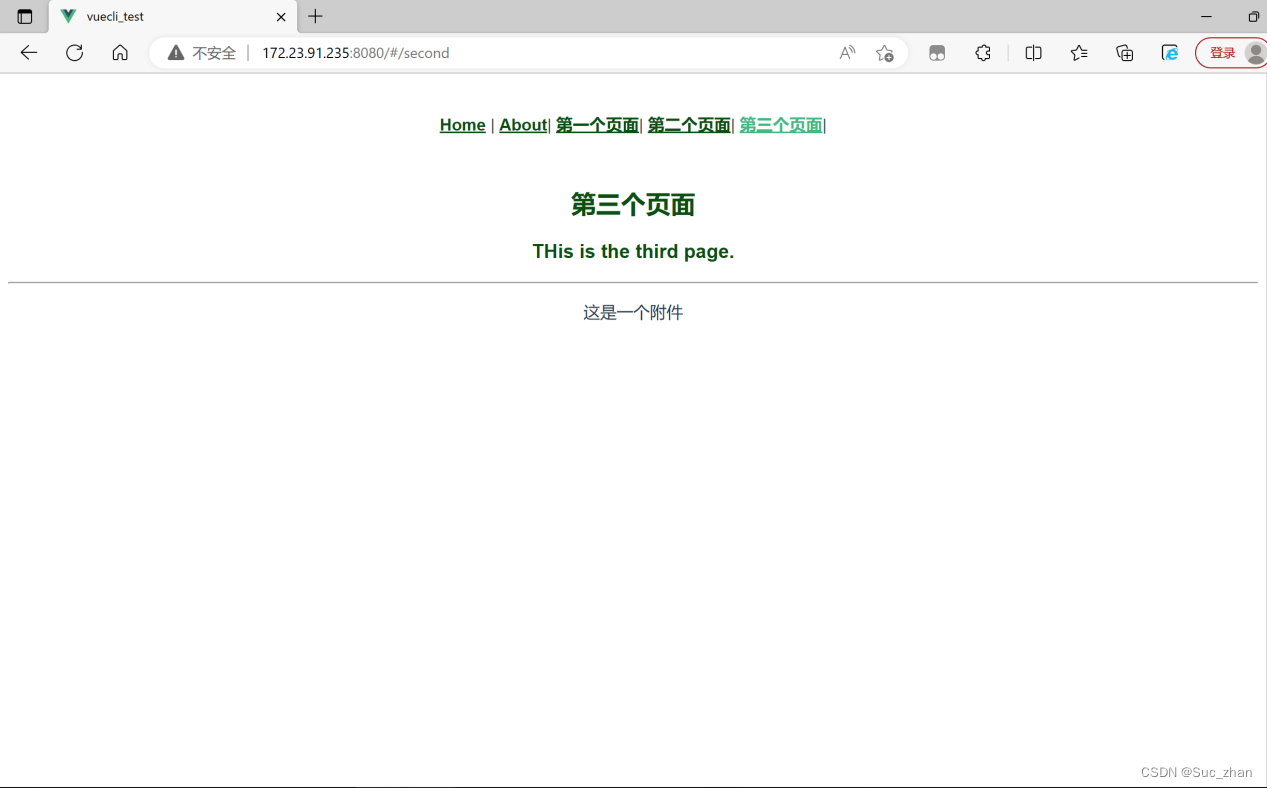
图6
五、实验体会
这是学习Vue+Springboot前后端分离开发接触的第一个Vuecli项目,在进行配置的时候出了很多小插曲,所幸最后还是能够成功运行,对我后续的学习有很大的帮助。


 316
316

 被折叠的 条评论
为什么被折叠?
被折叠的 条评论
为什么被折叠?
 到【灌水乐园】发言


