


微信小程序头像上传下载功能开发实战:从零到一踩坑全记录
前言
在移动互联网时代,头像功能是各类应用的标配功能。本文将带您从零开始,通过微信小程序实现完整的头像上传下载功能,过程中不仅涵盖核心API的使用技巧,更将揭秘开发者工具的那些"坑",助您快速掌握小程序文件操作的精髓。
一、环境搭建与项目初始化
1.1 创建小程序项目
- 打开微信开发者工具 -> 新建项目
- 项目名称:“头像上传下载”
- 关闭云开发,选择不使用模板
1.2 目录结构规划
project-root/
├── miniprogram/      // 小程序源码
│   ├── pages/
│   └── image/
└── server/           // 独立服务端目录
    └── index.js
二、核心代码实现
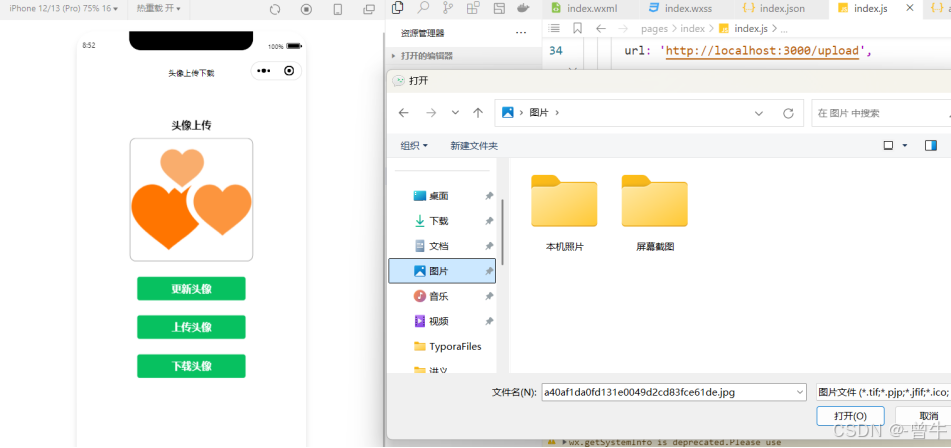
2.1 页面布局(index.wxml)
<!-- 导航栏配置 -->
<navigation-bar
  title="头像上传"
  back="{{false}}"
  color="black"
  background="#FFF">
</navigation-bar>

<!-- 主体内容 -->
<view class="imgbox">
  <image src="{{ imgUrl }}" mode="aspectFit" />
  <button type="primary" bind:tap="changeImg">更新头像</button>
  <button type="primary" bind:tap="upload">上传头像</button>
  <button type="primary" bind:tap="download">下载头像</button>
</view>
2.2 样式设计(index.wxss)
.imgbox {
  display: flex;
  flex-direction: column;
  align-items: center;
  padding: 40rpx;
}

.imgbox image {
  width: 400rpx;
  height: 400rpx;
  border: 1rpx solid #e0e0e0;
  border-radius: 10%;
  margin-bottom: 40rpx;
}

button {
  width: 80%;
  margin: 20rpx 0;
}
2.3 逻辑实现(index.js)
Page({
data: {
imgUrl: '/image/guest.png',
tempFilePath: null
},
uploadFileUrl: null,
// 选择图片
changeImg() {
wx.chooseMedia({
count: 1,
mediaType: ['image'],
sizeType: ['compressed'], // 压缩处理
success: res => {
const tempFile = res.tempFiles[0]
this.setData({
tempFilePath: tempFile.tempFilePath,
imgUrl: tempFile.tempFilePath
})
}
})
},
// 上传图片
upload() {
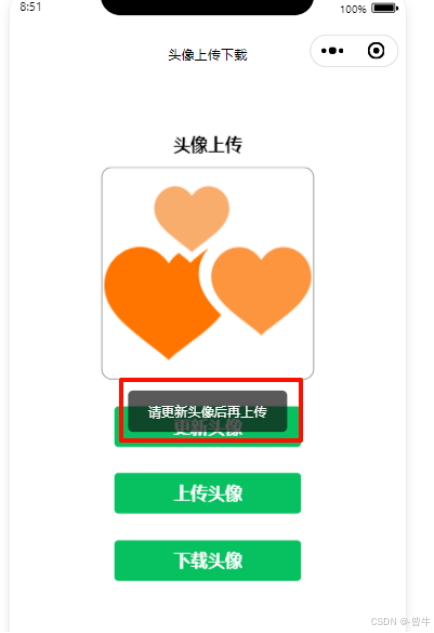
if (!this.data.tempFilePath) {
wx.showToast({ title: '请先选择头像', icon: 'none' })
return
}
wx.uploadFile({
url: 'http://localhost:3000/upload',
filePath: this.data.tempFilePath,
name: 'image',
success: res => {
const response = JSON.parse(res.data)
this.uploadFileUrl = response.url
this.setData({ imgUrl: response.url }) // 实时更新显示
}
})
},
// 下载图片
download() {
if (!this.uploadFileUrl) {
wx.showToast({ title: '请先上传头像', icon: 'none' })
return
}
wx.showLoading({ title: '下载中...' })
wx.downloadFile({
url: this.uploadFileUrl,
success: res => {
wx.hideLoading()
wx.previewImage({
urls: [res.tempFilePath]
})
}
})
}
})
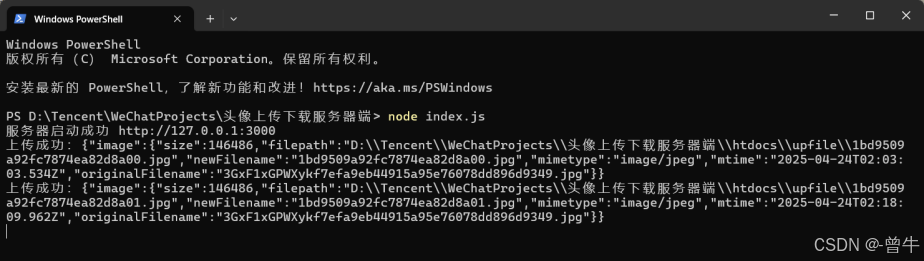
2.4 服务端示例(Node.js)
const express = require('express')
const fileUpload = require('express-fileupload')
const app = express()

app.use(fileUpload())
app.use('/uploads', express.static('uploads'))

// 文件上传接口
app.post('/upload', (req, res) => {
  if (!req.files) return res.status(400).send('No files')

  const file = req.files.image
  const savePath = __dirname + '/uploads/' + file.name

  file.mv(savePath, err => {
    if (err) return res.status(500).send(err)
    res.json({
      url: `http://localhost:3000/uploads/${file.name}`
    })
  })
})

app.listen(3000, () => console.log('Server started on port 3000'))
头像更换
上传图片
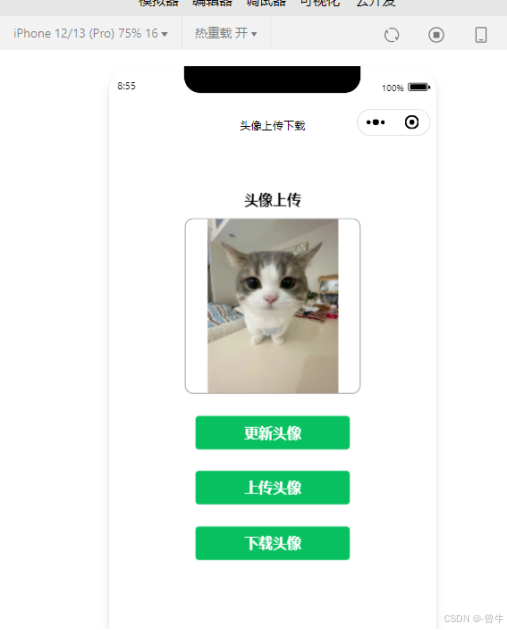
下载图片
三、典型问题解决方案
3.1 开发者工具自动刷新问题
现象:上传后数据丢失
原因:服务端目录被小程序监听
方案:将server目录移出小程序项目根目录
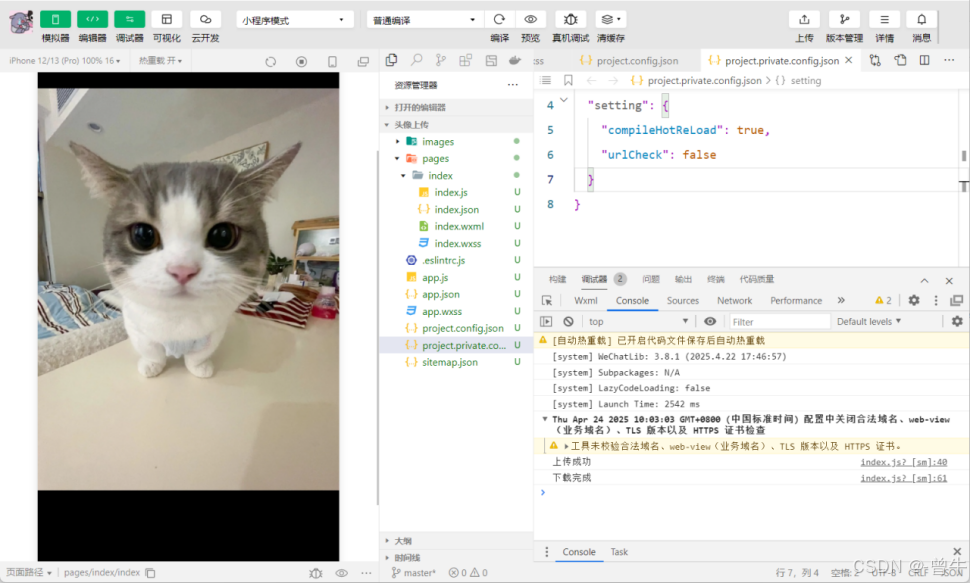
3.2 真机调试URL无效
方案:
- 开发者工具勾选"不校验合法域名"
- 真机调试时使用IP地址代替localhost
3.3 大文件处理策略
// 前端压缩配置
wx.chooseMedia({
  sizeType: ['compressed']
})

// 服务端限制(Node.js示例)
app.use(fileUpload({
  limits: { fileSize: 5 * 1024 * 1024 }, // 5MB限制
  abortOnLimit: true
}))
四、实验总结与心得
4.1 核心技术收获
- 小程序文件API链式调用
- 前后端二进制流交互
- 微信安全策略处理技巧
4.2 性能优化方向
- 引入CDN加速文件访问
- 增加上传进度提示
- 实现图片裁剪预处理
4.3 开发心得
- 目录结构设计影响开发体验
- 异步操作需要状态跟踪
- 真机调试需提前规划网络方案
避坑指南:建议在项目初期就配置好以下设置:
// project.config.json
{
  "watchOptions": {
    "ignorePaths": ["server/**"]
  }
}
通过本文的实战演练,相信您已经掌握了微信小程序文件操作的核心要点。开发过程中遇到的每个"坑"都是成长的契机,保持好奇心和解决问题的毅力,您一定能开发出更优秀的小程序应用!


 1104
1104

 被折叠的 条评论
为什么被折叠?
被折叠的 条评论
为什么被折叠?
 到【灌水乐园】发言


