


首先mkdir opencv_test cd opencv_test,再git init用git管理工程
关于git:
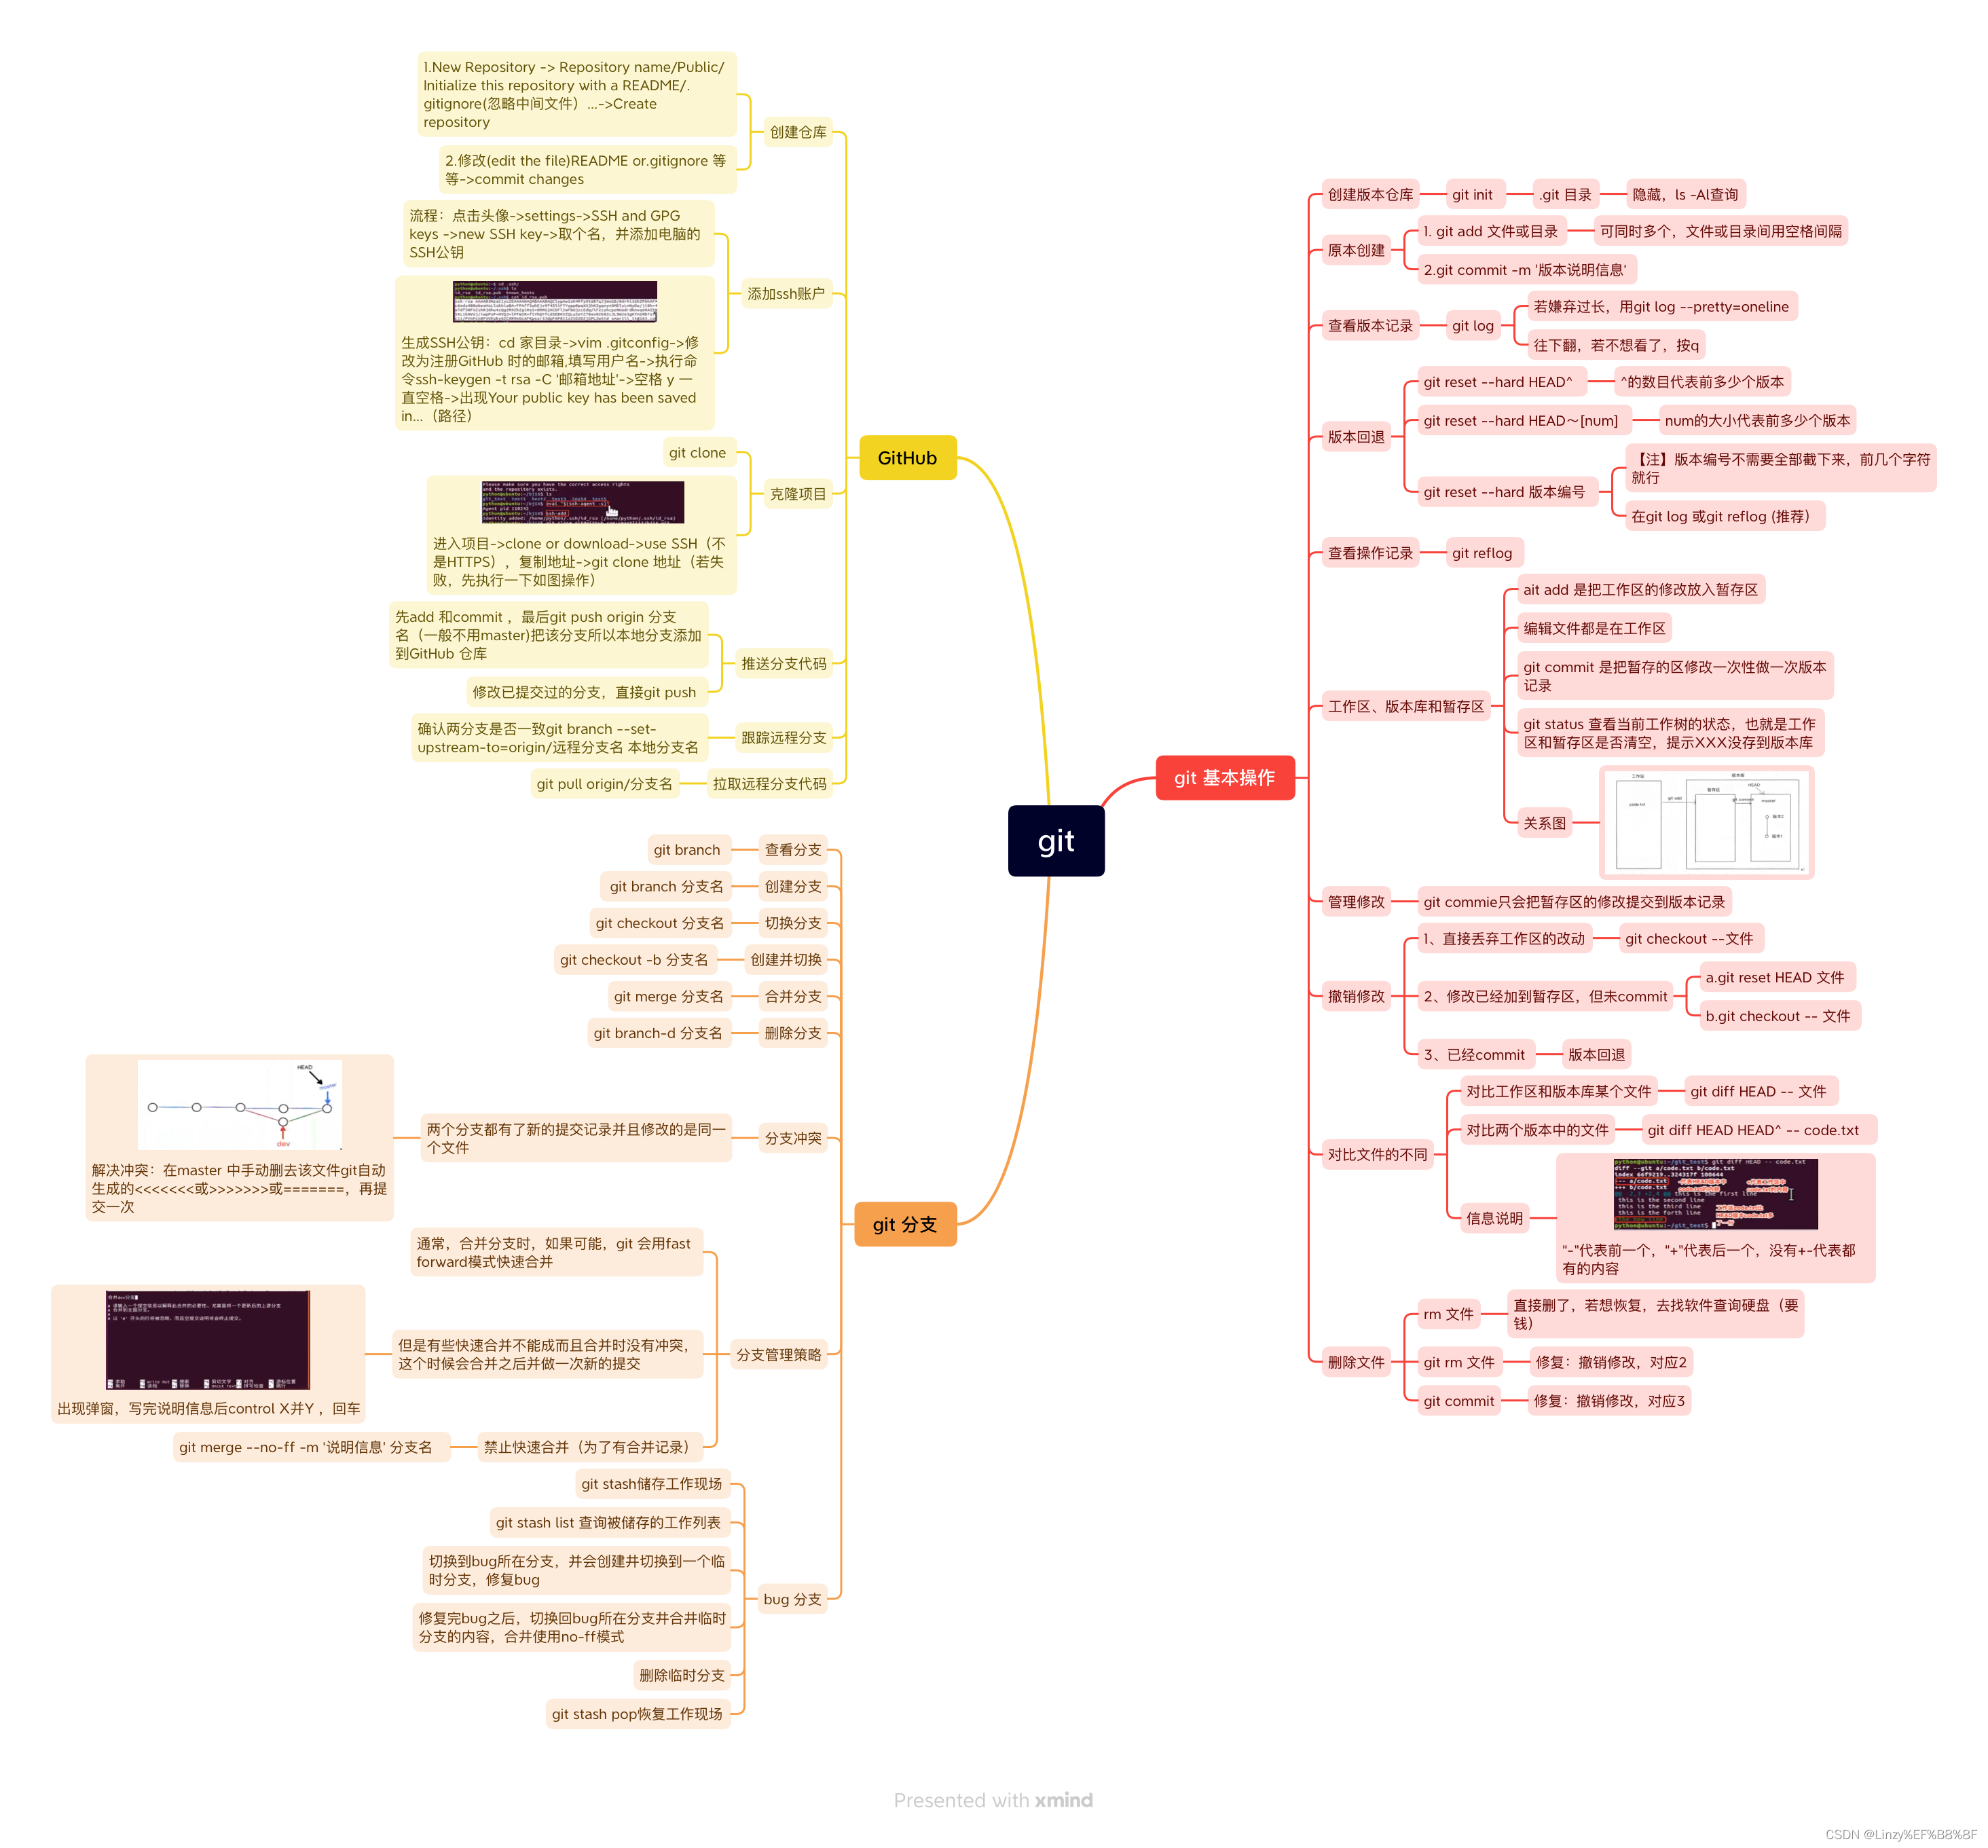
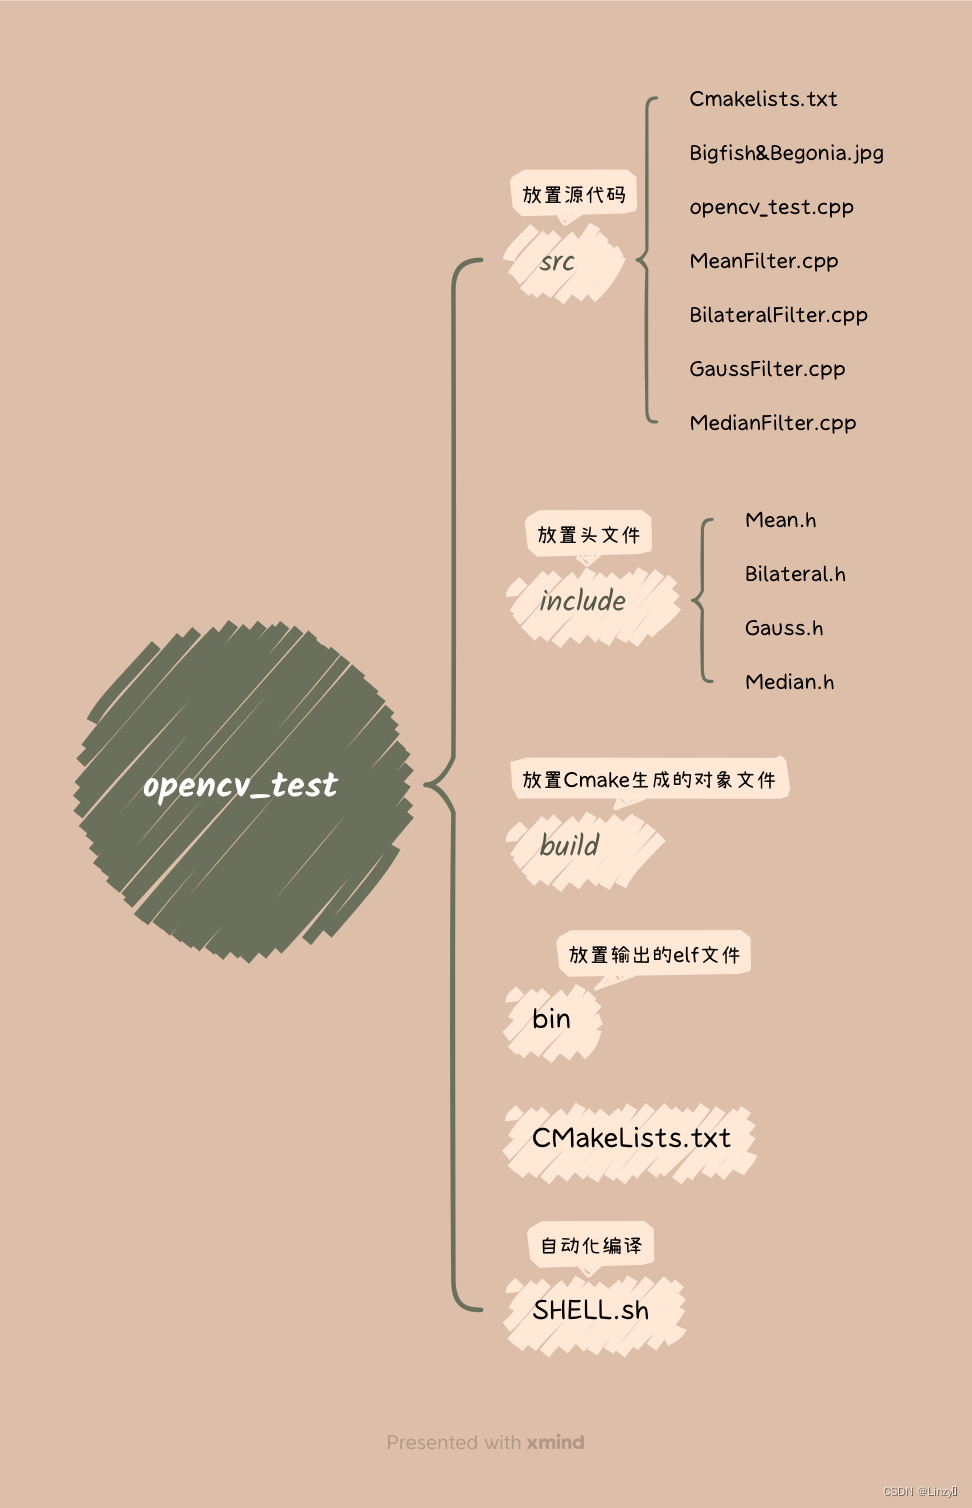
工程总览:
CMakeLists.txt(opencv_test目录下的):
//#工程名称
project(opencv_test)
//#向当前工程添加存放源文件的子目录
add_subdirectory(src)
CMakeLists.txt(src目录下的):
//把当前目录下的源文件存列表存放到变量SRC_LIST里(第一个参数是指定目录,第二个参数是用于存放源文件列表的变量)
//aux_source_directory (. SRC_LIST),效果大致相同,因为多了.jpg文件,所以用set命令
set(SRC_LIST ./opencv_test.cpp ./GaussFilter.cpp ./BilateralFilter.cpp ./MedianFilter.cpp ./MeanFilter.cpp)
//#向工程添加多个指定头文件的搜索路径,路径之间用空格分隔
include_directories (../include)
//最终要生成的elf文件的名字叫opencv_test,使用的源文件在变量SRC_LIST里
add_executable (opencv_test ${SRC_LIST})
//这里set的意思是把存放elf文件的位置设置为工程根目录下的bin目录(预定义变量EXECUTABLE_OUTPUT_PATH 为目标二进制可执行文件的存放位置,预定义变量PROJECT_SOURCE_DIR为工程的根目录)
set (EXECUTABLE_OUTPUT_PATH ${PROJECT_SOURCE_DIR}/bin)
//在指定目录下查找指定库
find_package(OpenCV REQUIRED)
link_directories(${OpenCV_LIBRARY_DIRS})
//把目标文件与库文件进行链接
target_link_libraries(opencv_test ${OpenCV_LIBS})
参考资料:Linux下CMake简明教程
opencv_test.cpp:
#include<iostream>
#include<opencv2/opencv.hpp>
#include "Mean.h"
#include "Median.h"
#include "Gauss.h"
#include "Bilateral.h"
using namespace std;
using namespace cv;
int main(void)
{
//定义滤波核大小为5*5
int size = 5;
string image_file="(图片的绝对路径)";
//打开原图
Mat image;
image=imread(image_file,cv::IMREAD_COLOR);
if(image.empty())
{
cout<<"图片打开失败"<<endl;
}
else
{
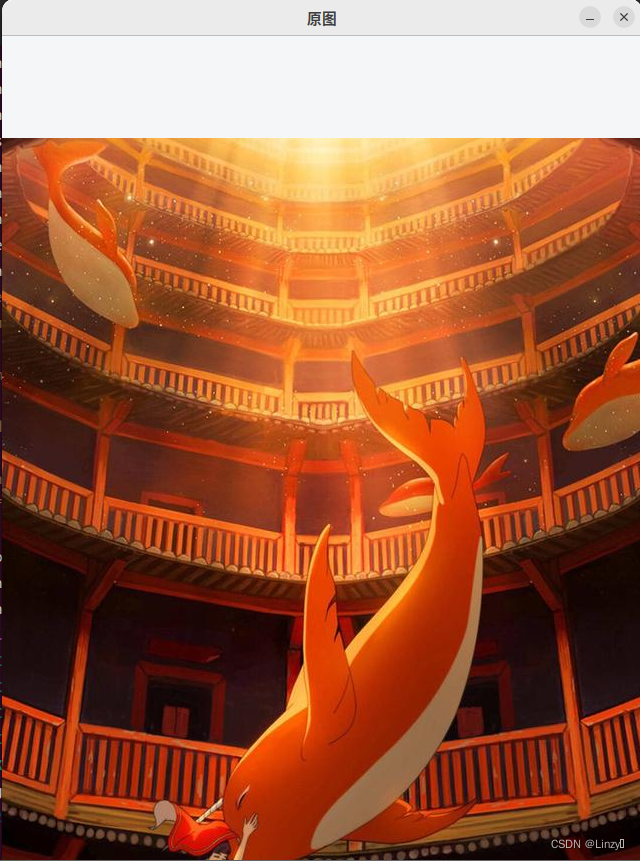
imshow("原图",image);
waitKey(0);
MeanFilter(image,size);
MedianFilter(image,size);
GaussFilter(image,size);
BilateralFilter(image,size);
}
return 0;
}
参考资料: OpenCV与图像处理基础、 OpenCV教程
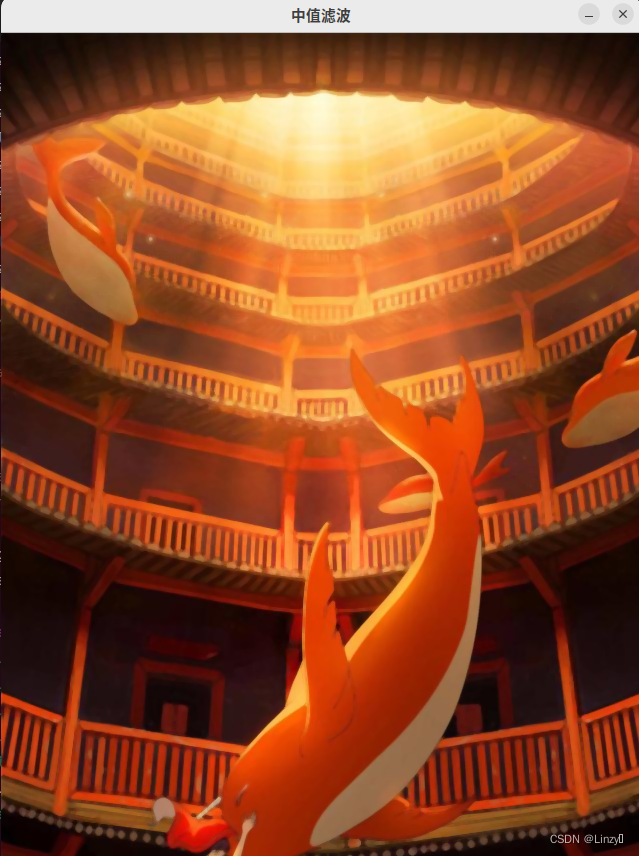
以中值滤波举例:
MeanFilter.cpp:
#include<iostream>
#include<opencv2/opencv.hpp>
#include "Median.h"

using namespace std;
using namespace cv;

void MedianFilter(cv::Mat image,int size)
{
       int h = image.rows;
       int w = image.cols;
       int channel = image.channels();
       int m = size/2;
       Mat Median_image=Mat::zeros(h,w,image.type());
       double a[size*size];
        for (int y = 0;y<h;y++)
        {
                for (int x=0;x<w;x++)
                {
                        for (int z=0;z<channel;z++)
                        {
                                int k = 0;
                                for (int dy=-m;dy<=m;dy++)
                                {
                                        for(int dx=-m;dx<=m;dx++)
                                        {
                                                int xx = x+ dx;
                                                int yy = y +dy;
                                                if(xx>=0&&xx<w&&yy>=0&&yy<h)
                                                {
                                                     a[k++]=(double)image.ptr<Vec3b>(yy)[xx][z];
                                                }
                                        }
                                }
                        for(int i=0;i<=size*size/2;i++)
                         {
                                for(int j=i+1;j<size*size;j++)
                                {
                                        if(a[i] > a[j])
                                        {
                                                double tmp = a[i];
                                                a[i] = a[j];
                                                a[j] = tmp;
                                        }
                                }
                         }
                        Median_image.ptr<Vec3b>(y)[x][z] = a[size*size/2];
                        }
                }
        }
        //medianBlur(image,Median_image,size);opencv内置函数
        imshow("中值滤波",Median_image);
        imwrite("Median.jpg",Median_image);
        waitKey(0);
}
Mean.h:
#ifndef _Median_H_
#define _Median_H_

void MedianFilter(cv::Mat image,int size);

#endif
GaussFilter.cpp:
#include<iostream>
#include<opencv2/opencv.hpp>
#include "Gauss.h"
using namespace std;
using namespace cv;
void GaussFilter(cv::Mat image,int size)
{
int h = image.rows;
int w = image.cols;
int channel = image.channels();
Mat Gauss_image=Mat::zeros(h,w,image.type());//创建指定大小、类型的图像对象
double sigma = 1.0;
int m = size/2;
double sum =0;
double PI=3.1415926;
//计算高斯卷积核
double Gauss_kernel[size][size];
for (int y=0;y<size;y++)
{
for(int x=0;x<size;x++)
{
Gauss_kernel[x][y]=(1 / (2 * PI * sigma * sigma)) * exp(-((x - m) * (x - m) + (y - m) * (y - m)) / (2 * sigma * sigma));
sum +=Gauss_kernel[y][x];
}
}
for(int y = 0;y<size;y++)
{
for(int x=0;x<size;x++)
Gauss_kernel[y][x] /=sum;
}
}
//高斯卷积生成函数
for (int y = 0;y<h;y++)
{
for (int x=0;x<w;x++)
{
for (int z=0;z<channel;z++)
{
sum = 0;
for (int dy=-m;dy<=m;dy++)
{
for(int dx=-m;dx<=m;dx++)
{
int xx = x+ dx;
int yy = y +dy;
if(xx>=0&&xx<w&&yy>=0&&yy<h)
{
sum+=(double)image.ptr<Vec3b>(yy)[xx][z]*Gauss_kernel[dy+m][dx+m];//Mat.ptr(int i=0) 获取像素矩阵的指针,索引i表示第几行,从0开始计行数。
}
}
}
Gauss_image.ptr<Vec3b>(y)[x][z] = sum;
}
}
}
//GaussianBlur(image,Gauss_image,Size(size,size),0,0);
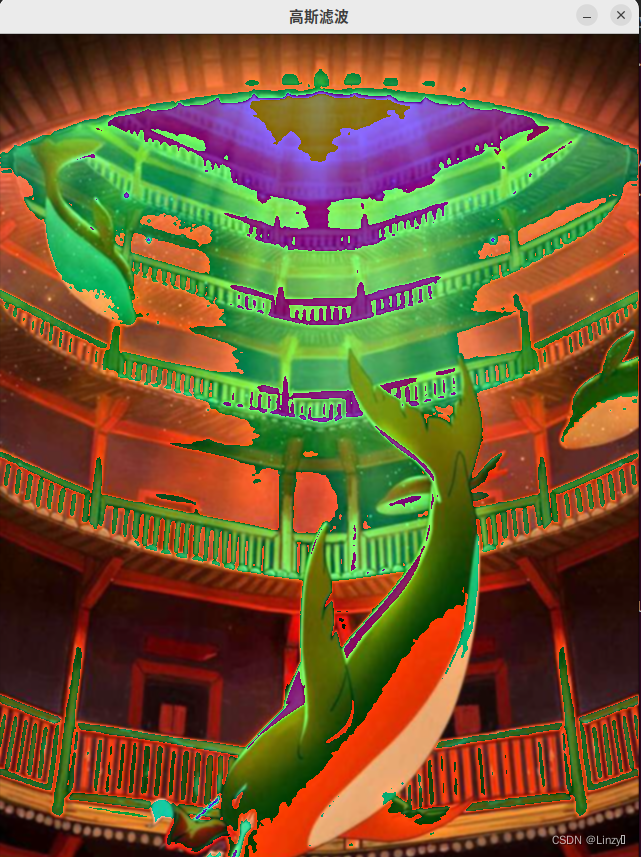
imshow("高斯滤波",Gauss_image);
imwrite("Gauss.jpg",Gauss_image);
waitKey(0);
}
Gauss.h:
#ifndef _Gauss_H_
#define _Gauss_H_

void GaussFilter(cv::Mat image,int size);

#endif
MeanFilter.cpp:
#include<iostream>
#include<opencv2/opencv.hpp>
#include "Mean.h"
using namespace std;
using namespace cv;
void MeanFilter(cv::Mat image,int size)
{
int h = image.rows;
int w = image.cols;
int channel = image.channels();
int m = size/2;
Mat Mean_image=Mat::zeros(h,w,image.type());
for (int y = 0;y<h;y++)
{
for (int x=0;x<w;x++)
{
for (int z=0;z<channel;z++)
{
double sum = 0.0;
for (int dy=-m;dy<=m;dy++)
{
for(int dx=-m;dx<=m;dx++)
{
int xx = x+ dx;
int yy = y +dy;
if(xx>=0&&xx<w&&yy>=0&&yy<h)
{
sum+=(double)image.ptr<Vec3b>(yy)[xx][z];
}
}
}
Mean_image.ptr<Vec3b>(y)[x][z] = sum/(size*size);
}
}
}
//blur(image,Mean_image,Size(size,size));
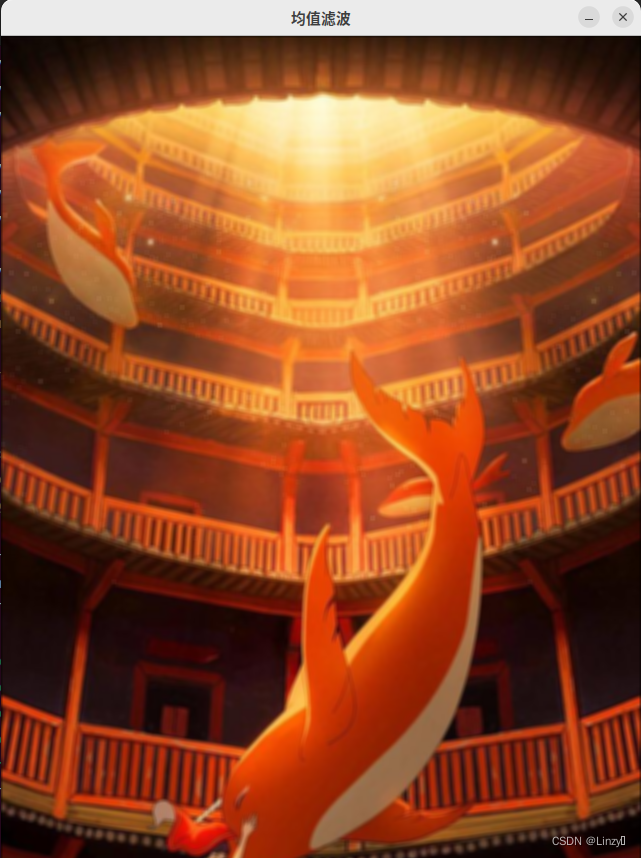
imshow("均值滤波",Mean_image);
imwrite("Mean.jpg",Mean_image);
waitKey(0);
}
Mean.h:
#ifndef _Mean_H_
#define _Mean_H_

void MeanFilter(cv::Mat image,int size);

#endif
更多图像处理原理: 图像平滑处理(均值滤波,高斯滤波,中值滤波,双边滤波)、 图像滤波(平滑处理)(平均、中值、高斯、双边滤波)
更多图像滤波API: OpenCV: Image Filtering
SHELL.sh:(shell脚本实现自动化编译运行)
#!/bin/bash
cd build
cmake ..
make
cd ..
cd bin
./opencv_test
最后 chmod 755 SHELL.sh ./SHELL.sh
成功!!!
看看效果:
opencv官网链接OpenCV官网
ubuntu安装opencv的正确方法


 7470
7470


 被折叠的 条评论
为什么被折叠?
被折叠的 条评论
为什么被折叠?
 到【灌水乐园】发言


