


耗时一个月开发的OJ在线判题系统,文末有项目地址,目前还在更新代码~
前后端如何连接呢?=》 前端发送请求调用后端接口
文章目录
自动生成调用接口代码
安装请求工具类Axios
官方文档:https://axios-http.com/docs/intro
npm install axios
openapi-typescript-codegen自动生成调用后端的代码
https://github.com/ferdikoomen/openapi-typescript-codegen
安装
npm install openapi-typescript-codegen --save-dev
执行自动生成代码命令
npx openapi --input http://localhost:8121/api/v2/api-docs --output ./generated --client axios
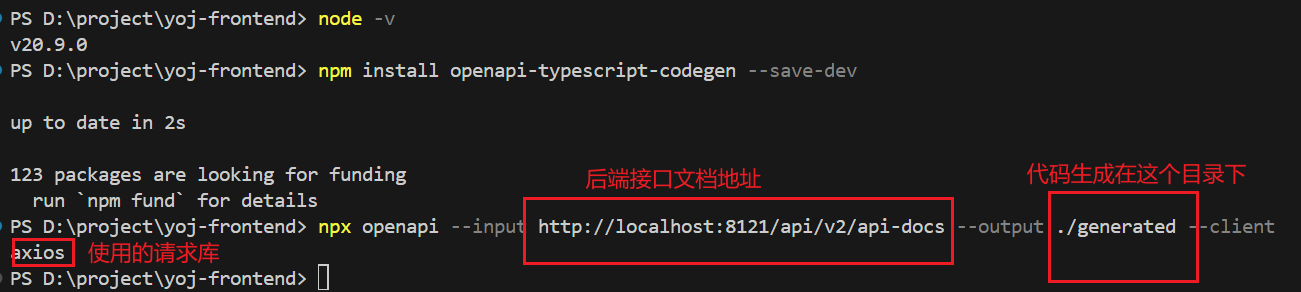
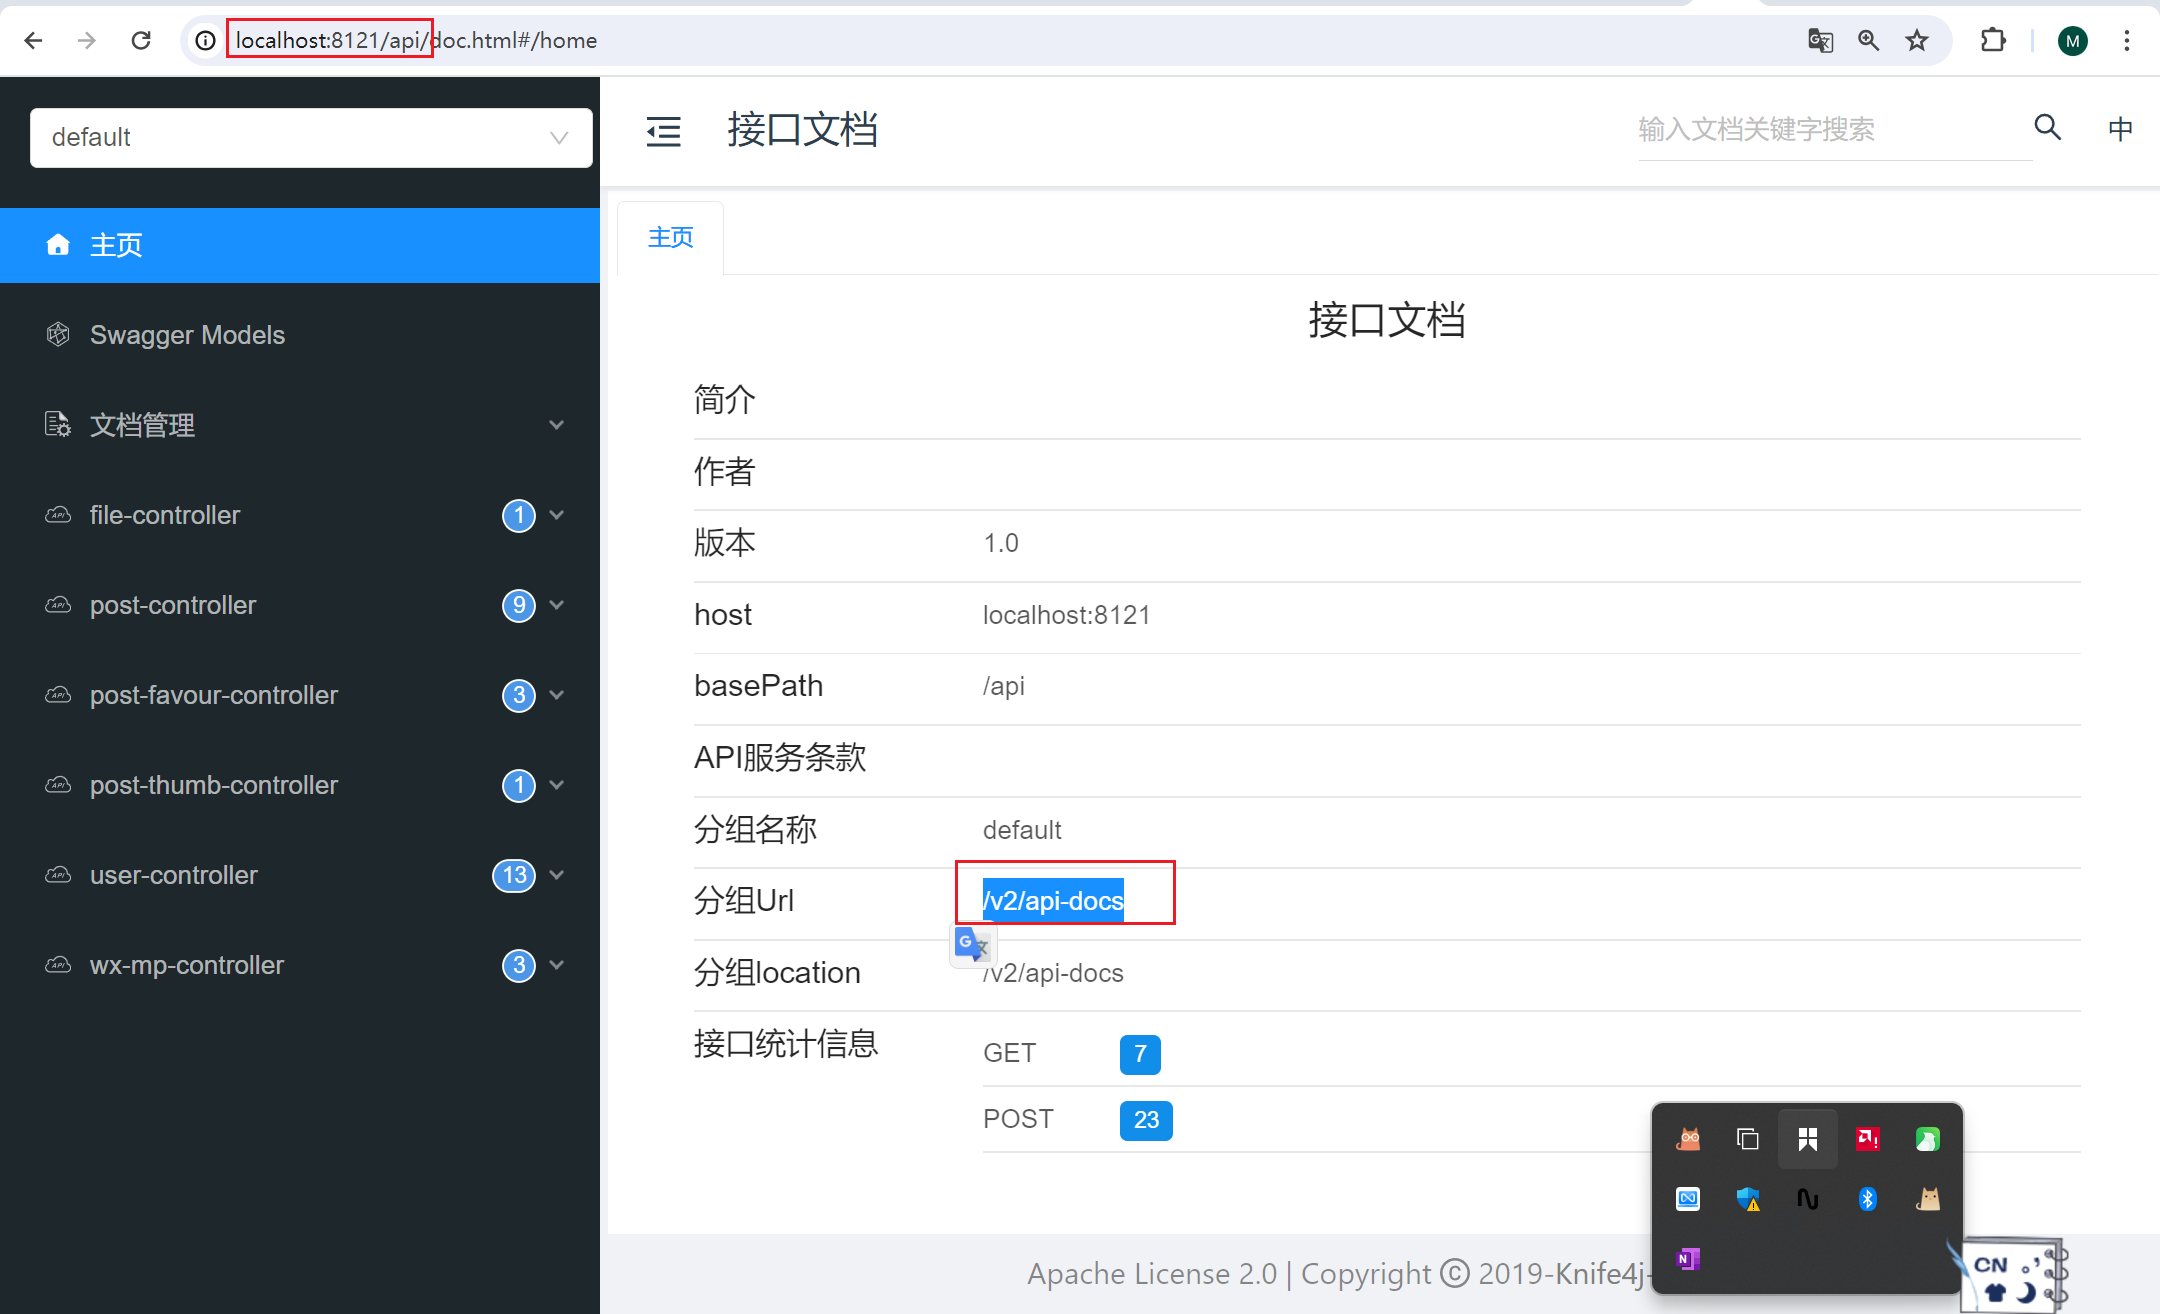
接口文档地址可以在这里找到
注意这个工具发送请求会多一个/api导致报错,解决办法是删除OpenAPI.ts中的base url多出来的api即可
要主要开启自动携带cookie请求头 OpenAPI.ts中WITH_CREDENTIALS: true,
直接使用生成的Service代码,直接调用函数发送请求即可,比如获取登录信息
// 从远程请求获取登录信息
const res = await UserControllerService.getLoginUserUsingGet();
if (res.code === 0) {
  commit("updateUser", res.data);
} else {
  commit("updateUser", {
    ...state.loginUser,
    userRole: ACCESS_ENUM.NOT_LOGIN,
  });
}
自定义请求参数
1)直接使用代码生成器提供的全局参数修改对象 OpenAPI.ts
export const OpenAPI: OpenAPIConfig = {
  BASE: "http://localhost:8121",
  VERSION: "1.0",
  WITH_CREDENTIALS: true,
  CREDENTIALS: "include",
  TOKEN: undefined,
  USERNAME: undefined,
  PASSWORD: undefined,
  HEADERS: undefined,
  ENCODE_PATH: undefined,
};
文档:https://github.com/ferdikoomen/openapi-typescript-codegen/blob/master/docs/openapi-object.md
2)直接定义axios请求库的全局参数,比如全局请求响应拦截器
文档:https://axios-http.com/docs/interceptors
示例代码:
坐标:plugins/
// Add a request interceptor
import axios from "axios";

axios.interceptors.request.use(
  function (config) {
    // Do something before request is sent
    return config;
  },
  function (error) {
    // Do something with request error
    return Promise.reject(error);
  }
);

// Add a response interceptor
axios.interceptors.response.use(
  function (response) {
    console.log("响应", response);
    // Any status code that lie within the range of 2xx cause this function to trigger
    // Do something with response data
    return response;
  },
  function (error) {
    // Any status codes that falls outside the range of 2xx cause this function to trigger
    // Do something with response error
    return Promise.reject(error);
  }
);
用户登录功能
自动登录
1)在store/user.ts 编写获取远程登录信息的代码
  actions: {
    async getLoginUser({ commit, state }, payload) {
      // 从远程请求获取登录信息
      const res = await UserControllerService.getLoginUserUsingGet();
      if (res.code === 0) {
        commit("updateUser", res.data);
      } else {
        commit("updateUser", {
          ...state.loginUser, //js解构的语法,保证只修改userRole属性,其他属性不变
          userRole: ACCESS_ENUM.NOT_LOGIN,
        });
      }
    },
  },
2)选择一个全局的位置触发getLoginUser 函数的执行
- 路由拦截
- 全局页面入口app.vue
- 全局通用布局(所有页面都共享的组件)
此处选择第一种方式,可以直接在全局权限管理的路由拦截中判断用户是否已经登录了
全局权限管理优化
1)新建access\index.ts 文件,把原有的路由拦截,权限校验逻辑放在独立的文件中,只要不在main.js中引入,就不会开启,不会对项目有影响
现在在main.js中引入
import "@/access"
2)编写权限管理和自动登录逻辑
如果没登录过,自动登录
  const loginUser = store.state.user.loginUser;
  // 如果之前没登陆过,自动登录
  if (!loginUser || !loginUser.userRole) {
    // 加 await 是为了等用户登录成功之后,再执行后续的代码
    await store.dispatch("user/getLoginUser");
  }
如果用户访问的页面本来就不需要登录,不需要强制跳转到登录页面
access\index.ts 示例代码:
import router from "@/router";
import store from "@/store";
import ACCESS_ENUM from "@/access/accessEnum";
import checkAccess from "@/access/checkAccess";

router.beforeEach(async (to, from, next) => {
  console.log("登陆用户信息", store.state.user.loginUser);
  const loginUser = store.state.user.loginUser;
  // // 如果之前没登陆过,自动登录
  if (!loginUser || !loginUser.userRole) {
    // 加 await 是为了等用户登录成功之后,再执行后续的代码
    await store.dispatch("user/getLoginUser");
  }
  const needAccess = (to.meta?.access as string) ?? ACCESS_ENUM.NOT_LOGIN;
  // 要跳转的页面必须要登陆
  if (needAccess !== ACCESS_ENUM.NOT_LOGIN) {
    // 如果没登陆,跳转到登录页面
    if (!loginUser || !loginUser.userRole) {
      next(`/user/login?redirect=${to.fullPath}`); //有这个动态变量时需要用反引号
      return;
    }
    // 如果已经登陆了,但是权限不足,那么跳转到无权限页面
    if (!checkAccess(loginUser, needAccess)) {
      next("/noAuth");
      return;
    }
  }
  next();
});
项目地址
(求求大佬们赏个star~)
前端:https://github.com/IMZHEYA/yoj-frontend
后端:https://github.com/IMZHEYA/yoj-backend
代码沙箱:https://github.com/IMZHEYA/yoj-code-sandbox


 被折叠的 条评论
为什么被折叠?
被折叠的 条评论
为什么被折叠?
 到【灌水乐园】发言


