


测试程序:
基于swift2.0
import UIKit
class ViewController: UIViewController,UITableViewDataSource,UITableViewDelegate {
var tableView : UITableView!
var isOpen : Bool! = true;
//懒加载
lazy var dataArr :NSMutableArray = {
var temDataArr = NSMutableArray();
for i in 0...10 {
temDataArr.addObject("\(i)");
}
return temDataArr;
}();
override func viewDidLoad() {
super.viewDidLoad()
setupUI();
}
override func didReceiveMemoryWarning() {
super.didReceiveMemoryWarning()
// Dispose of any resources that can be recreated.
}
func setupUI(){
tableView = UITableView(frame:CGRect(x: 0, y: 64, width: UIScreen.mainScreen().bounds.size.width, height: UIScreen.mainScreen().bounds.size.height - 64), style:.Plain);
tableView.delegate = self;
tableView.dataSource = self;
//创建表头视图
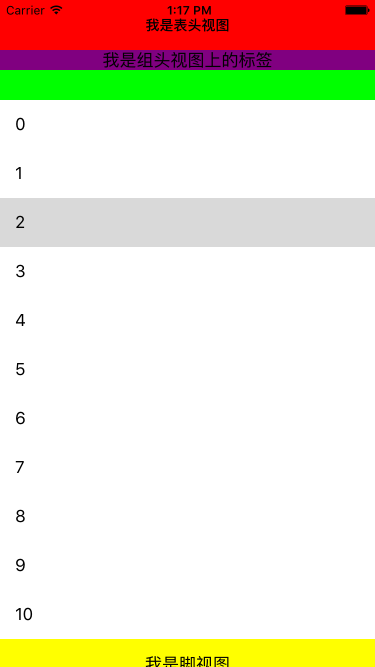
let tableHeaderView : UILabel! = UILabel(frame: CGRectMake(0,0,UIScreen.mainScreen().bounds.size.width,50));
tableHeaderView.textAlignment = NSTextAlignment.Center;
tableHeaderView.backgroundColor = UIColor.redColor();
tableHeaderView.text = "我是表头视图";
tableHeaderView.font = UIFont.boldSystemFontOfSize(14.0);
self.tableView.tableHeaderView = tableHeaderView;
//创建脚视图
let tableFooterView = UIView(frame: CGRectMake(0,0,UIScreen.mainScreen().bounds.size.width,50));
let footerLabel = UILabel(frame: tableFooterView.bounds);
footerLabel.text = "我是脚视图";
footerLabel.textAlignment = NSTextAlignment.Center;
tableFooterView.backgroundColor = UIColor.yellowColor();
tableFooterView.addSubview(footerLabel);
tableView.tableFooterView = tableFooterView;
view.addSubview(self.tableView);
}
//MARK: - UITableView DataSource && UITableView Delegate
func tableView(tableView: UITableView, numberOfRowsInSection section: Int) -> Int {
if isOpen == true{
return dataArr.count
}else {
return 0;
}
}
func tableView(tableView: UITableView, cellForRowAtIndexPath indexPath: NSIndexPath) -> UITableViewCell {
let mycell = "mycell";
var cell = tableView.dequeueReusableCellWithIdentifier(mycell);
if cell == nil {
cell = CustomCell(style: .Default, reuseIdentifier: mycell);
}
return cell!;
}
func tableView(tableView: UITableView, heightForRowAtIndexPath indexPath: NSIndexPath) -> CGFloat {
return 49;
}
func tableView(tableView: UITableView, willDisplayCell cell: UITableViewCell, forRowAtIndexPath indexPath: NSIndexPath) {
let custom = cell as! CustomCell;
//三目运算符
custom.titleLbel.text = dataArr[indexPath.row].integerValue > 5 ? String(dataArr[indexPath.row]) : String("10");
}
func tableView(tableView: UITableView, heightForHeaderInSection section: Int) -> CGFloat {
return 50;
}
func tableView(tableView: UITableView, viewForHeaderInSection section: Int) -> UIView? {
return creatHeaderView();
}
func tableView(tableView: UITableView, didSelectRowAtIndexPath indexPath: NSIndexPath) {
}
//MARK: -
func creatHeaderView() -> UIView{
let headerSectionView = UIView(frame: CGRectZero);
headerSectionView.backgroundColor = UIColor.greenColor();
let headerLabel = UILabel(frame: CGRectMake(0,0,UIScreen.mainScreen().bounds.size.width,20));
headerLabel.backgroundColor = UIColor.purpleColor();
headerLabel.text = "我是组头视图上的标签";
headerLabel.textAlignment = NSTextAlignment.Center;
headerSectionView.addSubview(headerLabel);
let tapGesture = UITapGestureRecognizer(target: self, action: "tapAction:");
headerLabel.userInteractionEnabled = true;
headerLabel.addGestureRecognizer(tapGesture);
return headerSectionView;
}
//MARK: - Handle GestureEvent
func tapAction(tap:UITapGestureRecognizer) {
isOpen = !self.isOpen;
tableView.reloadData();
}
}
针对上面用到的语法,总结如下:
\()的用法
相当于OC中的 NSString stringWithFormat:@“%d”
但是使用起来更加自如
for i in 0...10 {
}
相当于OC中
for (int i = 0; i <= 10; i++) {
}
for i in 0..<10 {
}
相当于OC中
for (int i = 0; i < 10; i++) {
}
尽量避免使用self


 392
392

 被折叠的 条评论
为什么被折叠?
被折叠的 条评论
为什么被折叠?
 到【灌水乐园】发言


