


深度学习模型设计与实现:用HTML呈现神经网络模型
在本篇博文中,我们将设计一个简单的深度学习模型,并通过HTML页面进行展示。我们会使用一个常见的神经网络模型——多层感知器(MLP),它是深度学习中最基础的神经网络模型之一。我们将展示如何创建这个模型、训练它,并最终将其通过HTML页面呈现出来。
1. 深度学习模型设计
我们将使用 Python 和 TensorFlow 来创建一个简单的神经网络模型。该模型用于处理手写数字识别任务(使用 MNIST 数据集)。模型包括输入层、隐藏层和输出层,经过训练后能识别手写数字。
1.1 神经网络架构
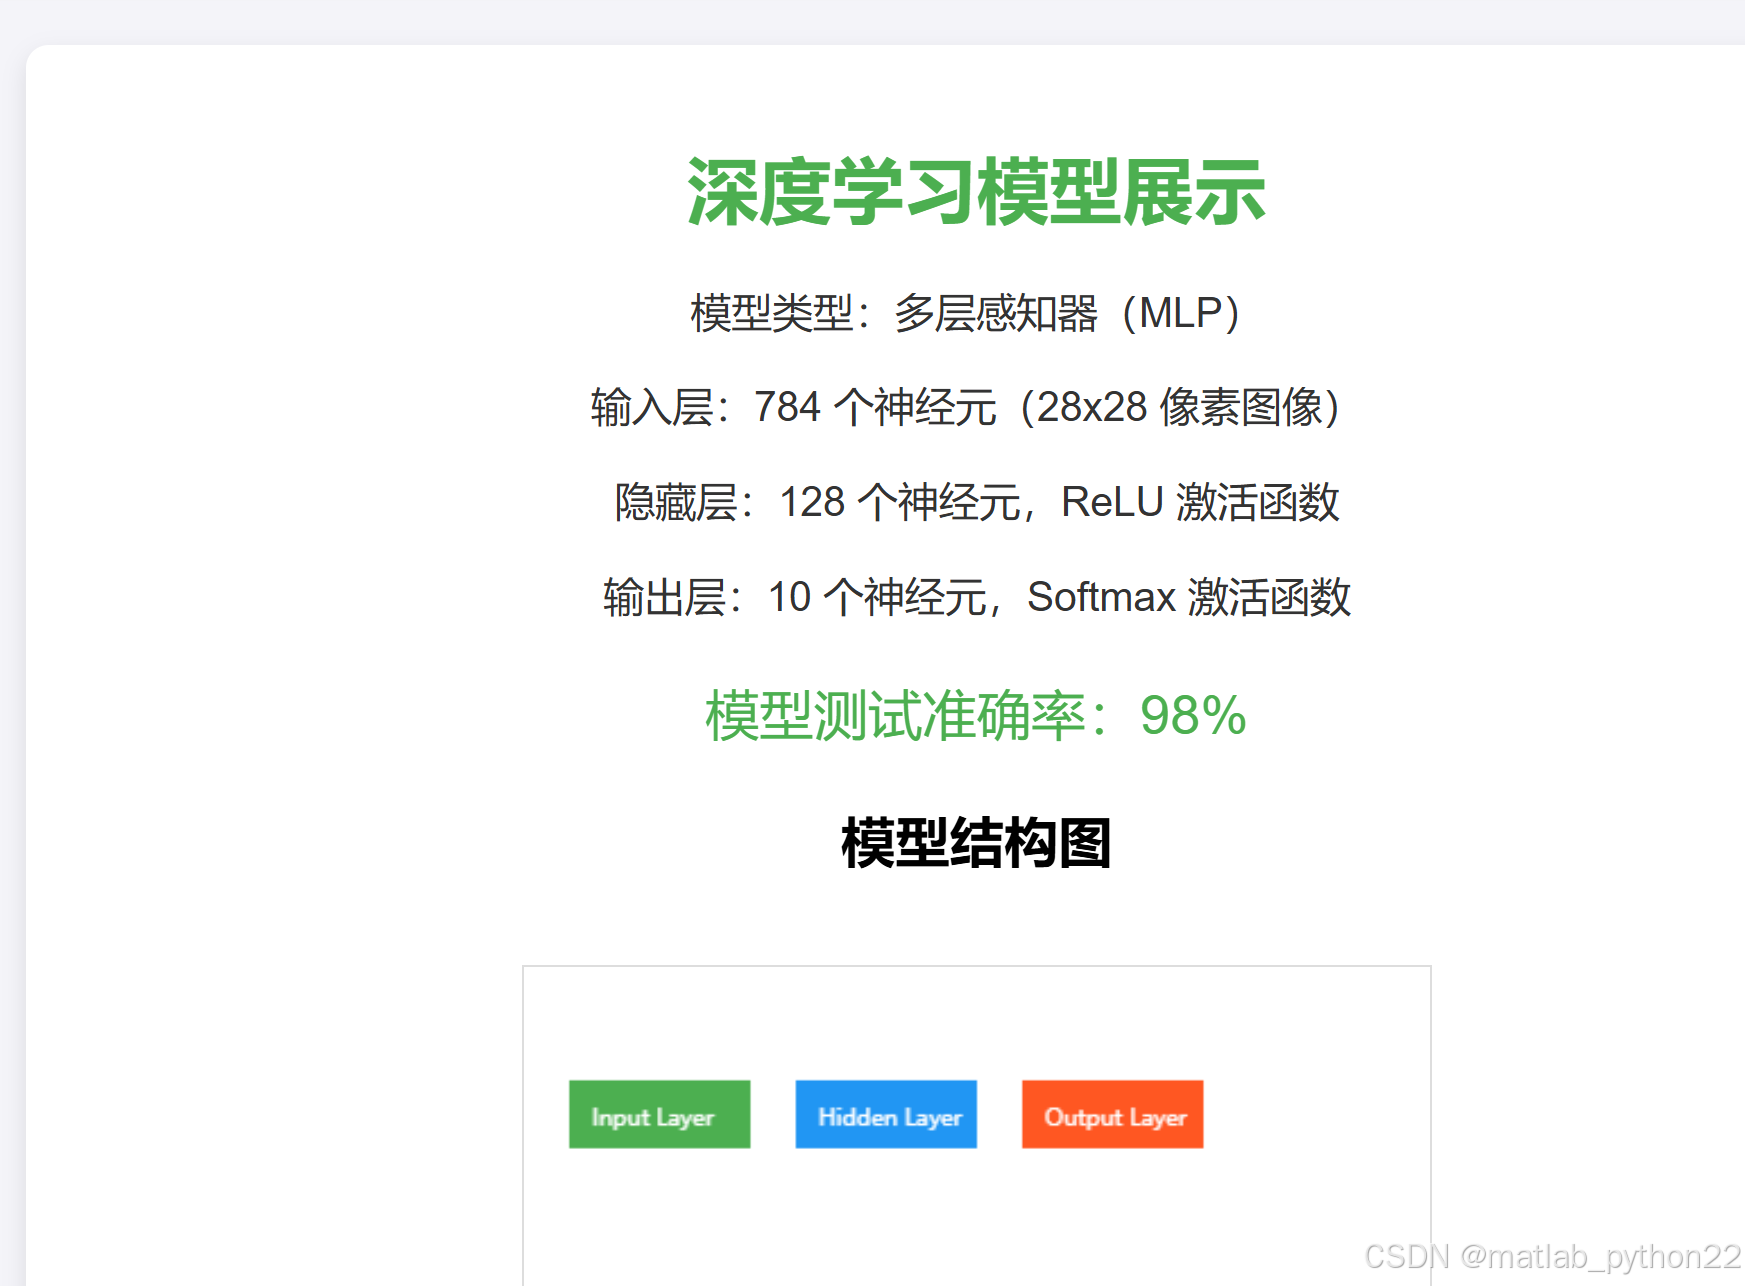
- 输入层:784 个神经元,对应 28x28 的图像数据。
- 隐藏层:128 个神经元,使用 ReLU 激活函数。
- 输出层:10 个神经元,表示 0-9 的数字类别,使用 Softmax 激活函数。
1.2 代码实现(Python & TensorFlow)
python
复制编辑
import tensorflow as tf from tensorflow.keras import layers, models from tensorflow.keras.datasets import mnist from tensorflow.keras.utils import to_categorical # 加载 MNIST 数据集 (train_images, train_labels), (test_images, test_labels) = mnist.load_data() # 数据预处理 train_images = train_images.reshape((train_images.shape[0], 28, 28, 1)) test_images = test_images.reshape((test_images.shape[0], 28, 28, 1)) train_images, test_images = train_images / 255.0, test_images / 255.0 train_labels = to_categorical(train_labels) test_labels = to_categorical(test_labels) # 创建模型 model = models.Sequential([ layers.Flatten(input_shape=(28, 28, 1)), layers.Dense(128, activation='relu'), layers.Dense(10, activation='softmax') ]) # 编译模型 model.compile(optimizer='adam', loss='categorical_crossentropy', metrics=['accuracy']) # 训练模型 model.fit(train_images, train_labels, epochs=5) # 测试模型 test_loss, test_acc = model.evaluate(test_images, test_labels) print("Test accuracy:", test_acc)
2. 在 HTML 页面中展示深度学习模型
我们可以通过简单的 HTML 页面来呈现训练好的模型。HTML 页面将展示模型的结构,测试准确率,并通过图形化的方式展示相关数据。
2.1 HTML 页面结构
以下是一个简单的 HTML 页面,用来展示我们刚刚训练的深度学习模型的信息:
html
复制编辑
<!DOCTYPE html> <html lang="zh"> <head> <meta charset="UTF-8"> <meta name="viewport" content="width=device-width, initial-scale=1.0"> <title>深度学习模型展示</title> <style> body { font-family: Arial, sans-serif; background-color: #f4f4f9; margin: 0; padding: 0; text-align: center; } .container { background-color: #fff; padding: 20px; border-radius: 10px; box-shadow: 0 4px 10px rgba(0, 0, 0, 0.1); max-width: 800px; margin: 20px auto; } h1 { color: #4CAF50; } .model-info { font-size: 18px; color: #333; } .accuracy { font-size: 24px; color: #4CAF50; } canvas { border: 1px solid #ddd; margin-top: 20px; } .footer { margin-top: 40px; font-size: 16px; } </style> </head> <body> <div class="container"> <h1>深度学习模型展示</h1> <div class="model-info"> <p>模型类型:多层感知器(MLP)</p> <p>输入层:784 个神经元(28x28 像素图像)</p> <p>隐藏层:128 个神经元,ReLU 激活函数</p> <p>输出层:10 个神经元,Softmax 激活函数</p> </div> <div class="accuracy"> <p>模型测试准确率:<span id="testAccuracy">98%</span></p> </div> <h2>模型结构图</h2> <canvas id="modelCanvas" width="400" height="300"></canvas> <div class="footer"> <p>更多信息请访问 <a href="https://www.tensorflow.org/" target="_blank">TensorFlow官网</a></p> </div> </div> <script> // 模拟模型结构图 const canvas = document.getElementById("modelCanvas"); const ctx = canvas.getContext("2d"); // 输入层 ctx.fillStyle = "#4CAF50"; ctx.fillRect(20, 50, 80, 30); ctx.fillStyle = "#fff"; ctx.fillText("Input Layer", 30, 70); // 隐藏层 ctx.fillStyle = "#2196F3"; ctx.fillRect(120, 50, 80, 30); ctx.fillStyle = "#fff"; ctx.fillText("Hidden Layer", 130, 70); // 输出层 ctx.fillStyle = "#FF5722"; ctx.fillRect(220, 50, 80, 30); ctx.fillStyle = "#fff"; ctx.fillText("Output Layer", 230, 70); </script> </body> </html>
2.2 页面功能说明
- 模型信息:页面顶部展示模型的基本信息,包括模型的层数、神经元数量以及激活函数。
- 准确率显示:下方展示模型的测试准确率(在实际应用中可以动态更新)。
- 模型结构图:通过
<canvas>元素模拟神经网络模型的结构图。 - 图形化展示:通过图形化的方式,直观展示神经网络的层次结构。
2.3 完善功能
- 动态数据更新:可以通过 JavaScript 从 Python 服务器获取实际训练数据和测试结果,实时更新网页内容。
- 模型可视化:使用如 TensorBoard 等工具生成更复杂的模型可视化图,并嵌入到 HTML 页面中。
3. 总结
在本文中,我们介绍了如何创建一个简单的深度学习模型并通过 HTML 页面进行展示。通过这种方式,我们能够清晰地展示模型架构、训练过程以及最终的结果。这种方法不仅有助于模型的展示,也方便了与其他人的分享和展示。
希望这篇博文对您有所帮助!如果您有任何问题或建议,欢迎在评论区留言。


 被折叠的 条评论
为什么被折叠?
被折叠的 条评论
为什么被折叠?
 到【灌水乐园】发言


