


 本文介绍了如何使用Java的POI库来设置.xlsx文件中表格的边框。通过XSSFCellStyle对象的setBorder方法,可以分别设置单元格的上、下、左、右边框,并提供了设置边框样式的示例代码。最后展示了导出带有边框的Excel表格效果。
1、通过XSSFCellStyle(因为是.xlsx版本的excel,所以用XSSFCellStyle)的【setBorderBottom】、【setBorderLeft】、【setBorderRight】、【setBorderTop】方法来设置下、左、右、上的边框样式
2、增加样式的代码,如下红色框里面的代码
1:是设置边框
2:给指定行设置边框
3:给新增的行列设置边框

3、代码如下:
 private static void setClassDataToWorkBook(List data, XSSFWorkbook workbook, XSSFSheet sheet, Integer index){
        XSSFRow row;
        //遍历集合数据,产生数据行
        Iterator it = data.iterator();
        while (it.hasNext()) {
            //---------------------------设置行列的边框
            XSSFCellStyle setBorder = workbook.createCellStyle();
            setBorder.setBorderBottom(XSSFCellStyle.BORDER_THIN); //下边框
            setBorder.setBorderLeft(XSSFCellStyle.BORDER_THIN);//左边框
            setBorder.setBorderTop(XSSFCellStyle.BORDER_THIN);//上边框
            setBorder.setBorderRight(XSSFCellStyle.BORDER_THIN);//右边框
            index++;
            row = sheet.createRow(index);
            XSSFCell indexCell=row.createCell(0);
            indexCell.setCellValue(index-1);
            indexCell.setCellStyle(setBorder);//-----------------给行列添加边框
            Object t = it.next();
            //利用反射,根据javabean属性的先后顺序,动态调用getXxx()方法得到属性值
            Field[] fields = t.getClass().getDeclaredFields();
            for (short i = 1; i <= 14; i++) {
                XSSFCell cell = row.createCell(i);
                Field field = fields[i];
                String fieldName = field.getName();
                String getMethodName = "get"
                        + fieldName.substring(0, 1).toUpperCase()
                        + fieldName.substring(1);
                try {
                    Class tCls = t.getClass();
                    Method getMethod = tCls.getMethod(getMethodName,
                            new Class[]{});
                    Object value = getMethod.invoke(t, new Object[]{}) == null ? "" : getMethod.invoke(t, new Object[]{});
                    String textValue;
                    if (value instanceof Date) {
                        Date date = (Date) value;
                        SimpleDateFormat sdf = new SimpleDateFormat("yyyy-MM-dd HH:mm:ss");
                        textValue = sdf.format(date);
                    } else {
                        //其它数据类型都当作字符串简单处理
                        textValue = value.toString();
                    }
                    XSSFRichTextString richString = new XSSFRichTextString(textValue);
                    XSSFFont font3 = workbook.createFont();
                    font3.setColor(HSSFColor.BLACK.index);//定义Excel数据颜色
                    richString.applyFont(font3);
                    cell.setCellValue(richString);
                    cell.setCellStyle(setBorder);//----------------给行列添加边框

                } catch (SecurityException e) {
                    // TODO Auto-generated catch block
                    e.printStackTrace();
                } catch (NoSuchMethodException e) {
                    // TODO Auto-generated catch block
                    e.printStackTrace();
                } catch (IllegalArgumentException e) {
                    // TODO Auto-generated catch block
                    e.printStackTrace();
                } catch (IllegalAccessException e) {
                    // TODO Auto-generated catch block
                    e.printStackTrace();
                } catch (InvocationTargetException e) {
                    // TODO Auto-generated catch block
                    e.printStackTrace();
                }
            }
        }
    }
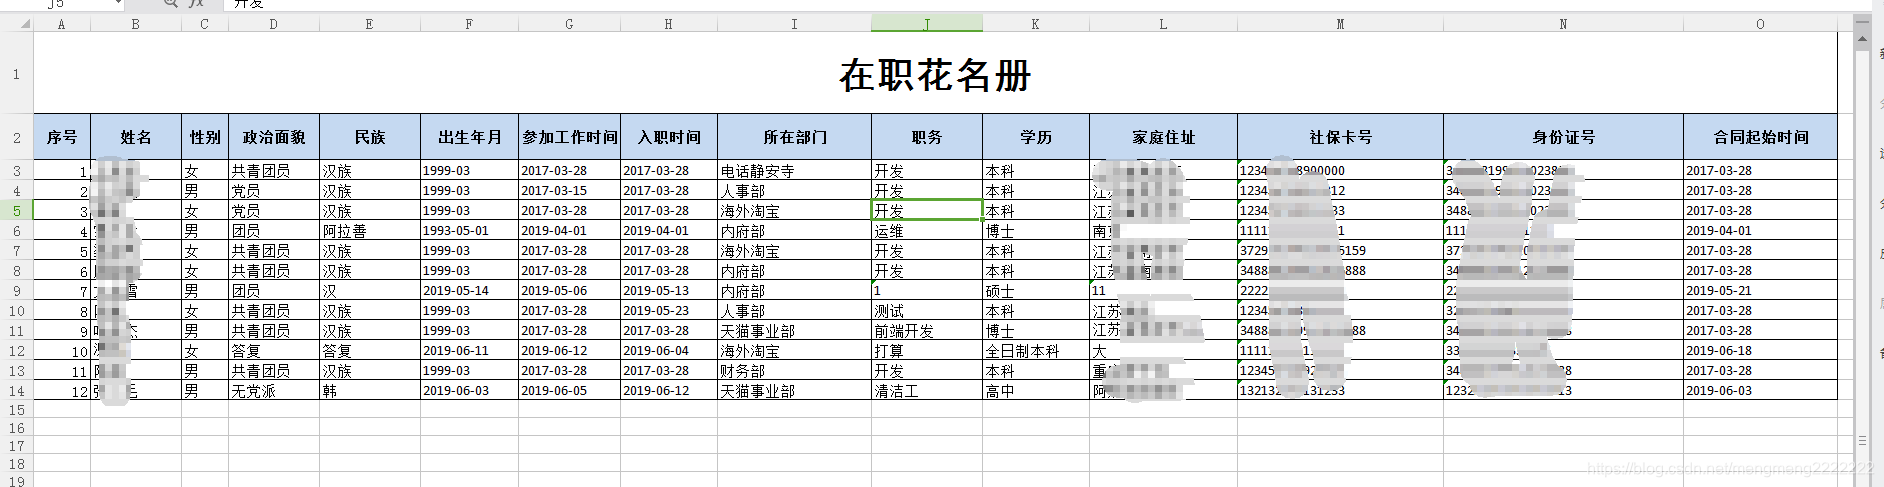
4、导出excel表格如下图


 1792
1792

 被折叠的 条评论
为什么被折叠?
被折叠的 条评论
为什么被折叠?
 到【灌水乐园】发言


