


准备好文件
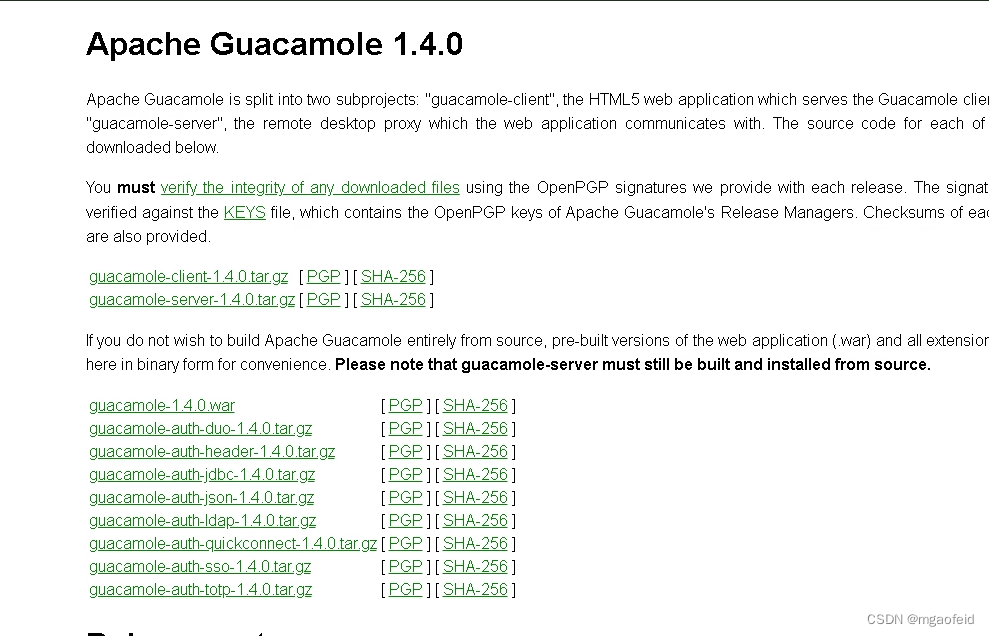
Apache Guacamole™: Release Archive
这里下载 1.4 这边计划采用ad统一认证的方案。
安装依赖文件
apt -y install libcairo2-dev libjpeg-turbo8-dev libpng-dev libtool-bin libossp-uuid-dev
安装可选依赖(这里全安装,如果有不用的具体可以参考官方)
apt -y install libavcodec-dev libavformat-dev libavutil-dev libswscale-dev freerdp2-dev libpango1.0-dev libssh2-1-dev libtelnet-dev libvncserver-dev libwebsockets-dev libpulse-dev libssl-dev libvorbis-dev libwebp-dev
安装支持组件
apt -y install default-jdk
apt -y install tomcat9 tomcat9-admin
apt -y install mysql-client
安装编译组件
apt-get -y install make gcc libelf-dev
安装服务器端
# 解压
tar -xzf guacamole-server-1.4.0.tar.gz
# 进入到源码文件夹
cd guacamole-server-1.4.0/
编译源码
首先做configure检查环境, 查看系统环境和依赖库是否满足编译要求.
./configure --with-init-dir=/etc/init.d
若环境正常会输出如下检查结果.
------------------------------------------------
guacamole-server version 1.4.0
------------------------------------------------
Library status:
freerdp2 ............ yes
pango ............... yes
libavcodec .......... yes
libavformat ......... yes
libavutil ........... yes
libssh2 ............. yes
libssl .............. yes
libswscale .......... yes
libtelnet ........... yes
libVNCServer ........ yes
libvorbis ........... yes
libpulse ............ yes
libwebsockets ....... yes
libwebp ............. yes
wsock32 ............. no
Protocol support:
Kubernetes .... yes
RDP ........... yes
SSH ........... yes
Telnet ........ yes
VNC ........... yes
Services / tools:
guacd ...... yes
guacenc .... yes
guaclog .... yes
Init scripts: /etc/init.d
Systemd units: no
Type "make" to compile guacamole-server.
编译安装源码并配置
# 编译
make
# 安装
make install
# 配置
ldconfig
至此, 服务端就安装完成了, 也会新增一个guacd的service.
部署客户端客户端
cp guacamole-1.4.0.war /var/lib/tomcat9/webapps/guacamole.war
环境变量设置
vi /etc/profile
如果jdk版本不一致, 则需要按实际版本填写路径
# 在/etc/profile文件末尾添加如下变量
#set java env
export JAVA_HOME=/usr/lib/jvm/java-11-openjdk-amd64
#set guacamole env
export GUACAMOLE_HOME=/etc/guacamole
设置完后需要运行如下命令立即生效.
source /etc/profile
创建配置文件夹
mkdir /etc/guacamole
mkdir /etc/guacamole/lib
mkdir /etc/guacamole/extensions
cp jar文件到目录
cp mysql-connector-java-8.0.30.jar /etc/guacamole/lib/
cp guacamole-auth-jdbc-mysql-1.4.0.jar /etc/guacamole/extensions/
cp guacamole-auth-ldap-1.4.0.jar /etc/guacamole/extensions/
配置配置文件
vim /etc/guacamole/guacamole.properties
根据自己的实际情况修改
# MySQL properties
mysql-hostname:
mysql-port: 3306
mysql-database: guacamole
mysql-username: root
mysql-password: password
mysql-default-max-connections-per-user: 0
mysql-default-max-group-connections-per-user: 0
# LDAP properties
ldap-hostname:
ldap-port: 389
ldap-user-base-dn: DC=vditest,DC=local
ldap-config-base-dn: dc=vditest,dc=local
ldap-search-bind-dn: test@vditest.local
ldap-search-bind-password: password
重新启动服务
systemctl restart tomcat9
service guacd restart
登录管理地址:http://ip:8080/guacamole/
初始用户名密码都是 guacadmin


 2420
2420


 被折叠的 条评论
为什么被折叠?
被折叠的 条评论
为什么被折叠?
 到【灌水乐园】发言


