


1、安装gradle
访问
https://services.gradle.org/distributions/
下载gradle-7.2-bin.zip版本
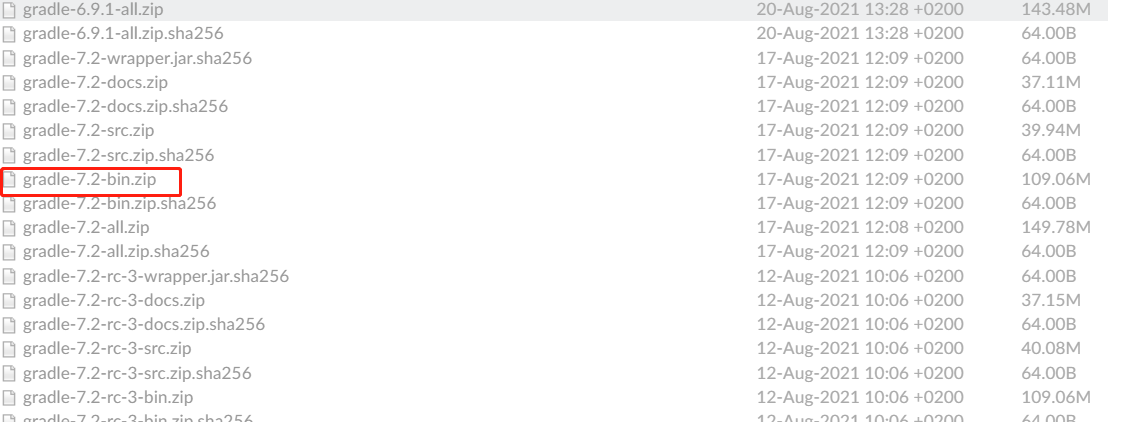
解压到任意盘,我解压到E:\gradle\gradle-7.2
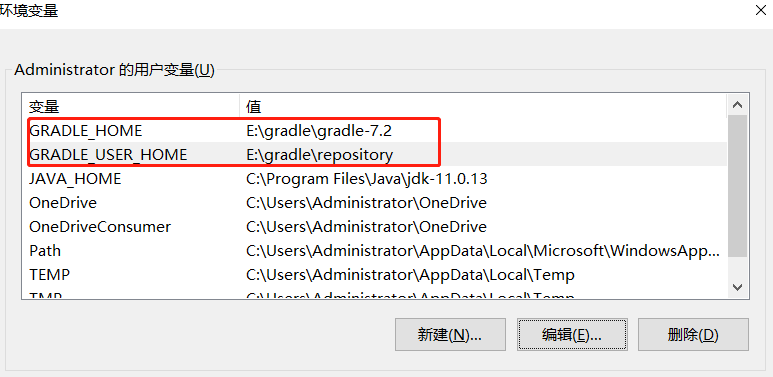
配置环境变量
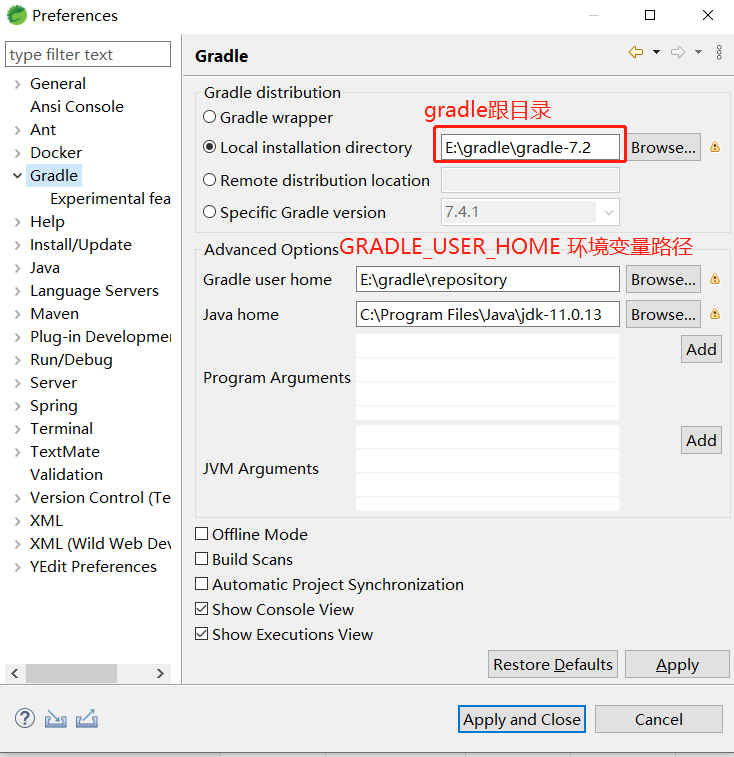
- GRADLE_HOME gradle根目录
- GRADLE_USER_HOME 下载jar包文件夹
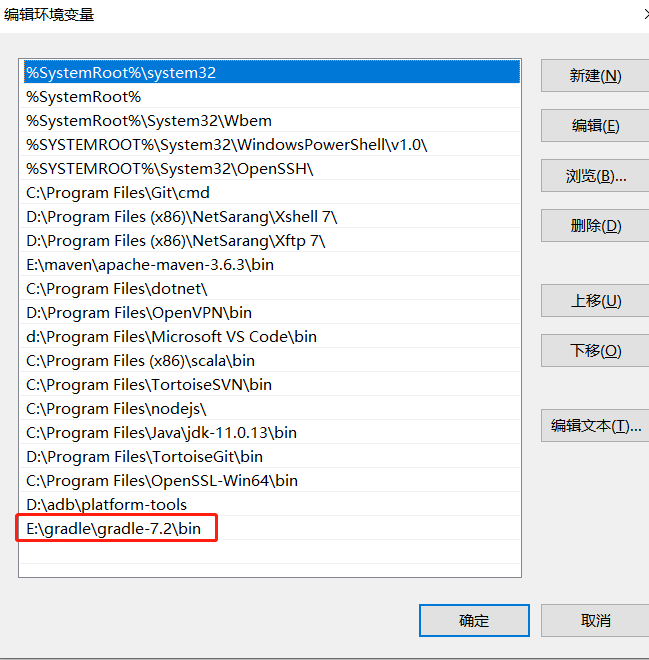
配置path环境变量
执行命令gradle -v
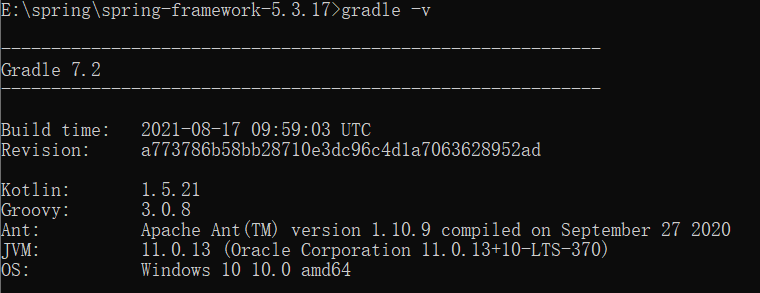
gradle配置成功
2、下载Spring Tools 4 for Eclipse并安装插件
下载地址
https://spring.io/tools
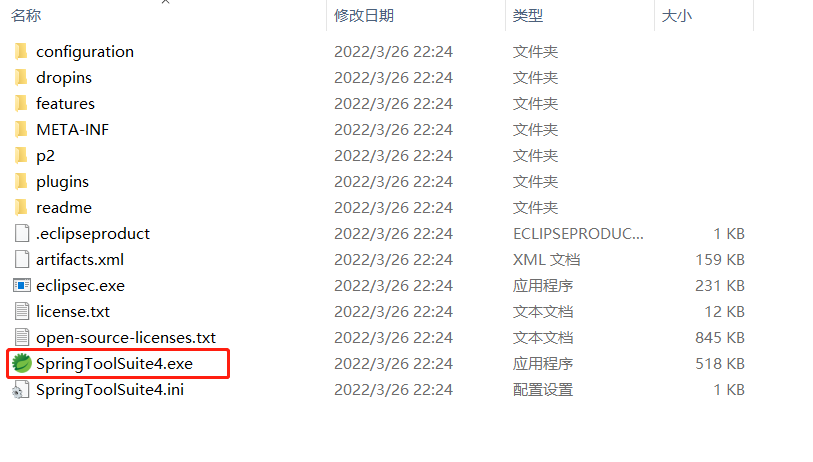
下载成功后是一个jar包 spring-tool-suite-4-4.14.0.RELEASE-e4.23.0-win32.win32.x86_64.self-extracting.jar双击jar包会解压出一个文件夹,双击运行springTools
配置gradle Window->Preferences->Gradle
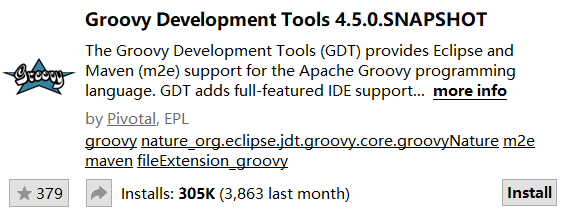
安装Groovy Development Tools插件
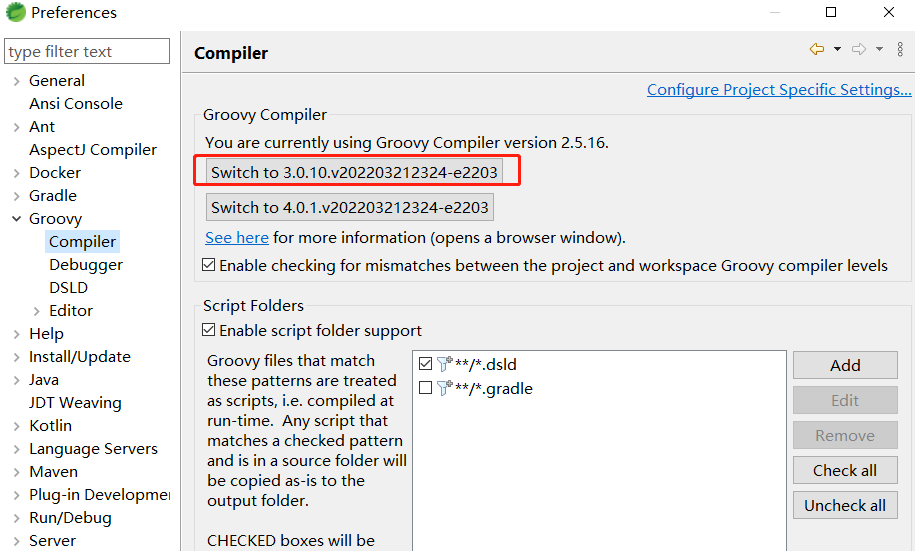
切换到Groovy 3.0 (Preferences → Groovy → Compiler → Switch to 3.0…).
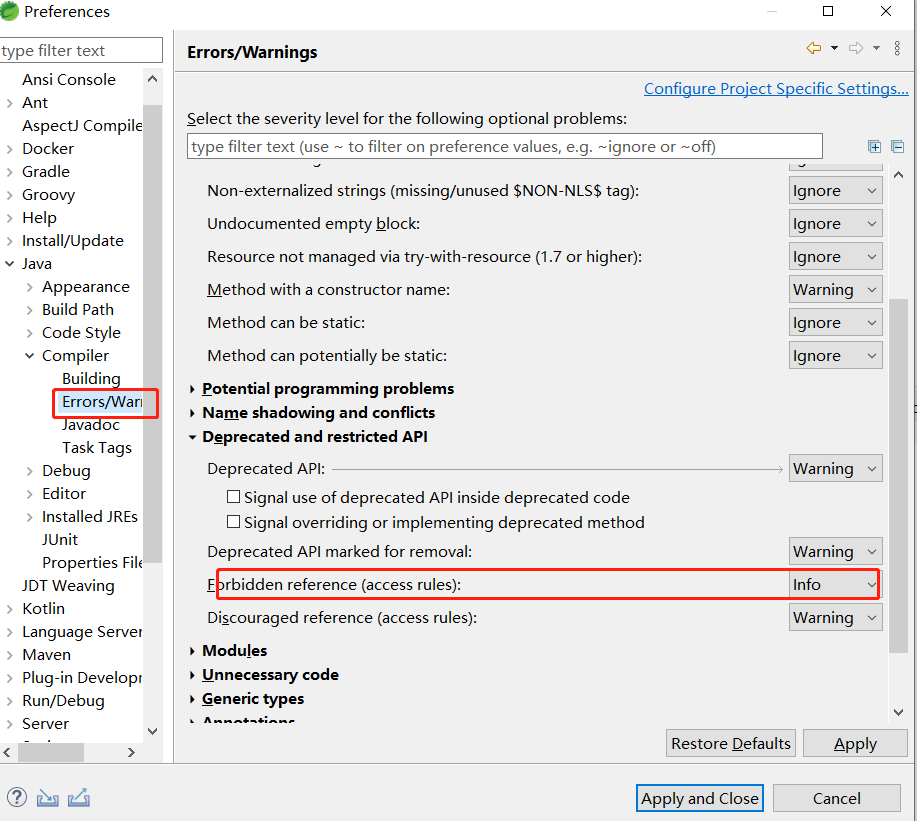
设置 _Forbidden reference (access rule)_为Info
(Preferences → Java → Compiler → Errors/Warnings → Deprecated and restricted API → Forbidden reference (access rule)).
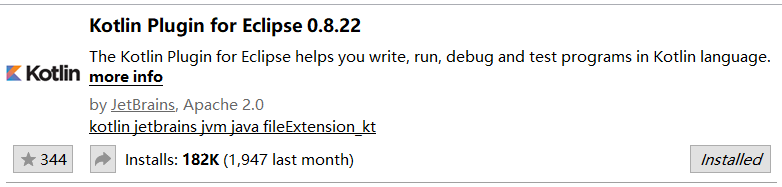
安装Kotlin Plugin 插件
安装AspectJ Development Tools插件

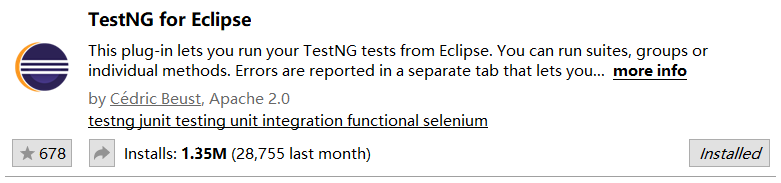
安装TestNG plugin 插件
3、下载spring-5.3.17源码
https://github.com/spring-projects/spring-framework/tree/v5.3.17
- 解压源码
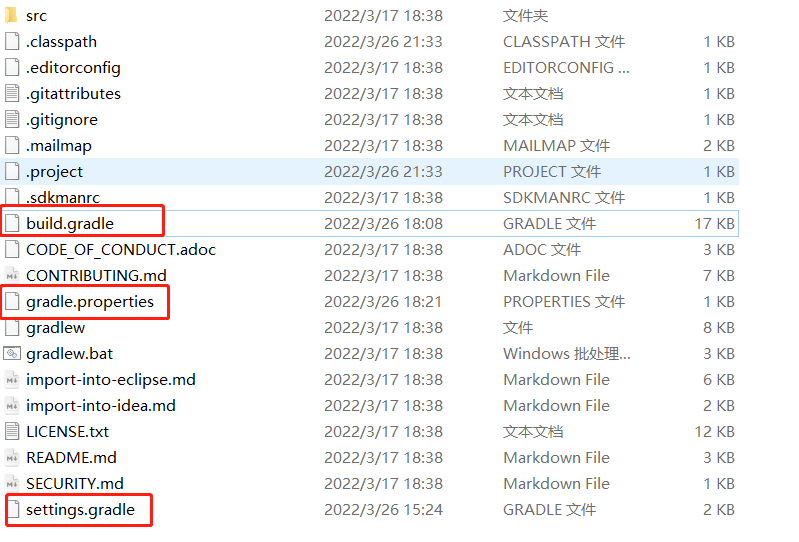
- 修改build.gradle文件

repositories {
    maven{ url 'https://maven.aliyun.com/nexus/content/groups/public/' }
    maven{ url 'https://maven.aliyun.com/nexus/content/repositories/jcenter' }
    mavenCentral()
    maven { url "https://repo.spring.io/libs-spring-framework-build" }
}
- 修改 gradle.properties 文件
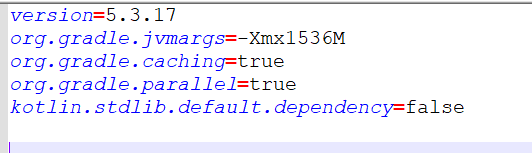
version=5.3.17
## 设置此参数主要是编译下载包会占用大量的内存,可能会内存溢出
org.gradle.jvmargs=-Xmx2048M
## 开启 Gradle 缓存
org.gradle.caching=true
## 开启并行编译
org.gradle.parallel=true
## 启用新的孵化模式
org.gradle.configureondemand=true
## 开启守护进程 通过开启守护进程,下一次构建的时候,将会连接这个守护进程进行构建,而不是重新fork一个gradle构建进程
org.gradle.daemon=true
- 修改settings.gradle文件
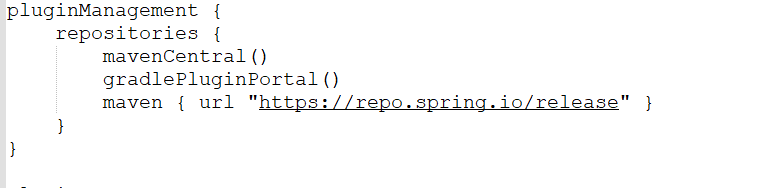
pluginManagement {
	repositories {
		maven { url 'https://maven.aliyun.com/repository/gradle-plugin' }
		maven { url "https://maven.aliyun.com/repository/public" }
		gradlePluginPortal()
		maven { url "https://repo.spring.io/release" }
	}
}
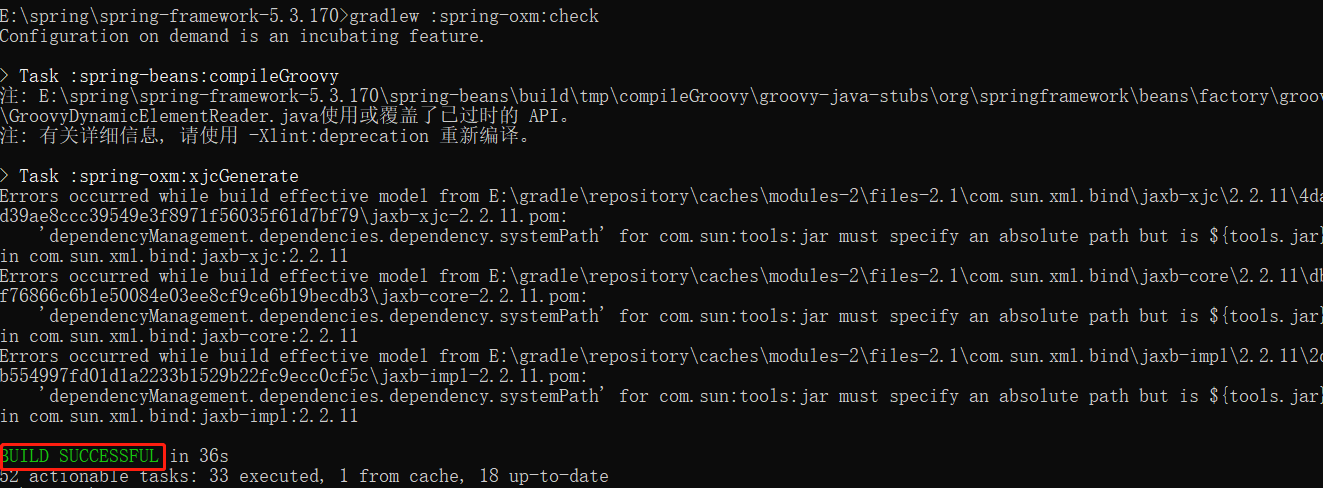
- 编译源码gradlew :spring-oxm:check

报错详情:
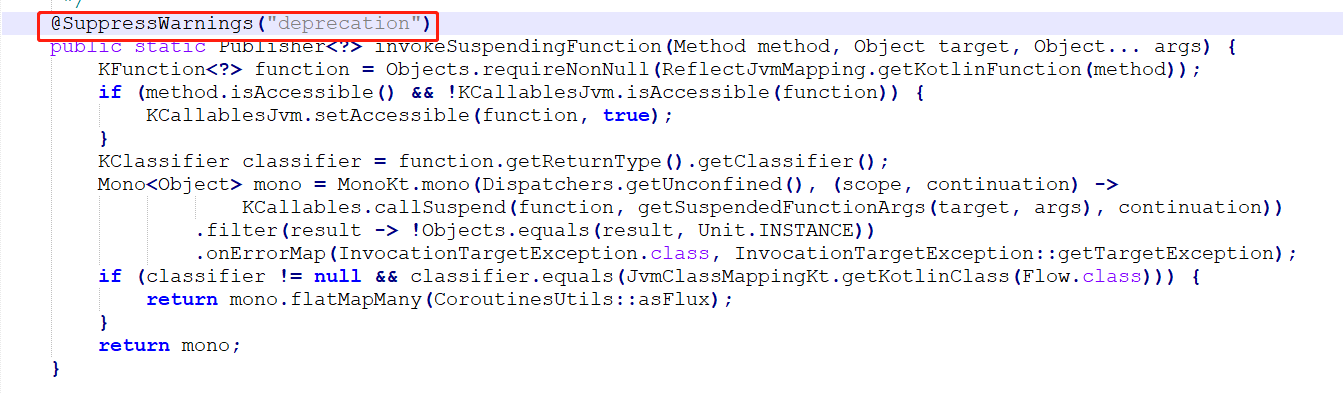
spring-core\src\main\java\org\springframework\core\CoroutinesUtils.java:74: 警告: [deprecation] AccessibleObject中的isAccessible()已过时
if (method.isAccessible() && !KCallablesJvm.isAccessible(function)) {
解决方案:
在 org.springframework.core.CoroutinesUtils.invokeSuspendingFunction(Method method, Object target, Object... args) 方法上加 @SuppressWarnings("deprecation") 注解即可。
出现git错误,无关紧要
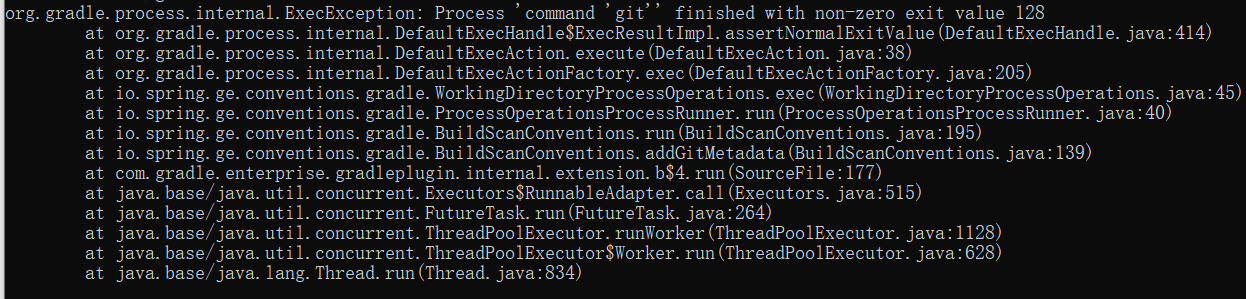
解决方案注释settings.gradle中的plugins

编译成功
转换成eclipse项目 gradlew cleanEclipse eclipse

可以设置eclipse项目依赖的jar包
在gradle模块中的ide.gradle中配置,下面是设置jdk设置成11默认是8
eclipse.classpath.file.whenMerged { classpath ->
 def cons = new org.gradle.plugins.ide.eclipse.model.Container('org.eclipse.jdt.launching.JRE_CONTAINER/org.eclipse.jdt.internal.debug.ui.launcher.StandardVMType/JavaSE-11/')
	def flag = classpath.entries.find{ it.path.startsWith('spring-core') } //设置指定项目用jdk11
	if(flag != null){
		classpath.entries.removeAll { it.path.startsWith('org.eclipse.jdt.launching.JRE_CONTAINER') }
		classpath.entries.add(cons)
	}
}
插件参考资料
https://docs.gradle.org/7.2/dsl/
4、导入eclipse
导入项目(File->Import->Gradle->Existing Gradle Project)
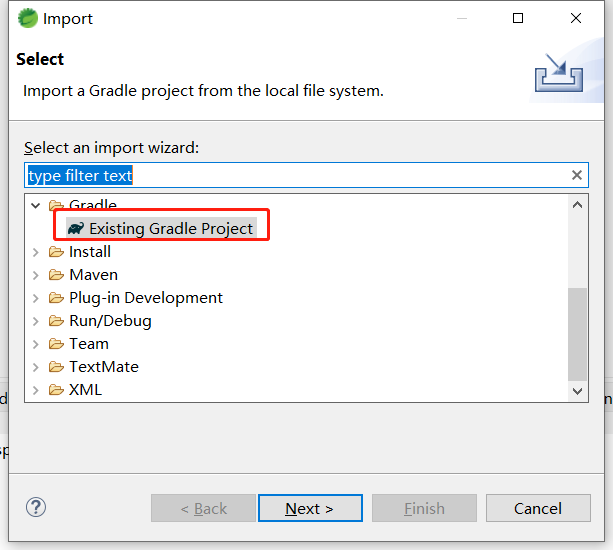
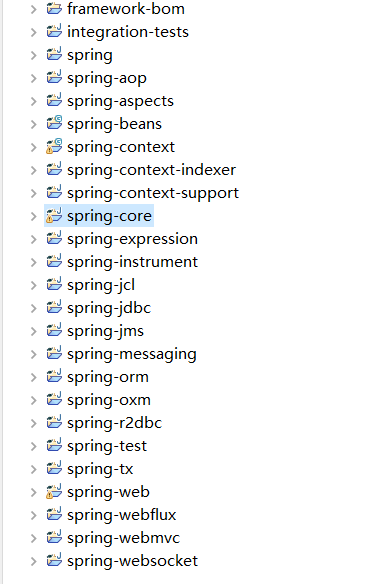
下一步选择spring项目下一步到完成
导入后发现spring-core报错,因为用到了jdk11的类,所有eclipse加入jdk11
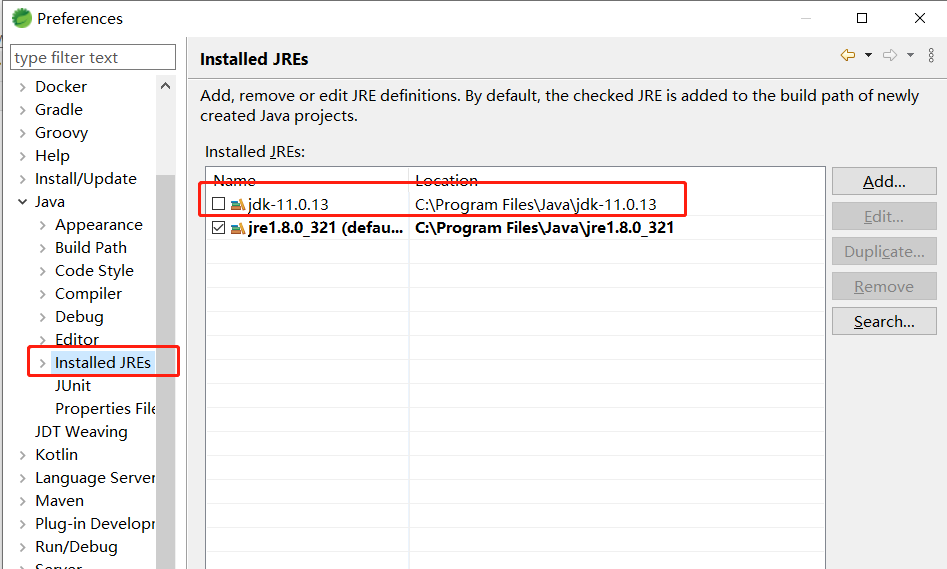
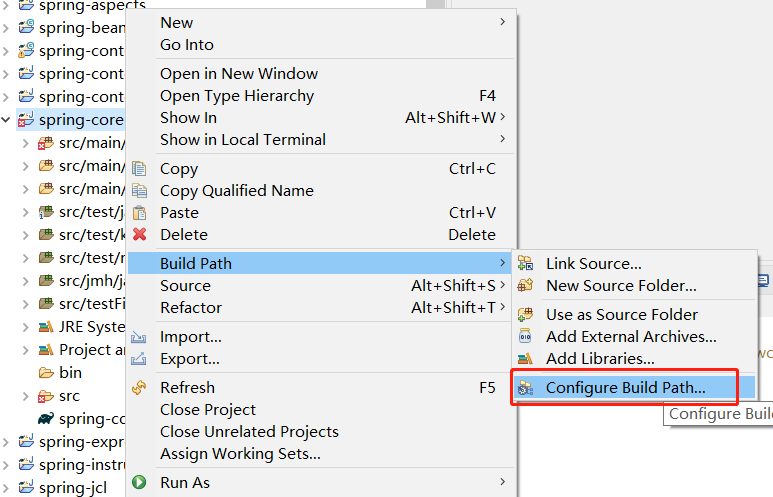
配置好以后,右键spring-core项目配置build path
新增jdk11
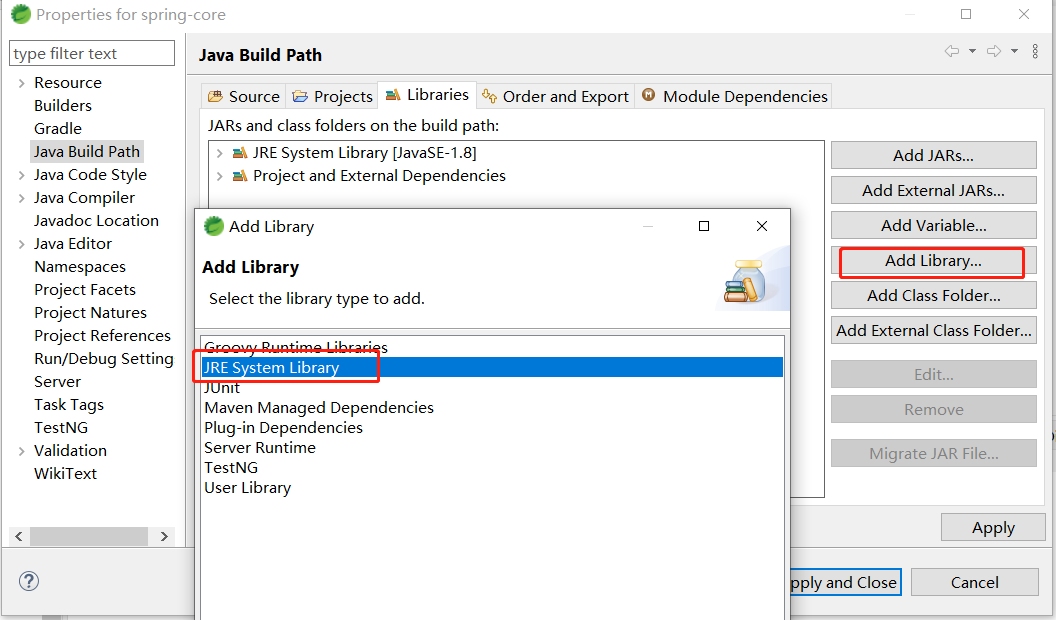
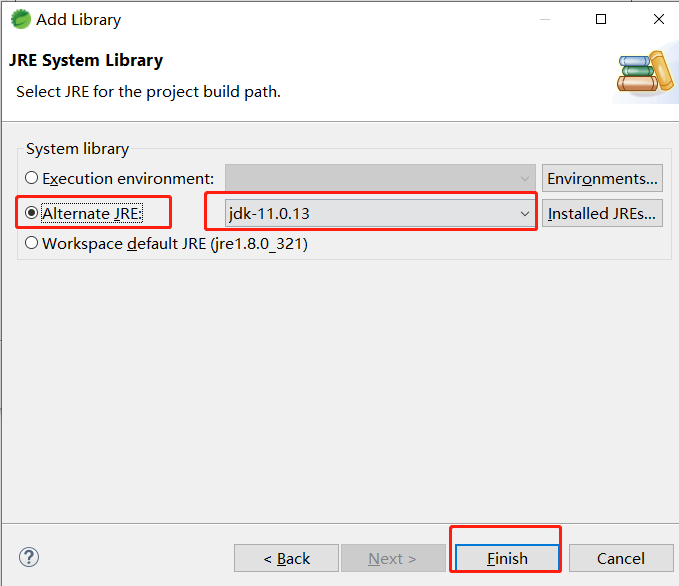
删除jdk8

全部编译通过
5、新建gradle项目测试
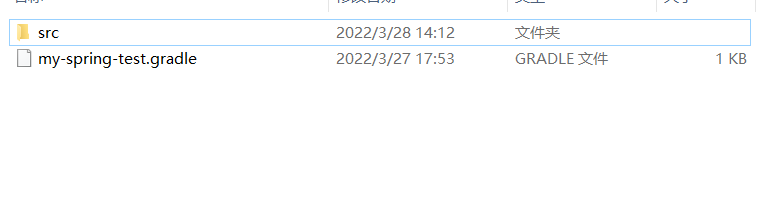
在spring目录中创建自己的项目my-spring-test
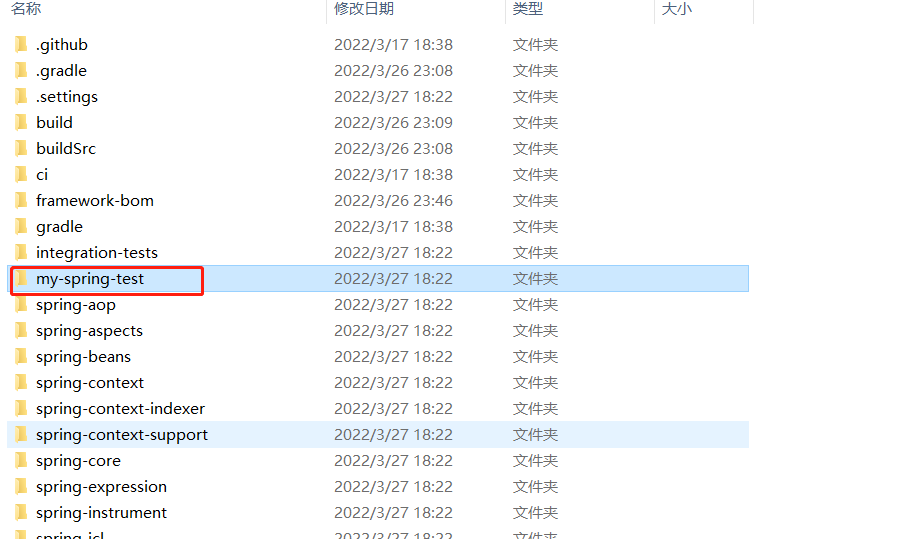
创建java项目src\main\java 和src\test\java目录,和my-spring-test.gradle文件
my-spring-test.gradle需要引入的spring项目
apply plugin: "kotlin"

dependencies {
    api(project(":spring-webmvc"))
    api(project(":spring-aop"))
    api(project(":spring-aspects"))
    api(project(":spring-tx"))
	//项目中用到了lombok所以引入
	compileOnly 'org.projectlombok:lombok:1.18.22'
	annotationProcessor 'org.projectlombok:lombok:1.18.22'
	testCompileOnly 'org.projectlombok:lombok:1.18.22'
	testAnnotationProcessor 'org.projectlombok:lombok:1.18.22'


}
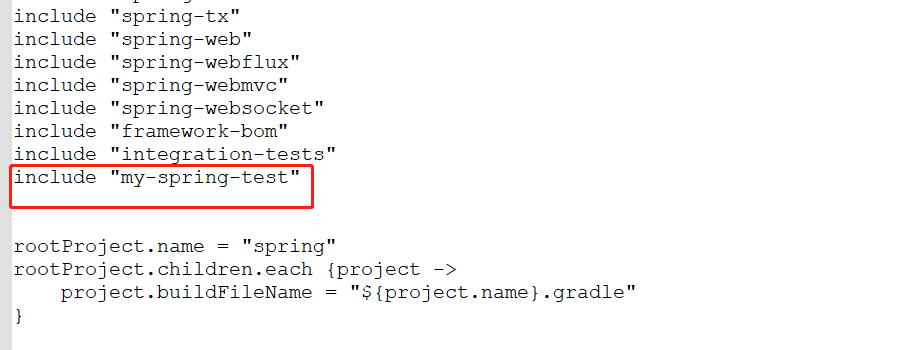
加入以后在settings.gradle中引入项目my-spring-test
mbok:lombok:1.18.22’
testCompileOnly ‘org.projectlombok:lombok:1.18.22’
testAnnotationProcessor ‘org.projectlombok:lombok:1.18.22’
}
加入以后在settings.gradle中引入项目my-spring-test

[外链图片转存中...(img-evJlqD2F-1665326882608)]

重新编译以后我们就可以在自己新建的项目中用spring了


 487
487


 被折叠的 条评论
为什么被折叠?
被折叠的 条评论
为什么被折叠?
 到【灌水乐园】发言


