


PowerPoint演示文稿可用于许多情况下,例如会议,演示文稿,讨论等。在某些情况下,可能会有单独的人创建不同的演示文稿或在各种会议中使用单独的演示文稿。有时可能需要合并这些演示文稿以用于共享或文档目的。手动执行此任务将非常耗时。有效的方法是以编程方式实现这一目标。在本文中,将学习 如何使用C ++合并PowerPoint演示文稿。
- 使用C ++合并PowerPoint演示文稿
- 使用C ++合并特定的PowerPoint幻灯片
- 使用幻灯片母版合并PowerPoint演示文稿
Aspose.Slides for C ++是一个C ++库,提供了许多用于PowerPoint演示文稿的功能。该API使您无需使用Microsoft PowerPoint即可创建,修改和转换PowerPoint演示文稿。此外,API还提供了合并不同PowerPoint文件的功能。
>>你可以点击这里下载Aspose.Slides 最新版测试体验。
使用C ++合并PowerPoint演示文稿
使用Aspose.Slides for C ++合并两个演示文稿的过程很容易。为此,需要加载两个演示文稿,在源演示文稿幻灯片中循环,然后将其克隆添加到目标演示文稿中。以下是合并两个PowerPoint演示文稿的步骤。
- 使用Presentation 类加载目标PowerPoint文件。
- 创建Presentation 类的另一个实例以表示源PowerPoint文件。
- 使用Presentation-> get_Slides()方法从源演示文稿中检索幻灯片 并对其进行迭代。
- 在循环内部,使用Presentation-> get_Slides()-> AddClone(System :: SharedPtrsourceSlide)方法将每张幻灯片添加到目标演示文稿中。
- 最后,使用Presentation-> Save(系统::字符串名称,导出:: SaveFormat格式)方法保存合并的演示文稿文件 。
以下是使用C ++合并PowerPoint演示文稿的示例代码。
// The path to the documents directory.
const String sourceFilePath1 = u"SourceDirectory\\SamplePresentation2.pptx";
const String sourceFilePath2 = u"SourceDirectory\\SamplePresentation3.pptx";
const String outputFilePath = u"OutputDirectory\\mergedPresentation.pptx";

// Instantiate Presentation class
SharedPtrpresentation1 = MakeObject(sourceFilePath1);
SharedPtrpresentation2 = MakeObject(sourceFilePath2);

for (SharedPtrslide : presentation2->get_Slides())
{
	// Merge slides from source to destination
	presentation1->get_Slides()->AddClone(slide);
}

// Save the presentation
presentation1->Save(outputFilePath, SaveFormat::Pptx);
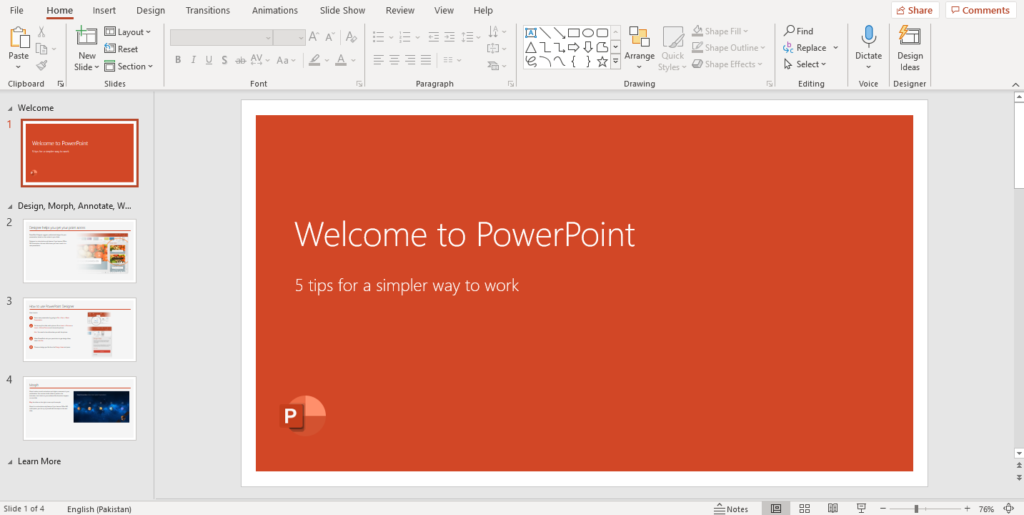
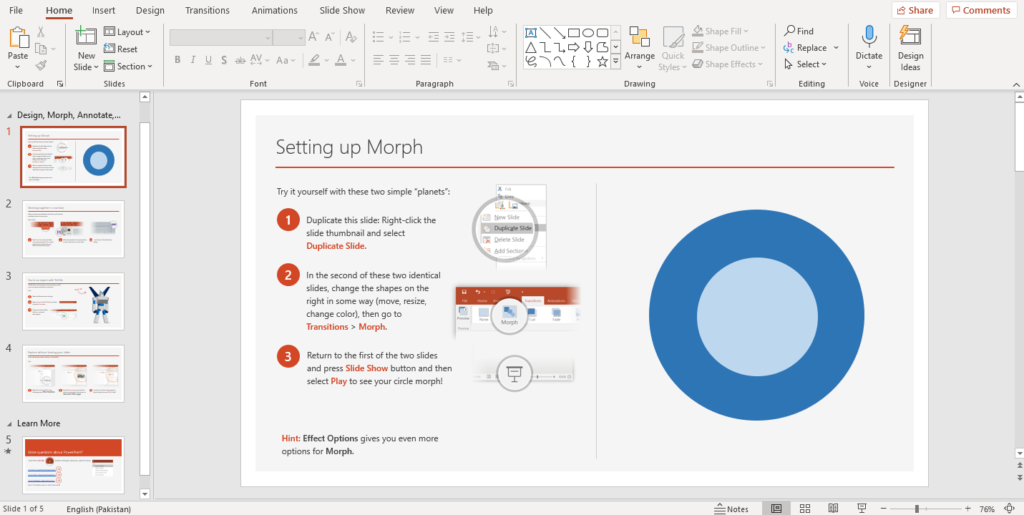
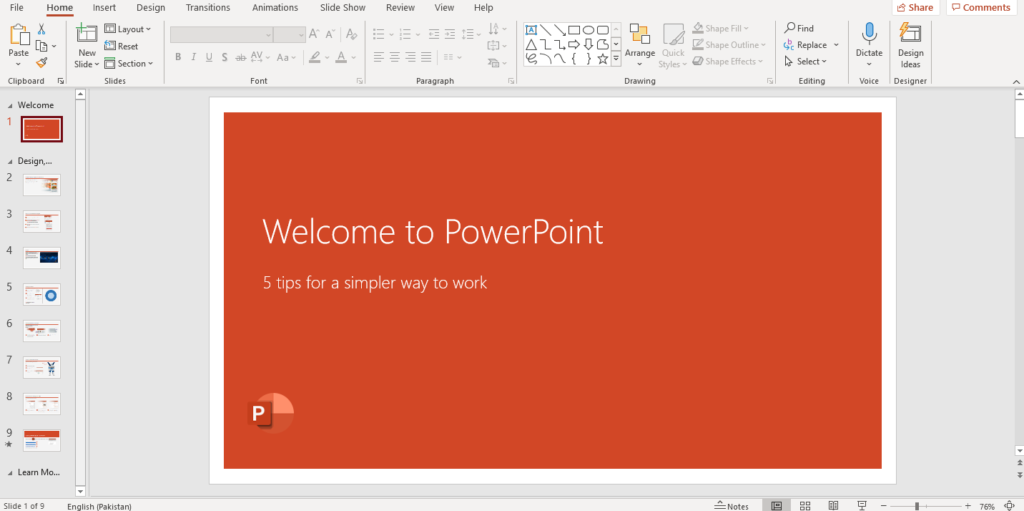
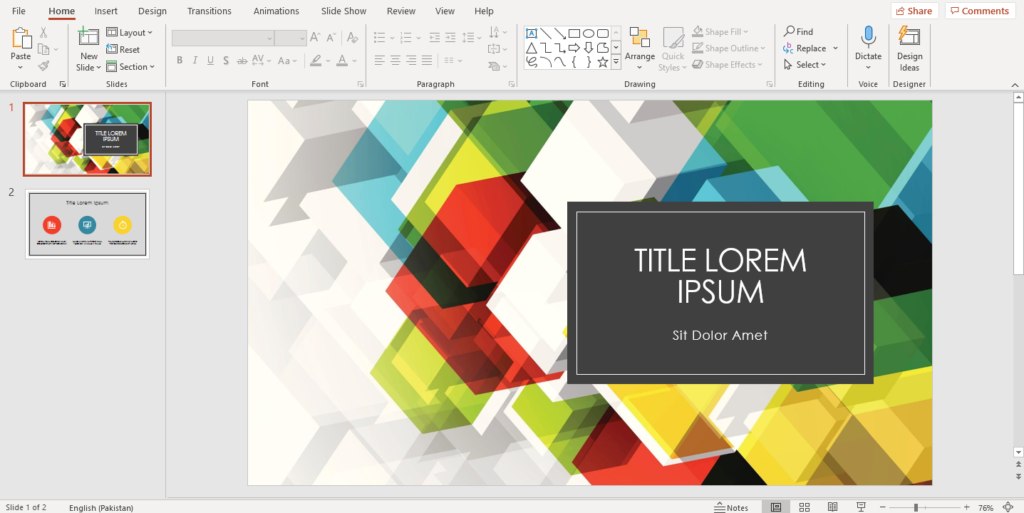
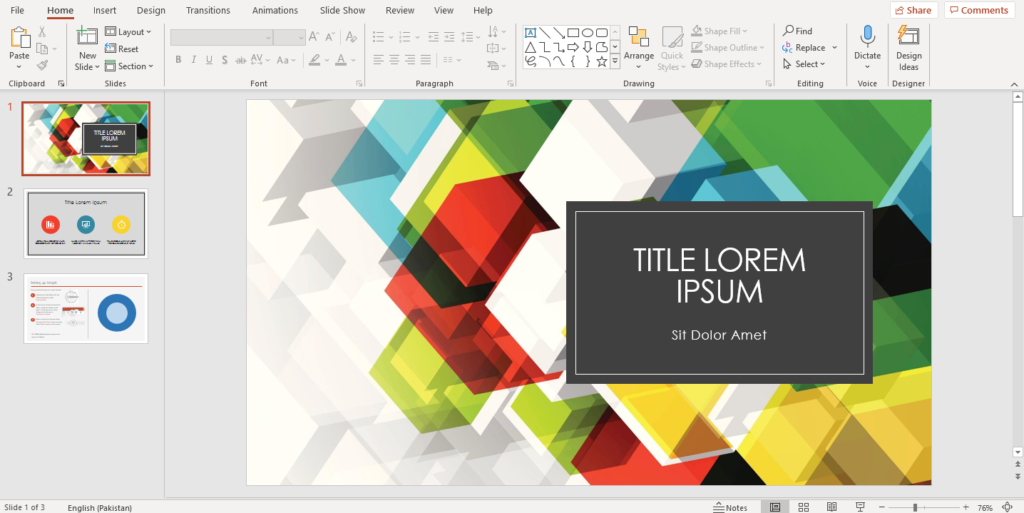
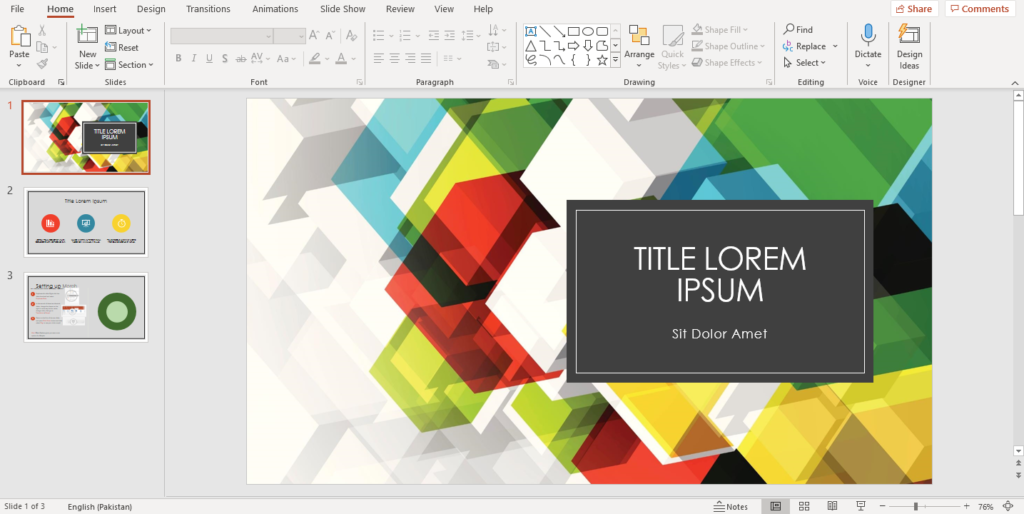
下图显示了源,目标和合并的演示文稿文件。
目标PowerPoint演示文稿图像
源PowerPoint演示文稿图像
合并的PowerPoint演示文稿图像
使用C ++合并特定的PowerPoint幻灯片
在某些情况下,您可能对整个演示文稿不感兴趣,而想要添加幻灯片的子集。为此,请在循环源演示文稿幻灯片的同时添加必要的条件。以下是合并选定的PowerPoint幻灯片的步骤。
- 首先,使用Presentation 类加载目标PowerPoint文件。
- 创建Presentation 类的另一个实例以表示源PowerPoint文件。
- 使用Presentation-> get_Slides()方法从源演示文稿中检索幻灯片 并对其进行迭代。
- 在循环内部,使用Presentation-> get_Slides()-> AddClone(System :: SharedPtrsourceSlide)方法将所需的幻灯片添加到目标演示文稿中。
- 最后,使用Presentation-> Save(系统::字符串名称,导出:: SaveFormat格式)方法保存合并的演示文稿文件 。
以下是使用C ++合并选定的PowerPoint幻灯片的示例代码。
// The path to the documents directory.
const String sourceFilePath1 = u"SourceDirectory\\SamplePresentation2.pptx";
const String sourceFilePath2 = u"SourceDirectory\\SamplePresentation3.pptx";
const String outputFilePath = u"OutputDirectory\\mergedPresentation.pptx";

// Load the presentation files
SharedPtrpresentation1 = MakeObject(sourceFilePath1);
SharedPtrpresentation2 = MakeObject(sourceFilePath2);

for (int i = 0; i < presentation2->get_Slides()->get_Count(); i++)
{
	// Merge only even slides
	if (i % 2 == 0)
	{
		presentation1->get_Slides()->AddClone(presentation2->get_Slides()->idx_get(i));
	}
}

// Save the presentation
presentation1->Save(outputFilePath, SaveFormat::Pptx);
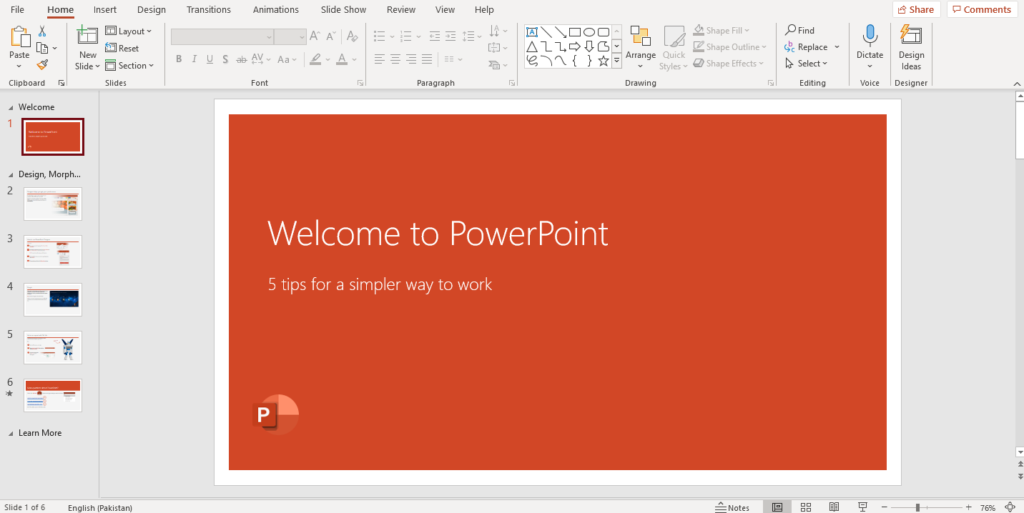
下图显示了合并的演示文稿文件。源和目标演示文稿文件与上一个示例中使用的文件相同。
合并的PowerPoint演示文稿图像
使用幻灯片母版合并PowerPoint演示文稿
在前两个示例中,源演示文稿和目标演示文稿的设计是相同的。下图显示了将演示文稿与不同设计合并的结果。
目标PowerPoint演示文稿图像
源PowerPoint演示文稿图像

合并的PowerPoint演示文稿图像
您可以在合并的演示文稿图像中看到第三张幻灯片在合并过程中保留了其原始样式。如果您希望源幻灯片使用目标演示文稿样式,请使用以下步骤。
- 使用Presentation 类加载目标PowerPoint文件。
- 创建Presentation 类的另一个实例以表示源PowerPoint文件。
- 使用Presentation-> get_Slides()-> AddClone(System :: SharedPtrsourceSlide,System :: SharedPtrdestMaster,bool allowCloneMissingLayout)方法将所需的幻灯片添加到目标演示文稿中。
- 最后,使用Presentation-> Save(系统::字符串名称,导出:: SaveFormat格式)方法保存合并的演示文稿文件 。
以下是使用幻灯片母版合并PowerPoint演示文稿的示例代码。
// The path to the documents directory.
const String sourceFilePath1 = u"SourceDirectory\\SamplePresentation.pptx";
const String sourceFilePath2 = u"SourceDirectory\\SamplePresentation3.pptx";
const String outputFilePath = u"OutputDirectory\\mergedPresentation.pptx";

// Load the presentation files
SharedPtrpresentation1 = MakeObject(sourceFilePath1);
SharedPtrpresentation2 = MakeObject(sourceFilePath2);

// Merge the first slide using slide master
presentation1->get_Slides()->AddClone(presentation2->get_Slides()->idx_get(0), presentation1->get_Masters()->idx_get(0), true);

// Save the presentation
presentation1->Save(outputFilePath, SaveFormat::Pptx);
下图显示了以上示例代码生成的合并演示文稿。
将PowerPoint演示文稿与使用目标演示文稿样式添加的第一张幻灯片合并
如果您有任何疑问或需求,请随时加入Aspose技术交流群(761297826),我们很高兴为您提供查询和咨询。


 7674
7674

 被折叠的 条评论
为什么被折叠?
被折叠的 条评论
为什么被折叠?
 到【灌水乐园】发言


