


uploadify是和jQuery结合使用的异步上传组件,主要功能是批量上传文件,使用多线程来上传多个组件。
下载并导入js和样式文件
在正式学习uploadify组件之前,首先就是去官网下载最新的js和css等。
http://www.uploadify.com/download/
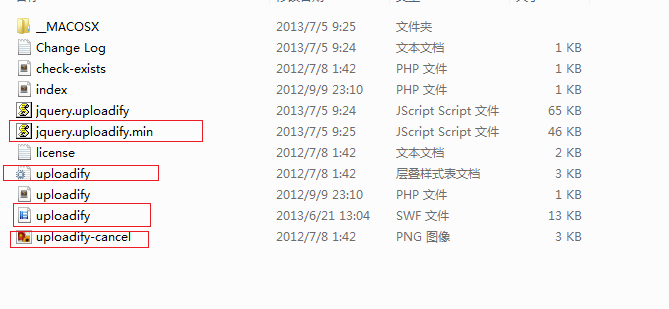
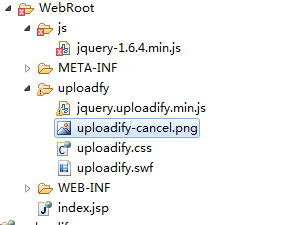
解压后如图:上面使用红色标示的文件是需要引入到项目中的。另外别忘了引入jquery.js文件
html页面以及上传条件的编写
<html>
  <head>
    <base href="<%=basePath%>">
    <title>jquery upload</title>
    <link rel="stylesheet" href="uploadfy/uploadify.css" type="text/css"></link>
    <script type="text/javascript" src="js/jquery-1.6.4.min.js"></script>
    <script type="text/javascript" src="uploadfy/jquery.uploadify.min.js"></script>
    <script type="text/javascript">
        $(function () {
            $("#uploadify").uploadify({
                //指定swf文件
                'swf': 'uploadfy/uploadify.swf',
                //后台处理的页面
                'uploader': 'UploadServlet',
                'progressData' : 'speed',
                //按钮显示的文字
                'buttonText': '上传文件',
                //显示的高度和宽度,默认 height 30;width 120
                //'height': 15,
                //'width': 80,
                //上传文件的类型  默认为所有文件    'All Files'  ;  '*.*'
                //在浏览窗口底部的文件类型下拉菜单中显示的文本
                'fileTypeDesc': 'Image Files',
                //允许上传的文件后缀
                //'fileTypeExts': '*.gif; *.jpg; *.png',
                'cancel': 'uploadfy/uploadify-cancel.png',
                //上传文件页面中,你想要用来作为文件队列的元素的id, 默认为false  自动生成,  不带#
                //'queueID': 'fileQueue',
                //选择文件后自动上传
                'auto': true,
                //设置为true将允许多文件上传
                'multi': true,
                'onUploadComplete' : function(file) {
                     alert('上传完成');
                 },
                'onCancel' : function(file) {
                     alert('取消上传');
                 }
            });
        });

    </script>
  </head>

  <body>
    <a id="uploadify">开始上传</a>
    <a href="javascript:$('#uploadify').uploadify('cancel')">取消上传</a>
  </body>
</html>
这里有大量的属性,我这里也只是列出了一些常用的,具体的可以参考官网的文档:
http://www.uploadify.com/documentation/
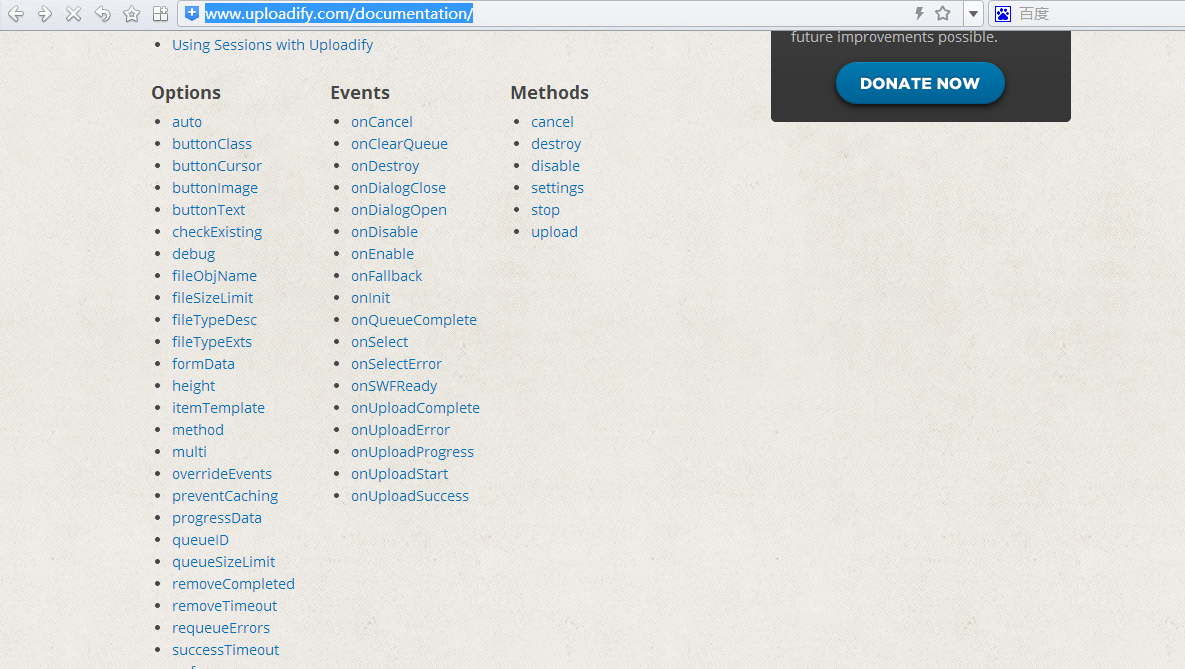
可以看到官网给我们提供了每一个属性的详细用法。在这里我就不一一赘述了。
UploadServlet 实现
String savePath = this.getServletConfig().getServletContext()
                    .getRealPath("");
            savePath = savePath + "\\uploads\\";
            File f1 = new File(savePath);
            if (!f1.exists()) {
                f1.mkdirs();
            }
            DiskFileItemFactory fac = new DiskFileItemFactory();
            ServletFileUpload upload = new ServletFileUpload(fac);
            upload.setHeaderEncoding("utf-8");
            List fileList = null;
            try {
                fileList = upload.parseRequest(req);
            } catch (FileUploadException ex) {
                return;
            }
            Iterator<FileItem> it = fileList.iterator();
            String name = "";
            String extName = "";
            while (it.hasNext()) {
                FileItem item = it.next();
                if (!item.isFormField()) {
                    name = item.getName();
                    long size = item.getSize();
                    String type = item.getContentType();
                    System.out.println(size + " " + type);
                    if (name == null || name.trim().equals("")) {
                        continue;
                    }
                    //扩展名格式:
                    if (name.lastIndexOf(".") >= 0) {
                        extName = name.substring(name.lastIndexOf("."));
                    }
                    File file = null;
                    do {
                        //生成文件名:
                        name = System.currentTimeMillis()+"";
                        file = new File(savePath + name + extName);
                    } while (file.exists());
                    File saveFile = new File(savePath + name + extName);
                    try {
                        item.write(saveFile);
                    } catch (Exception e) {
                        e.printStackTrace();
                    }
                }
            }
            resp.getWriter().print(name + extName);
注意需要添加一下jar文件:
commons-fileupload-1.3.jar
commons-io-1.2.jar
先看下效果:


 343
343

 被折叠的 条评论
为什么被折叠?
被折叠的 条评论
为什么被折叠?
 到【灌水乐园】发言


