


##准备工作##
1.安装dns(解析)

2.编辑配置文件named.conf

注释访问权限
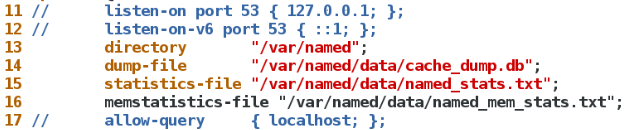
安全确认:否

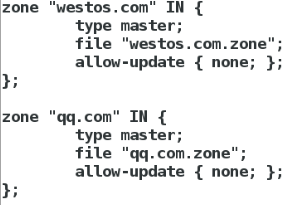
3.配置解析

添加westos.com和qq.com解析地址
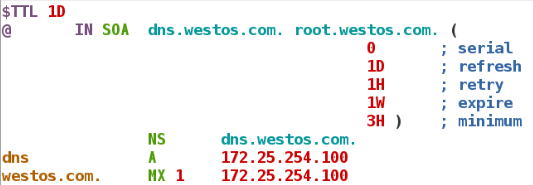
编辑westos.com解析

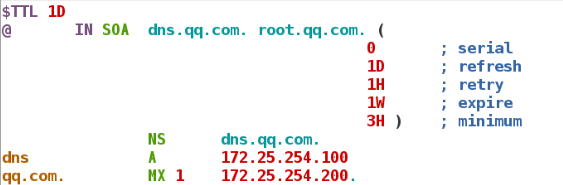
编辑qq.com解析

systemctl restart named
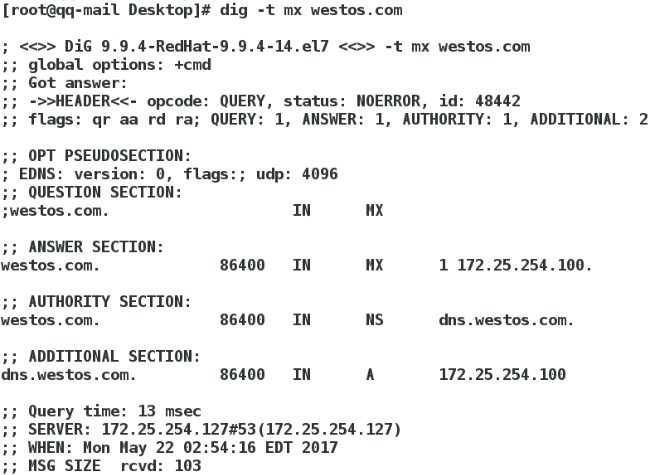
测试:
dig -t mx westos.com 和 dig -t mx qq.com
3.修改两台主机名
hostnamectl set-hostname westos-mail.westos.com
hostnamectl set-hostname qq-mail.qq.com
##postfix##
1.postfix
postfix提供smtp协议用来投递邮件
默认端口为25
2.配置
编辑postfix主配置文件(两台虚拟机mail)

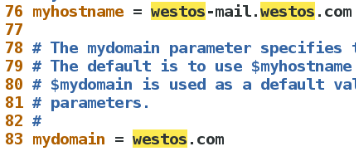
76 myhostname = westos-mail.westos.com ##主机名称
83 mydomain = westos.com ##指定mta域名
99 myorigin = westos.com ##指定邮件来源结尾(@后的字符)

116 inet_interfaces = all ##25端口开启的网络接口

164 mydestination = $myhostname, $mydomain, localhost ##接受邮件结尾的指定

systemctl restart postfix
测试:
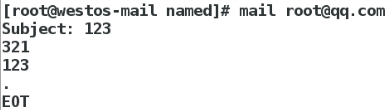
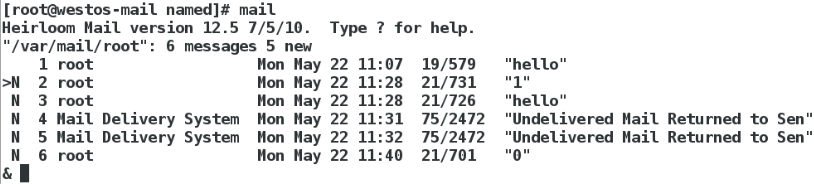
westos-mail端:westos-mail.westos.com向qq-mail.qq.com发送邮件
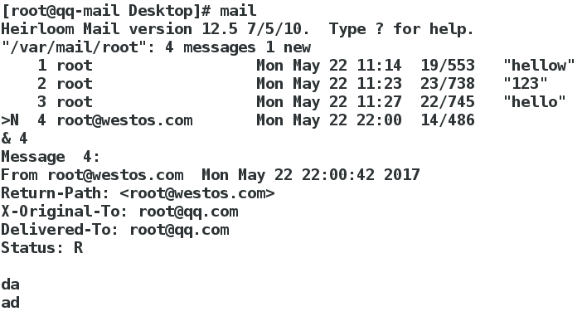
qq-mail端:mail(查看邮箱)

3.邮件别名
vim /etc/aliases

别名: 真名 ##邮件别名
别名: :include:filename ##邮件群发

vim /etc/postfix/moreuser

群发用户为root与student

使/etc/aliases生效

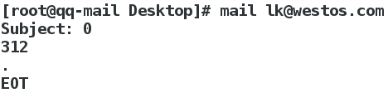
测试:mail 别名(lk)
查看
4.通过远程主机测试邮件服务
yum install telnet -y
telnet 172.25.254.127 25 ##远程连接172.25.254.127通过25端口
##mail from:root@westos.com ##自root@westos.com发送邮件
##rcpt to:root@qq.com ##邮件接受者为root@qq.com
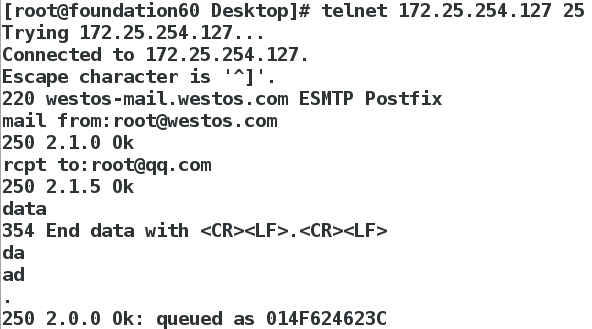
效果:
5.邮件客户端的访问控制
##限制用户访问##
在mta上
postconf -e "smtpd_client_restrictions = check_client_access hash:/etc/postfix/access" ##向主配置文件中加入引号内内容限制访问

在/etc/postfix/main.cf中会添加引号内内容并生效

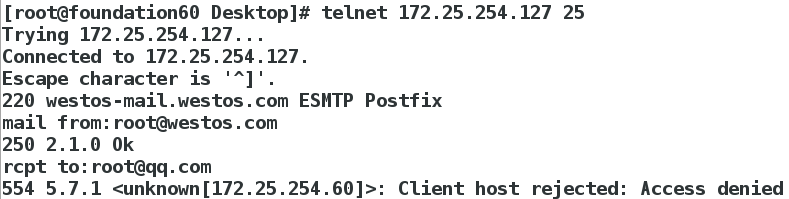
vim /etc/postfix/access ##编辑如上所加入文件,写入所要限制的为用户


postmap /etc/postfix/access ##使文件立即生效

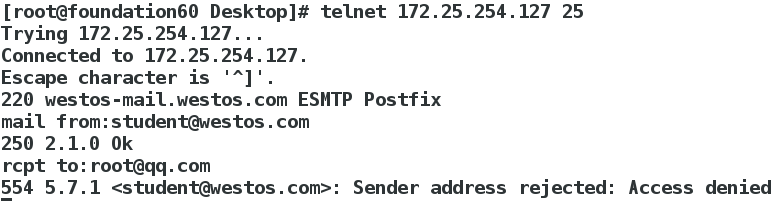
测试:在172.25.254.60上 telnet 172.25.254.127 25
##限制用户发送##
执行前先将上例所做限制访问控制注释
postconf -e "smtpd_sender_restrictions = check_sender_access hash:/etc/postfix/sender" ##限制用户发送邮件

vim /etc/postfix/sender ##编辑文件,写入所限制用户


postmap /etc/postfix/sender ##使文件立即生效

测试:
##限制用户接收##
postconf -e "smtpd_recipient_restrictions = check_recipient_access hash:/etc/postfix/recip" ##限制用户接受

vim /etc/postfix/recip ##编辑文件,写入所限制接收用户


postmap /etc/postfix/recip ##使文件立即生效

测试:

##出站地址伪装##
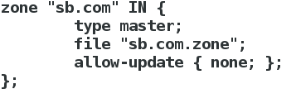
1.配置伪装DNS
vim /etc/named.rfc1912.zones

加入所要伪装用户名DNS
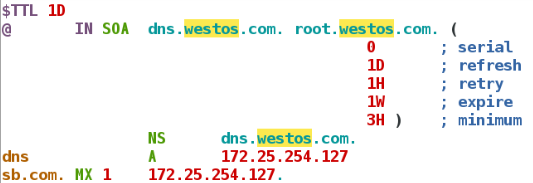
配置伪装用户DNS

2.配置postfix
postconf -e "smtp_generic_maps = hash:/etc/postfix/generic" ##出站地址伪装

vim /etc/postfix/generic ##配置文件,写入用户所要伪装的用户名


postmap /etc/postfix/generic ##使文件立即生效

测试:
发送端

接收端
##入展地址转换##
postconf -e "virtual_alias_maps = hash:/etc/postfix/virtual" ##入站地址转换,写入postfix主配置文件main.cf

vim /etc/postfix/virtual ##编辑文件,写入用户入站地址转换的用户

虚拟用户 真实用户

postmap /etc/postfix/ ##使文件立即生效

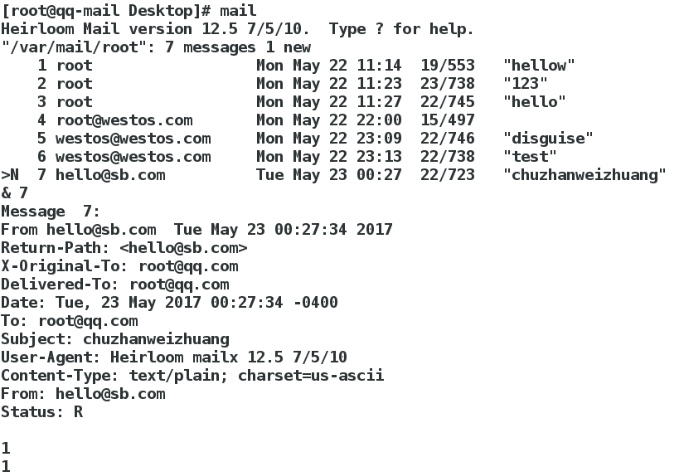
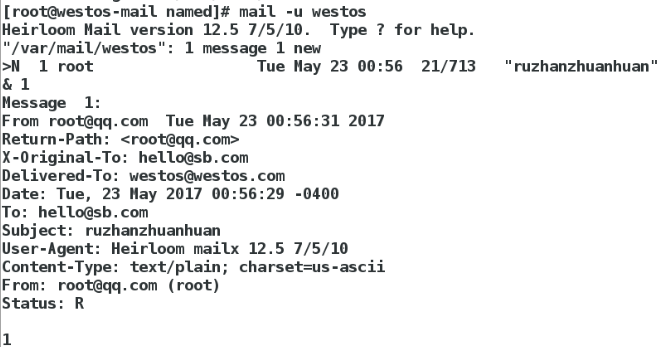
测试:由root@qq.com发送给hello@sb.com(hello用户不存在但入站时会转换至westos@westos.com)
发送端
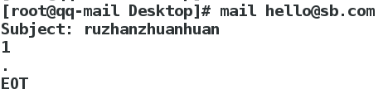
接收端
##########dovecot############
1.
dovecot用来提供收件协议,给定用户名称,dovecot程序带我们去看这个用户的邮件文件
2.yum install dovecot -y

3.vim /etc/dovevot/dovecot.conf ##编辑dovecot主配置文件

24 protocols = imap pop3 lmtp ##加密协议
48 login_trusted_networks = 0.0.0.0/0 ##允许任何IP登录
49 disable_plaintext_auth = no ##允许明文登录


vim /etc/dovecot/conf.d/10-mail.conf

30 mail_location = mbox:~/mail:INBOX=/var/mail/%u ##指定用户查看的文件,%u代表用户

systemctl restart dovecot
mkdir /home/westos/mail/.imap -p ##建立邮件目录
touch /home/westos/mail/.imap/INBOX ##建立查看邮件的文件位置

在172.25.254.60上:
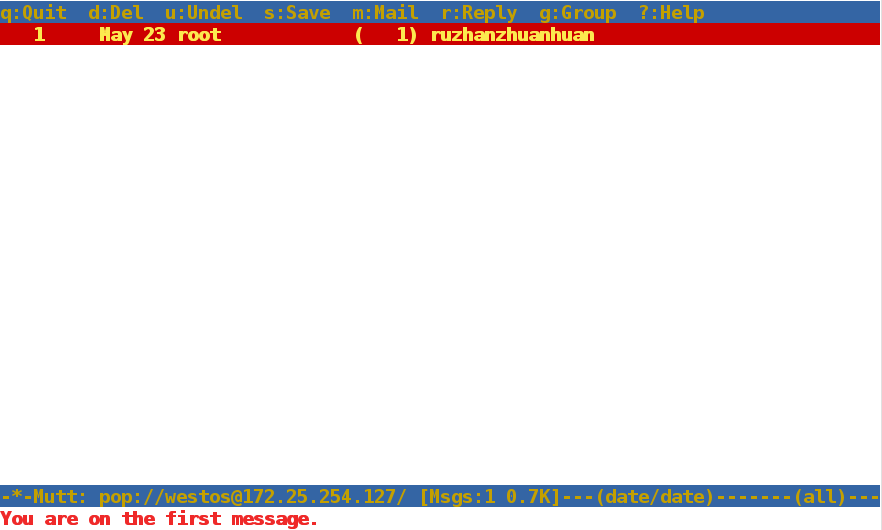
mutt -f pop://westos@172.25.254.127
登录:

登入后可查看westos用户的邮箱
##########thunderbird###########
rpm -ivh thunderbird

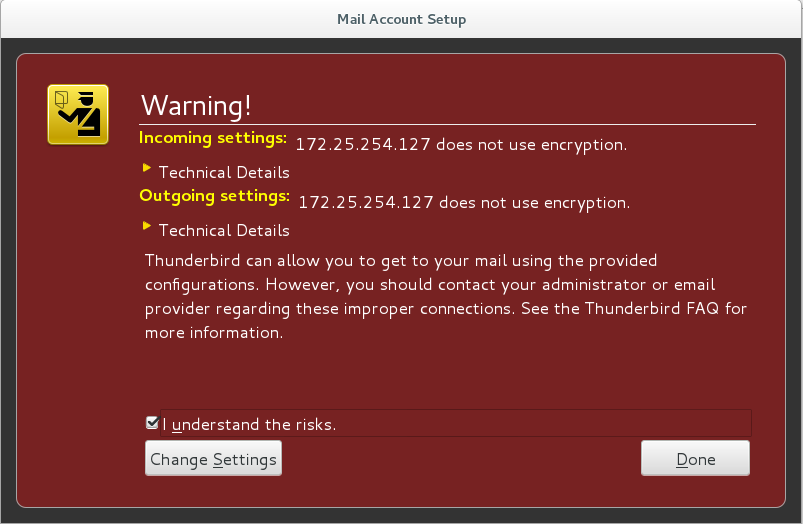
运行thunderbird并手动添加邮箱账户如下
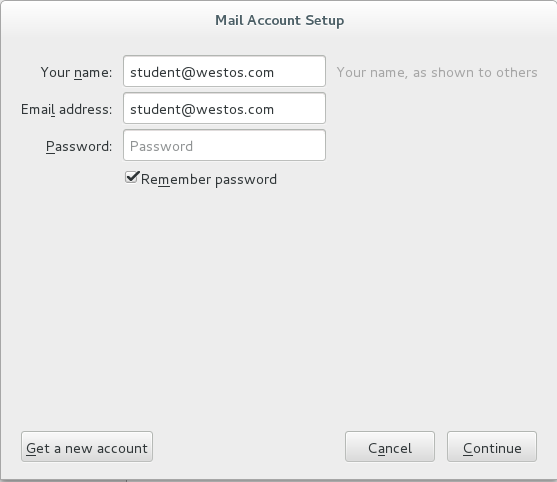
POP3:文件接收协议
SMTP:文件传输协议
port:端口

done
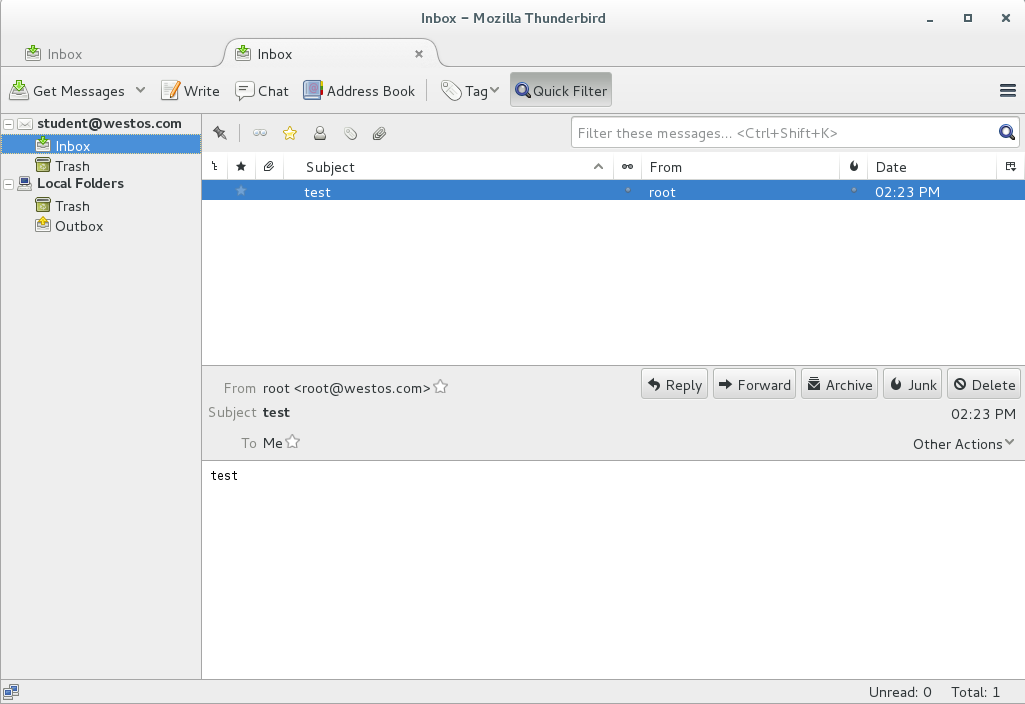
效果:可在thunderbird中发送与查看邮件


 6247
6247


 被折叠的 条评论
为什么被折叠?
被折叠的 条评论
为什么被折叠?
 到【灌水乐园】发言


