


 本文介绍了如何优化WSL2的配置,包括启用systemd、设置开机自启动并在后台运行,以及调整WSL2的内存和处理器使用。通过创建wsl.config和.wslconfig文件,可以定制WSL的启动行为和资源管理,确保它按需使用系统资源。
WSL2配置优化
开启systemctl
-
打开你的linux发行版的命令行
-
在/etc目录下新建wsl.config文件,编辑如下并保存
[boot] systemd=true -
打开powershell,输入如下指令关闭wsl,随后手动重启即可(任意方式重启即可)
wsl --shutdown -
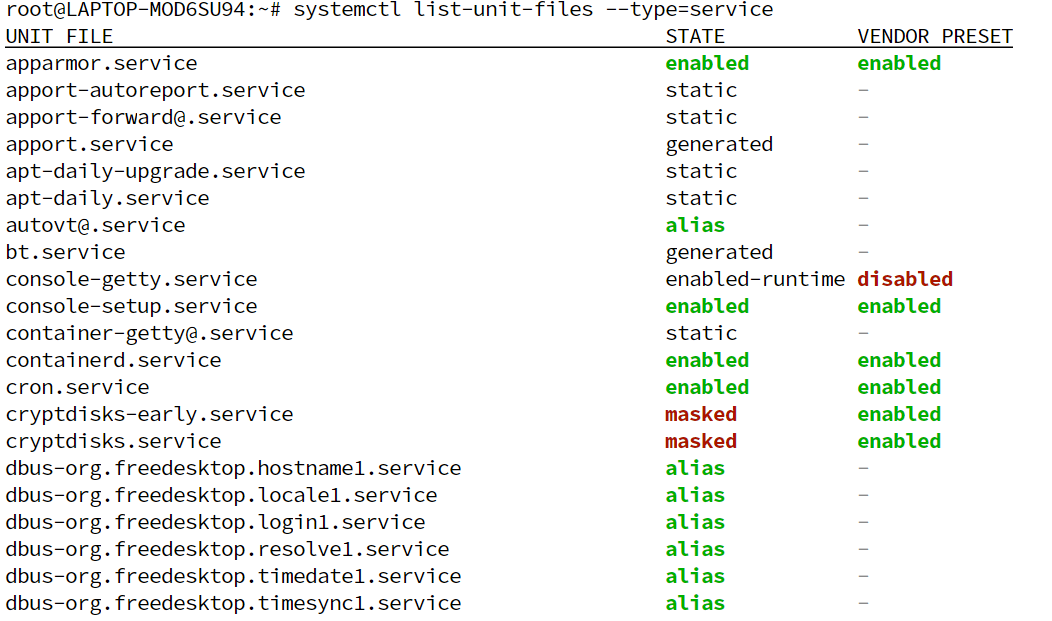
重启后检查systemctl状态
systemctl list-unit-files --type=service
WSL开机自启动并后台运行
在配置systemctl后发现只要关闭控制台就会导致wsl关机,这就很麻烦,而我一般也不用windows terminal,自己电脑内存又是比较富余的,配置开机自启且后台运行就方便很多
-
win+R运行shell:startup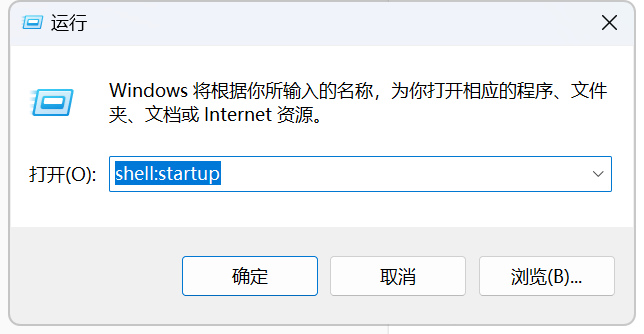
-
在目录中创建
wsl-startup.vbs文件,并填入一下内容,我使用的是Ubuntu,按照你的需要替换即可set ws=wscript.CreateObject("wscript.shell") ws.run "wsl -d Ubuntu", vbhide -
这样电脑启动时就会执行脚本,开启WSL
设置WSL系统资源占用
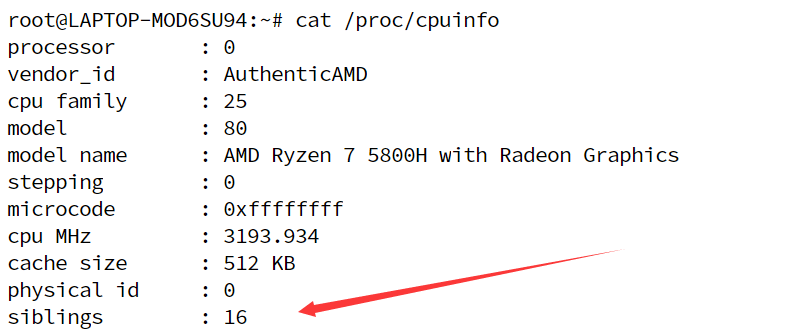
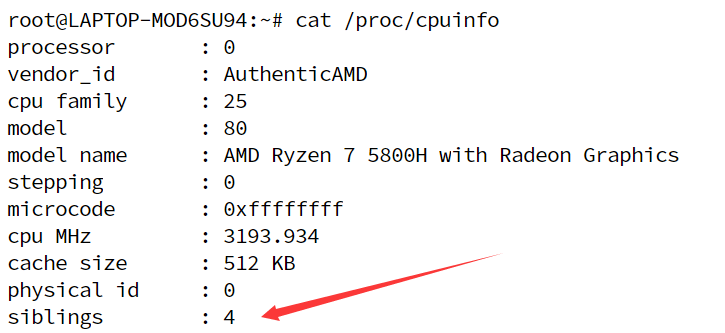
默认情况,wsl会使用系统所有逻辑处理器,一半的内存,可在linux中使用如下命令查询:
#siblings 即为逻辑核心数量,我的电脑是8核心16线程
cat /proc/cpuinfo
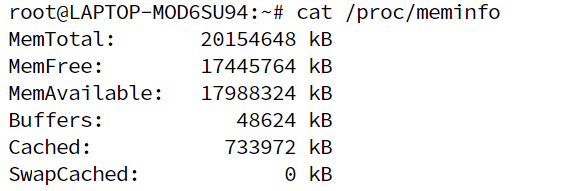
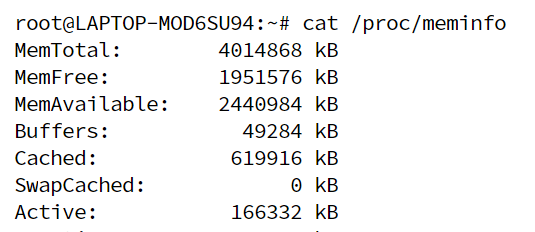
#我的电脑共40G内存,可见可用内存大约为20G
cat /proc/meminfo
新建文件C:\Users\<UserName>\.wslconfig,修改memory和processors条目:
微软有详细的官方文档,当然我们只需要修改memory和processors:
[wsl2]
memory=4GB
processors=4
重启wsl即可,重启后再次查询配置信息,cpu和内存均修改成功:
cpu:
内存:
详细的配置如下,可根据需求添加配置:
# Settings apply across all Linux distros running on WSL 2
[wsl2]

# Limits VM memory to use no more than 4 GB, this can be set as whole numbers using GB or MB
memory=4GB

# Sets the VM to use two virtual processors
processors=2

# Specify a custom Linux kernel to use with your installed distros. The default kernel used can be found at https://github.com/microsoft/WSL2-Linux-Kernel
kernel=C:\\temp\\myCustomKernel

# Sets additional kernel parameters, in this case enabling older Linux base images such as Centos 6
kernelCommandLine = vsyscall=emulate

# Sets amount of swap storage space to 8GB, default is 25% of available RAM
swap=8GB

# Sets swapfile path location, default is %USERPROFILE%\AppData\Local\Temp\swap.vhdx
swapfile=C:\\temp\\wsl-swap.vhdx

# Disable page reporting so WSL retains all allocated memory claimed from Windows and releases none back when free
pageReporting=false

# Turn off default connection to bind WSL 2 localhost to Windows localhost
localhostforwarding=true

# Disables nested virtualization
nestedVirtualization=false

# Turns on output console showing contents of dmesg when opening a WSL 2 distro for debugging
debugConsole=true
更多内容逐步更新
以上配置均来自官方文档,英文水平好的同学我都建议你多看官方文档,以便接收到最新的技术信息:
https://learn.microsoft.com/en-us/windows/wsl/wsl-config


 58
58

 被折叠的 条评论
为什么被折叠?
被折叠的 条评论
为什么被折叠?
 到【灌水乐园】发言


