


Nginx1.25.4 [ Linux ] 安装
nginx官网
nginx官网:https://nginx.org/
nginx官网下载:https://nginx.org/en/download
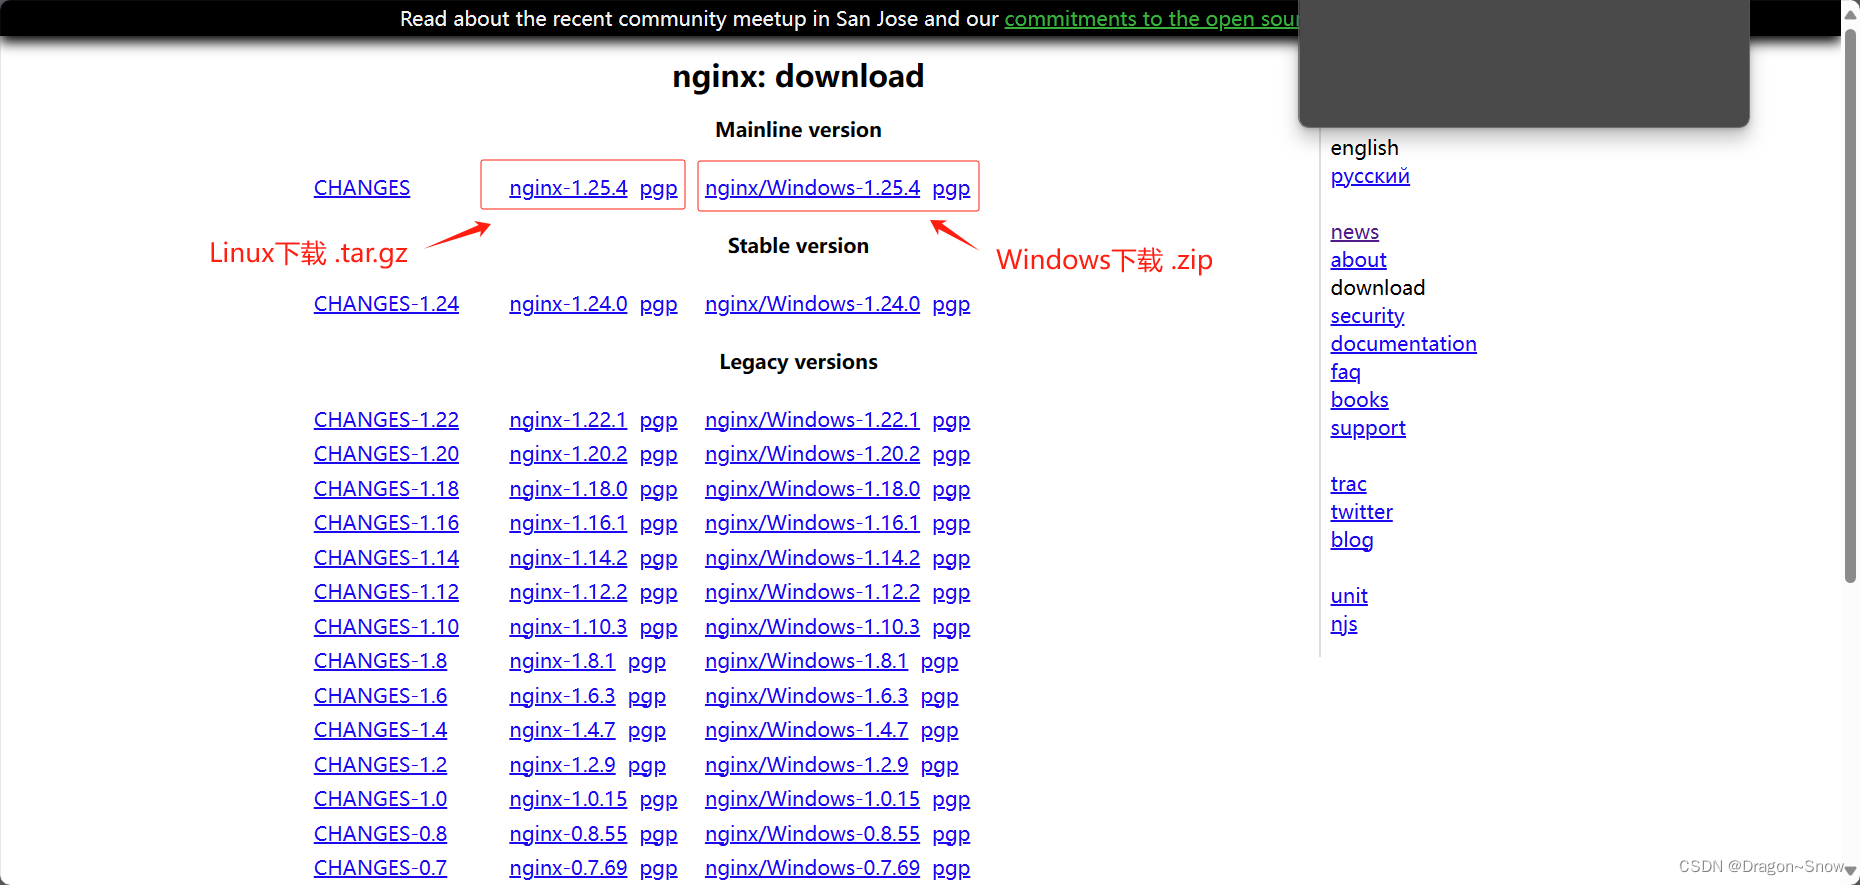
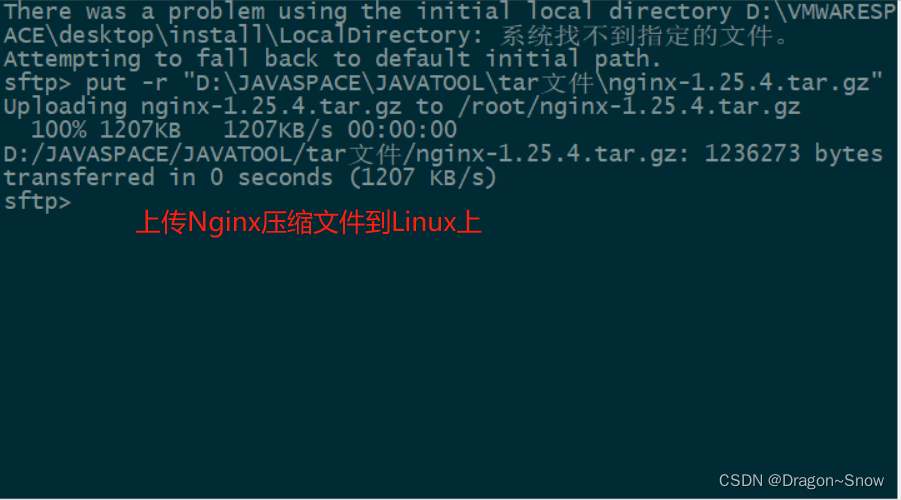
上传文件到Linux系统上
创建文件夹在/usr/local/etc/(这是小白自己的爱好,可以不用创建文件夹)
cd /usr/local/etc/
mkdir workspace-nginx
Nginx压缩文件移动至指定文件夹
# 将Nginx压缩文件移动至指定地址
mv nginx-1.25.4.tar.gz /usr/local/etc/workspace-nginx/
# 进入指定的文件夹中
cd /usr/local/etc/workspace-nginx/

解压Nginx文件
解压文件
tar -zxvf nginx-1.25.4.tar.gz

删除压缩文件
rm -i nginx-1.25.4.tar.gz

安装Nginx所使用的环境
包括 gcc、pcre、zlib 、openssl
yum -y install gcc-c++

yum -y install pcre pcre-devel

yum -y install zlib zlib-devel

yum -y install openssl openssl-devel
进入Nginx文件中,创建logs文件夹
 cd nginx-1.25.4/
# 创建logs文件夹
mkdir logs

配置Nginx文件
进入 nginx-1.25.4
./configure --prefix=/usr/local/etc/workspace-nginx/nginx-1.25.4 --with-http_stub_status_module --with-http_ssl_module --with-debug
搭建Nacos2+版本(需要http_v2、Stream模块)
./configure --prefix=/usr/local/etc/nginx --sbin-path=/usr/local/etc/nginx/install/sbin --conf-path=/usr/local/etc/nginx/install/conf/nginx.conf --error-log-path=/usr/local/etc/nginx/logs/error.log --pid-path=/usr/local/etc/nginx/logs/nginx.pid --http-log-path=/usr/local/etc/nginx/logs/access.log --with-http_gzip_static_module --with-http_stub_status_module --with-http_ssl_module --with-http-v2-module --with-stream_realip_module --with-stream_ssl_preread_module --with-http-Debug --with-stream
安装Nginx
make
make install
启动Nginx
进入Nginx的sbin文件夹
cd /usr/local/etc/workspace-nginx/nginx-1.25.4/sbin/
启动Nginx
./nginx

启动命令
# 启动 nginx:
./nginx
# 优雅停止 nginx:
./nginx -s quit
# 快速停止 nginx:
./nginx -s stop
# 重启nginx:
./nginx -s reload
开放端口号
通过上面控制台输出 端口号是80端口
开放80端口
# 开放80端口
firewall-cmd --add-port=80/tcp --permanent
# 重新加载防火墙
firewall-cmd --reload
# 查看端口
firewall-cmd --list-port

重启Nginx

访问http://+你的IP地址+:80

配置环境变量
编写profile文件
vi etc/profile
i进入写入模式
export PATH USER LOGNAME MAIL HOSTNAME HISTSIZE HISTCONTROL

# setting Nginx environment
NGINX_HOME=/usr/local/etc/workspace-nginx/nginx-1.25.4
PATH=$PATH:$NGINX_HOME/sbin
export NGINX_HOME PATH
ESC
:wq
进行写入
重新加载profile文件
source /etc/profile
编写systemd单元文件管理nginx服务
Nginx作为服务程序,需要为其编写一个单元文件以便systemd能够管理它,在/usr/lib/systemd/system目录下创建一个nginx.service文本文件
[Unit]
Description=The nginx HTTP and reverse proxy server
After=syslog.target network-online.target remote-fs.target nss-lookup.target
Wants=network-online.target
[Service]
Type=forking
#自己nginx启动的pid文件自己找到文件目录
PIDFile=/usr/local/etc/nginx/nginx-1.25.4/logs/nginx.pid
# Nginx will fail to start if /run/nginx.pid already exists but has the wrong
# SELinux context. This might happen when running `nginx -t` from the cmdline.
# https://bugzilla.redhat.com/show_bug.cgi?id=1268621
ExecStartPre=/usr/local/etc/nginx/nginx-1.25.4/sbin/nginx -t -c /usr/local/etc/nginx/nginx-1.25.4/conf/nginx.conf
ExecStart=/usr/local/etc/nginx/nginx-1.25.4/sbin/nginx -c /usr/local/etc/nginx/nginx-1.25.4/conf/nginx.conf

ExecReload=/usr/local/etc/nginx/nginx-1.25.4/sbin/nginx -s reload
# 默认
ExecReload=/bin/kill -s HUP $MAINPID
ExecStop=/bin/kill -s QUIT $MAINPID
KillSignal=SIGQUIT
TimeoutStopSec=5
KillMode=mixed
PrivateTmp=true

[Install]
WantedBy=multi-user.target
重新加载system文件
要让systemd重新识别此单元文件,通常执行systemctl daemon-reload命令重载配置,这样就可以使用systemd来管理nginx的启动、重启。
systemctl daemon-reload				# 重新加载
systemctl restart nginx				# 重启Nginx
systemctl status nginx.service 		#查看状态

可以看到nginx的状态为running~
我勒个去,感觉小白现在都要成运维了,整天发布这些东西,学习呀!诶!不过小白认为安装东西更难,而且相关文章太少了,四处的’ 拼 ’ 和 ’ 试 ',大部分的还是不匹配的,小白也是好多个博文一起看,试出来的。希望你们能更轻松一些吧!
小白祝大家开心每一天,BUG消消乐,BUFF叠满
_____END


 535
535

 被折叠的 条评论
为什么被折叠?
被折叠的 条评论
为什么被折叠?
 到【灌水乐园】发言


