


介绍
大作业:使用MindStudio成功复现昇腾社区中的MindX SDK应用案例
选题:黑白图像上色 https://www.hiascend.com/zh/developer/mindx-sdk/case-studies/d0c56d6f-a6f9-4b77-8587-db8272f22f3b
步骤
运行
-
使用MindStudio打开下载到的工程文件
-
创建data、model、out文件夹
-
准备测试图片
这里从网上随机下载了一张照片,并用ps去色处理了一下,路径 data/test.png

-
使用Tools->Deployment->Upload to将工程文件上传到服务器
-
cd到项目根目录

-
下载model文件并解压缩
cd model
wget https://c7xcode.obs.cn-north-4.myhuaweicloud.com/models/colorization_picture-python/dog.png --no-check-certificate
unzip model.zip
带上–no-check-certificate参数否则会报错
-
转换模型,得到coloriztion.om文件
cd ../scripts bash atc_run.sh -
运行
cd ../src python3 main.py ../data/test.png -
使用Tools->Deployment->Download from工具下载回本地
运行结果:(out_test.png)
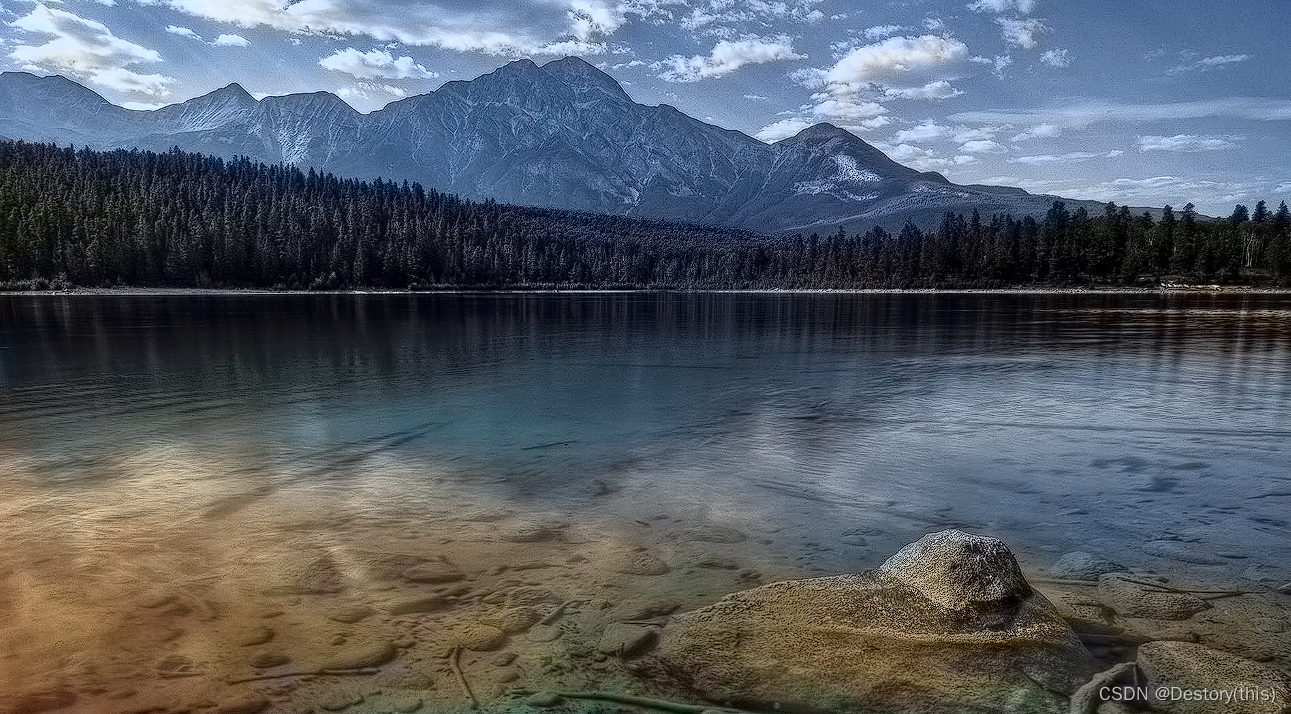
原图:

-
增加二次元浓度再试一次
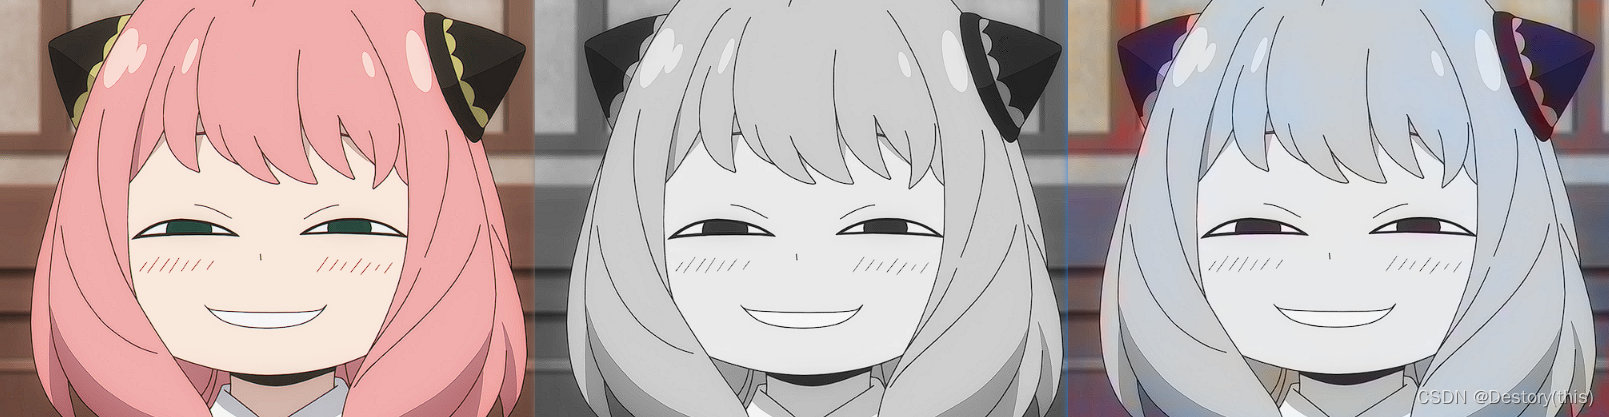
太为难这个模型了!
工程代码阅读
-
初始化StreamManagerApi并加载pipeline文件
streamManagerApi = StreamManagerApi() ret = streamManagerApi.InitManager() pipeline = b"../pipeline/colorization.pipeline" ret = streamManagerApi.CreateMultipleStreamsFromFile(pipeline) -
传入数据
    st
    reamName = b'colorization'
    inPluginId = 0
    key0 = b"appsrc0"
    protobufVec = InProtobufVector()
    protobuf = MxProtobufIn()
    protobuf.key = key0
    protobuf.type = b'MxTools.MxpiTensorPackageList'
    protobuf.protobuf = tensorPackageList.SerializeToString()
    protobufVec.push_back(protobuf)

    uniqueId = streamManagerApi.SendProtobuf(streamName, inPluginId, protobufVec)
将图像L通道的数据写入tensorVec中,用SendProtobuf发送给appsrc0元件
-
取出结果数据
key1 = b"mxpi_tensorinfer0" keyVec = StringVector() keyVec.push_back(key1) inferRes = streamManagerApi.GetProtobuf(streamName, inPluginId, keyVec) -
合成上色后的结果图
    tensorList = MxpiDataType.MxpiTensorPackageList()
    tensorList.ParseFromString(inferRes[0].messageBuf)

    res = np.frombuffer(tensorList.tensorPackageVec[0].tensorVec[0].dataStr, dtype=np.float32)

    postprocess(res, inputPic, origShape, origL)
流程编排
-
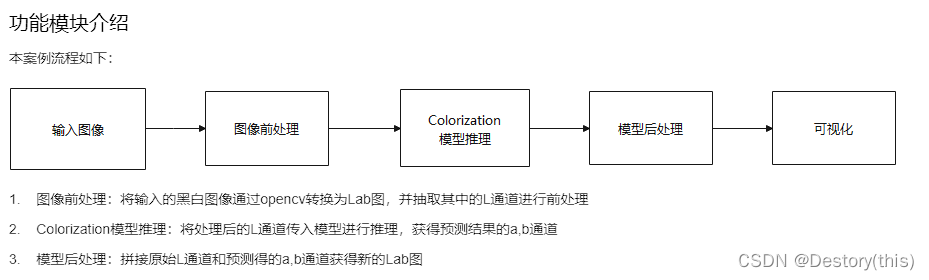
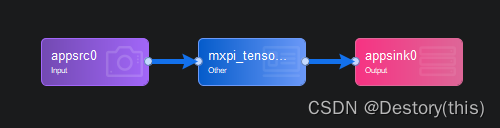
从代码阅读中可以看出,图像的前处理和模型后处理都在Python代码中完成了,整个pipeline流程仅包含一次推理,加上输入输出
-
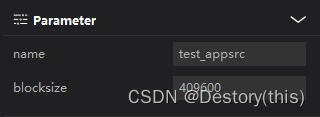
输入appsrc:设置block size为合适大小,案例中设置了409600
-
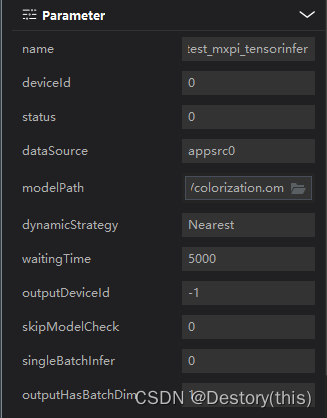
模型推理:设置模型文件路径…/model/colorization.om;同时还手动指定了dataSource为appsrc0
-
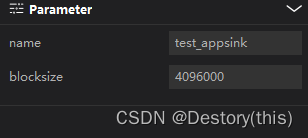
输出appsink, block size大小与输入元件一致
改一行
尝试给视频上色,仅需代码部分改一行,流程编排部分不需要改动
seq_list = []
temp_list = []
vc = cv.VideoCapture('../data/test.mp4')
c = 0
rval = vc.isOpened()
while rval:
c = c + 1
rval, frame = vc.read()
if rval:
cv.imwrite('../data/'+str(c) + '.png', frame)
seq_list.append('../data/'+str(c) + '.png')
temp_list.append('../out/out_'+str(c) + '.png')
else:
break
vc.release()
for pic in seq_list:
run(pic, streamManagerApi) #此处是原先代码中流的输入输出部分
os.remove(pic)
videoWriter = cv.VideoWriter('../out_video/out_test.mp4', cv.VideoWriter_fourcc(*'mp4v'), 30, (1280, 720))
for pic in temp_list:
img = cv.imread(pic)
img = cv.resize(img, (1280, 720))
videoWriter.write(img)
os.remove(pic)
videoWriter.release()
结果:


太为难这个模型了!


 被折叠的 条评论
为什么被折叠?
被折叠的 条评论
为什么被折叠?
 到【灌水乐园】发言


