


Fire的示例代码
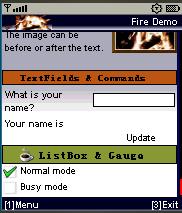
整体界面:
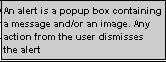
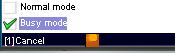
下面是Alert菜单

点击后出现的alert
选择to Panel2
会跳转到panel2,形式如下:
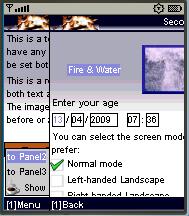
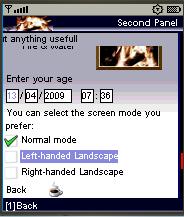
跳转后的界面
等待界面,出现旋转的红色圈

Fire的示例代码
整体界面:
下面是Alert菜单
点击后出现的alert
选择to Panel2
会跳转到panel2,形式如下:
跳转后的界面
等待界面,出现旋转的红色圈

 被折叠的 条评论
为什么被折叠?
被折叠的 条评论
为什么被折叠?
 到【灌水乐园】发言


 155
155


