


本文记录的相关内容都是在工作中遇到的问题,这些问题的答案在网上都是可以找到相应的解决方案。不过需要将多方面的知识结合起来,我这里就将整个流程都记录下来,可供自己以后参考,也可以为他人查看。
C#调用Python程序很多时候需要传参,我也尝试过网上相关的传参方法,但是都没有成功,最后实在是头疼,就换了另一种方式来实现参数的传递。我采用的是JSON方式传参方式:在C#中记录需要传递的参数,保存在本地的文件夹。然后是Python通过绝对路劲读取JSON文件,并解析相关的参数信息,从而实现参数传递。
首先创建保存文件路径的类,用来保存JSON数据:
 public class FilePath
    {
        //图片源路径
        public string SrcPath { get; set; }
        //保存视频路径
        public string SavePath { get; set; }
    }
保存JSON文件信息方法(相应的文件夹需要提前建好,或者可以通过程序实现文件夹的建立,此处省略):
public static void SaveFilePathJson(string FileName)
{
//配置JSON文件的基本信息
FilePath Filepath = new FilePath();
Filepath.SrcPath = "C://CommonSystem//PrintImage//" + FileName + "//";
Filepath.SavePath = "C://CommonSystem//vedio//" + FileName + ".mp4";
string jsonStr = JsonConvert.SerializeObject(Filepath);
// 将字符串转换为byte数组
byte[] array = System.Text.Encoding.Default.GetBytes(jsonStr);
// 设置文件路径
string path = @"C:\CommonSystem\Filepath.json";
// 如果文件不存在,则创建一个新文件
if (!System.IO.File.Exists(path))
{
System.IO.File.Create(path);
}
// 将byte数组写入文件中
using (FileStream fs = new FileStream(path, FileMode.OpenOrCreate))
{
fs.Write(array, 0, array.Length);
}
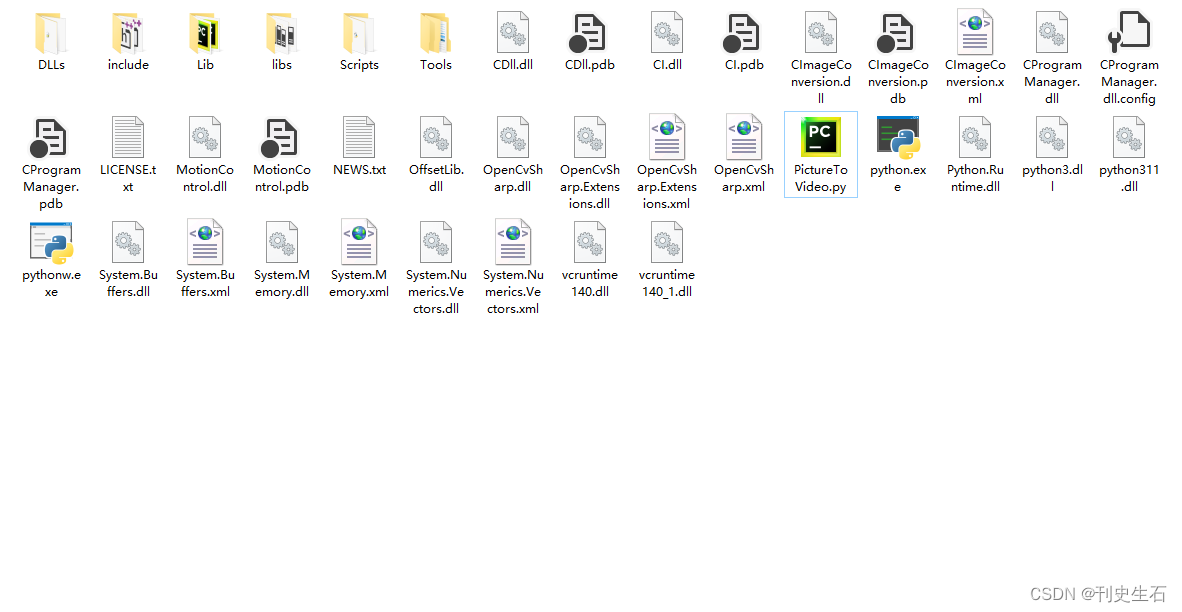
}其次,C#调用Python程序,需要配置Python解释器。Python解释器主要是完成Python安装后相关的文件及文件夹信息,下图是我本地放置的Python解释器的相关内容。
再次准备相应的Python文件,实现图片转视频的方法,以下是我再实现该功能使用的方法,具体可以依据实际情况自行编辑,也可以参考本文的方法。
import cv2
import os
import json

def SetPicToVideo():
    # 解析JSON获取字典数据
    path = "C:/CommonSystem/Filepath.json"
    with open(path, 'r', encoding='utf8') as fp:
        PathJson = json.load(fp)
    # 从字典数据中获取文件路径(图片路径和保存视频路径)
    src_path =PathJson.get('SrcPath')
    sav_path =PathJson.get('SavePath')
    # 2.设置图片大小
    size = (3840, 2160)
    # 3.获取图片总的个数
    all_files = os.listdir(src_path)
    index = len(all_files)
    # 4.设置视频写入器
    fourcc = cv2.VideoWriter_fourcc(*'mp4v')  # MP4格式
    # 完成写入对象的创建,第一个参数是合成之后的视频的名称,第二个参数是可以使用的编码器,第三个参数是帧率即每秒钟展示多少张图片,第四个参数是图片大小信息
    videowrite = cv2.VideoWriter(sav_path, fourcc, 2, size)  # 2是每秒的帧数,size是图片尺寸
    # 5.临时存放图片的数组
    img_array = []

    # 6.读取所有jpg格式的图片 (这里图片命名是0-index.jpg example: 0.jpg 1.jpg ...)
    for filename in [src_path + r'{0}.png'.format(i) for i in range(0, index)]:
        img = cv2.imread(filename)
        if img is None:
            print(filename + " is error!")
            continue
        img_array.append(img)
    # 7.合成视频
    for i in range(0, index):
      img_array[i] = cv2.resize(img_array[i], (3840, 2160))
      videowrite.write(img_array[i])
    print('------done!!!-------')

if __name__ == '__main__':
   SetPicToVideo()
实现图片转视频的Python文件需要放在C#程序的输出路径下,这点很重要。图片转视频相应的方法如下:
 private void GetPictureToVideo()
        {
            Process P = new Process();
            //当前debug目录路径
            //string curPath = System.Environment.CurrentDirectory;
            string curPath = AppDomain.CurrentDomain.BaseDirectory;
            string sArgName = "PictureToVideo.py";//调用的.py文件名
            //需要调用的python代码文件
            string path = curPath + "\\" + sArgName;
            //python解释器的路径
            P.StartInfo.FileName = curPath + "\\" + "Anaconda3\\python.exe";
            string sArguments = path;

            P.StartInfo.Arguments = sArguments;//启动python需要的命令语句
            P.StartInfo.UseShellExecute = false;
            P.StartInfo.RedirectStandardOutput = true;
            P.StartInfo.RedirectStandardInput = true;
            P.StartInfo.RedirectStandardError = true;
            P.StartInfo.CreateNoWindow = true;
            P.Start();
            P.BeginOutputReadLine();//在应用程序的output流上异步读取数据
            P.OutputDataReceived += new DataReceivedEventHandler(P_OutputDataReceived);//事件触发器,有新的数据就读取
            P.WaitForExit();

        }
        private static void P_OutputDataReceived(object sender, DataReceivedEventArgs e)
        {
            if (!string.IsNullOrEmpty(e.Data))//如果字符串存在
            {
                System.Windows.MessageBox.Show(Convert.ToString(e.Data));//显示结果
            }
        }
通过C#调用Python程序,这样就可以实现图片转视频的功能了。如有更简洁更高效的方法希望共享出来。大家共同学习共同进步。


 4371
4371


 被折叠的 条评论
为什么被折叠?
被折叠的 条评论
为什么被折叠?
 到【灌水乐园】发言


