


- 时间轴的组成
- 第一种 – 时间线在item里面
- 第二种 – 时间线在外面
- 第三种 – 带点击动画的时间轴效果
- 源码下载
一般时间轴效果都是用listview来实现,一般由圆点、时间线和文字三个控件组成,时间线可以放在listview里面也可以放在listview的父布局中。先来看一下下面三种效果。
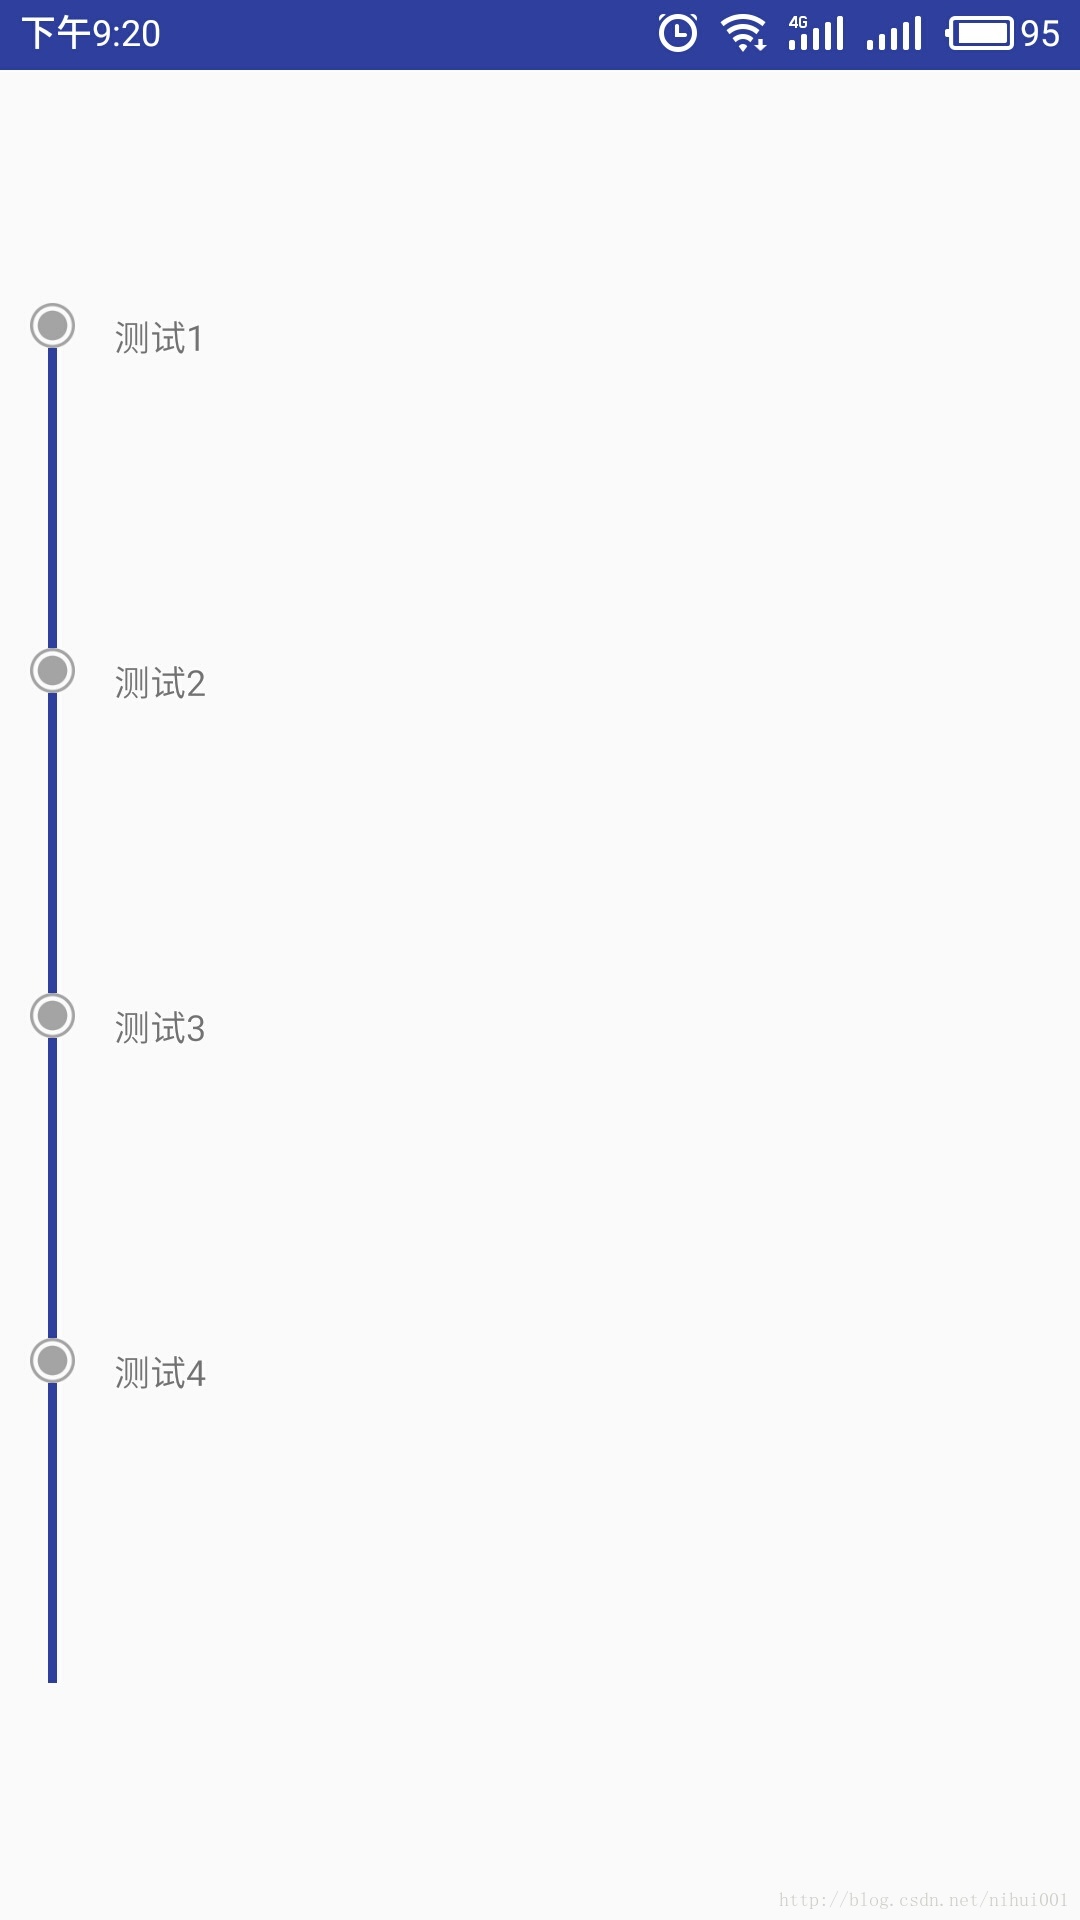

1.第一种 – 时间线在item里面
这种是最简单的时间轴实现方式,所有的控件都是在item里里面,下面是布局文件
- item_first.xml
<?xml version="1.0" encoding="utf-8"?>
<RelativeLayout xmlns:android="http://schemas.android.com/apk/res/android"
android:layout_width="match_parent"
android:layout_height="match_parent"
android:orientation="vertical">
<ImageView
android:id="@+id/image_normal"
android:layout_width="15dp"
android:layout_height="15dp"
android:layout_marginLeft="10dp"
android:src="@drawable/point2" />
<View
android:id="@+id/line"
android:layout_width="3dp"
android:layout_height="100dp"
android:layout_below="@+id/image_normal"
android:layout_marginLeft="16dp"
android:background="@color/colorPrimaryDark" />
<TextView
android:id="@+id/item_first_text"
android:layout_width="wrap_content"
android:layout_height="wrap_content"
android:layout_marginLeft="10dp"
android:layout_toRightOf="@id/image_normal"
android:padding="3dp"
android:textSize="12dp" />
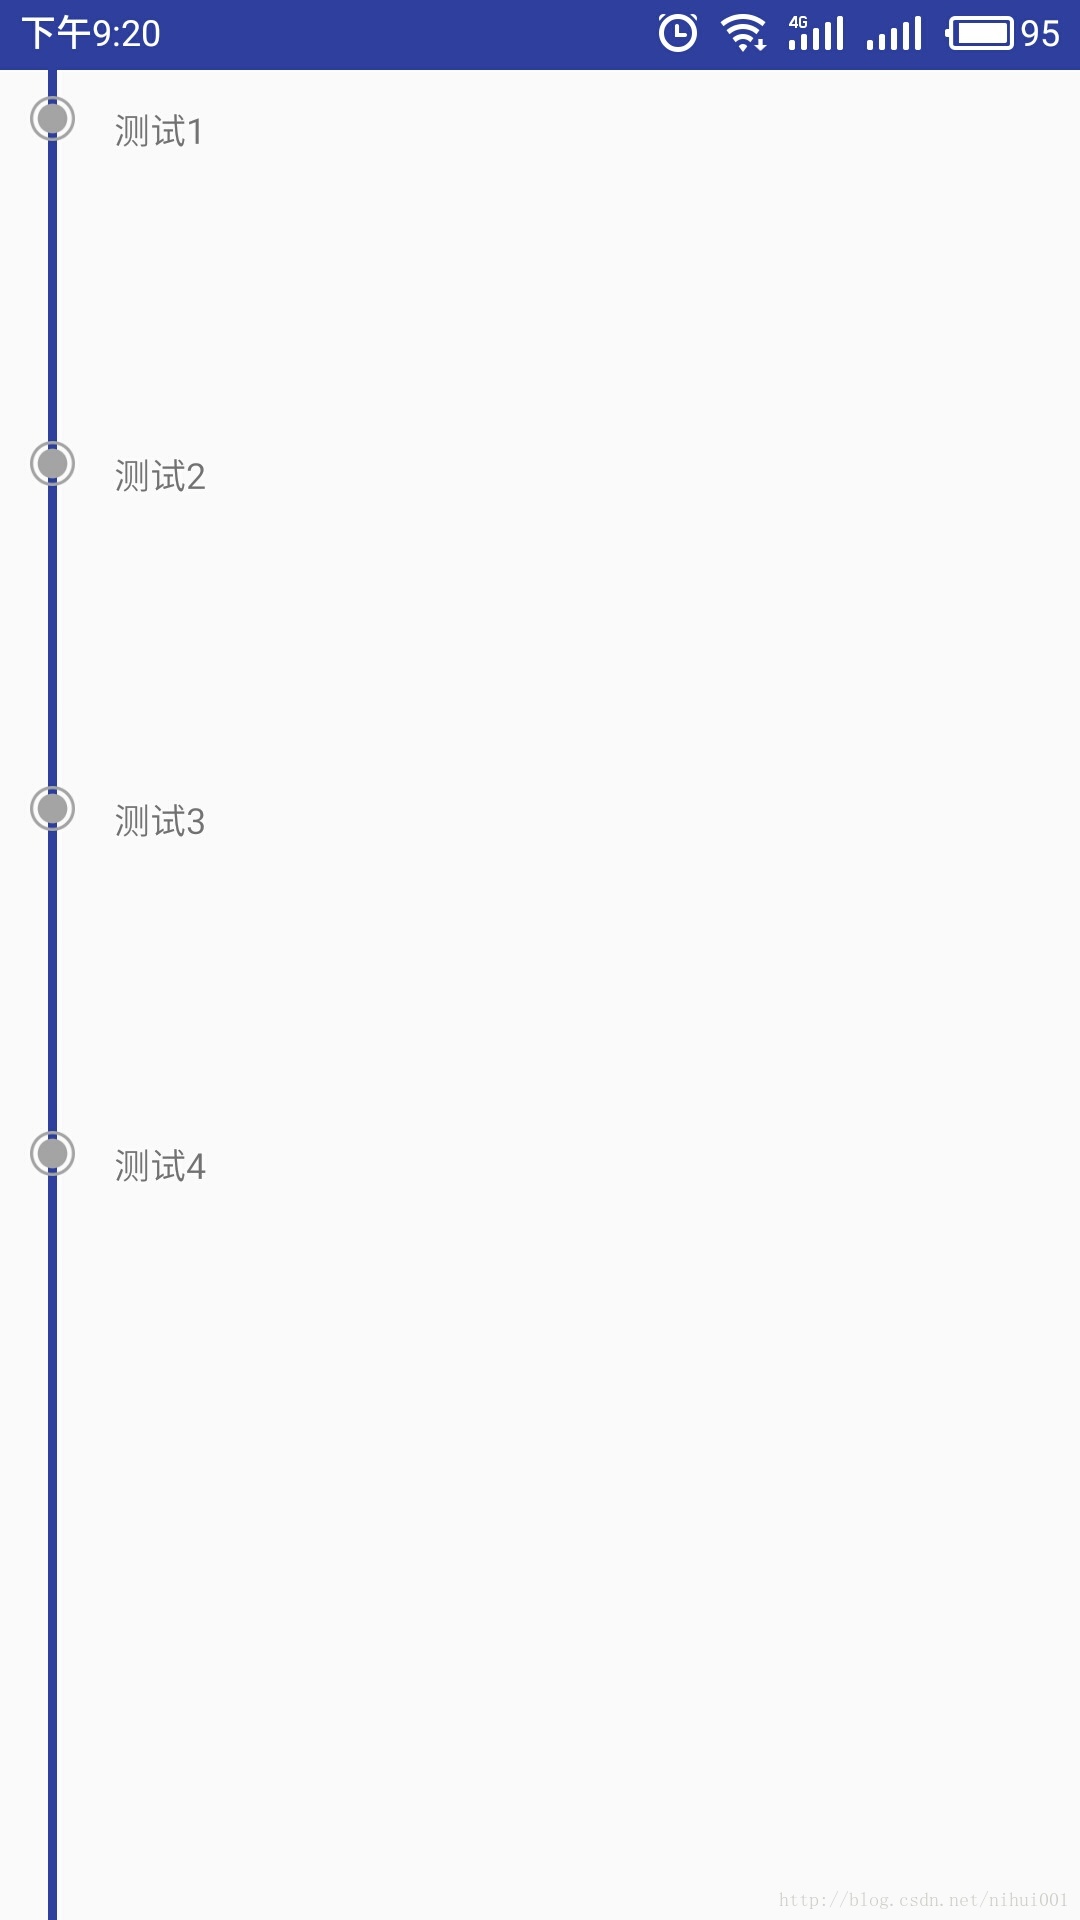
</RelativeLayout>2.第二种 – 时间线在外面
这种实现方式是线在ListView外面,这样线就不会”断“啦,其他的控件还是在item里里面,下面是布局文件
- item_second.xml
<?xml version="1.0" encoding="utf-8"?>
<RelativeLayout xmlns:android="http://schemas.android.com/apk/res/android"
    android:id="@+id/activity_first"
    android:layout_width="match_parent"
    android:layout_height="match_parent"
    android:gravity="center">

    <View
        android:id="@+id/line"
        android:layout_width="3dp"
        android:layout_height="match_parent"
        android:layout_marginLeft="16dp"
        android:background="@color/colorPrimaryDark" />

    <ListView
        android:layout_marginTop="50dp"
        android:id="@+id/second_listview"
        android:layout_width="match_parent"
        android:layout_height="wrap_content"
        android:divider="@null">
    </ListView>
</RelativeLayout>
3.第三种 – 带点击动画的时间轴效果
第一和第二种时间线都是静态的,有时候我们想实现ListView选中后的效果,下面再第二种的基础上实现选中动画和改变point的图片
- 在adapter中设置一个标记,来记录当前选中的position的位置
public int point; //用来标记点的位置 - 在adapter的getView( )中设置选中的item
if (position == point){  //设置 选中的条目
            viewHold.image.setImageResource(R.drawable.point1);
            //初始化动画
            Animation scaleAnimation = new ScaleAnimation(1.0f, 1.5f,1.0f,1.5f,0,0.5f,Animation.ZORDER_BOTTOM,0.5f);
            //设置动画时间
            scaleAnimation.setDuration(500);
            scaleAnimation.setFillAfter(true);
            //给控件设置动画
            viewHold.thirdText.startAnimation(scaleAnimation);
}- 在item 的点击事件中
public void onItemClick(AdapterView<?> parent, View view, int position, long id) {
        //改变point 选中的point值
        thirdAdapter.point = position;
        //刷新listview
        thirdAdapter.notifyDataSetChanged();
        thirdListView.setAdapter(thirdAdapter);
    }
这中法也可以用来点击item时来动态改变当前布局的内容,可以扩展很多用法,不过性能上需要优化。


 4704
4704


 被折叠的 条评论
为什么被折叠?
被折叠的 条评论
为什么被折叠?
 到【灌水乐园】发言


