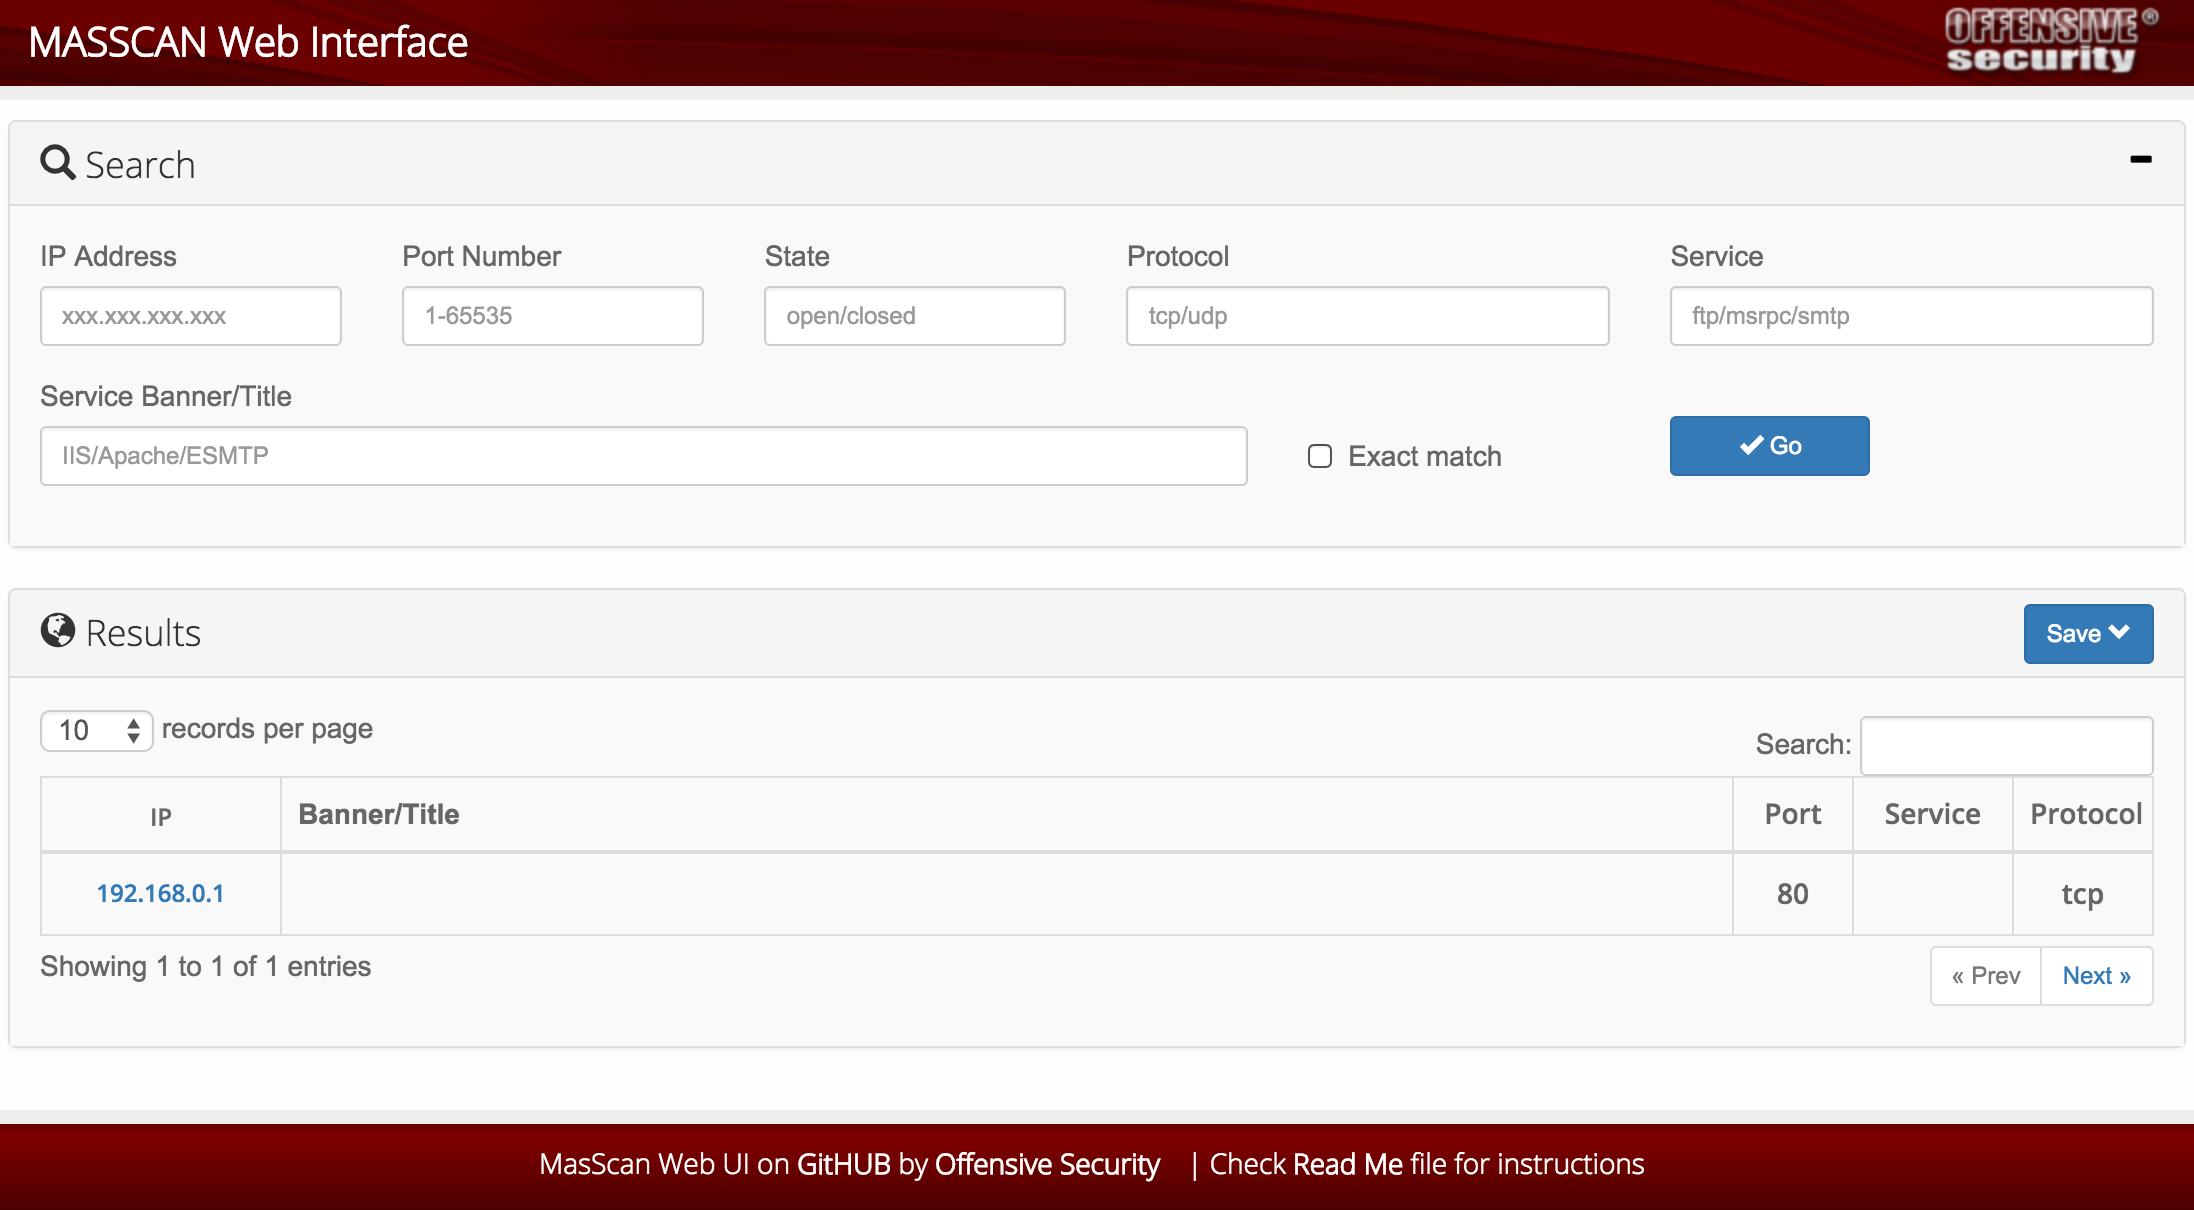
Here’s a quick guide to get started:
- Install and setup your web server, copy over the MASSCAN web-ui files:
root@kali:~# apt-get install apache2 php5 php5-mysql mysql-server
root@kali:~# git clone https://github.com/offensive-security/masscan-web-ui
root@kali:~# mv masscan-web-ui/* /var/www/html/
root@kali:~# cd /var/www/html/- Create a database, user, then import database.
root@kali:/var/www/html# mysql -u root -p
Enter password:
Type 'help;' or '\h' for help. Type '\c' to clear the current input statement.

mysql> create database masscan;
Query OK, 1 row affected (0.01 sec)

mysql> CREATE USER 'masscan'@'localhost' IDENTIFIED BY 'changem3';
Query OK, 0 rows affected (0.00 sec)

mysql> GRANT ALL PRIVILEGES ON masscan.* TO 'masscan'@'localhost';
Query OK, 0 rows affected (0.01 sec)

mysql> exit
Bye
root@kali:/var/www/html# mysql -u root -p masscan < db-structure.sql
Enter password:
root@kali:/var/www/html# rm db-structure.sql index.html README.md
Update the web config file with the mysql user and database information:
nano config.php

define('DB_HOST',       'localhost');
define('DB_USERNAME',   'masscan');
define('DB_PASSWORD',   'changem3');
define('DB_DATABASE',   'masscan');
Now you can use masscan to scan your targets, while specifying an XML output. More information about banner grabbing with masscan can be found at https://github.com/robertdavidgraham/masscan#banner-checking.
masscan 10.0.0.0/8 -p80,21,53 --banners --source-ip 10.0.0.2 --max-rate 1000000 -oX scan-01.xmlNow let’s import some scan results. In this example we imported the results of two class A scans:
root@kali:/var/www/html# ls -l scan*
-rw-r--r-- 1 root root 212929324 Dec  1 13:23 scan-01.xml
-rw-r--r-- 1 root root 700816226 Dec  1 13:55 scan-02.xml
root@kali:/var/www/html# php import.php scan-01.xml

Do you want to clear the database before importing (yes/no)?: yes

Clearing the db
Reading file
Parsing file
Processing data (This may take some time depending on file size)

Summary:
Total records:738279
Inserted records:738279
Took about:3 minutes,18 seconds
root@kali:/var/www/html# php import.php scan-02.xml

Do you want to clear the database before importing (yes/no)?: no
Reading file
Parsing file
Processing data (This may take some time depending on file size)

Summary:
Total records:2411974
Inserted records:2411974
Took about:9 minutes,41 seconds
root@kali:/var/www/html#
A total of more than 3 million results are now easily searchable.
https://github.com/offensive-security/masscan-web-ui
https://github.com/robertdavidgraham/masscan#banner-checking
https://www.offensive-security.com/offsec/masscan-web-interface/


 1万+
1万+

 被折叠的 条评论
为什么被折叠?


