


 本文介绍了如何基于腾讯云实时音视频SDK实现Android应用中的视频通话最小化悬浮窗口。通过设置Activity的启动模式和调用moveTaskToBack方法实现Activity最小化,同时在Service中创建和管理悬浮窗口,实现拖拽移动和点击重新打开视频通话功能。
最近项目中有需要语音、视频通话需求,看到这个像环信、融云等SDK都有具体Demo实现,但咋的领导对腾讯情有独钟啊,IM要用腾讯云IM,不妙的是腾讯云IM并不包含有音视频通话都要自己实现,没办法深入了解腾讯云产品后,决定自己基于腾讯云实时音视频做去语音、视频通话功能。在这里把实现过程记录下为以后用到便于查阅,另一方面也给有需要的人提供一个思路,让大家少走弯路,有可能我的实现的方法不是最好,但是这或许是一个可行的方案,大家不喜勿喷。基于腾讯云实时音视频SDK 6.5.7272版本,腾讯DEMO下载地址
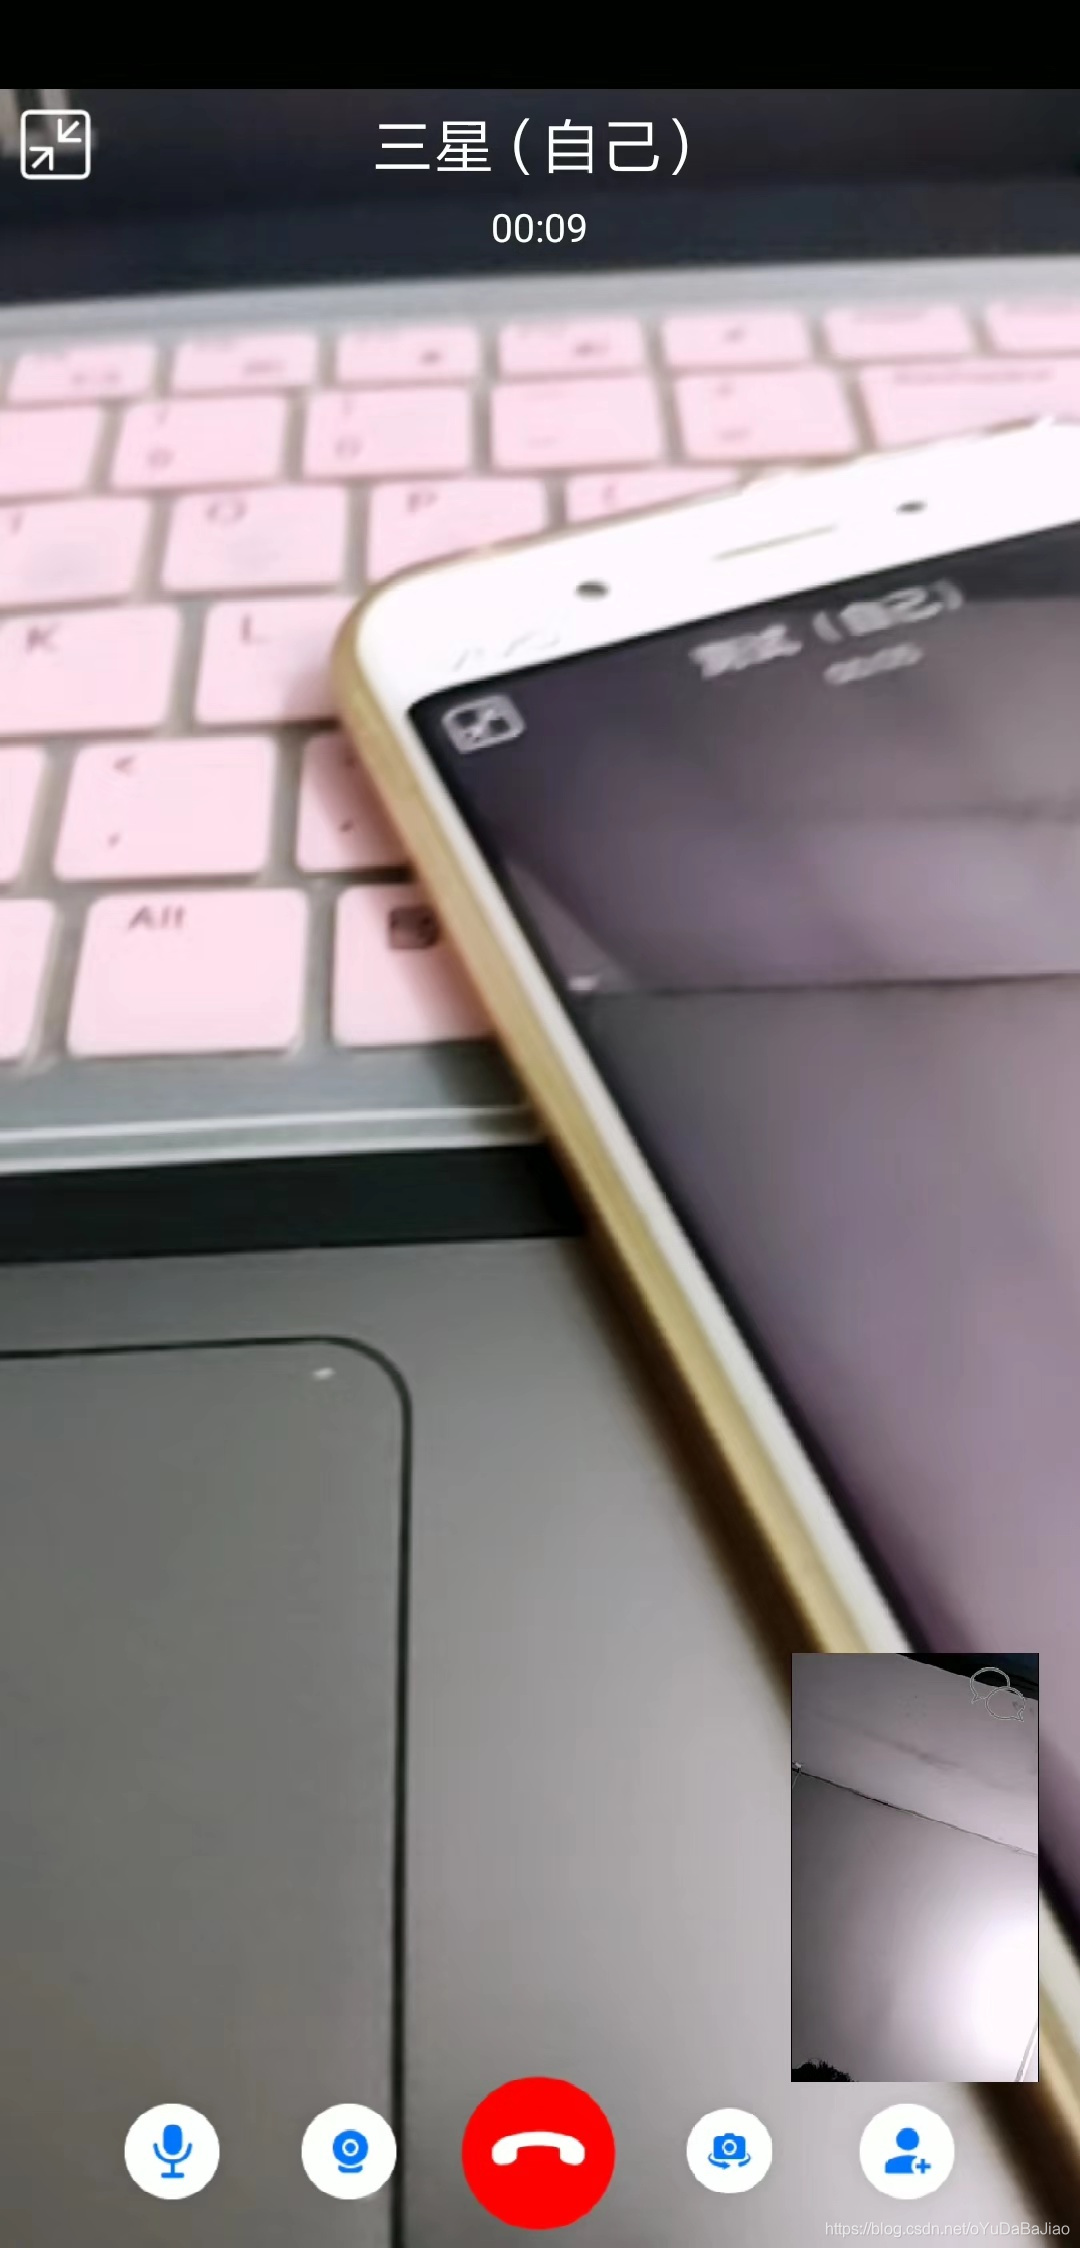
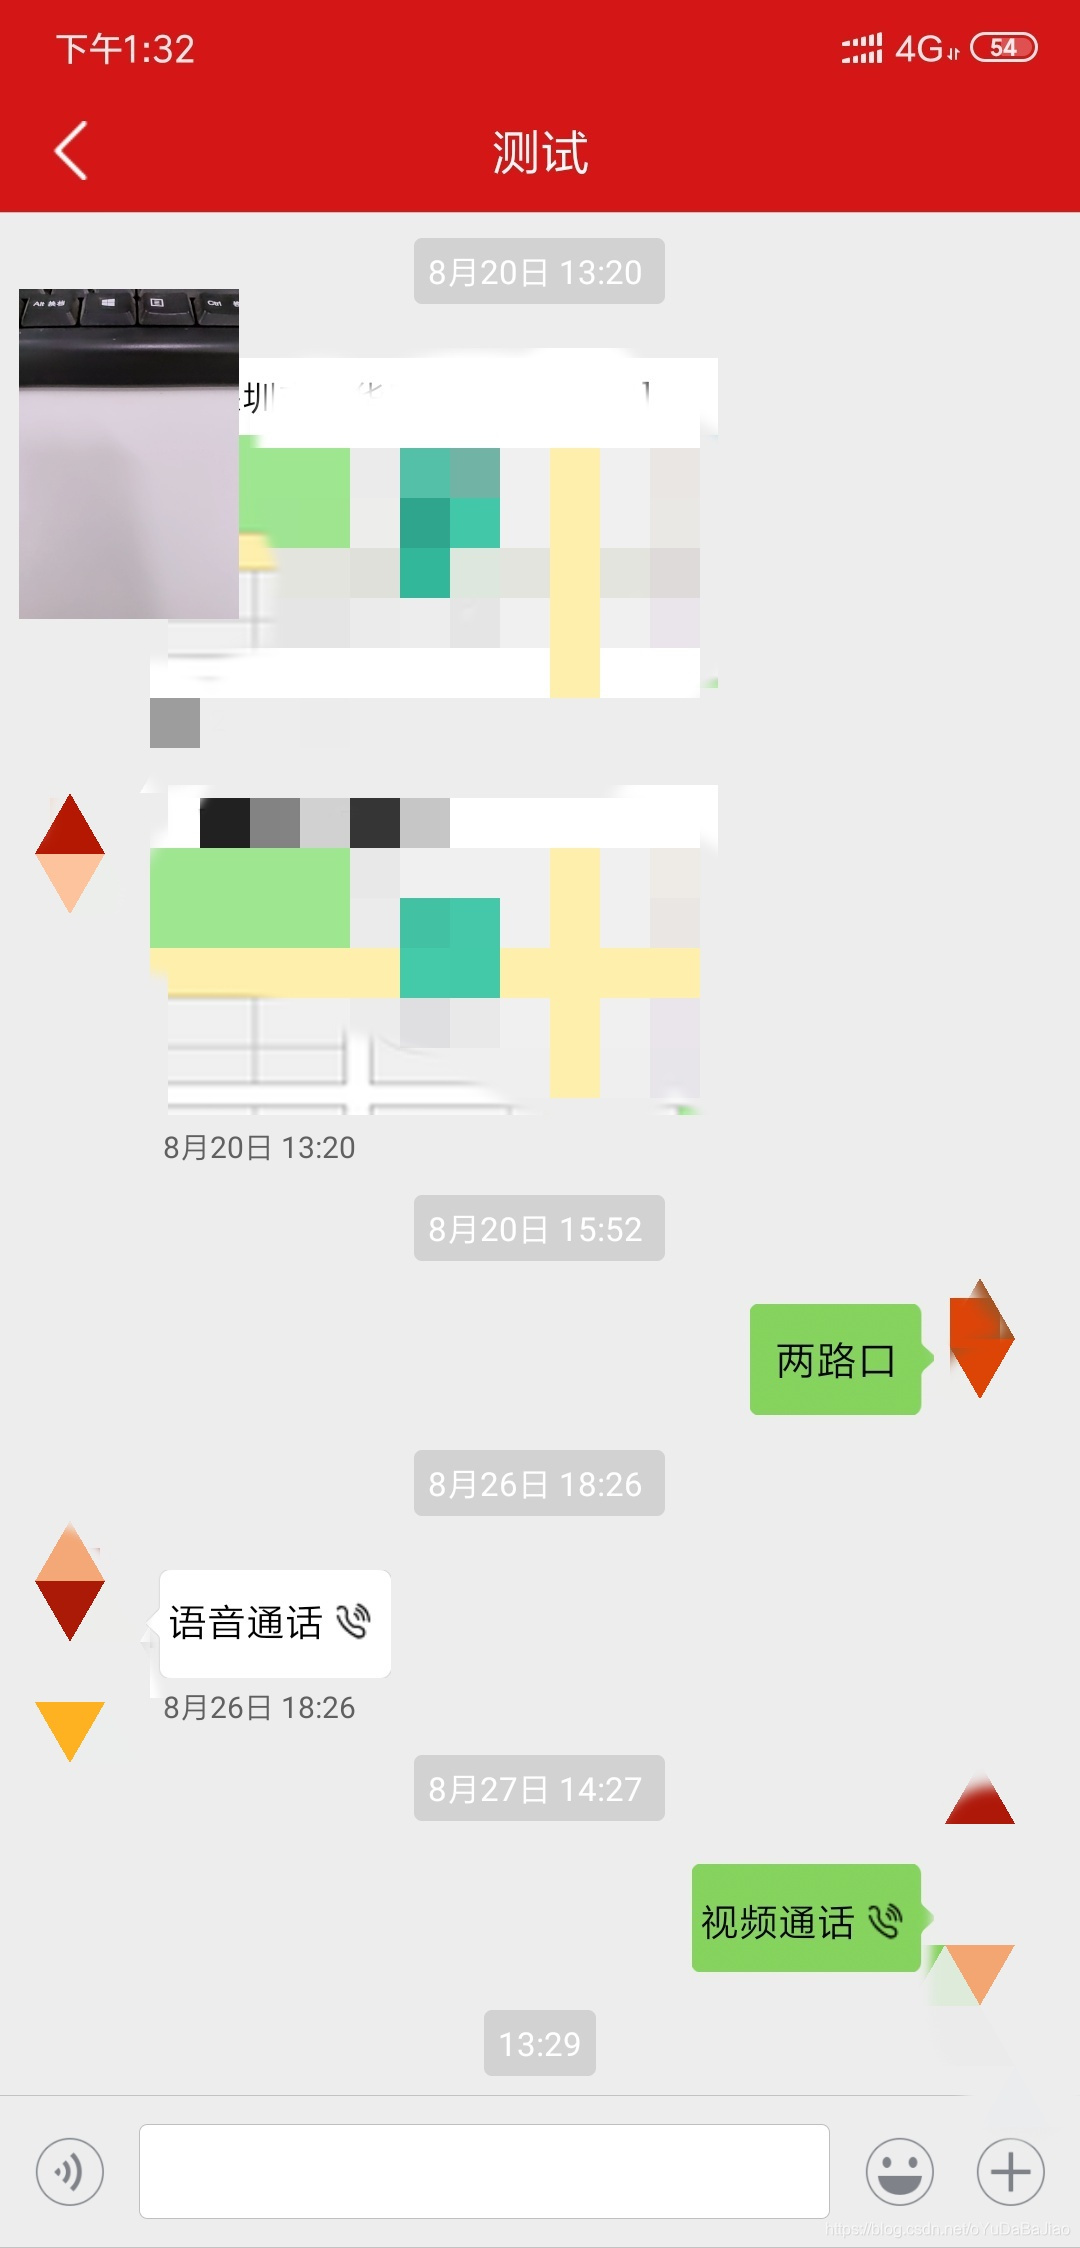
一、实现效果
二、实现思路
我把实现思路拆分为了两步:1、视频通话Activity的最小化。 2、视频通话悬浮框的开启
具体思路是这样的:当用户点击左上角最小化按钮的时候,最小化视频通话Activity(这时Activity处于后台状态),于此同时开启悬浮框,新建一个新的ViewGroup将全局Constents.mVideoViewLayout中用户选中的最大View动态添加到悬浮框里面去,监听悬浮框的触摸事件,让悬浮框可以拖拽移动;自定义点击事件,如果用户点击了悬浮框,则移除悬浮框然后重新调起我们在后台的视频通话Activity。
1.Activity是如何实现最小化的?
Activity本身自带了一个moveTaskToBack(boolean nonRoot),我们要实现最小化只需要调用moveTaskToBack(true)传入一个true值就可以了,但是这里有一个前提,就是需要设置Activity的启动模式为singleInstance模式,两步搞定。(注:activity最小化后重新从后台回到前台会回调onRestart()方法)
  @Override
    public boolean moveTaskToBack(boolean nonRoot) {
        return super.moveTaskToBack(nonRoot);
    }
2.悬浮框是如何开启的?
悬浮框的实现方法最好写在Service里面,将悬浮框的开启关闭与服务Service的绑定解绑所关联起来,开启服务即相当于开启我们的悬浮框,解绑服务则相当于关闭关闭的悬浮框,以此来达到更好的控制效果。
a. 首先我们声明一个服务类,取名为FloatVideoWindowService:
public class FloatVideoWindowService extends Service {

    @Nullable
    @Override
    public IBinder onBind(Intent intent) {
        return new MyBinder();
    }

    public class MyBinder extends Binder {
        public FloatVideoWindowService getService() {
            return FloatVideoWindowService.this;
        }
    }

    @Override
    public void onCreate() {
        super.onCreate();
    }

    @Override
    public int onStartCommand(Intent intent, int flags, int startId) {
        return super.onStartCommand(intent, flags, startId);
    }

    @Override
    public void onDestroy() {
        super.onDestroy();
    }
}
b. 为悬浮框建立一个布局文件float_video_window_layout,悬浮框大小我这里固定为长80dp,高120dp,id为small_size_preview的RelativeLayout主要是一个容器,可以动态的添加view到里面去
<?xml version="1.0" encoding="utf-8"?>
<LinearLayout xmlns:android="http://schemas.android.com/apk/res/android"
    android:id="@+id/small_size_frame_layout"
    android:layout_width="wrap_content"
    android:layout_height="wrap_content"
    android:background="@color/colorComBg"
    android:orientation="vertical">

    <com.tencent.rtmp.ui.TXCloudVideoView
        android:id="@+id/float_videoview"
        android:layout_width="80dp"
        android:layout_height="120dp"
        android:descendantFocusability="blocksDescendants"
        android:orientation="vertical" />

</LinearLayout>
c. 布局定义好后,接下来就要对悬浮框做一些初始化操作了,初始化操作这里我们放在服务的onCreate()生命周期里面执行,因为只需要执行一次就行了。这里的初始化主要包括对:悬浮框的基本参数(位置,宽高等),悬浮框的点击事件以及悬浮框的触摸事件(即可拖动范围)等的设置,在onBind()中从Intent中取出了Activity中用户选中最大View的id,以便在后面从 Constents.mVideoViewLayout中取出对应View,然后加入悬浮窗布局中
/**
 * 视频悬浮窗服务
 */
public class FloatVideoWindowService extends Service {
    private WindowManager mWindowManager;
    private WindowManager.LayoutParams wmParams;
    private LayoutInflater inflater;
    private String currentBigUserId;
    //浮动布局view
    private View mFloatingLayout;
    //容器父布局
    private RelativeLayout smallSizePreviewLayout;
    private TXCloudVideoView mLocalVideoView;


    @Override
    public void onCreate() {
        super.onCreate();
        initWindow();//设置悬浮窗基本参数(位置、宽高等)

    }

    @Nullable
    @Override
    public IBinder onBind(Intent intent) {
        currentBigUserId = intent.getStringExtra("userId");
        initFloating();//悬浮框点击事件的处理
        return new MyBinder();
    }

    public class MyBinder extends Binder {
        public FloatVideoWindowService getService() {
            return FloatVideoWindowService.this;
        }
    }


    @Override
    public int onStartCommand(Intent intent, int flags, int startId) {
        return super.onStartCommand(intent, flags, startId);
    }


    /**
     * 设置悬浮框基本参数(位置、宽高等)
     */
    private void initWindow() {
        mWindowManager = (WindowManager) getApplicationContext().getSystemService(Context.WINDOW_SERVICE);
        //设置好悬浮窗的参数
        wmParams = getParams();
        // 悬浮窗默认显示以左上角为起始坐标
        wmParams.gravity = Gravity.LEFT | Gravity.TOP;
        //悬浮窗的开始位置,因为设置的是从左上角开始,所以屏幕左上角是x=0;y=0
        wmParams.x = 70;
        wmParams.y = 210;
        //得到容器,通过这个inflater来获得悬浮窗控件
        inflater = LayoutInflater.from(getApplicationContext());
        // 获取浮动窗口视图所在布局
        mFloatingLayout = inflater.inflate(R.layout.alert_float_video_layout, null);
        // 添加悬浮窗的视图
        mWindowManager.addView(mFloatingLayout, wmParams);
    }


    private WindowManager.LayoutParams getParams() {
        wmParams = new WindowManager.LayoutParams();
        if (Build.VERSION.SDK_INT >= Build.VERSION_CODES.O) {
            wmParams.type = WindowManager.LayoutParams.TYPE_APPLICATION_OVERLAY;
        } else {
            wmParams.type = WindowManager.LayoutParams.TYPE_PHONE;
        }
        //设置可以显示在状态栏上
        wmParams.flags = WindowManager.LayoutParams.FLAG_NOT_FOCUSABLE | WindowManager.LayoutParams.FLAG_NOT_TOUCH_MODAL |
                WindowManager.LayoutParams.FLAG_LAYOUT_IN_SCREEN | WindowManager.LayoutParams.FLAG_LAYOUT_INSET_DECOR |
                WindowManager.LayoutParams.FLAG_WATCH_OUTSIDE_TOUCH;

        //设置悬浮窗口长宽数据
        wmParams.width = WindowManager.LayoutParams.WRAP_CONTENT;
        wmParams.height = WindowManager.LayoutParams.WRAP_CONTENT;
        return wmParams;
    }

    private void initFloating() {


    }
}
d. 在悬浮框成功被初始化以及相关参数被设置后,接下来就需要将Activity中用户选中最大的View添加到悬浮框里面去了,这样我们才能看到视频画面嘛,同样我们是在Service的onCreate这个生命周期中initFloating()完成这个操作的,代码如下所示:
TRTCVideoViewLayout mTRTCVideoViewLayout = Constents.mVideoViewLayout;
TXCloudVideoView mLocalVideoView = mTRTCVideoViewLayout.getCloudVideoViewByUseId(currentBigUserId);
if (mLocalVideoView == null) {
   mLocalVideoView = mTRTCVideoViewLayout.getCloudVideoViewByIndex(0);
}
if (ConstData.userid.equals(currentBigUserId)) {
     TXCGLSurfaceView mTXCGLSurfaceView = mLocalVideoView.getGLSurfaceView();
     if (mTXCGLSurfaceView != null && mTXCGLSurfaceView.getParent() != null) {
          ((ViewGroup) mTXCGLSurfaceView.getParent()).removeView(mTXCGLSurfaceView);
         mTXCloudVideoView.addVideoView(mTXCGLSurfaceView);
     }
} else {
     TextureView mTextureView = mLocalVideoView.getVideoView();
     if (mTextureView != null && mTextureView.getParent() != null) {
         ((ViewGroup) mTextureView.getParent()).removeView(mTextureView);
                mTXCloudVideoView.addVideoView(mTextureView);
     }
}
e. 我们上面说到要将服务Service的绑定与解绑与悬浮框的开启和关闭相结合,所以既然我们在服务的onCreate()方法中开启了悬浮框,那么就应该在其onDestroy()方法中对悬浮框进行关闭,关闭悬浮框的本质是将相关View给移除掉,在服务的onDestroy()方法中执行如下代码:
 @Override
    public void onDestroy() {
        super.onDestroy();
        if (mFloatingLayout != null) {
            // 移除悬浮窗口
            mWindowManager.removeView(mFloatingLayout);
            mFloatingLayout = null;
            Constents.isShowFloatWindow = false;
        }
    }
f. 服务的绑定方式有bindService和startService两种,使用不同的绑定方式其生命周期也会不一样,已知我们需要让悬浮框在视频通话activity finish掉的时候也顺便关掉,那么理所当然我们就应该采用bind方式来启动服务,让他的生命周期跟随他的开启者,也即是跟随开启它的activity生命周期。
intent = new Intent(this, FloatVideoWindowService.class);//开启服务显示悬浮框
bindService(intent, mVideoServiceConnection, Context.BIND_AUTO_CREATE);

ServiceConnection mVideoServiceConnection = new ServiceConnection() {

        @Override
        public void onServiceConnected(ComponentName name, IBinder service) {
            // 获取服务的操作对象
            FloatVideoWindowService.MyBinder binder = (FloatVideoWindowService.MyBinder) service;
            binder.getService();
        }

        @Override
        public void onServiceDisconnected(ComponentName name) {
        }
    };
Service完整代码如下:
/**
 * 视频悬浮窗服务
 */
public class FloatVideoWindowService extends Service {
    private WindowManager mWindowManager;
    private WindowManager.LayoutParams wmParams;
    private LayoutInflater inflater;
    private String currentBigUserId;
    //浮动布局view
    private View mFloatingLayout;
    //容器父布局
    private TXCloudVideoView mTXCloudVideoView;


    @Override
    public void onCreate() {
        super.onCreate();
        initWindow();//设置悬浮窗基本参数(位置、宽高等)

    }

    @Nullable
    @Override
    public IBinder onBind(Intent intent) {
        currentBigUserId = intent.getStringExtra("userId");
        initFloating();//悬浮框点击事件的处理
        return new MyBinder();
    }

    public class MyBinder extends Binder {
        public FloatVideoWindowService getService() {
            return FloatVideoWindowService.this;
        }
    }


    @Override
    public int onStartCommand(Intent intent, int flags, int startId) {
        return super.onStartCommand(intent, flags, startId);
    }

    @Override
    public void onDestroy() {
        super.onDestroy();
        if (mFloatingLayout != null) {
            // 移除悬浮窗口
            mWindowManager.removeView(mFloatingLayout);
            mFloatingLayout = null;
            Constents.isShowFloatWindow = false;
        }
    }

    /**
     * 设置悬浮框基本参数(位置、宽高等)
     */
    private void initWindow() {
        mWindowManager = (WindowManager) getApplicationContext().getSystemService(Context.WINDOW_SERVICE);
        //设置好悬浮窗的参数
        wmParams = getParams();
        // 悬浮窗默认显示以左上角为起始坐标
        wmParams.gravity = Gravity.LEFT | Gravity.TOP;
        //悬浮窗的开始位置,因为设置的是从左上角开始,所以屏幕左上角是x=0;y=0
        wmParams.x = 70;
        wmParams.y = 210;
        //得到容器,通过这个inflater来获得悬浮窗控件
        inflater = LayoutInflater.from(getApplicationContext());
        // 获取浮动窗口视图所在布局
        mFloatingLayout = inflater.inflate(R.layout.alert_float_video_layout, null);
        // 添加悬浮窗的视图
        mWindowManager.addView(mFloatingLayout, wmParams);
    }


    private WindowManager.LayoutParams getParams() {
        wmParams = new WindowManager.LayoutParams();
        if (Build.VERSION.SDK_INT >= Build.VERSION_CODES.O) {
            wmParams.type = WindowManager.LayoutParams.TYPE_APPLICATION_OVERLAY;
        } else {
            wmParams.type = WindowManager.LayoutParams.TYPE_PHONE;
        }
        //设置可以显示在状态栏上
        wmParams.flags = WindowManager.LayoutParams.FLAG_NOT_FOCUSABLE | WindowManager.LayoutParams.FLAG_NOT_TOUCH_MODAL |
                WindowManager.LayoutParams.FLAG_LAYOUT_IN_SCREEN | WindowManager.LayoutParams.FLAG_LAYOUT_INSET_DECOR |
                WindowManager.LayoutParams.FLAG_WATCH_OUTSIDE_TOUCH;

        //设置悬浮窗口长宽数据
        wmParams.width = WindowManager.LayoutParams.WRAP_CONTENT;
        wmParams.height = WindowManager.LayoutParams.WRAP_CONTENT;
        return wmParams;
    }

    private void initFloating() {
        mTXCloudVideoView = mFloatingLayout.findViewById(R.id.float_videoview);
        TRTCVideoViewLayout mTRTCVideoViewLayout = Constents.mVideoViewLayout;
        TXCloudVideoView mLocalVideoView = mTRTCVideoViewLayout.getCloudVideoViewByUseId(currentBigUserId);
        if (mLocalVideoView == null) {
            mLocalVideoView = mTRTCVideoViewLayout.getCloudVideoViewByIndex(0);
        }
        if (ConstData.userid.equals(currentBigUserId)) {
            TXCGLSurfaceView mTXCGLSurfaceView = mLocalVideoView.getGLSurfaceView();
            if (mTXCGLSurfaceView != null && mTXCGLSurfaceView.getParent() != null) {
                ((ViewGroup) mTXCGLSurfaceView.getParent()).removeView(mTXCGLSurfaceView);
                mTXCloudVideoView.addVideoView(mTXCGLSurfaceView);
            }
        } else {
            TextureView mTextureView = mLocalVideoView.getVideoView();
 最低0.47元/天 解锁文章


 1657
1657

 被折叠的 条评论
为什么被折叠?
被折叠的 条评论
为什么被折叠?
 到【灌水乐园】发言


