


提示:文章写完后,目录可以自动生成,如何生成可参考右边的帮助文档
前言
车载双屏移动,采用SurfaceControl镜像方法实现。
一、什么是双屏移动?
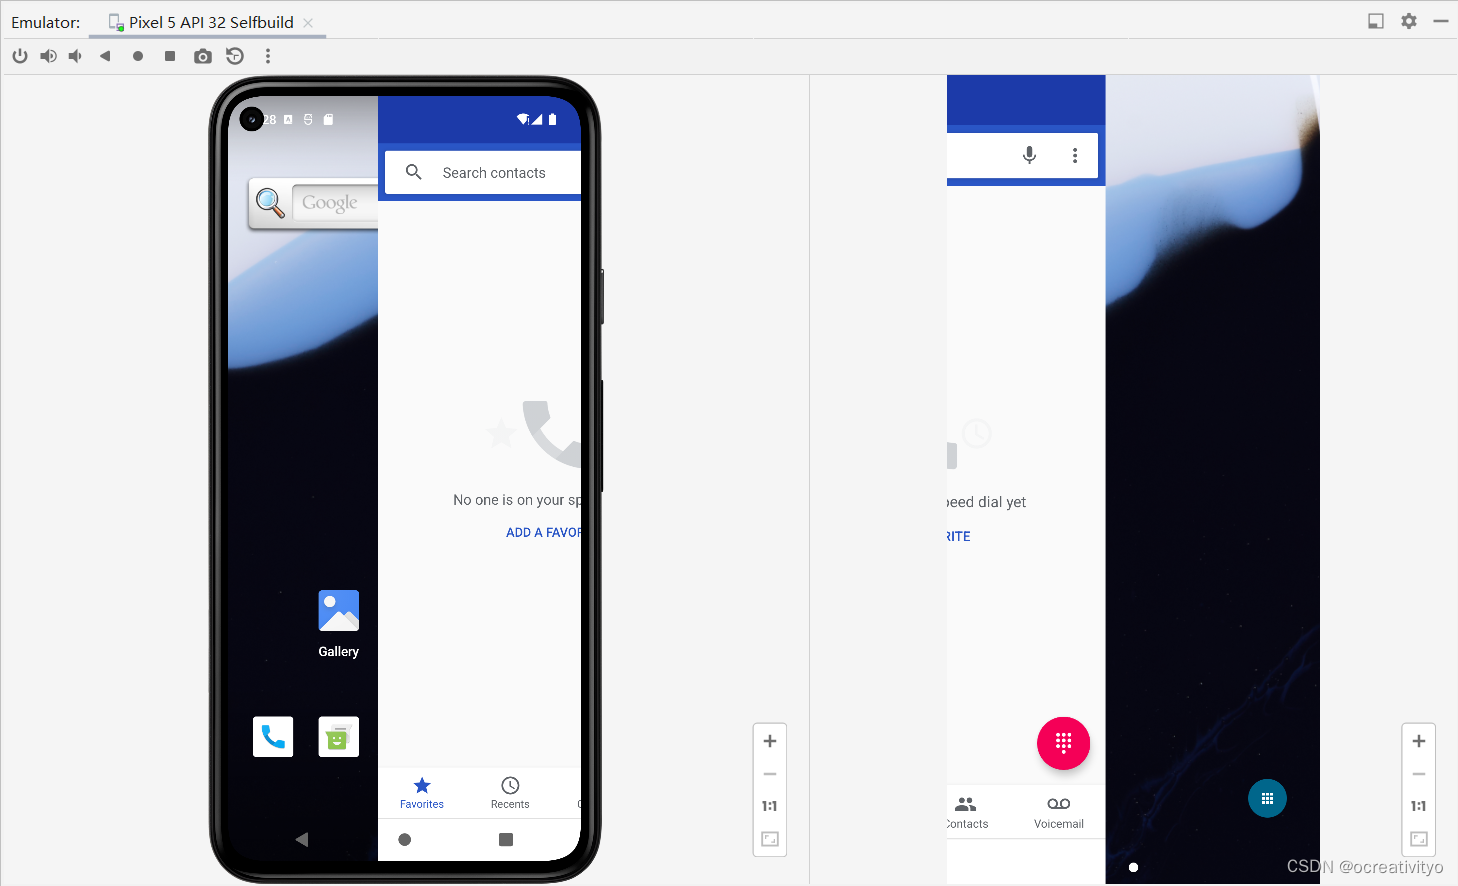
Android系统驱动两个屏,将其中一个屏的应用移动到另一个屏中,如下图所示。
二、实现原理
假设,将屏A中当前应用移动到屏B。
首先,镜像屏A当前应用的图层,记为Mirror;
其次,将Mirror挂载到屏B;
接着,移动屏A的图层时,屏B中的Mirror跟着移动;
最后,移动完成后,屏A的当前应用通过移栈方式,移动到屏B。
三、实现步骤
直接上代码。
package com.android.server.wm;

import static com.android.server.wm.ActivityTaskSupervisor.PRESERVE_WINDOWS;

import android.util.Log;

import android.graphics.Matrix;
import android.graphics.Rect;
import android.view.SurfaceControl;
import android.view.SurfaceControl.Transaction;

import android.animation.ValueAnimator;
import android.animation.ValueAnimator.AnimatorUpdateListener;

public class DoubleScreenMoveController {

	private final static String TAG = "DoubleScreenMoveController";

    private final RootWindowContainer mRootWindowContainer;
	private final DisplayContent mDisplayContent;
    private final WindowManagerService mWmService;
	private final SurfaceControl.Transaction mTransaction;

    private SurfaceControl mMovedSurface = null;
    private SurfaceControl mMirroredSurface = null;

	private int mMovedActivityWidth = 0;
	private int mMovedActivityHeight = 0;
	private boolean mKeepMoving = false;

    public DoubleScreenMoveController(WindowManagerService wms,
		                              DisplayContent displayContent,
		                              RootWindowContainer rwc) {
        this.mWmService = wms;
        this.mDisplayContent = displayContent;
		this.mRootWindowContainer = rwc;
		this.mTransaction = wms.mTransactionFactory.get();
    }

	public int getDisplayCount() {
        return mWmService.mRoot.getChildCount();
	}

	public void startMoving() {
		 DisplayContent targetDisplay = getTargetDisplayContent();
		 if (targetDisplay != mDisplayContent && targetDisplay != null) {
			 try {
				 mirrorDisplay(mDisplayContent, targetDisplay);
				 //staskBelowVisibility();
			 } catch (Exception e) {
				 Log.e(TAG, "moveTaskToTargetDisplay Exception: ",e);
				 stopMoving();
			 }
		 }
	}


	public void goMoving(int x, boolean isMovingRight) {
          if (mMovedSurface != null && mMirroredSurface != null) {
			  int offsetX = isMovingRight ? x : -x;
			  Matrix matrix = new Matrix();
              matrix.reset();
			  matrix.postTranslate(offsetX, 0);
			  mTransaction
			  	.setMatrix(mMovedSurface, matrix, new float[9])
			  	.apply();
          }
	}

	public void keepMoving(int offsetX, boolean isMovingRight, boolean isCanceled) {
		if (mKeepMoving) return;
		mKeepMoving = true;
        int startX = offsetX;
		int endX = !isCanceled ? mMovedActivityWidth : 0;

		ValueAnimator valueAnimator = ValueAnimator.ofInt(startX, endX);
		valueAnimator.setDuration(500);
		valueAnimator.addUpdateListener(new ValueAnimator.AnimatorUpdateListener() {
            @Override
			public void onAnimationUpdate(ValueAnimator animation) {
                int value = (int) animation.getAnimatedValue();
				goMoving(value, isMovingRight);
				if (value == endX) {
					if (!isCanceled) {
                        moveTaskToTargetDisplay();
					}
                    stopMoving();
					mKeepMoving = false;
				}
            }
		});
		valueAnimator.start();
	}

	public void stopMoving() {
        removeMirroredSurface();
	}

	private void removeMirroredSurface() {
        if (mMirroredSurface != null) {
            // Do not wait for the mirrored surface to be garbage collected, but clean up
            // immediately.
            mTransaction.remove(mMirroredSurface).apply();
            mMirroredSurface = null;
        }
	}

	private void mirrorDisplay(DisplayContent displayContent, DisplayContent targetContent) {
		if (mMirroredSurface != null) return;
		ActivityRecord ar = displayContent.topRunningActivity();
		if (ar == null) return;
		SurfaceControl sc = ar.getSurfaceControl();
        final Rect containerBounds = ar.getWindowConfiguration().getBounds();
		int width = containerBounds.width();
		int height = containerBounds.height();

		Log.i(TAG, "mirrorDisplay size:"+width+"x"+height);

		// Create a mirrored hierarchy for the SurfaceControl of the DisplayArea to capture.
		SurfaceControl mirror = SurfaceControl.mirrorSurface(sc);
		mTransaction
		// Set the mMirroredSurface's parent to the root SurfaceControl for this
		// DisplayContent. This brings the new mirrored hierarchy under this DisplayContent,
		// so SurfaceControl will write the layers of this hierarchy to the output surface
		// provided by the app.
		.reparent(mirror, targetContent.getSurfaceControl());
		// Reparent the SurfaceControl of this DisplayContent to null, to prevent content
		// being added to it. This ensures that no app launched explicitly on the
		// VirtualDisplay will show up as part of the mirrored content.
		//.reparent(mWindowingLayer, null)
		//.reparent(mOverlayLayer, null);
		// Crop the area to capture to exclude the 'extra' wallpaper that is used
		// for parallax (b/189930234).
		mTransaction
		.setWindowCrop(mirror, width*2, height)
		// Scale the root mirror SurfaceControl, based upon the size difference between the
		// source (DisplayArea to capture) and output (surface the app reads images from).
		.setMatrix(mirror, 1, 0 , 0 , 1)
		// Position needs to be updated when the mirrored DisplayArea has changed, since
		// the content will no longer be centered in the output surface.
		.setPosition(mirror, -width , 0)
		.setBufferSize(mirror, width*2, height)
		.apply();

        mMovedActivityWidth = width;
		mMovedActivityHeight = height;
        mMirroredSurface = mirror;
		mMovedSurface = sc;
	}

	private void moveTaskToTargetDisplay() {
		 DisplayContent targetDisplay = getTargetDisplayContent();
		 if (targetDisplay != mDisplayContent && targetDisplay != null) {
			 try {
				 Task rootTask = mDisplayContent.getTopRootTask();
				 if (rootTask.isActivityTypeHome()) {
					 Log.w(TAG, "Cannot move Home UI");
					 return;
				 }

				 int rootTaskId = rootTask.mTaskId;
				 mRootWindowContainer.moveRootTaskToDisplay(rootTaskId, targetDisplay.mDisplayId, true);

				 Matrix matrix = new Matrix();
				 matrix.reset();
				 matrix.postTranslate(0, 0);
				 mTransaction
				 	.setMatrix(mMovedSurface, matrix, new float[9])
				 	.apply();
			 } catch (Exception e) {
				 Log.e(TAG, "moveTaskToTargetDisplay Exception: ",e);
				 stopMoving();
			 }
		 }
	}

	private void cancelMoveTaskToTargetDisplay() {
		 DisplayContent targetDisplay = getTargetDisplayContent();
		 if (targetDisplay != mDisplayContent && targetDisplay != null) {
 			 try {
				 Task rootTask = targetDisplay.getTopRootTask();
				 if (rootTask.isActivityTypeHome()) {
					 Log.w(TAG, "Cannot move Home UI");
					 return;
				 }

				 int rootTaskId = rootTask.mTaskId;
				 mRootWindowContainer.moveRootTaskToDisplay(rootTaskId, mDisplayContent.mDisplayId, true);
			 } catch (Exception e) {
				 Log.e(TAG, "cancelMoveTaskToTargetDisplay Exception: ",e);
			 }

		 }
	}

	private DisplayContent getTargetDisplayContent() {
		DisplayContent targetDisplay = null;
		if (mRootWindowContainer.getChildCount() == 2) {
			targetDisplay = (mRootWindowContainer.getChildAt(0) == mDisplayContent)
			   ? mRootWindowContainer.getChildAt(1): mRootWindowContainer.getChildAt(0);
		}

		return targetDisplay;
	}

}
代码不多,细节不详说了。
总结
本方案关键是在于如何镜像图层。
幸运的是,Android12 SurfaceControl新增mirrorSurface方法,该方法对已知图层进行镜像。


 2177
2177


 被折叠的 条评论
为什么被折叠?
被折叠的 条评论
为什么被折叠?
 到【灌水乐园】发言


