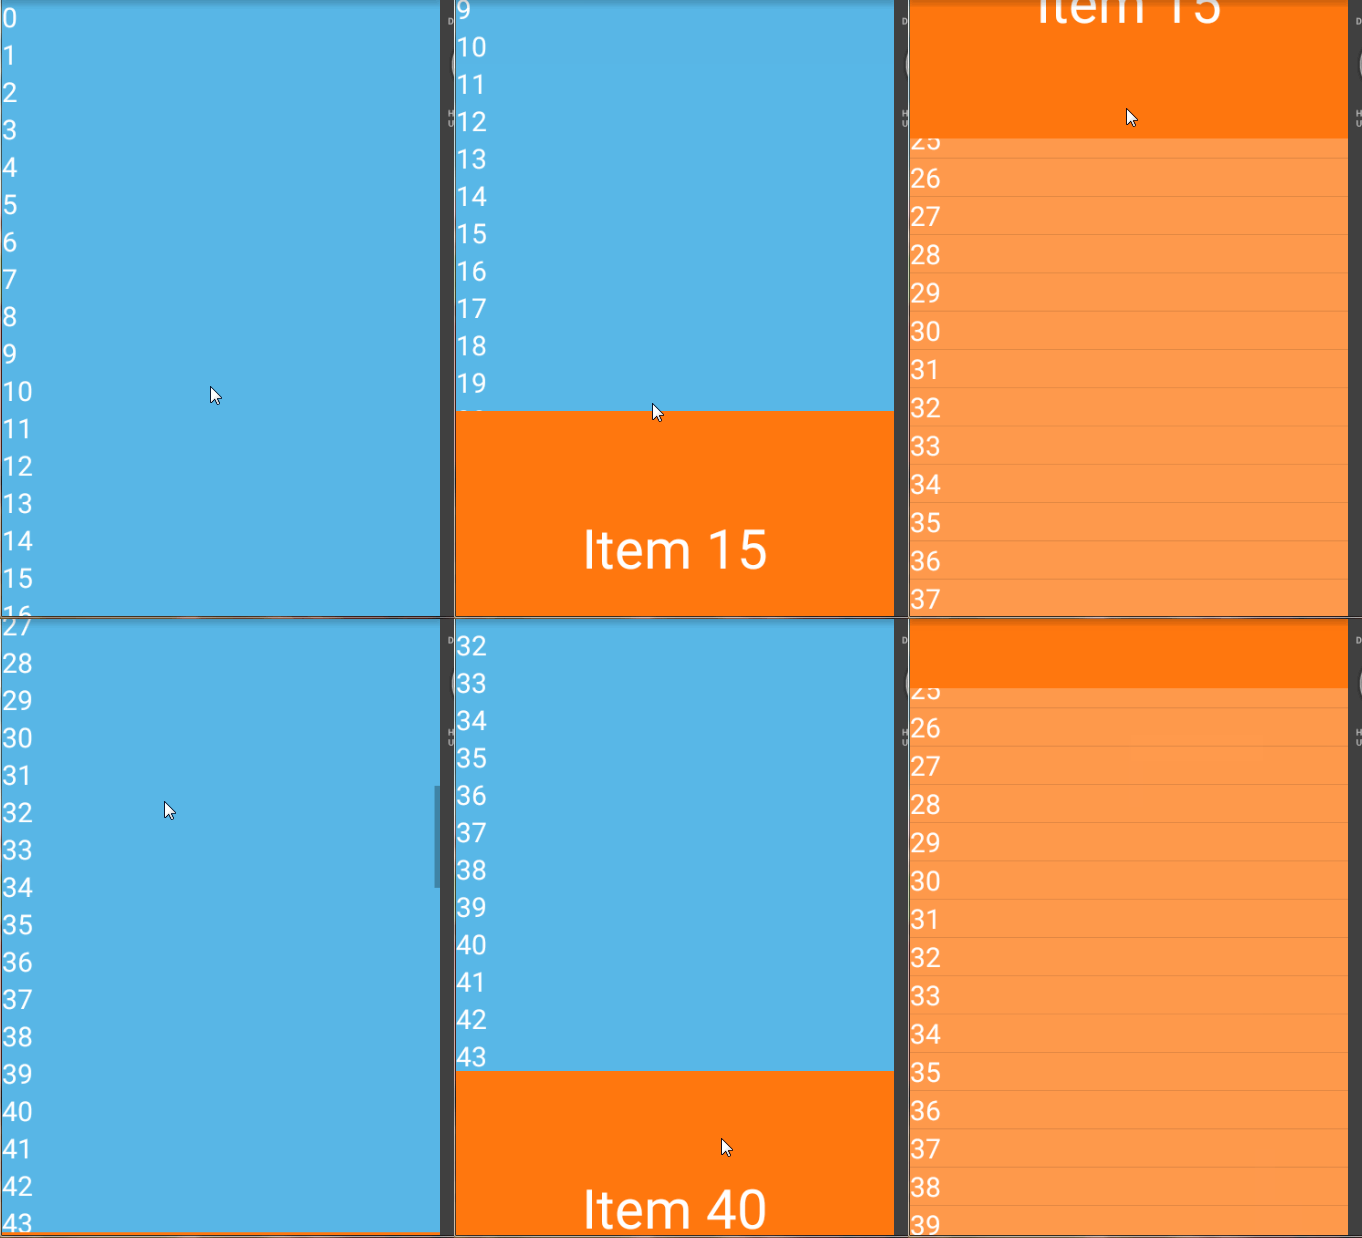
PS:这个GIF录制工具好恶心=。= 总是卡住鼠标。。。。录了好多次。。
首先我们先看布局:
<FrameLayout
    xmlns:android="http://schemas.android.com/apk/res/android"
    android:layout_width="match_parent"
    android:layout_height="match_parent">

    <ListView
        android:id="@+id/listview2"
        android:layout_width="match_parent"
        android:layout_height="match_parent"
        android:divider="@null"
        android:background="#58b7e7"/>

   <com.ocwvar.surfacetest.SlidingPanelTest.OCSlidingUpPanel
       android:id="@+id/tgp"
       android:layout_width="match_parent"
       android:layout_height="match_parent" />

</FrameLayout>
根布局得是FrameLayout或者是相对布局RelativeLayout(这个我没试过)这类的就行。
关于自定义ViewGroup要注意的
在自定义ViewGroup的时候,一定要注意 尺寸的测量onMeasure() 以及 子View的布局onLayout() (这不是废话吗 O.o?)
好啦好啦,我的意思是这两个地方要非常谨慎,一个不小心就会乱七八糟。。。但同时就是这里,就可以实现各种你想要的布局,再加上 ViewDragHelper ,你就可以做很多你想要的控件了。
下面入正题。
首先我们的SlidingPanel是在屏幕下面的,在不出现的时候是不能被用户看到的,而且Panel的Head与Body部分要分开让用户自定义,这样就能实现各种样式的Panel了。
首先我们先看
尺寸的测量onMeasure()
@Override
    protected void onMeasure(int widthMeasureSpec, int heightMeasureSpec) {
        super.onMeasure(widthMeasureSpec, heightMeasureSpec);
        measureChildren(widthMeasureSpec, heightMeasureSpec);
        int heightMOD = MeasureSpec.getMode(heightMeasureSpec);
        int height = 0;
        if (heightMOD == MeasureSpec.EXACTLY){
            height = MeasureSpec.getSize(heightMeasureSpec);
        }else {
            int count = getChildCount();
            for (int i = 0; i < count; i++) {
                height += getChildAt(i).getMeasuredHeight();
            }
        }
        setMeasuredDimension(MeasureSpec.getSize(widthMeasureSpec), height);
    }
●代码详解:
首先我们要知道当前控件的高度模式是什么,是 match_parent ,还是 wrap_content 。如果控件的高度是 match_parent ,那我们就将高度设置为父容器的高度或是已给定的高度,如果不是,我们就要自己测量长度咯……
 1. MeasureSpec.EXACTLY —— match_parent 或 已给定值
 2. MeasureSpec.AT_MOST —— wrap_content
子View的布局onLayout()
@Override
    protected void onLayout(boolean changed, int l, int t, int r, int b) {

        int count = getChildCount();
        int lastTop = b;

        for (int i = 0; i < count; i++) {
            View childView = getChildAt(i);
            int childHeight = childView.getMeasuredHeight();
            childView.layout( l , lastTop , r , lastTop += childHeight);
        }
        stopPosition = getChildAt(0).getTop();
    }
代码详解:
我们首先获取下有几个ChildView(基本也就两个……),然后我们依次从上到下开始绘制。起始绘制高度是屏幕最底部,这样我们就让View在用户的视线之外了。 stopPosition 是保存ChildView的当前高度,以便后面的拖动之类的使用。
然后就是让使用者设置自己要的Head样式、Body样式了,这俩方法没啥好讲的。。也就是要注意下添加之后要重新测量ChildView的尺寸而已
public void setHeadView(int layoutRes)
public void setHeadView(int layoutRes){
        headView = LayoutInflater.from(getContext()).inflate(layoutRes,this,false);
        if (headView == null){
            Log.e("On Inflater","HeadView layout cannot be Inflater");
        }else {
            addView(headView,0);
            requestLayout();
            measureChildren(getMeasuredWidth(),getMeasuredHeight());
        }
    }
public void setBodyView(int layoutRes)
public void setBodyView(int layoutRes){
        bodyView = LayoutInflater.from(getContext()).inflate(layoutRes,this,false);
        if (bodyView == null){
            Log.e("On Inflater","BodyView layout cannot be Inflater");
        }else {
            addView(bodyView);
            requestLayout();
            measureChildren(getMeasuredWidth(), getMeasuredHeight());
        }
    }
到目前为止,我们就能让Panel在屏幕上显示了(虽然在最下面你看不到 ._.)
加入ViewDragHelper
经过这一步之后,我们的ChildView组成的Panel就能动起来了 QAQ!!! 这个类可是个好东西,毕竟拖动视图的处理太麻烦了。。。这个玩意帮我们省了不少力气。。。
第一步,新建对象。 废话……
dragHelper = ViewDragHelper.create(this,2.0f,new ViewDragCallBack());中间那个 2.0f 是灵敏度,不用设置也行,最后那个 ViewDragCallBack() 是拖动调用的CallBack,我们等下再说。
第二步,重写onTouchEvent(MotionEvent event)
@Override
    public boolean onTouchEvent(MotionEvent event) {
        dragHelper.processTouchEvent(event);
        if (event.getRawY() < headView.getY()){
            smoothScrollToBottom();
        }
        return !isINVISIBLE;
    }
代码详解:
第一句,这句是必须要写的,咱们不用管。
第二句, if 是当滑动到的高度小于Head的高度的时候,就触发滑动到最底部的动画,怎么写?还是下面再说 =。=
最后,如果Panel不是可见状态,我们就让触摸事件响应到下一层View,也就是ListView。因为我们的SlidingUpPanel是在这个视图的最上层,我们挡住了的话,下面的东西就不能响应了咯。
第三步,重写public boolean onInterceptTouchEvent(MotionEvent ev)
@Override
    public boolean onInterceptTouchEvent(MotionEvent ev) {
        return !isINVISIBLE && dragHelper.shouldInterceptTouchEvent(ev);
}这个方法是触摸事件的阻断处理,同样也是拦截触摸事件的,还有就是,这里截断之后就进不到onTouchEvent() 里面了。
在处理可拖动的ChildView里面又有可滑动对象的时候,这里要着重处理。比如我有个ListView是可以上下拖动列表,又可以整体移动这个ListView的时候。(我之后会有一篇自定义侧滑菜单的文章,里面就会说到了)
第四步,重写public void computeScroll()
@Override
public void computeScroll() {
    if (dragHelper.continueSettling(true)) {
        ViewCompat.postInvalidateOnAnimation(this);
    }
}
这里没啥好说的,照着写就行。这个方法的用途大家百度吧,如果这里不重写的话,动画效果会无法执行。
第五步,创建ViewDragCallBack()类
class ViewDragCallBack extends ViewDragHelper.Callback{
    ... ...
}
咱们重写这里面的几个方法:
1.public boolean tryCaptureView(View child, int pointerId)
@Override
public boolean tryCaptureView(View child, int pointerId) {
            return child == getChildAt(0);
}
这方法的作用是指明哪个ChildView是可以拖动的,咱们就设定为Head啦,也就是第一个ChildView。
2.public int clampViewPositionVertical(View child, int top, int dy)
@Override
public int clampViewPositionVertical(View child, int top, int dy) {
    int topBound = getMeasuredHeight() - getChildAt(1).getMeasuredHeight();
    return Math.max(top, topBound);
}这方法作用是确定拖动的垂直范围,咱们指定Top的边界是屏幕高度减去Head+Body的高度 ,因为Head毕竟是展示标题的作用,所以咱们可以让它在屏幕之外。当然你也可以自己自定义啦。Math.max(top, topBound);这里借鉴了另外一个博客的想法,我也忘了是哪个了。。。。QAQ
3.public void onViewPositionChanged(View changedView, int left, int top, int dx, int dy)
@Override
public void onViewPositionChanged(View changedView, int left, int top, int dx, int dy) {
       if (changedView == getChildAt(0)) {
           movingPositon = top;
           View follwView = getChildAt(1);
           int follwHeight = follwView.getMeasuredHeight();
           follwView.layout(follwView.getLeft(),changedView.getBottom(),follwView.getRight(),changedView.getBottom()+follwHeight);
       }
}
这方法会在Head(你所指定可拖动的View)拖动的时候调用,其中的follwView就是Body部分,由于我们的 Body 是不能拖动的,所以我们的 Body 是要紧跟随着 Head 移动的,这里我们就直接设置其Layout位置就行了。同时要记录下移动的坐标,以便计算与静止状态的偏移值。
4.public void onViewReleased(View releasedChild, float xvel, float yvel)
@Override
public void onViewReleased(View releasedChild, float xvel, float yvel) {
    if (releasedChild == getChildAt(0)){
        final int offset = movingPositon - stopPosition;
        switch (headPosition){
            case 0:
                //BOTTOM (INVISIBLE)

                break;
            case 1:
                //CENTER
                if (offset < -MAX_OFFSET){
                    smoothScrollToTop();
                }else if (offset > MAX_OFFSET*2){
                    smoothScrollToBottom();
                }else if (offset > MAX_OFFSET){
                    smoothScrollToCenter();
                }
                break;
            case 2:
                //TOP
                if (offset > MAX_OFFSET){
                    smoothScrollToCenter();
                }else{
                    smoothScrollToTop();
                }
                break;
        }
        stopPosition = releasedChild.getTop();
    }
}
这方法在拖动的View拖动停止(手指离开屏幕)的时候触发。我们这时候就可以根据移动最后的坐标与移动前的坐标之差来获取偏移值Offset,并根据当前的状态 顶部、中间来执行滑动到哪里的动画,比如:当前Panel是在顶部,用户往下滑动了一点,就弹回顶部,如果用户滑动了比较大的距离,就滑动回中间位置。
结束


 569
569


 被折叠的 条评论
为什么被折叠?


