


day12【过渡】SpringCloud
1、Spring Cloud 概述
1.1、微服务框图
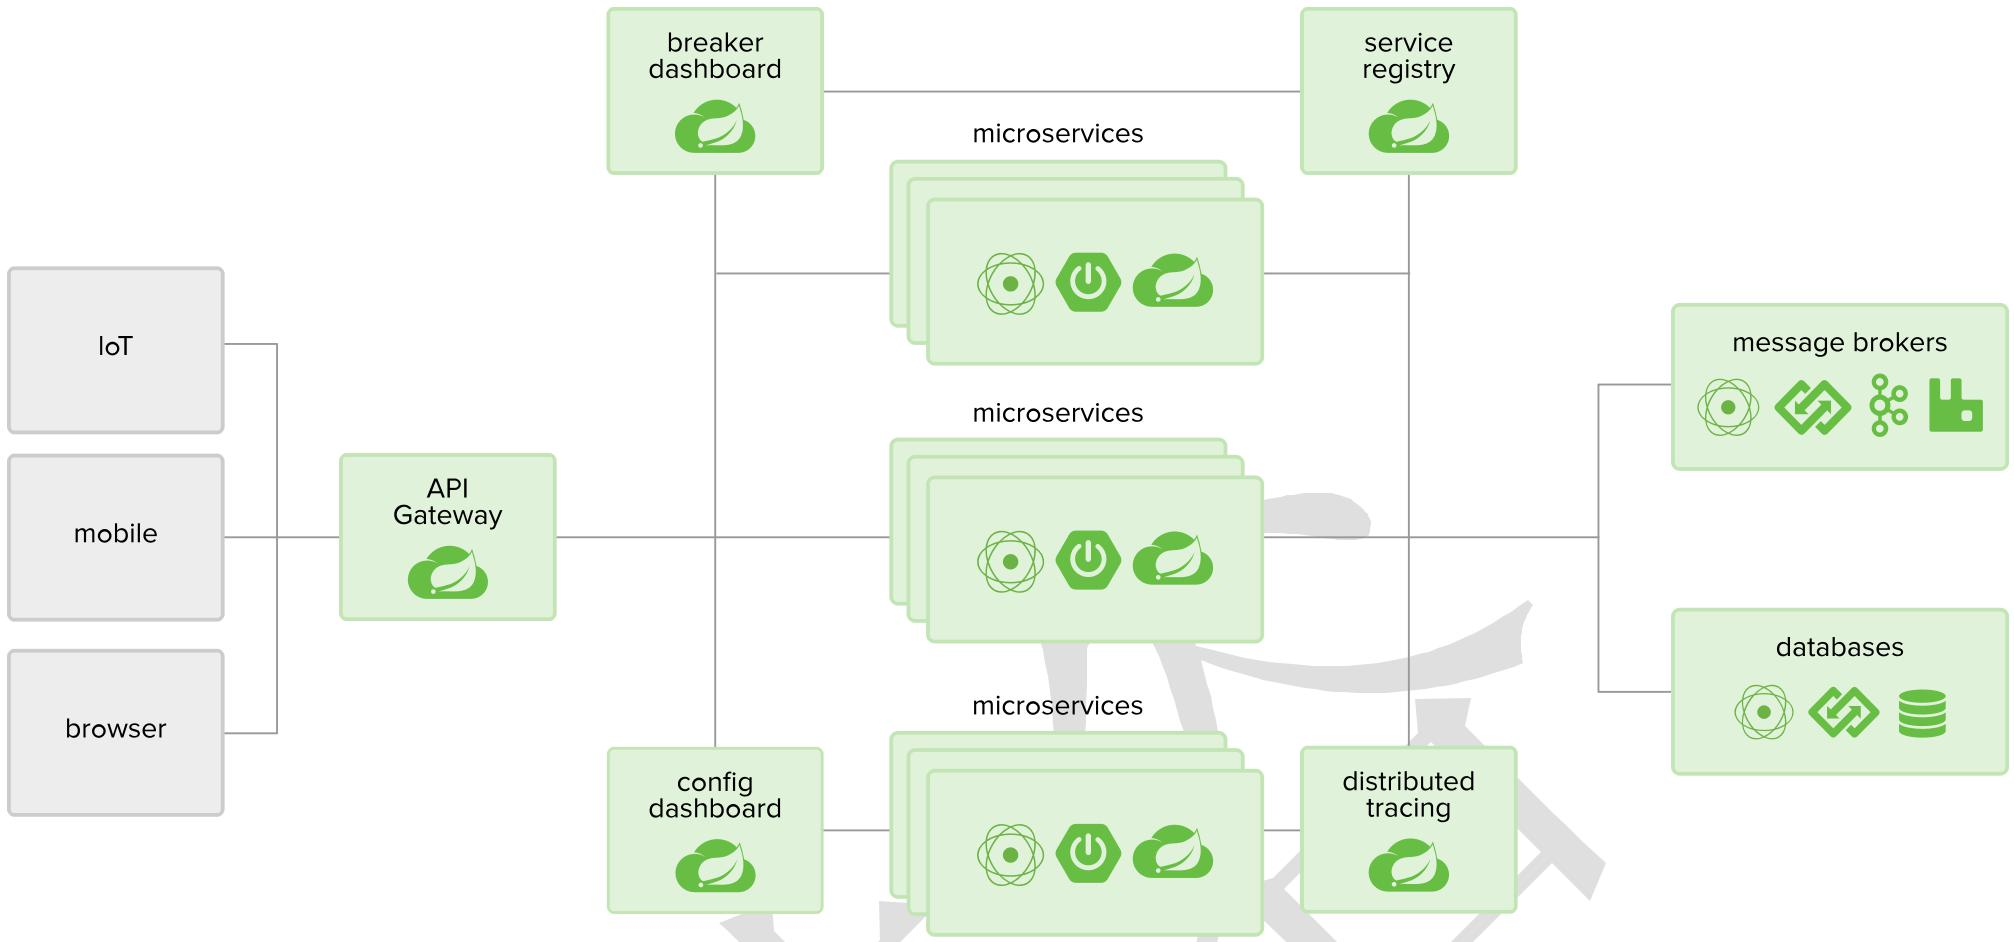
1.2、Spring Cloud 组件
- 注册中心: Eureka
- 负载均衡: Ribbon
- 声明式调用远程方法: Feign
- 熔断、 降级、 监控: Hystrix
- 网关: Zuul
2、搭建环境
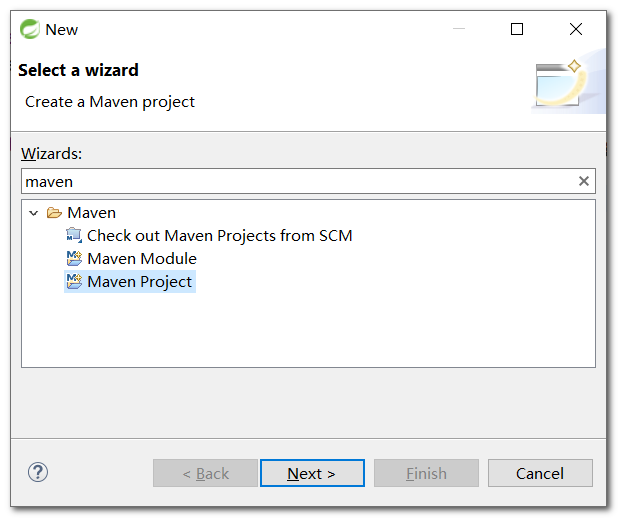
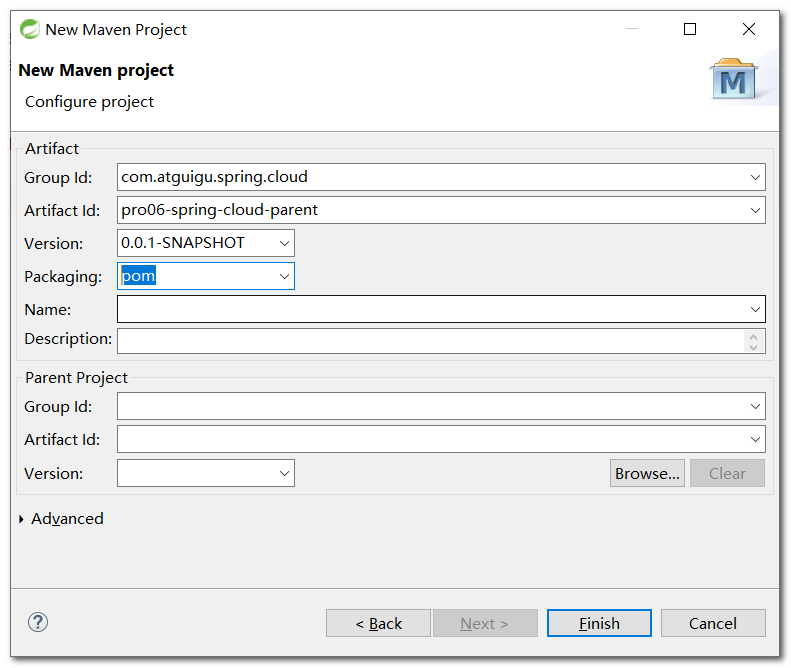
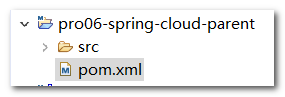
2.1、创建父工程
- 创建
Maven Project,父工程打包方式需要选择为pom
- 在父工程的
pom文件中引入依赖
<dependencyManagement>
    <dependencies>
        <!-- 导入SpringCloud需要使用的依赖信息 -->
        <dependency>
            <groupId>org.springframework.cloud</groupId>
            <artifactId>spring-cloud-dependencies</artifactId>
            <version>Greenwich.SR2</version>
            <type>pom</type>
            <!-- import依赖范围表示将spring-cloud-dependencies包中的依赖信息导入 -->
            <scope>import</scope>
        </dependency>
        <!-- 导入SpringBoot需要使用的依赖信息 -->
        <dependency>
            <groupId>org.springframework.boot</groupId>
            <artifactId>spring-boot-dependencies</artifactId>
            <version>2.1.6.RELEASE</version>
            <type>pom</type>
            <scope>import</scope>
        </dependency>
    </dependencies>
</dependencyManagement>
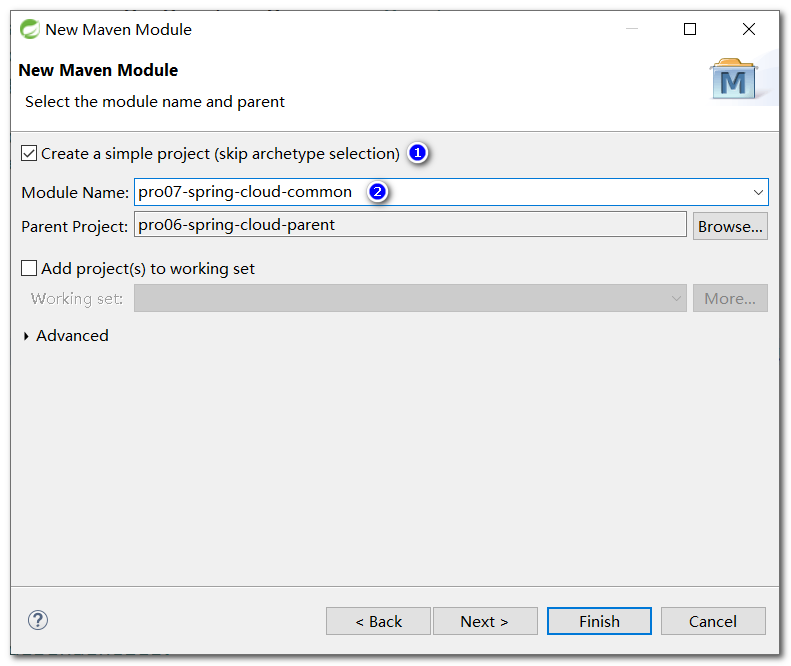
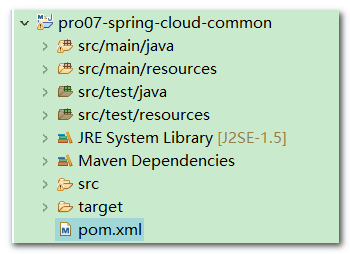
2.2、创建common工程
- 在父工程上右击,创建
Maven Module,打包方式为jar

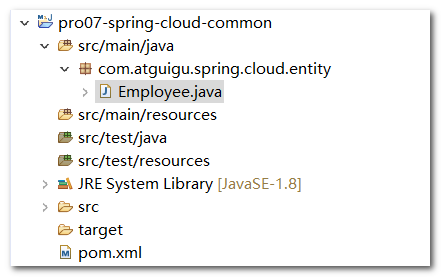
- 添加测试使用的实体类
public class Employee {

	private Integer empId;
	private String empName;
	private Double empSalary;

	public Employee() {

	}

	public Employee(Integer empId, String empName, Double empSalary) {
		super();
		this.empId = empId;
		this.empName = empName;
		this.empSalary = empSalary;
	}

	@Override
	public String toString() {
		return "Employee [empId=" + empId + ", empName=" + empName + ", empSalary=" + empSalary + "]";
	}

	public Integer getEmpId() {
		return empId;
	}

	public void setEmpId(Integer empId) {
		this.empId = empId;
	}

	public String getEmpName() {
		return empName;
	}

	public void setEmpName(String empName) {
		this.empName = empName;
	}

	public Double getEmpSalary() {
		return empSalary;
	}

	public void setEmpSalary(Double empSalary) {
		this.empSalary = empSalary;
	}

}
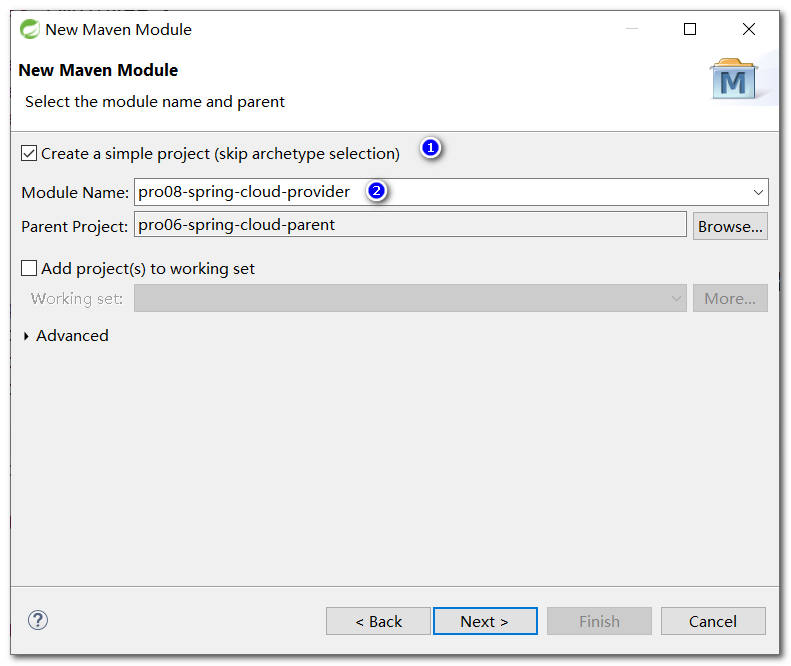
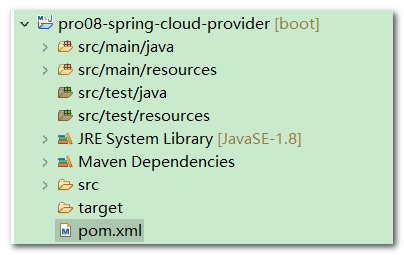
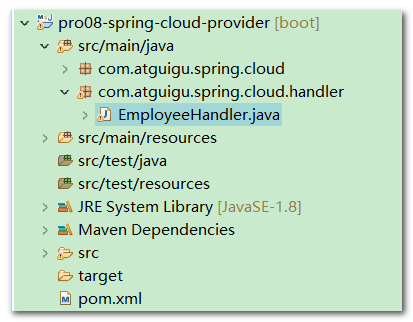
2.3、创建provider工程
- 在父工程上右击,创建
Maven Module,打包方式为jar
- 引入
SpringCloud和common工程的相关依赖

<dependencies>
    <dependency>
        <groupId>org.springframework.boot</groupId>
        <artifactId>spring-boot-starter-web</artifactId>
    </dependency>
    <dependency>
        <groupId>com.atguigu.spring.cloud</groupId>
        <artifactId>pro07-spring-cloud-common</artifactId>
        <version>0.0.1-SNAPSHOT</version>
    </dependency>
</dependencies>
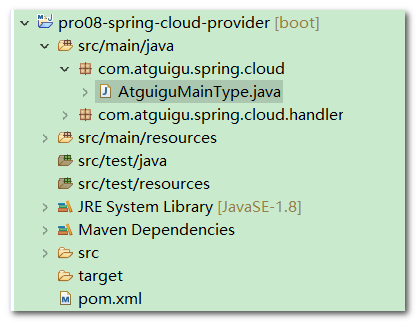
- 添加主启动类
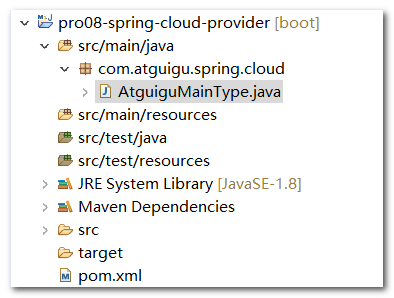
@SpringBootApplication
public class AtguiguMainType {

	public static void main(String[] args) {
		SpringApplication.run(AtguiguMainType.class, args);
	}

}
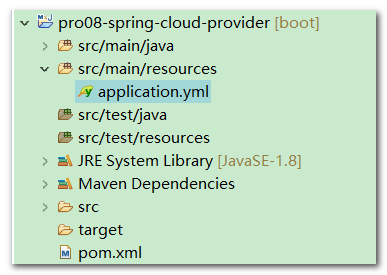
- 修改端口号
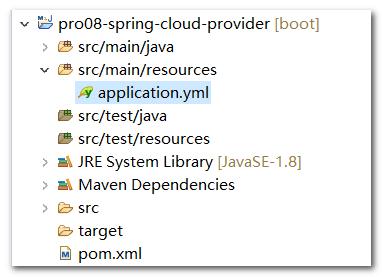
server:
  port: 1000
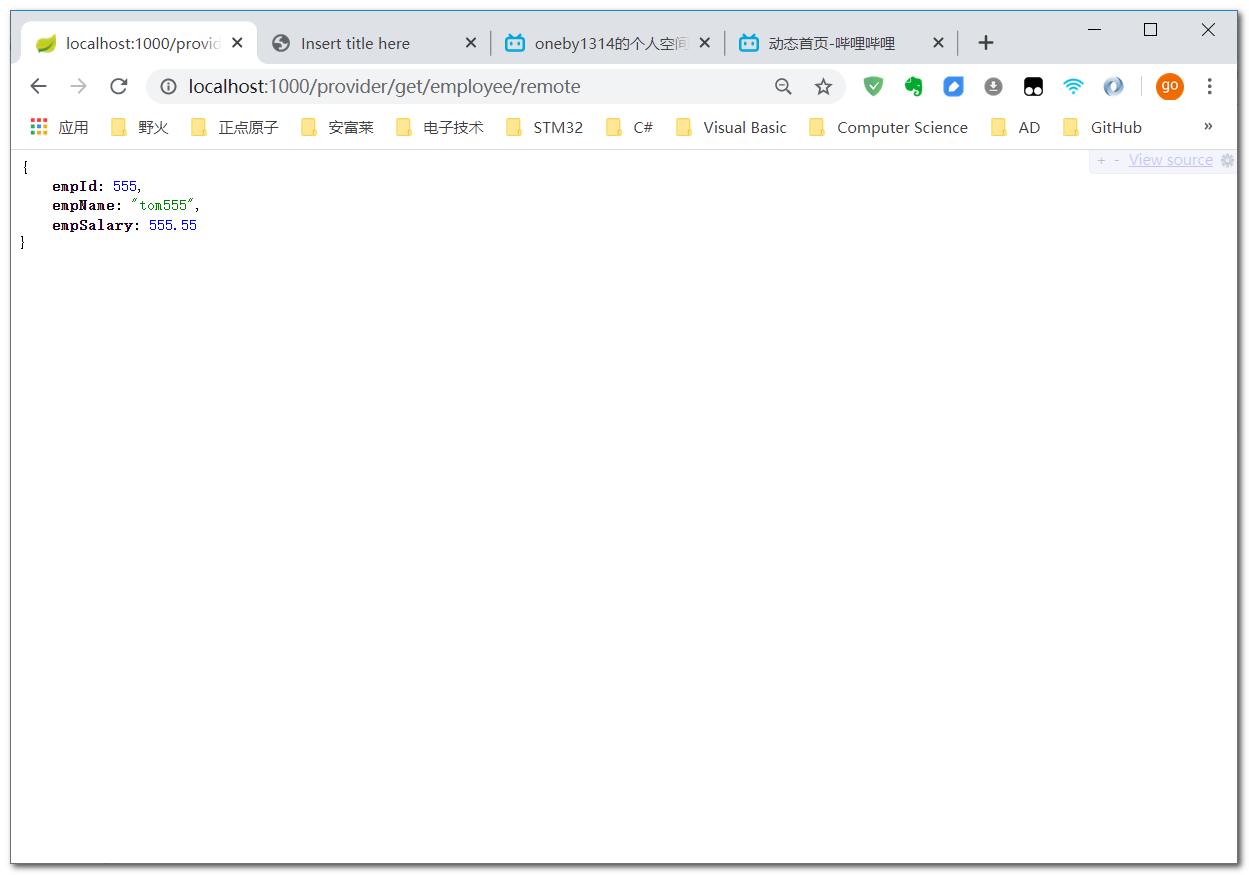
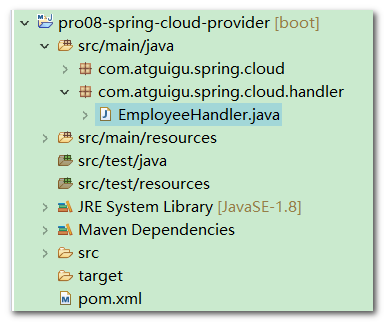
- 创建
Handler

@RestController
public class EmployeeHandler {

	@RequestMapping("/provider/get/employee/remote")
	public Employee getEmployeeRemote() {
		return new Employee(555, "tom555", 555.55);
	}

}
- 启动测试
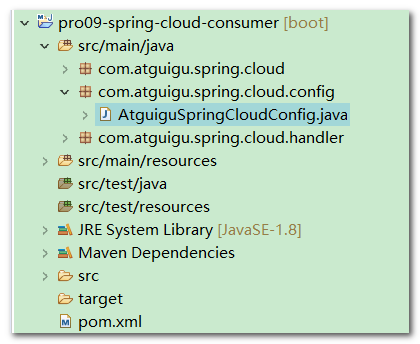
2.4、创建consumer工程
- 在父工程上右击,创建
Maven Module,打包方式为jar - 添加
web和common工程的依赖
<dependencies>
    <dependency>
        <groupId>org.springframework.boot</groupId>
        <artifactId>spring-boot-starter-web</artifactId>
    </dependency>
    <dependency>
        <groupId>com.atguigu.spring.cloud</groupId>
        <artifactId>pro07-spring-cloud-common</artifactId>
        <version>0.0.1-SNAPSHOT</version>
    </dependency>
</dependencies>
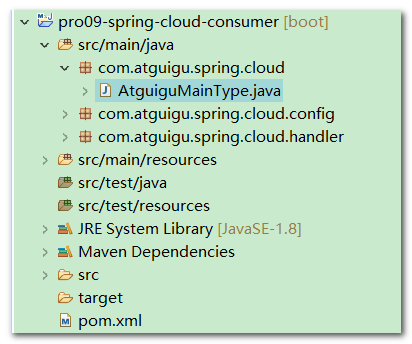
- 创建主启动类
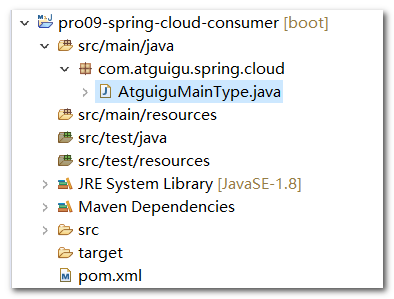
@SpringBootApplication
public class AtguiguMainType {

	public static void main(String[] args) {
		SpringApplication.run(AtguiguMainType.class, args);
	}

}
- 创建配置类:向
IOC容器中添加RestTemplate类的实例,用于远程调用
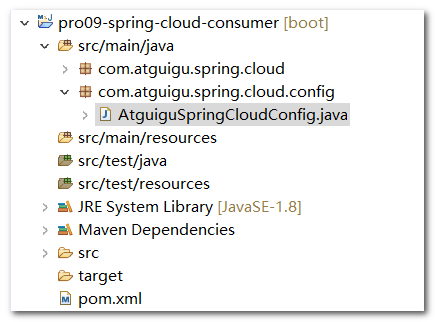
@Configuration
public class AtguiguSpringCloudConfig {

	@Bean
	public RestTemplate getRestTemplate() {
		return new RestTemplate();
	}

}
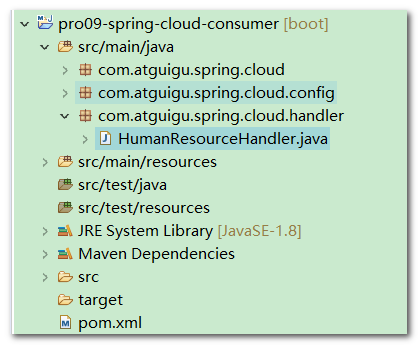
- 创建
Handler
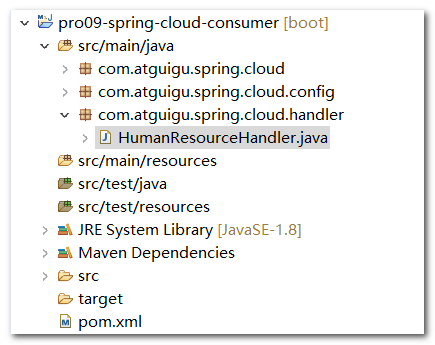
@RestController
public class HumanResourceHandler {

	@Autowired
	private RestTemplate restTemplate;

	@RequestMapping("/consumer/get/employee")
	public Employee getEmployeeRemote() {

		// 1.声明远程微服务的主机地址加端口号
		String host = "http://localhost:1000";

		// 2.声明具体要调用的功能的URL地址
		String url =  "/provider/get/employee/remote";

		// 3.通过RestTemplate调用远程微服务
		return restTemplate.getForObject(host + url, Employee.class);
	}

}
- 创建
yml配置文件
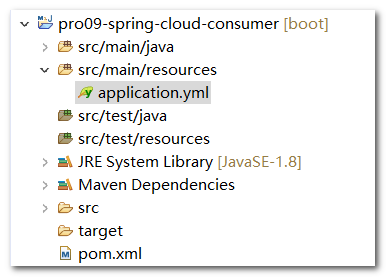
server:
  port: 4000
- 测试
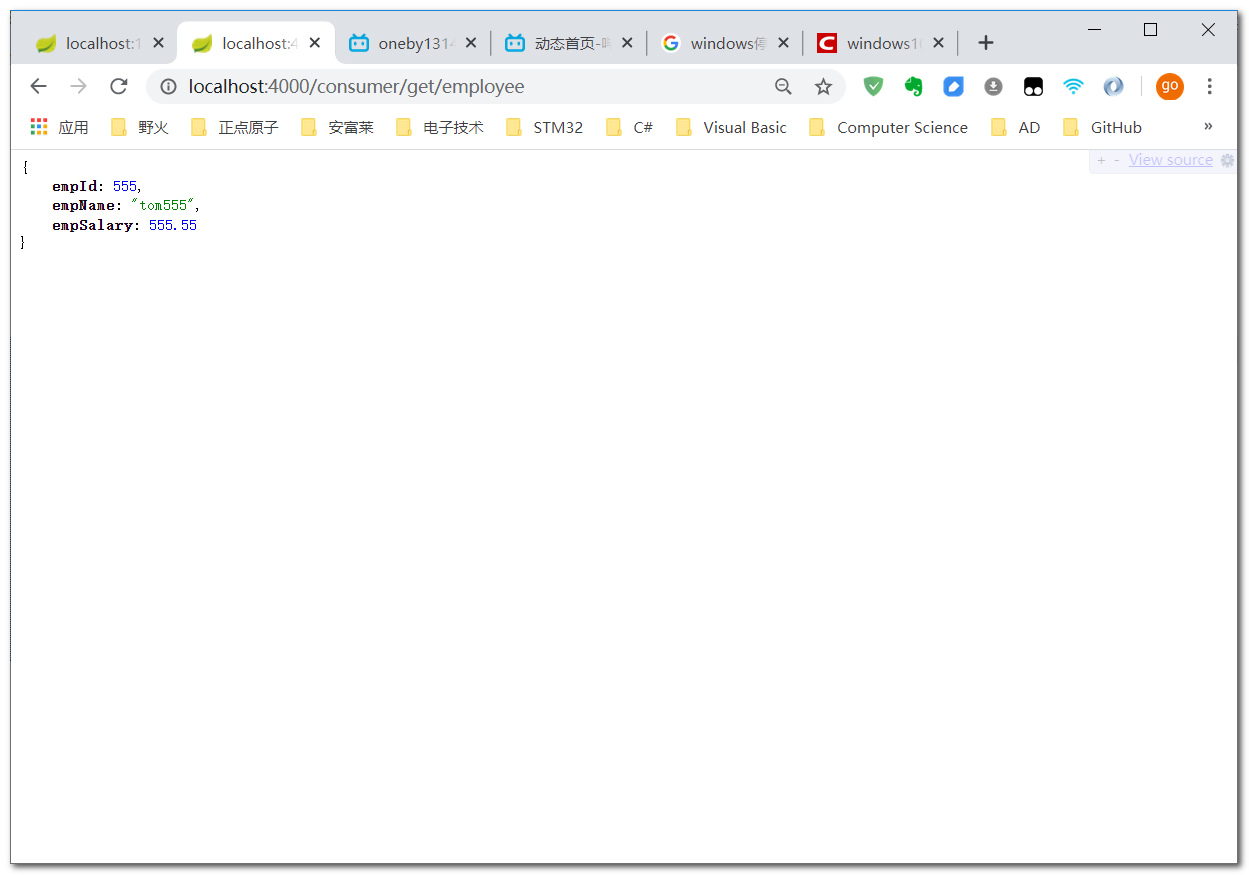
-
遇到的问题:4000端口被占用(福昕
PDF占用4000端口号)- 问题描述:启动微服务出现如下报错
Description: The Tomcat connector configured to listen on port 4000 failed to start. The port may already be in use or the connector may be misconfigured. Action: Verify the connector's configuration, identify and stop any process that's listening on port 4000, or configure this application to listen on another port.- 查询端口的pid查询
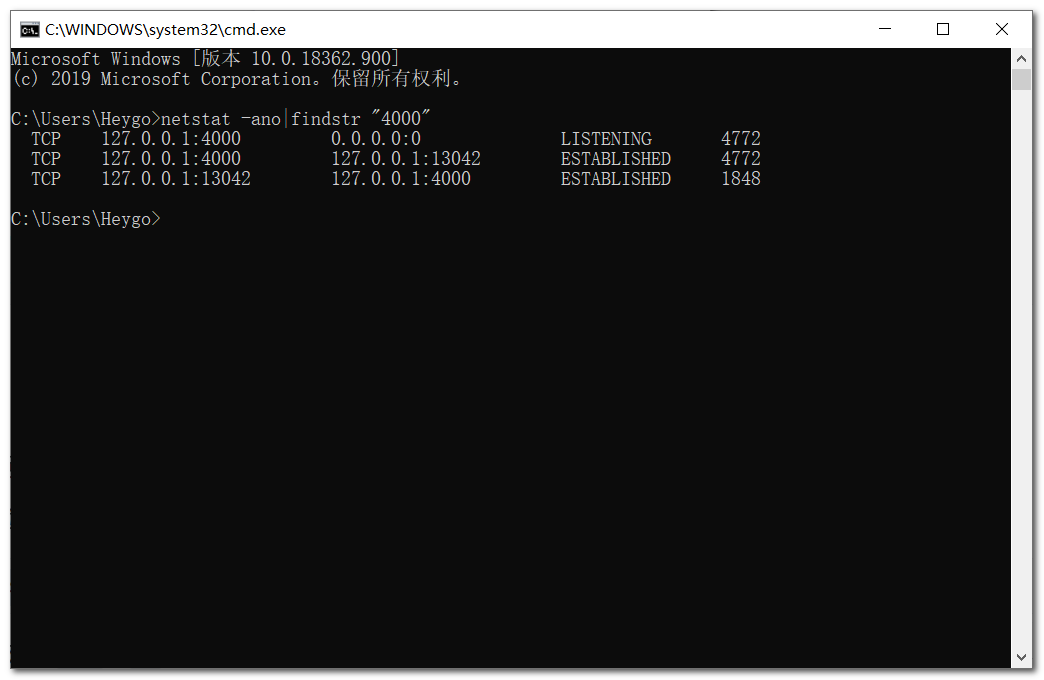
netstat -ano|findstr "4000"- 关闭对应
pid:-F强制关闭(以管理员身份运行CMD)
taskkill -F -PID 4772
taskkill -F -PID 1848
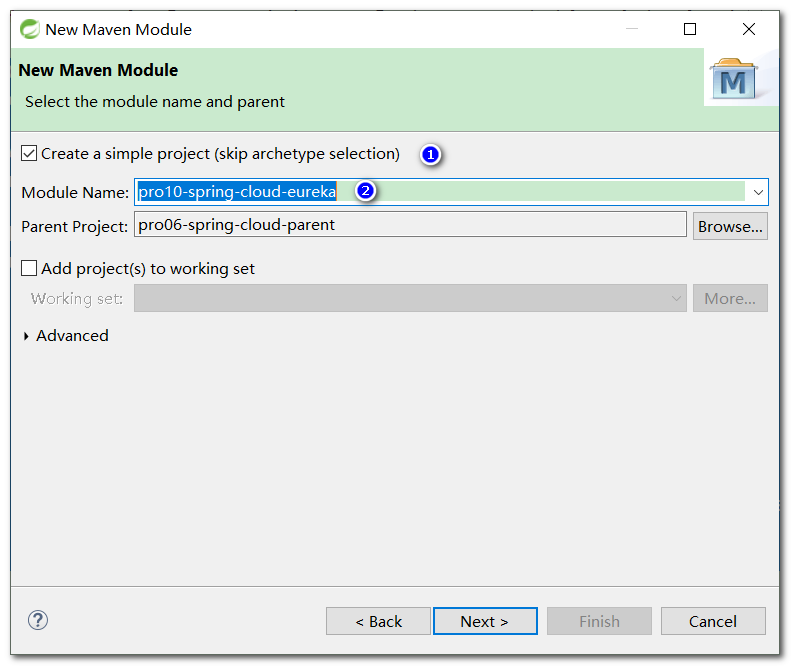
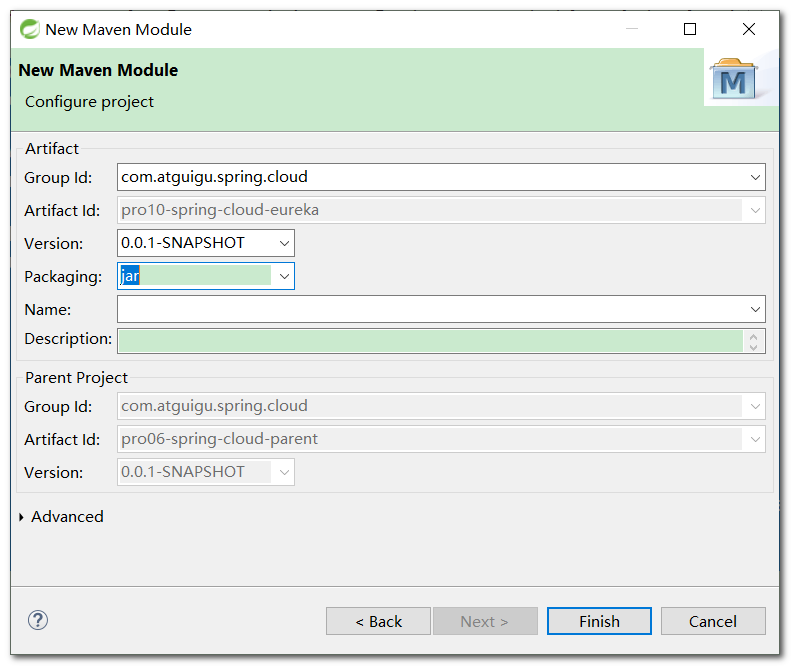
2.5、创建Eureka服务注册中心
- 在父工程上右击,创建
Maven Module,打包方式为jar
- 引入
eureka-server相关依赖
<dependencies>
    <dependency>
        <groupId>org.springframework.cloud</groupId>
        <artifactId>spring-cloud-starter-netflix-eureka-server</artifactId>
    </dependency>
</dependencies>
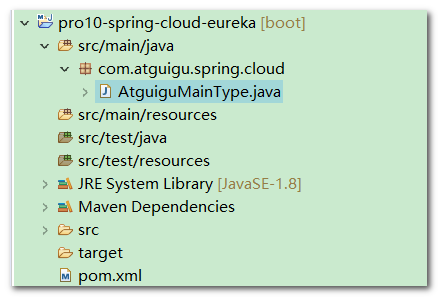
-
创建主启动类:
启用
Eureka服务器:@EnableEurekaServer
// 启用Eureka服务器端功能
@EnableEurekaServer
@SpringBootApplication
public class AtguiguMainType {

	public static void main(String[] args) {
		SpringApplication.run(AtguiguMainType.class, args);
	}

}
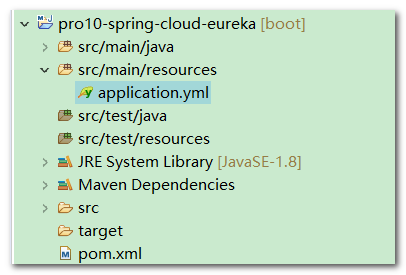
- 创建
yml配置文件
server:
  port: 5000

eureka:
  instance:
    hostname: localhost         # 配置当前Eureka服务的主机地址
  client:
    register-with-eureka: false # 当前服务本身就是注册中心,不必“自己注册自己”
    fetch-registry: false       # 当前服务本身就是注册中心,不必“从注册中心取回信息”
    service-url:                # 客户端(指consumer、provider)访问当前注册中心时使用的地址
      defaultZone: http://${eureka.instance.hostname}/${server.port}/eureka
- 关于
eureka的配置类:hostname字段的setter方法
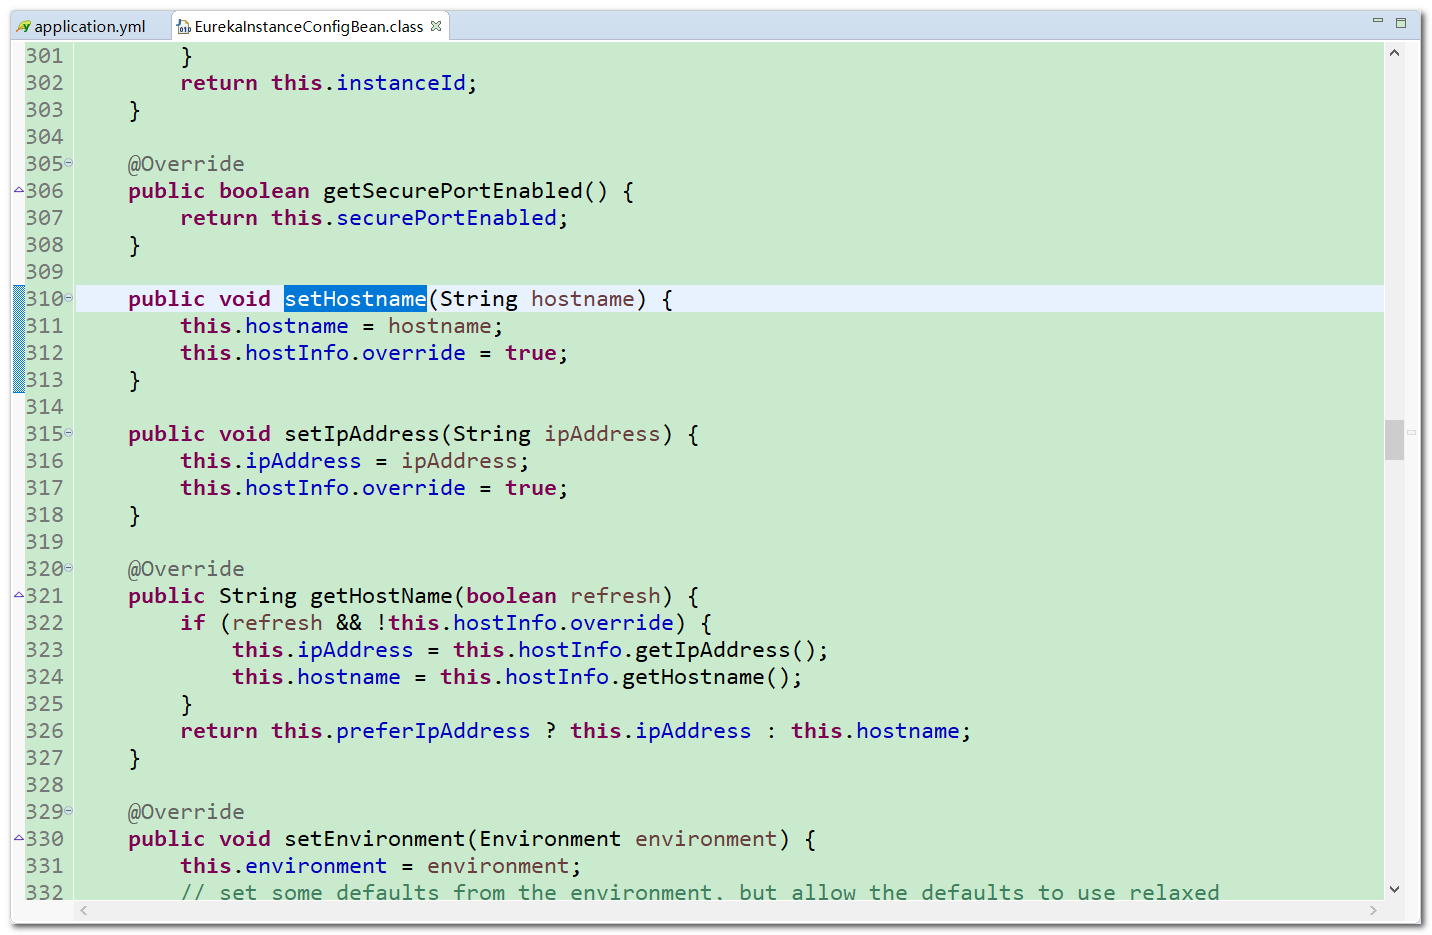
@ConfigurationProperties("eureka.instance")
public class EurekaInstanceConfigBean
		implements CloudEurekaInstanceConfig, EnvironmentAware {

	private static final String UNKNOWN = "unknown";

	private HostInfo hostInfo;

	private InetUtils inetUtils;

	/**
	 * Default prefix for actuator endpoints.
	 */
	private String actuatorPrefix = "/actuator";

	/**
	 * Get the name of the application to be registered with eureka.
	 */
	private String appname = UNKNOWN;

	/**
	 * Get the name of the application group to be registered with eureka.
	 */
	private String appGroupName;

	/**
	 * Indicates whether the instance should be enabled for taking traffic as soon as it
	 * is registered with eureka. Sometimes the application might need to do some
	 * pre-processing before it is ready to take traffic.
	 */
	private boolean instanceEnabledOnit;

	/**
	 * Get the non-secure port on which the instance should receive traffic.
	 */
	private int nonSecurePort = 80;

	/**
	 * Get the Secure port on which the instance should receive traffic.
	 */
	private int securePort = 443;

	/**
	 * Indicates whether the non-secure port should be enabled for traffic or not.
	 */
	private boolean nonSecurePortEnabled = true;

	/**
	 * Indicates whether the secure port should be enabled for traffic or not.
	 */
	private boolean securePortEnabled;

	/**
	 * Indicates how often (in seconds) the eureka client needs to send heartbeats to
	 * eureka server to indicate that it is still alive. If the heartbeats are not
	 * received for the period specified in leaseExpirationDurationInSeconds, eureka
	 * server will remove the instance from its view, there by disallowing traffic to this
	 * instance.
	 *
	 * Note that the instance could still not take traffic if it implements
	 * HealthCheckCallback and then decides to make itself unavailable.
	 */
	private int leaseRenewalIntervalInSeconds = 30;

	/**
	 * Indicates the time in seconds that the eureka server waits since it received the
	 * last heartbeat before it can remove this instance from its view and there by
	 * disallowing traffic to this instance.
	 *
	 * Setting this value too long could mean that the traffic could be routed to the
	 * instance even though the instance is not alive. Setting this value too small could
	 * mean, the instance may be taken out of traffic because of temporary network
	 * glitches.This value to be set to atleast higher than the value specified in
	 * leaseRenewalIntervalInSeconds.
	 */
	private int leaseExpirationDurationInSeconds = 90;

	/**
	 * Gets the virtual host name defined for this instance.
	 *
	 * This is typically the way other instance would find this instance by using the
	 * virtual host name.Think of this as similar to the fully qualified domain name, that
	 * the users of your services will need to find this instance.
	 */
	private String virtualHostName = UNKNOWN;

	/**
	 * Get the unique Id (within the scope of the appName) of this instance to be
	 * registered with eureka.
	 */
	private String instanceId;

	/**
	 * Gets the secure virtual host name defined for this instance.
	 *
	 * This is typically the way other instance would find this instance by using the
	 * secure virtual host name.Think of this as similar to the fully qualified domain
	 * name, that the users of your services will need to find this instance.
	 */
	private String secureVirtualHostName = UNKNOWN;

	/**
	 * Gets the AWS autoscaling group name associated with this instance. This information
	 * is specifically used in an AWS environment to automatically put an instance out of
	 * service after the instance is launched and it has been disabled for traffic..
	 */
	private String aSGName;

	/**
	 * Gets the metadata name/value pairs associated with this instance. This information
	 * is sent to eureka server and can be used by other instances.
	 */
	private Map<String, String> metadataMap = new HashMap<>();

	/**
	 * Returns the data center this instance is deployed. This information is used to get
	 * some AWS specific instance information if the instance is deployed in AWS.
	 */
	private DataCenterInfo dataCenterInfo = new MyDataCenterInfo(
			DataCenterInfo.Name.MyOwn);

	/**
	 * Get the IPAdress of the instance. This information is for academic purposes only as
	 * the communication from other instances primarily happen using the information
	 * supplied in {@link #getHostName(boolean)}.
	 */
	private String ipAddress;

	/**
	 * Gets the relative status page URL path for this instance. The status page URL is
	 * then constructed out of the hostName and the type of communication - secure or
	 * unsecure as specified in securePort and nonSecurePort.
	 *
	 * It is normally used for informational purposes for other services to find about the
	 * status of this instance. Users can provide a simple HTML indicating what is the
	 * current status of the instance.
	 */
	private String statusPageUrlPath = actuatorPrefix + "/info";

	/**
	 * Gets the absolute status page URL path for this instance. The users can provide the
	 * statusPageUrlPath if the status page resides in the same instance talking to
	 * eureka, else in the cases where the instance is a proxy for some other server,
	 * users can provide the full URL. If the full URL is provided it takes precedence.
	 *
	 * It is normally used for informational purposes for other services to find about the
	 * status of this instance. Users can provide a simple HTML indicating what is the
	 * current status of the instance.
	 */
	private String statusPageUrl;

	/**
	 * Gets the relative home page URL Path for this instance. The home page URL is then
	 * constructed out of the hostName and the type of communication - secure or unsecure.
	 *
	 * It is normally used for informational purposes for other services to use it as a
	 * landing page.
	 */
	private String homePageUrlPath = "/";

	/**
	 * Gets the absolute home page URL for this instance. The users can provide the
	 * homePageUrlPath if the home page resides in the same instance talking to eureka,
	 * else in the cases where the instance is a proxy for some other server, users can
	 * provide the full URL. If the full URL is provided it takes precedence.
	 *
	 * It is normally used for informational purposes for other services to use it as a
	 * landing page. The full URL should follow the format http://${eureka.hostname}:7001/
	 * where the value ${eureka.hostname} is replaced at runtime.
	 */
	private String homePageUrl;

	/**
	 * Gets the relative health check URL path for this instance. The health check page
	 * URL is then constructed out of the hostname and the type of communication - secure
	 * or unsecure as specified in securePort and nonSecurePort.
	 *
	 * It is normally used for making educated decisions based on the health of the
	 * instance - for example, it can be used to determine whether to proceed deployments
	 * to an entire farm or stop the deployments without causing further damage.
	 */
	private String healthCheckUrlPath = actuatorPrefix + "/health";

	/**
	 * Gets the absolute health check page URL for this instance. The users can provide
	 * the healthCheckUrlPath if the health check page resides in the same instance
	 * talking to eureka, else in the cases where the instance is a proxy for some other
	 * server, users can provide the full URL. If the full URL is provided it takes
	 * precedence.
	 *
	 * <p>
	 * It is normally used for making educated decisions based on the health of the
	 * instance - for example, it can be used to determine whether to proceed deployments
	 * to an entire farm or stop the deployments without causing further damage. The full
	 * URL should follow the format http://${eureka.hostname}:7001/ where the value
	 * ${eureka.hostname} is replaced at runtime.
	 */
	private String healthCheckUrl;

	/**
	 * Gets the absolute secure health check page URL for this instance. The users can
	 * provide the secureHealthCheckUrl if the health check page resides in the same
	 * instance talking to eureka, else in the cases where the instance is a proxy for
	 * some other server, users can provide the full URL. If the full URL is provided it
	 * takes precedence.
	 *
	 * <p>
	 * It is normally used for making educated decisions based on the health of the
	 * instance - for example, it can be used to determine whether to proceed deployments
	 * to an entire farm or stop the deployments without causing further damage. The full
	 * URL should follow the format http://${eureka.hostname}:7001/ where the value
	 * ${eureka.hostname} is replaced at runtime.
	 */
	private String secureHealthCheckUrl;

	/**
	 * Get the namespace used to find properties. Ignored in Spring Cloud.
	 */
	private String namespace = "eureka";

	/**
	 * The hostname if it can be determined at configuration time (otherwise it will be
	 * guessed from OS primitives).
	 */
	private String hostname;

	/**
	 * Flag to say that, when guessing a hostname, the IP address of the server should be
	 * used in prference to the hostname reported by the OS.
	 */
	private boolean preferIpAddress = false;

    //..
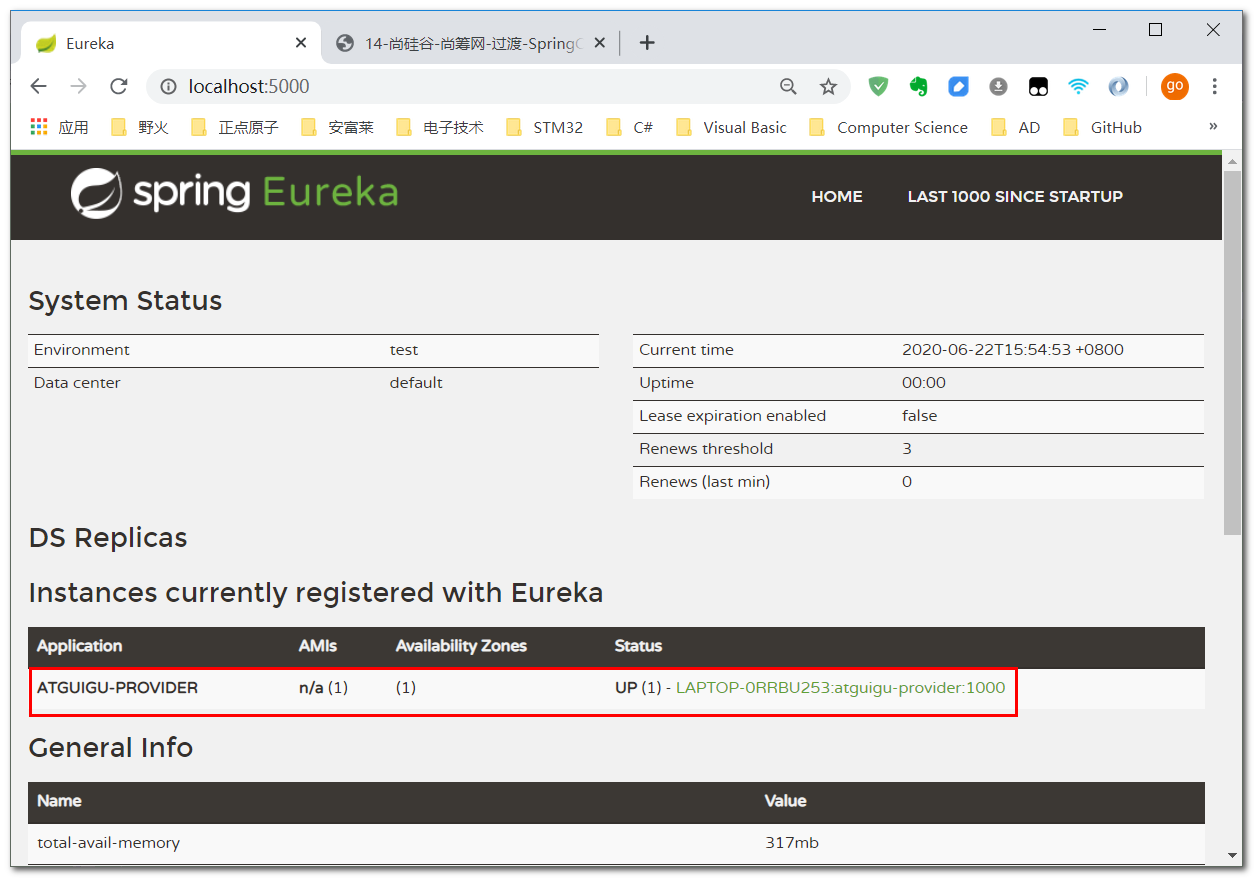
- 启动程序,访问
http://localhost:5000/

3、注册provider
3.1、引入依赖
- 在之前的
provider工程的pom文件中添加eureka-client相关依赖
<dependency>
    <groupId>org.springframework.cloud</groupId>
    <artifactId>spring-cloud-starter-netflix-eureka-client</artifactId>
</dependency>
3.2、启用Eureka客户端
- 在主启动类上,启用
eureka-client
// 下面两个注解功能大致相同,高版本SpringBoot可省略如下注解
// @EnableDiscoveryClient 	// 启相发现服务功能,不局限于Eureka注册中心
// @EnableEurekaClient 		// 启用Eureka客户端功能,必须是Eureka注册中心
@SpringBootApplication
public class AtguiguMainType {

	public static void main(String[] args) {
		SpringApplication.run(AtguiguMainType.class, args);
	}

}
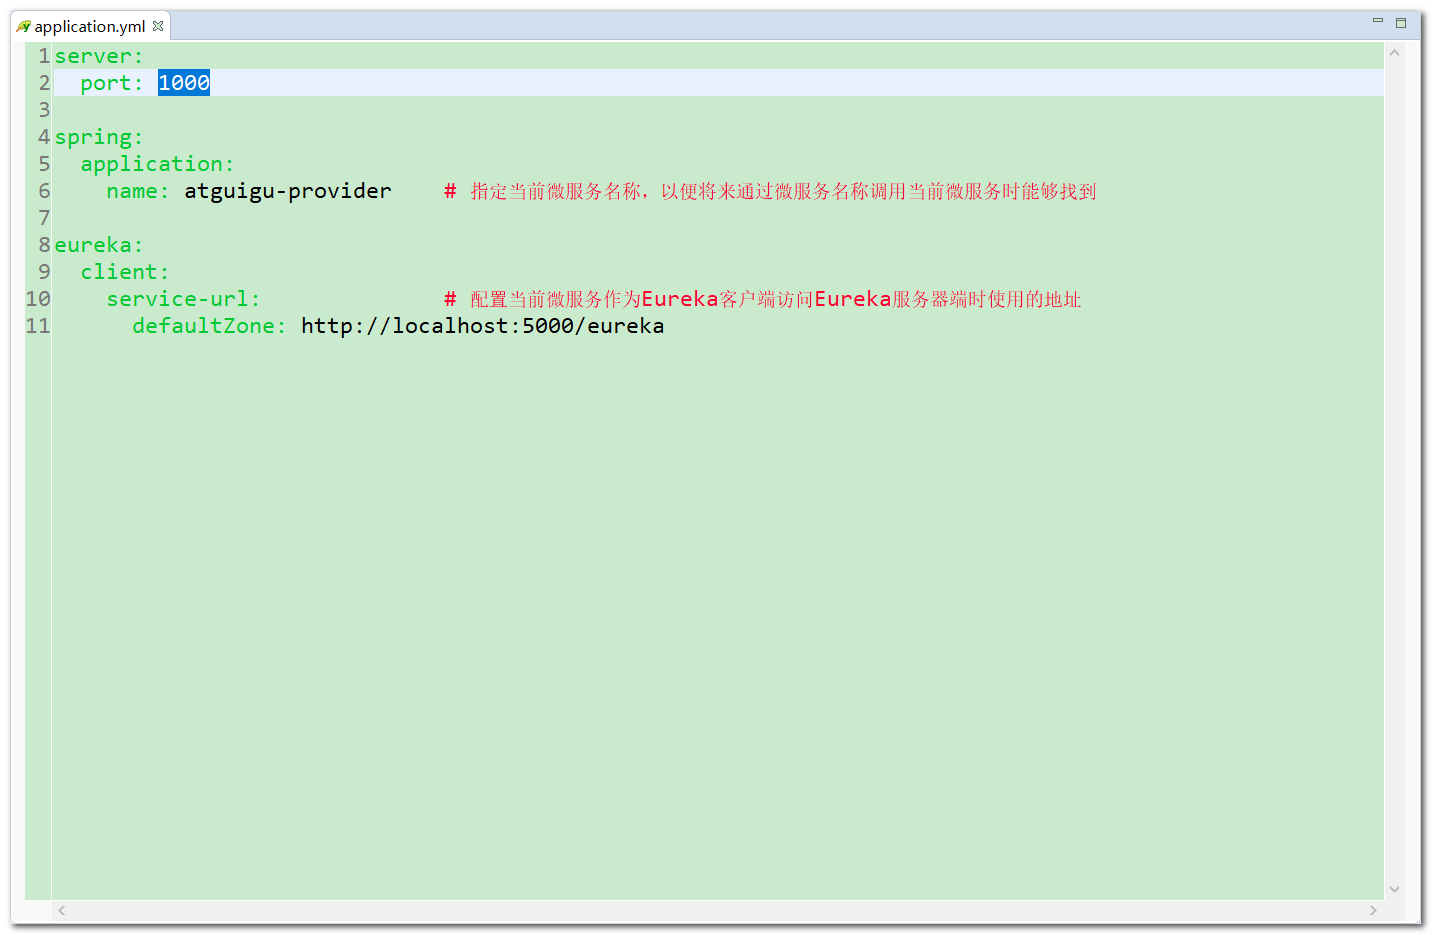
3.3、修改yml配置文件
- 配置
provider微服务的名称、配置eureka注册中心的地址
server:
  port: 1000

spring:
  application:
    name: atguigu-provider    # 指定当前微服务名称,以便将来通过微服务名称调用当前微服务时能够找到

eureka:
  client:
    service-url:              # 配置当前微服务作为Eureka客户端访问Eureka服务器端时使用的地址
      defaultZone: http://localhost:5000/eureka
3.4、测试
4、consumer–>Eureka–>provider
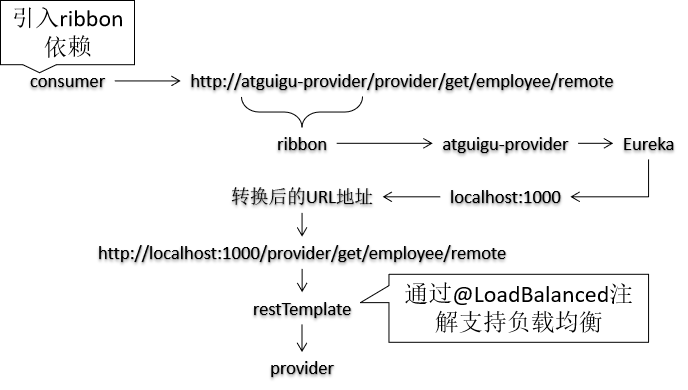
4.1、整体框架
4.2、引入依赖
- 在之前的
consumer工程中添加ribbon和eureka-client的依赖

<dependency>
    <groupId>org.springframework.cloud</groupId>
    <artifactId>spring-cloud-starter-netflix-ribbon</artifactId>
</dependency>
<dependency>
    <groupId>org.springframework.cloud</groupId>
    <artifactId>spring-cloud-starter-netflix-eureka-client</artifactId>
</dependency>
4.3、启用Eureka客户端
- 在主启动类上,启用
eureka-client
//下面两个注解功能大致相同,高版本SpringBoot可省略如下注解
//@EnableDiscoveryClient 	// 启相发现服务功能,不局限于Eureka注册中心
//@EnableEurekaClient 		// 启用Eureka客户端功能,必须是Eureka注册中心
@SpringBootApplication
public class AtguiguMainType {

	public static void main(String[] args) {
		SpringApplication.run(AtguiguMainType.class, args);
	}

}
4.4、通过微服务名称调用
- 修改
Handler
@RestController
public class HumanResourceHandler {

	@Autowired
	private RestTemplate restTemplate;

	@RequestMapping("/consumer/ribbon/get/employee")
	public Employee getEmployeeRemote() {

		// 1.声明远程微服务的主机地址加端口号
		// String host = "http://localhost:1000";

		// 将远程微服务地址从“IP地址+端口号”改成“微服务名称”
		String host = "http://atguigu-provider";

		// 2.声明具体要调用的功能的URL地址
		String url =  "/provider/get/employee/remote";

		// 3.通过RestTemplate调用远程微服务
		return restTemplate.getForObject(host + url, Employee.class);
	}

}
4.5、启用负载均衡
- 在
restTemplate bean上添加@LoadBalanced注解,启用负载均衡
@Configuration
public class AtguiguSpringCloudConfig {

	// @LoadBalanced注解让RestTemplate有负载均衡的功能,通过调用Ribbon可以访问provider集群
	@LoadBalanced
	@Bean
	public RestTemplate getRestTemplate() {
		return new RestTemplate();
	}

}
4.6、修改yml配置文件
server:
  port: 4000

spring:
  application:
    name: atguigu-consumer          # consumer微服务的名称

eureka:
  client:
    serviceUrl:                     # 通过如下地址找到Eureka注册中心
      defaultZone: http://localhost:5000/eureka/
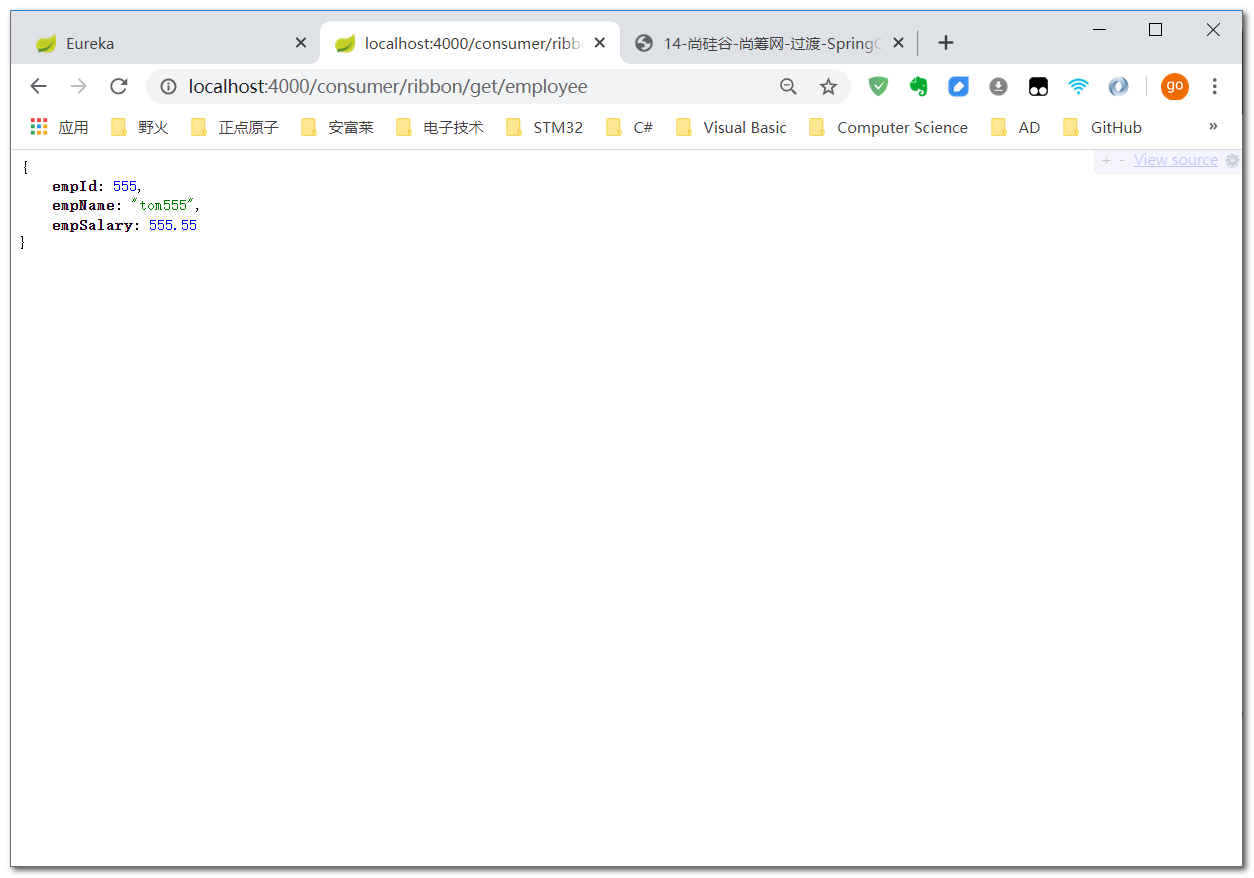
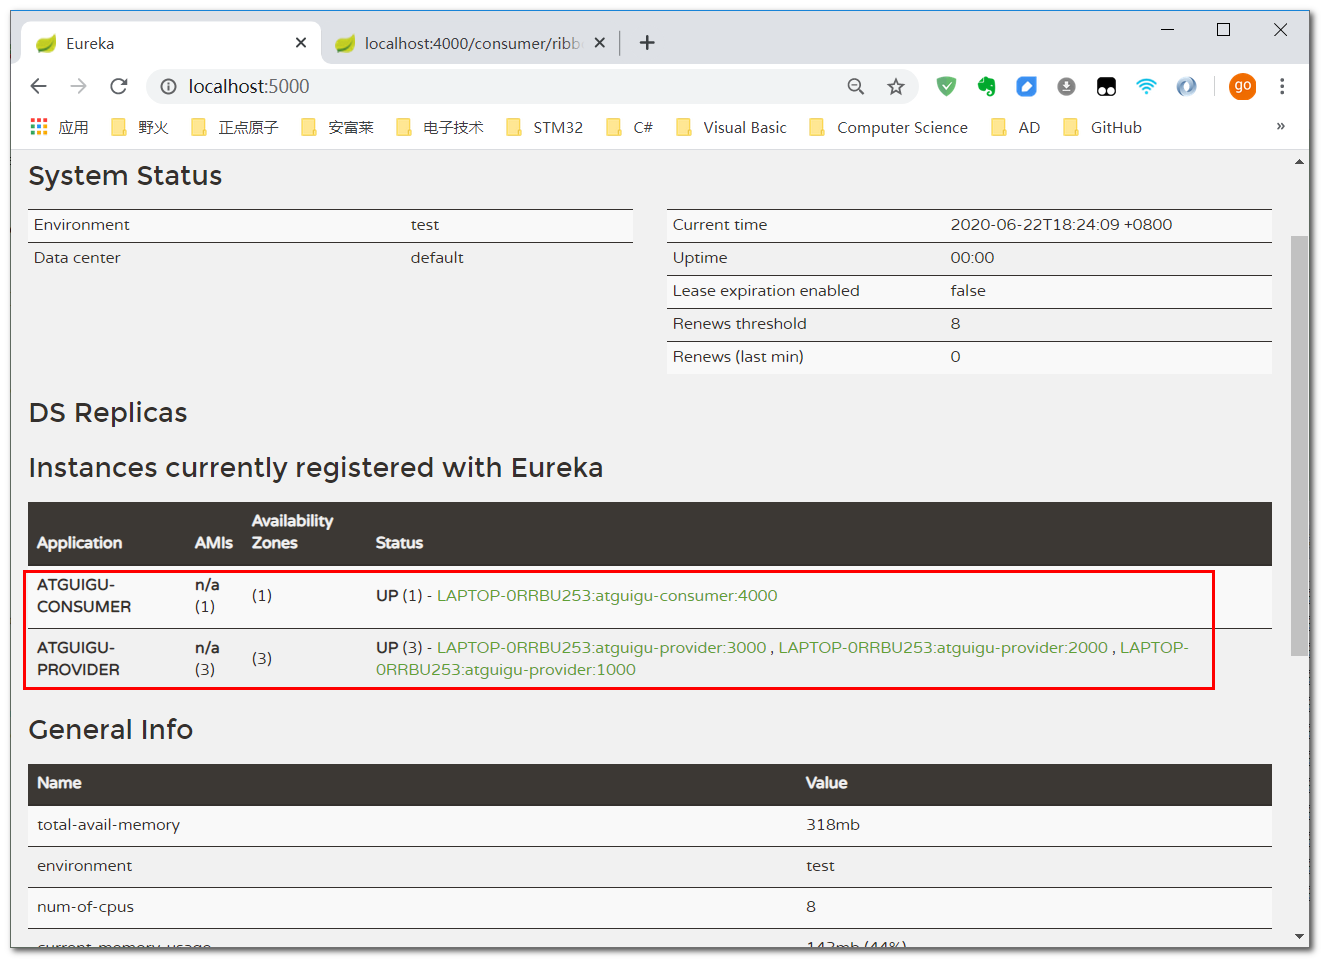
4.7、测试
Eureka中注册的服务

- 访问
consumer
5、Ribbon与provider集群
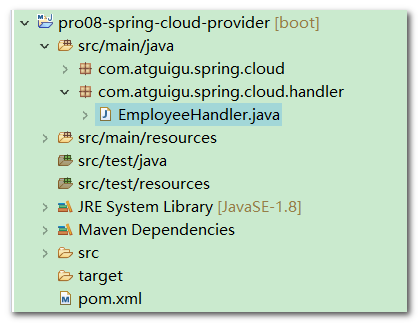
5.1、修改Handler代码
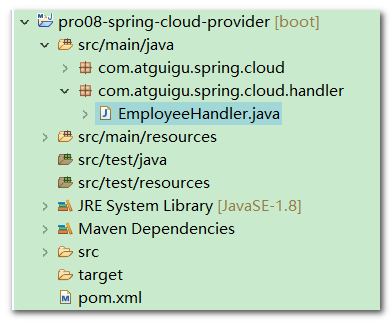
- 修改
provider工程的Handler方法
@RestController
public class EmployeeHandler {

	@RequestMapping("/provider/get/employee/remote")
	public Employee getEmployeeRemote(HttpServletRequest request) {

		// 获取当前服务的端口号
		int serverPort = request.getServerPort();

		return new Employee(555, "tom555 "+serverPort, 555.55);

	}

}
5.2、provider集群
- provider 以集群方式启动
- 按照端口号
1000启动第一个实例 - 按照端口号
2000启动第二个实例 - 按照端口号
3000启动第三个实例
- 按照端口号
provider的微服务名称必须使用同一个名称才能构成一个集群,否则将不会认定为是属于同一个集群。
5.3、如何启动provider集群
- 修改
yml配置文件中的端口号
- 右击
main方法,选择Run as SpringBoot App

5.4、测试
Eureka注册中心包含:3个provider微服务,构成provider集群1个consumer微服务
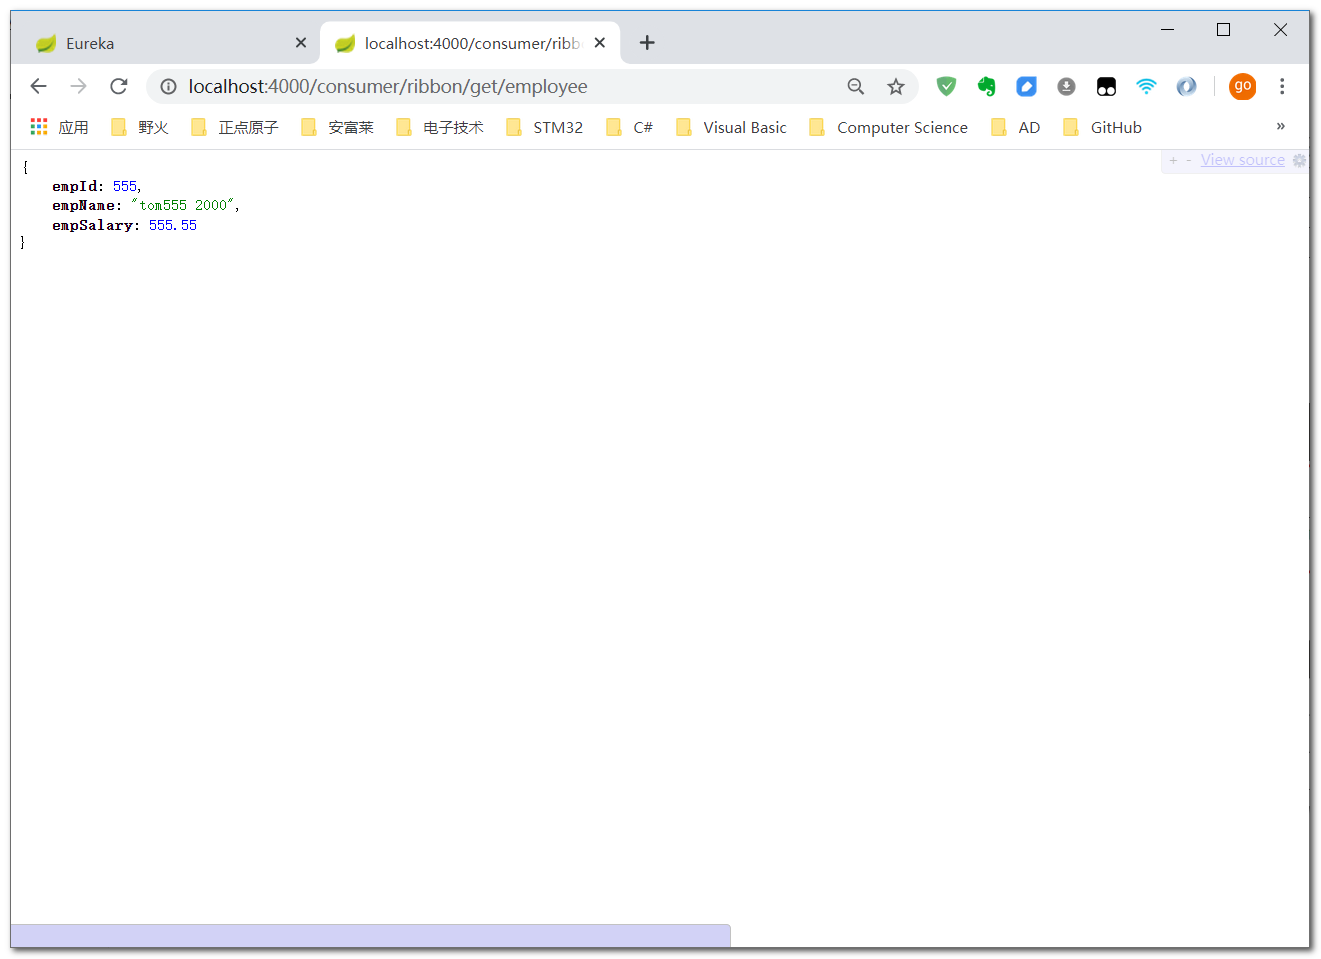
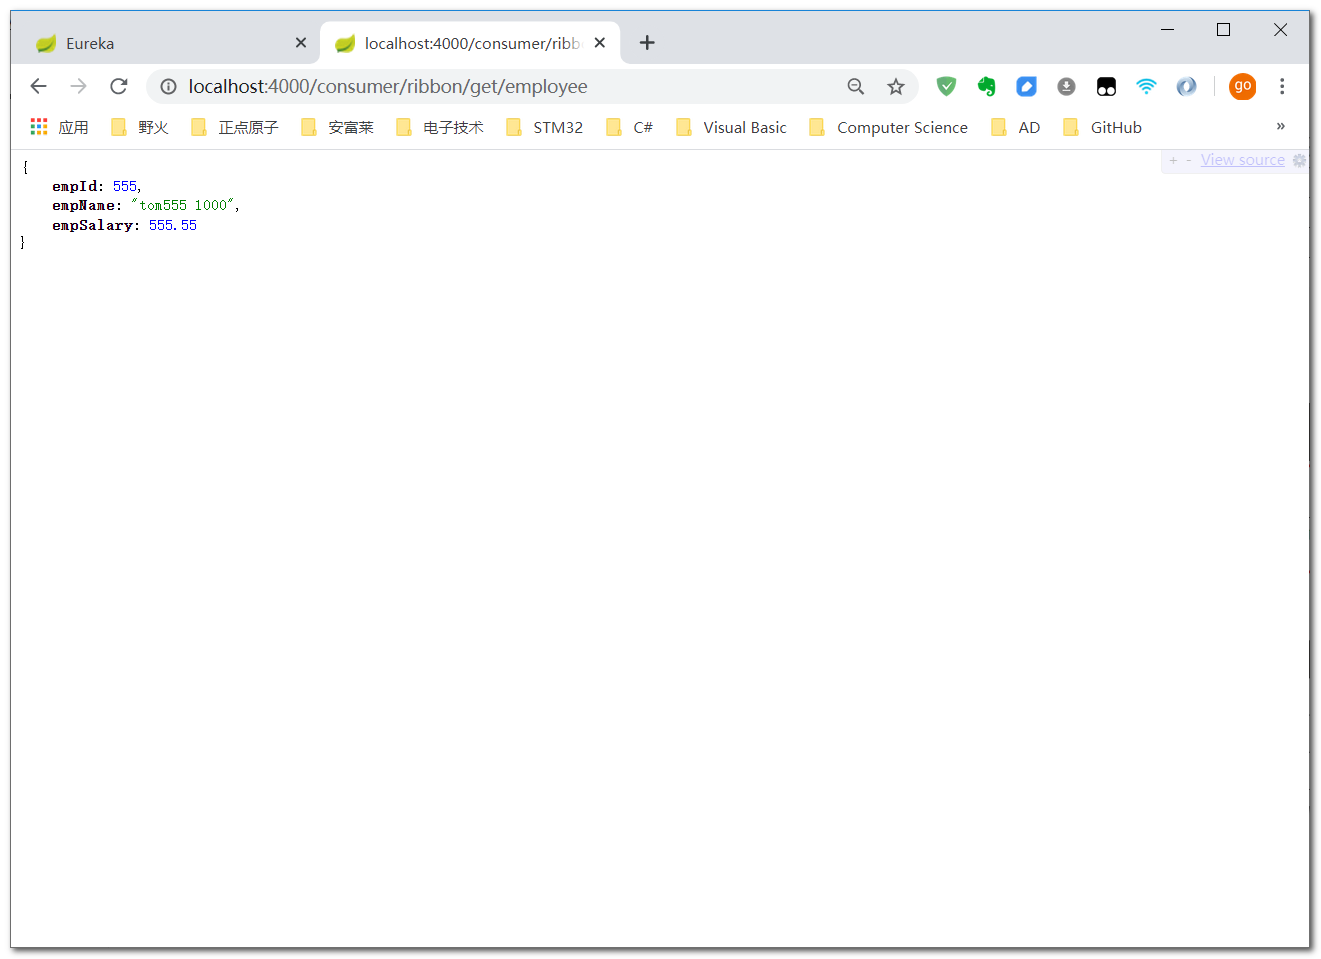
- 访问
consumer,Ribbon默认使用轮询负载均衡算法

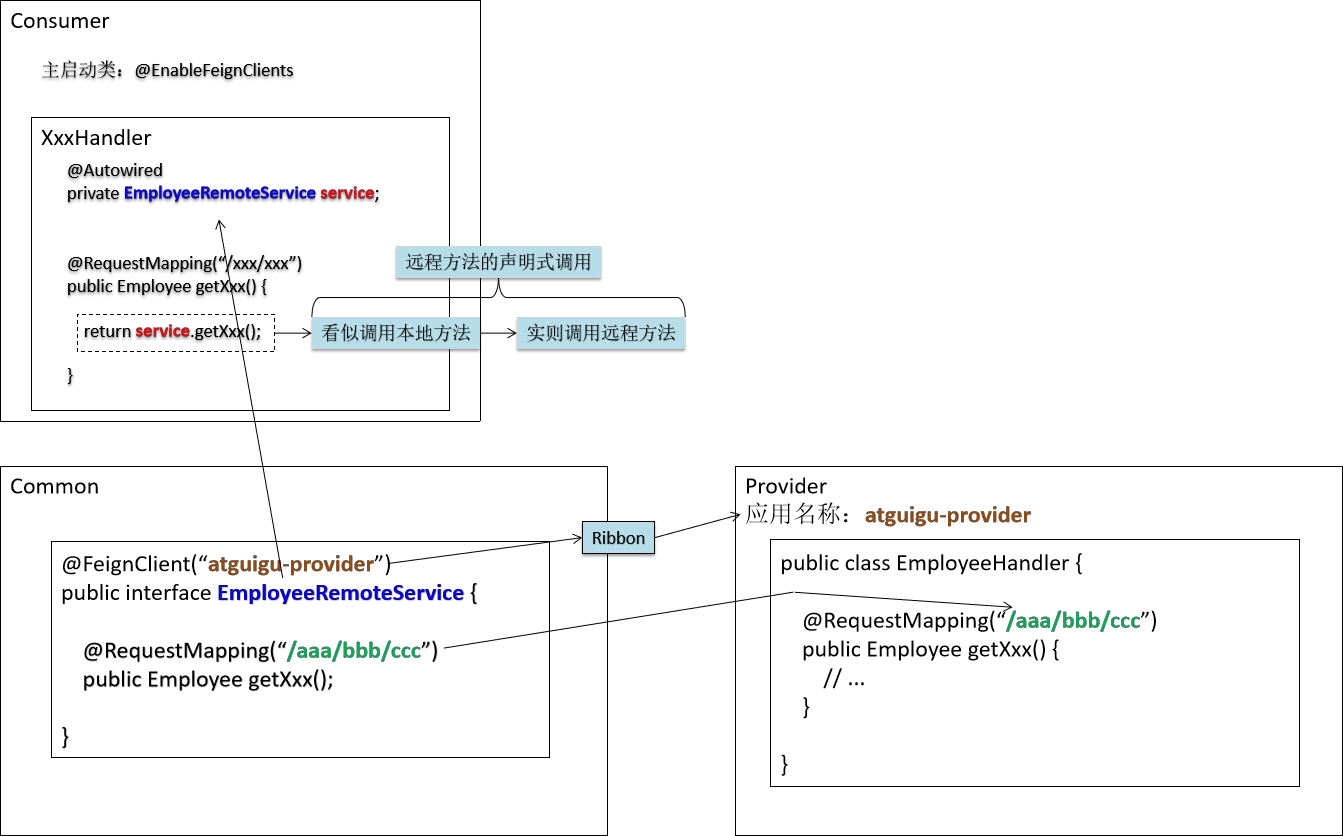
6、Feign
6.1、整体框架
6.2、common工程
6.2.1、引入依赖
- 在
common工程的pom文件中引入openfeign的依赖
<dependency>
    <groupId>org.springframework.cloud</groupId>
    <artifactId>spring-cloud-starter-openfeign</artifactId>
</dependency>
6.2.2、修改provider
- 为了测试,修改
EmployeeHandler中的getEmployeeRemote方法
@RestController
public class EmployeeHandler {
/*
@RequestMapping("/provider/get/employee/remote")
public Employee getEmployeeRemote(HttpServletRequest request) {
// 获取当前服务的端口号
int serverPort = request.getServerPort();
return new Employee(555, "tom555 "+serverPort, 555.55);
}
*/
private Logger logger = LoggerFactory.getLogger(EmployeeHandler.class);
@RequestMapping("/provider/get/employee/remote")
public Employee getEmployeeRemote() {
return new Employee(555, "tom555 ", 555.55);
}
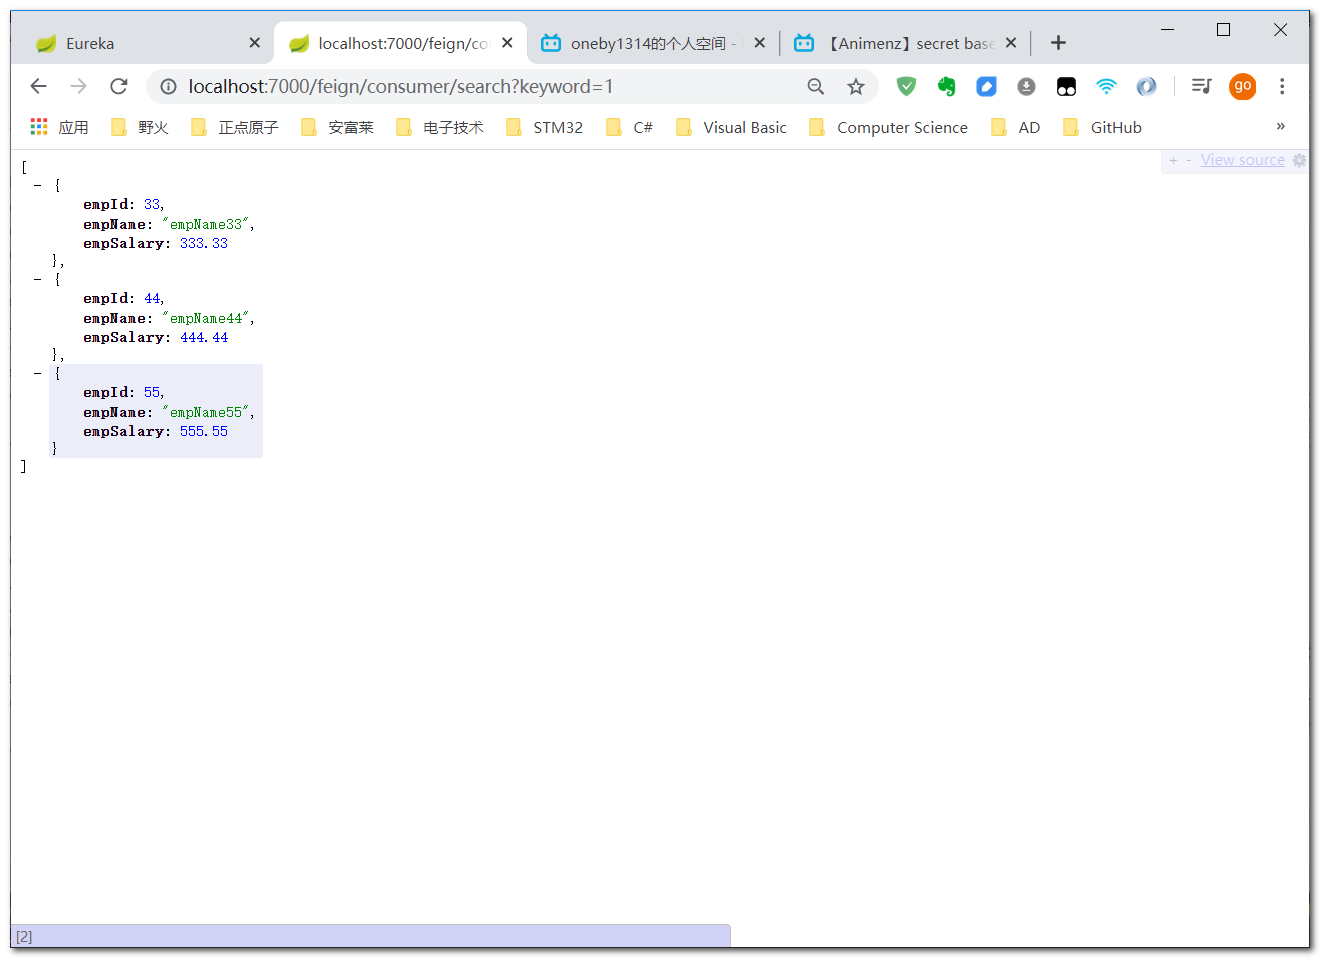
@RequestMapping("/provider/get/emp/list/remote")
public List<Employee> getEmpListRemote(String keyword) {
logger.info("keyword="+keyword);
List<Employee> empList = new ArrayList<>();
empList.add(new Employee(33, "empName33", 333.33));
empList.add(new Employee(44, "empName44", 444.44));
empList.add(new Employee(55, "empName55", 555.55));
return empList;
}
}
6.2.3、声明调用接口
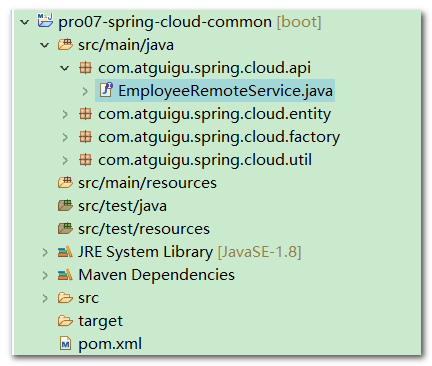
- 在
common工程中,声明api调用接口
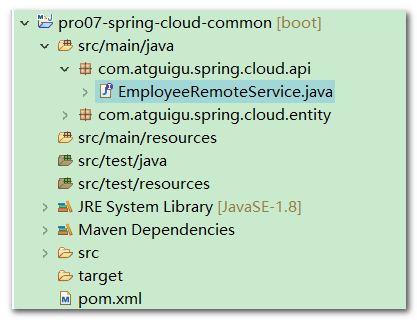
// @FeignClient注解表示当前接口和一个Provider对应,注解中value属性指定要调用的Provider的微服务名称
@FeignClient(value = "atguigu-provider")
public interface EmployeeRemoteService {

	// 远程调用的接口方法
	// 要求@RequestMapping注解映射的地址一致
	// 要求方法声明一致
	// 用来获取请求参数的@RequestParam、@PathVariable、@RequestBody不能省略,两边一致
	@RequestMapping("/provider/get/employee/remote")
	public Employee getEmployeeRemote();

	@RequestMapping("/provider/get/emp/list/remote")
	public List<Employee> getEmpListRemote(String keyword);

}
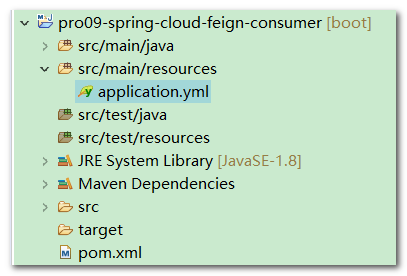
6.3、feign-consumer
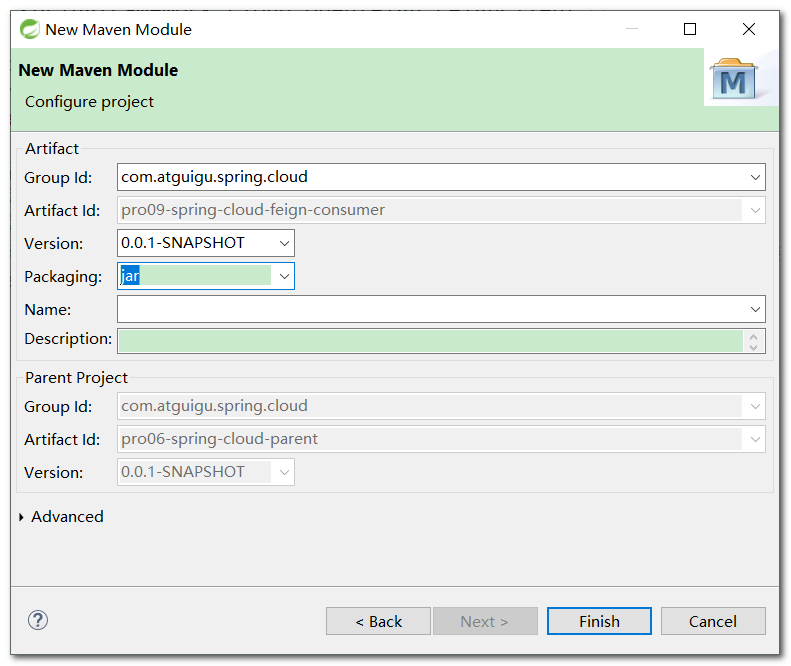
6.3.1、创建工程
- 在父工程上右击,创建
Maven Module,打包方式为jar
6.3.2、引入依赖
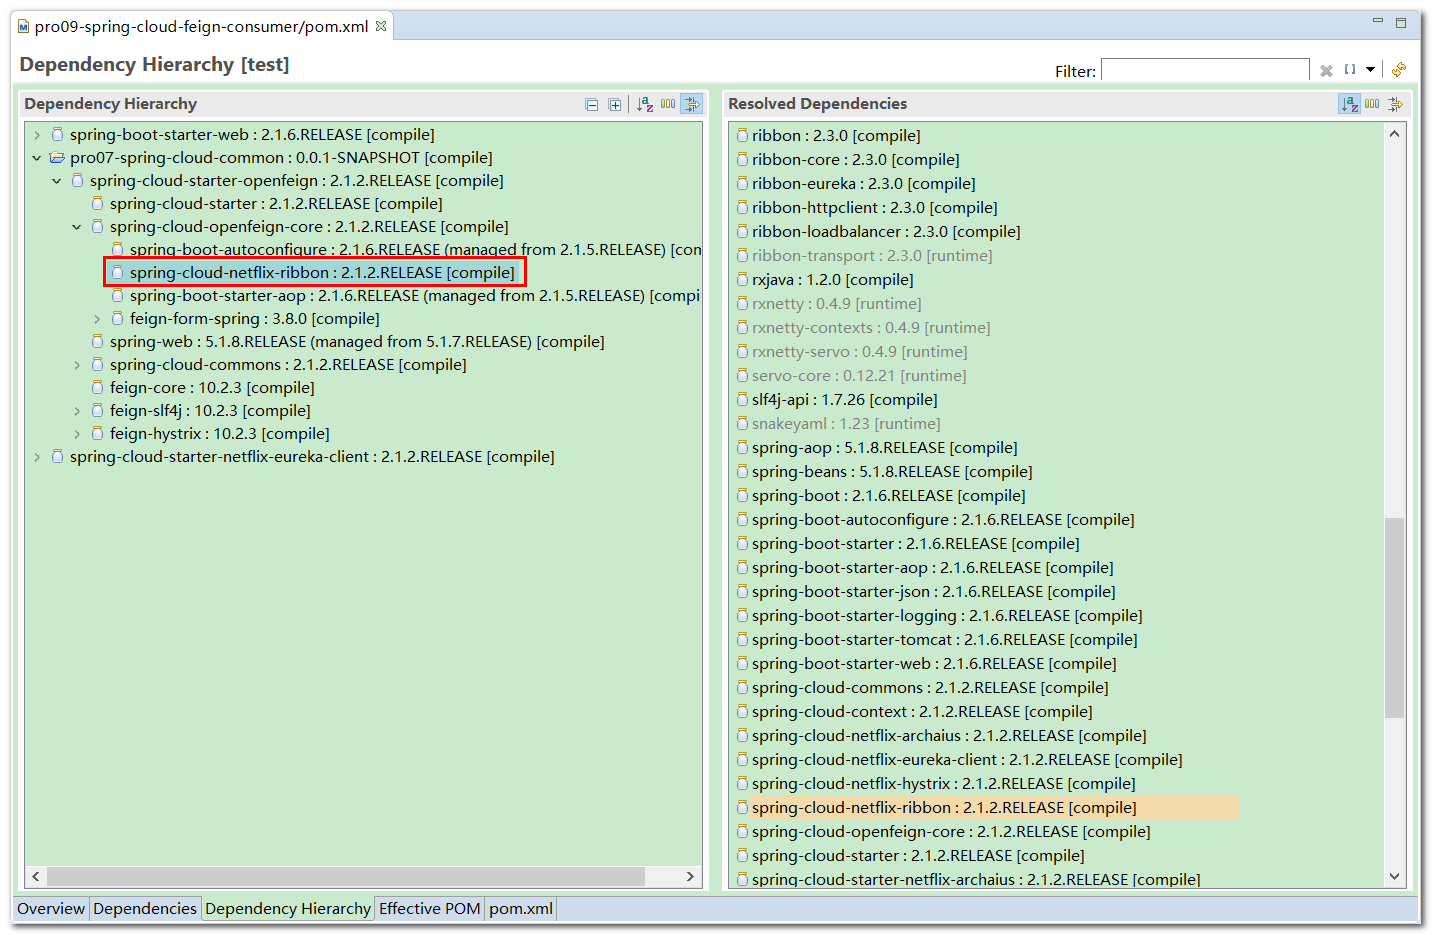
- 在
pom文件中引入相关依赖- 根据依赖的传递性,
common工程中引入了openfeign的依赖,所以feign-consumer工程无需再引入openfeign的依赖 - 由于
openfeign中已经导入了ribbon相关依赖,所以feign-consumer工程也无需再引入ribbon相关依赖
- 根据依赖的传递性,
<dependencies>
    <dependency>
        <groupId>org.springframework.boot</groupId>
        <artifactId>spring-boot-starter-web</artifactId>
    </dependency>
    <dependency>
        <groupId>com.atguigu.spring.cloud</groupId>
        <artifactId>pro07-spring-cloud-common</artifactId>
        <version>0.0.1-SNAPSHOT</version>
    </dependency>
    <dependency>
        <groupId>org.springframework.cloud</groupId>
        <artifactId>spring-cloud-starter-netflix-eureka-client</artifactId>
    </dependency>
</dependencies>
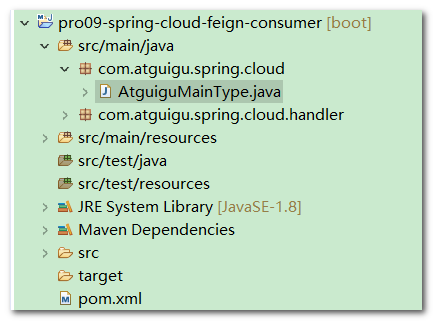
6.3.3、创建主启动类
- 主启动类上使用
@EnableFeignClients注解,标名启用Feign客户端功能
// 启用Feign客户端功能
@EnableFeignClients
@SpringBootApplication
public class AtguiguMainType {

	public static void main(String[] args) {
		SpringApplication.run(AtguiguMainType.class, args);
	}

}
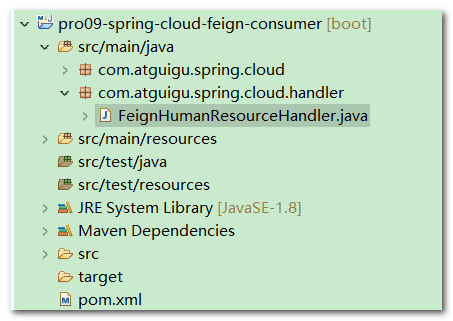
6.3.4、创建Handler
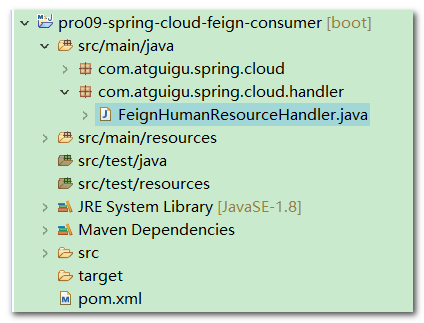
- 创建
FeignHumanResourceHandler,装配远程调用接口,调用远程方法
@RestController
public class FeignHumanResourceHandler {
// 装配调用远程微服务的接口,后面向调用本地方法一样直接使用
@Autowired
private EmployeeRemoteService employeeRemoteService;
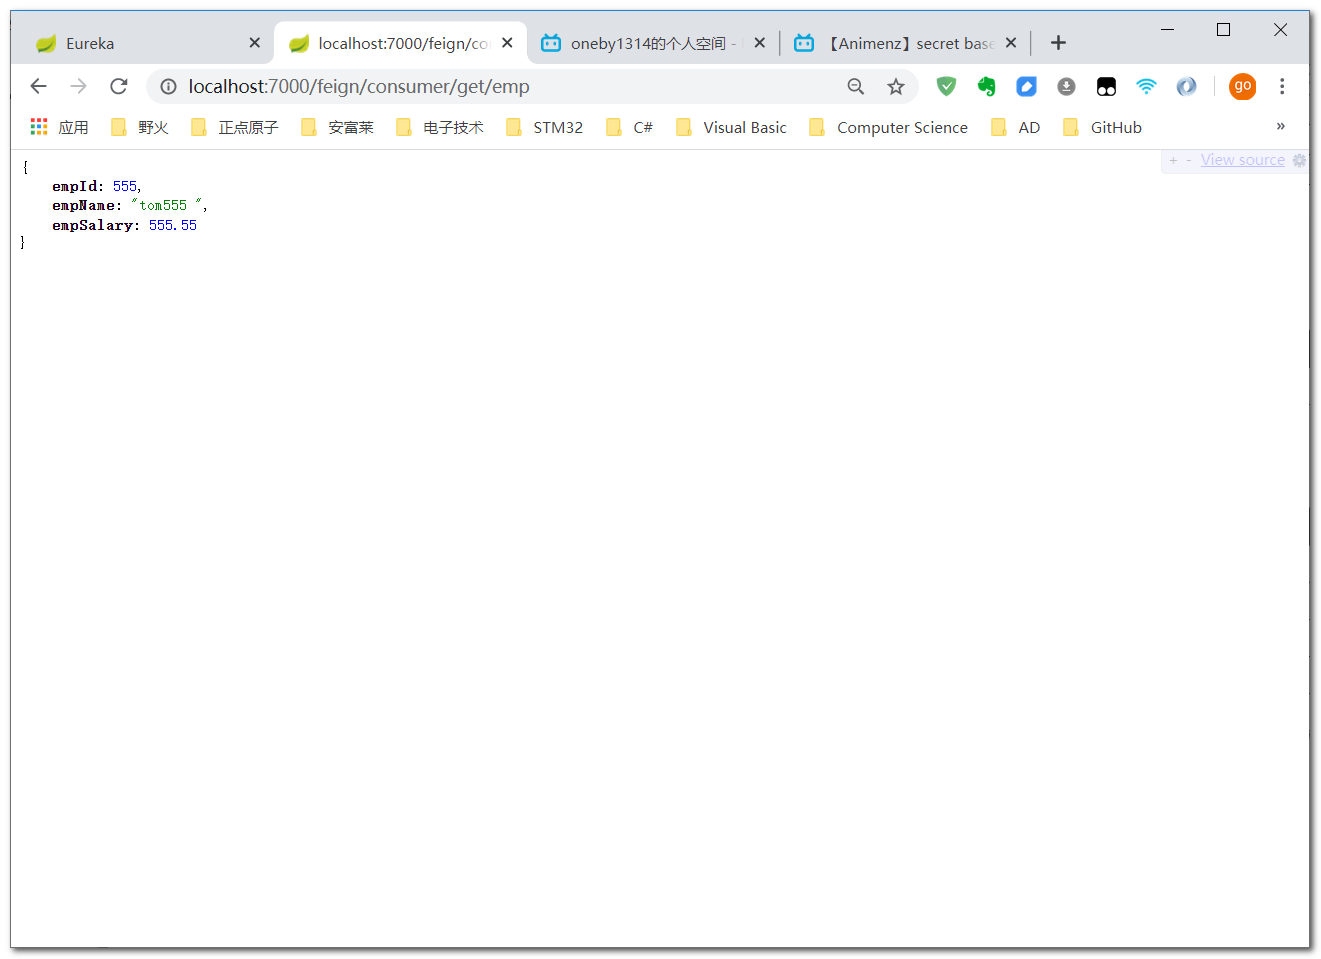
@RequestMapping("/feign/consumer/get/emp")
public Employee getEmployeeRemote() {
return employeeRemoteService.getEmployeeRemote();
}
@RequestMapping("/feign/consumer/search")
public List<Employee> getEmpListRemote(String keyword) {
return employeeRemoteService.getEmpListRemote(keyword);
}
}
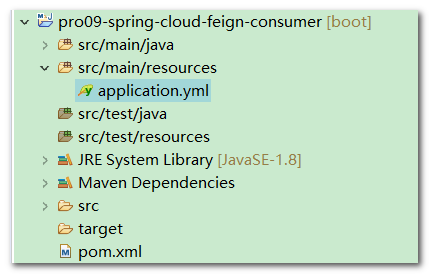
6.3.5、创建yml配置文件
- 将
consumer注册进Eureka服务注册中心
server:
  port: 7000
spring:
  application:
    name: atguigu-feign-consumer
eureka:
  client:
    serviceUrl:
      defaultZone: http://localhost:5000/eureka/
6.4、测试
Eureka服务注册中心
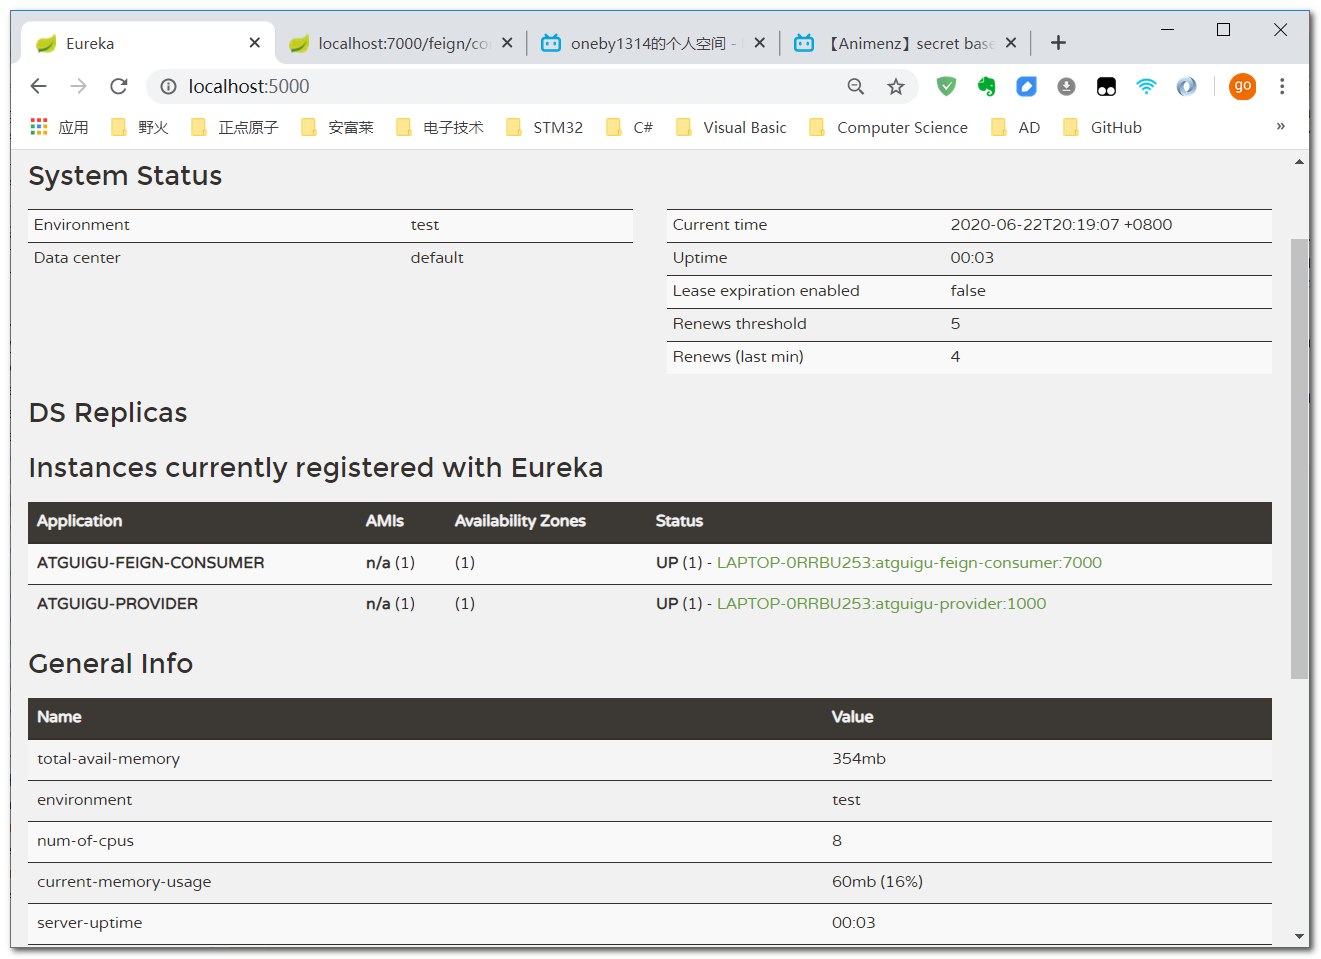
- 访问
feign-onsumer
6.5、传参注意事项
6.5.1、简单类型
- 接口的写法:别忘了写
@RequestParm注解
@RequestMapping("/provider/get/employee/by/id")
public Employee getEmployeeById(@RequestParam("empId") Integer empId);
Provider中Handler的写法:方法声明部分和接口中一致
@RequestMapping("/provider/get/employee/by/id")
public Employee getEmployeeById(@RequestParam("empId") Integer empId) {
	return new Employee(empId, "tom999-", 999.99);
}
6.5.2、复杂类型
- 接口的写法:别忘了写
@RequestBody注解
@RequestMapping("/provider/save/emp")
public Employee saveEmp(@RequestBody Employee employee);
Provider中Handler的写法:方法声明部分和接口中一致
@RequestMapping("/provider/save/emp")
public Employee saveEmp(@RequestBody Employee employee) {
	return employee;
}
7、Hystrix服务熔断
7.1、引入依赖
- 在
provider工程中添加hystrix相关依赖
<dependency>
    <groupId>org.springframework.cloud</groupId>
    <artifactId>spring-cloud-starter-netflix-hystrix</artifactId>
</dependency>
7.2、启用断路器
- 在
provider工程中的主启动类上添加@EnableCircuitBreaker注解,启用断路器功能
// 下面两个注解功能大致相同,高版本SpringBoot可省略如下注解
// @EnableDiscoveryClient 	// 启相发现服务功能,不局限于Eureka注册中心
// @EnableEurekaClient 		// 启用Eureka客户端功能,必须是Eureka注册中心
//使用@EnableCircuitBreaker注解开启断路器功能
@EnableCircuitBreaker
@SpringBootApplication
public class AtguiguMainType {

	public static void main(String[] args) {
		SpringApplication.run(AtguiguMainType.class, args);
	}

}
7.3、ResultEntity
- 封装
ResultEntity类,用于向客户端返回成功、失败消息

/**
 * 整个项目统一使用这个类型作为Ajax请求或远程方法调用返回响应的数据格式
 * @author Lenovo
 *
 * @param <T>
 */
public class ResultEntity<T> {

	public static final String SUCCESS = "SUCCESS";
	public static final String FAILED = "FAILED";
	public static final String NO_MESSAGE = "NO_MESSAGE";
	public static final String NO_DATA = "NO_DATA";

	/**
	 * 操作成功,不需要返回数据
	 * @return
	 */
	public static ResultEntity<String> successWithoutData() {
		return new ResultEntity<String>(SUCCESS, NO_MESSAGE, NO_DATA);
	}

	/**
	 * 操作成功,需要返回数据
	 * @param data
	 * @return
	 */
	public static <E> ResultEntity<E> successWithData(E data) {
		return new ResultEntity<>(SUCCESS, NO_MESSAGE, data);
	}

	/**
	 * 操作失败,返回错误消息
	 * @param message
	 * @return
	 */
	public static <E> ResultEntity<E> failed(String message) {
		return new ResultEntity<>(FAILED, message, null);
	}

	private String result;
	private String message;
	private T data;

	public ResultEntity() {

	}

	public ResultEntity(String result, String message, T data) {
		super();
		this.result = result;
		this.message = message;
		this.data = data;
	}

	@Override
	public String toString() {
		return "ResultEntity [result=" + result + ", message=" + message + ", data=" + data + "]";
	}

	public String getResult() {
		return result;
	}

	public void setResult(String result) {
		this.result = result;
	}

	public String getMessage() {
		return message;
	}

	public void setMessage(String message) {
		this.message = message;
	}

	public T getData() {
		return data;
	}

	public void setData(T data) {
		this.data = data;
	}

}
7.4、Handler方法
Provider工程的Handler方法中添加如下代码
// @HystrixCommand注解指定当前方法出问题时调用的备份方法(使用fallbackMethod属性指定)
@HystrixCommand(fallbackMethod = "getEmpWithCircuitBreakerBackup")
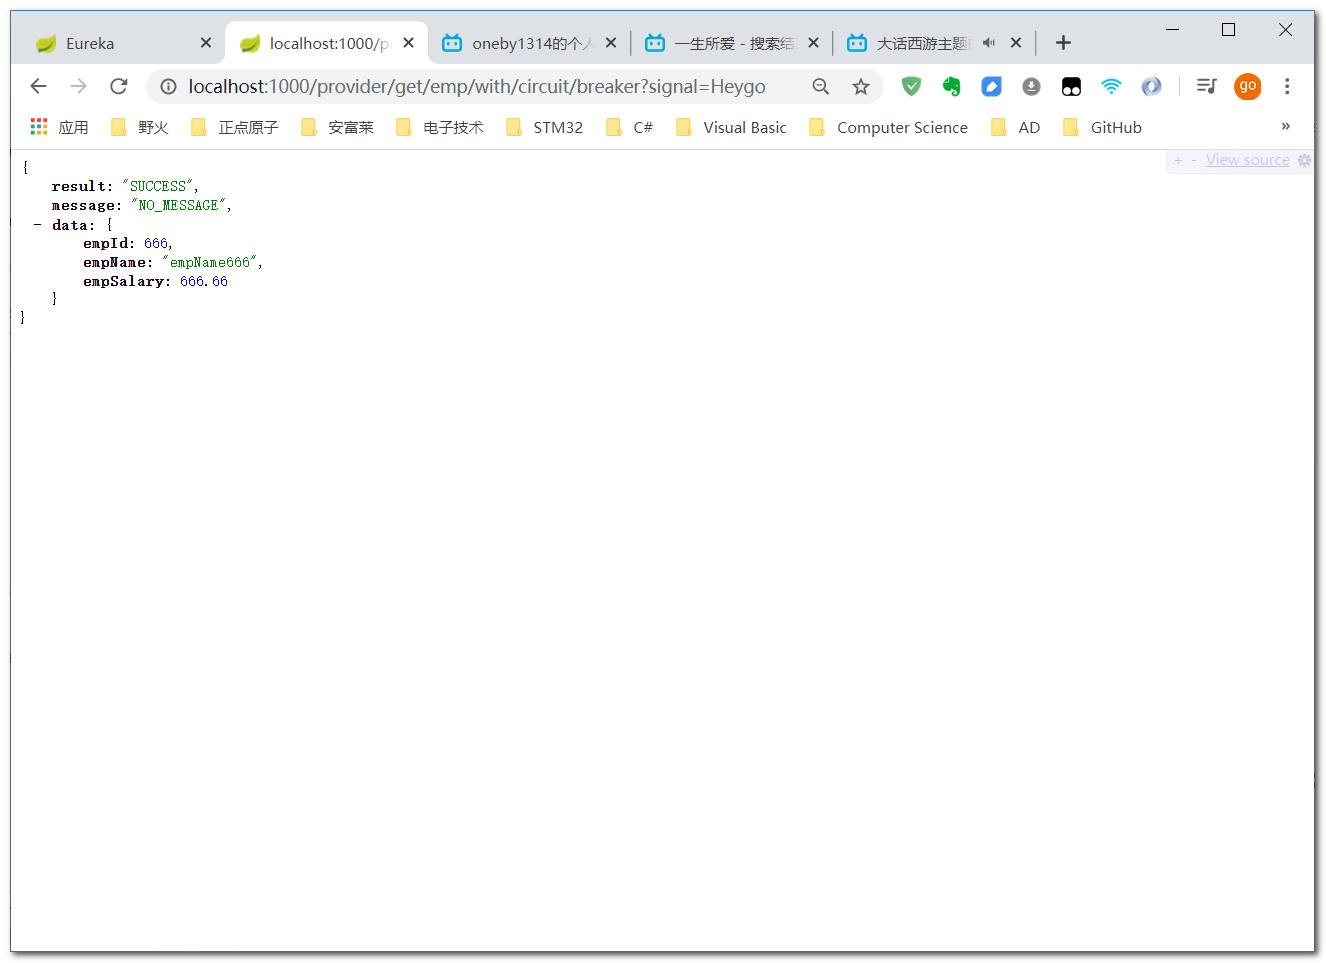
@RequestMapping("/provider/get/emp/with/circuit/breaker")
public ResultEntity<Employee> getEmpWithCircuitBreaker(@RequestParam("signal") String signal) throws InterruptedException {
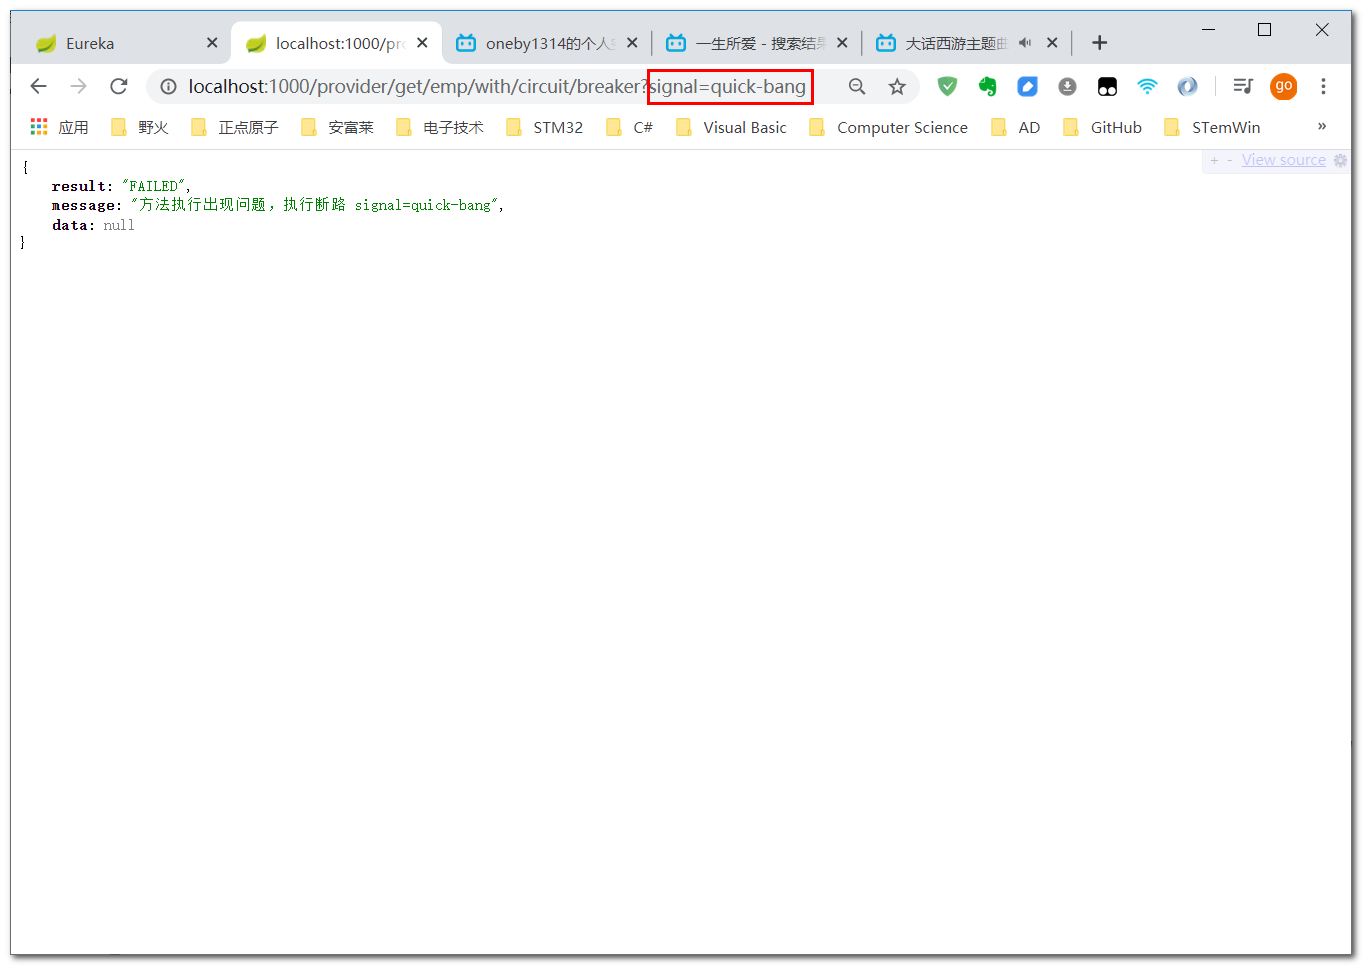
if("quick-bang".equals(signal)) {
throw new RuntimeException();
}
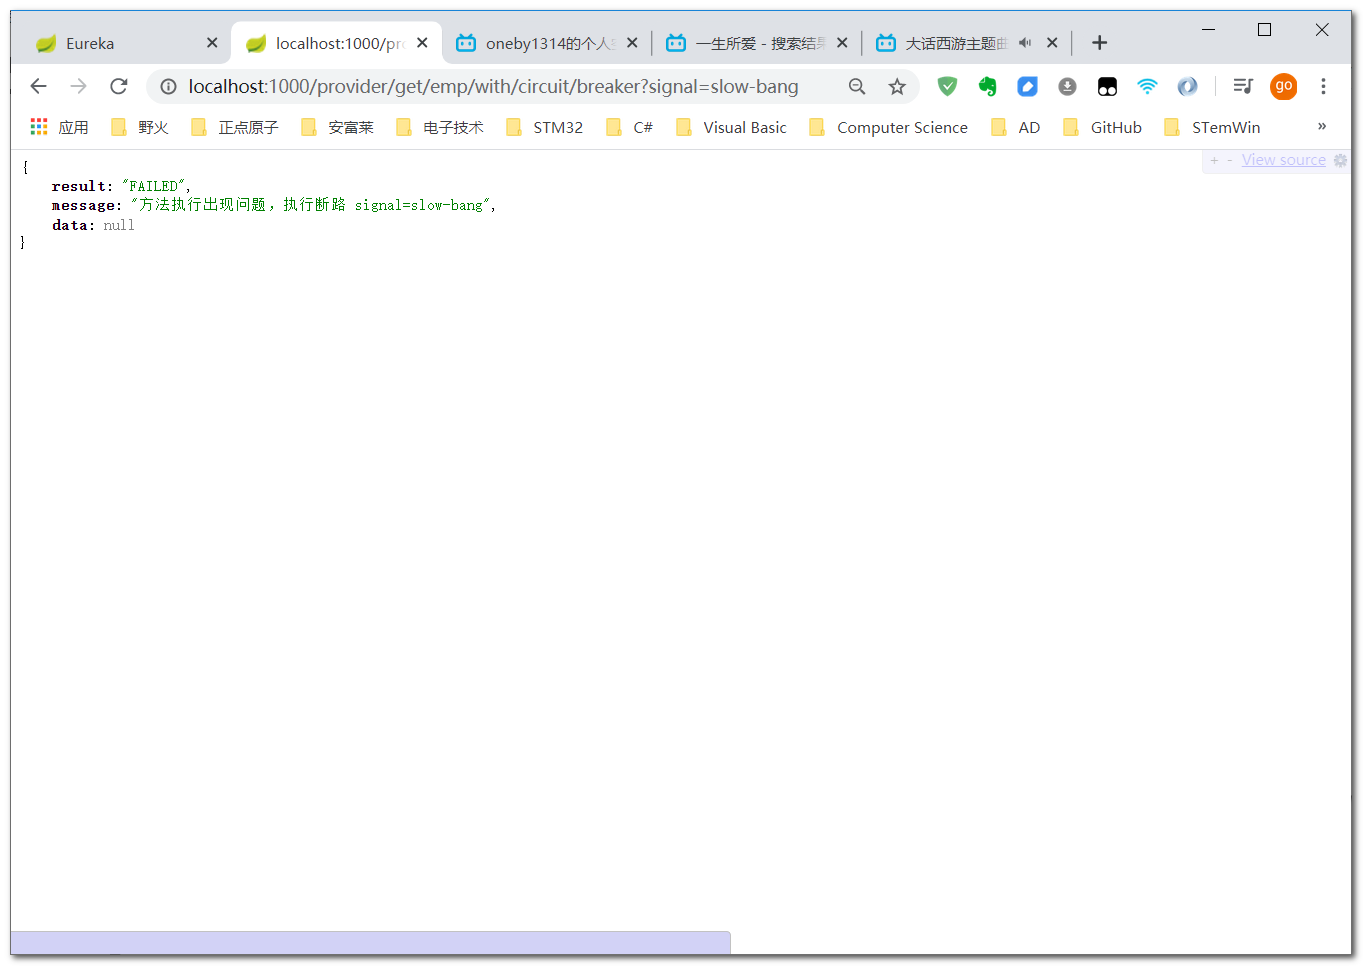
if("slow-bang".equals(signal)) {
Thread.sleep(5000);
}
return ResultEntity.successWithData(new Employee(666, "empName666", 666.66));
}
public ResultEntity<Employee> getEmpWithCircuitBreakerBackup(@RequestParam("signal") String signal) {
String message = "方法执行出现问题,执行断路 signal="+signal;
return ResultEntity.failed(message);
}
7.5、测试
- 正常访问
provider
quick-bang
slow-bang
8、Hystrix服务降级
8.1、引入依赖
- 在
common工程下添加hystrix相关依赖
<dependency>
    <groupId>org.springframework.cloud</groupId>
    <artifactId>spring-cloud-starter-netflix-hystrix</artifactId>
</dependency>
8.2、声明远程方法
- 为了测试,我们在
EmployeeRemoteService远程调用接口中添加一个新的方法,返回ResultEntity对象
//@FeignClient注解表示当前接口和一个Provider对应,注解中value属性指定要调用的Provider的微服务名称
@FeignClient(value = "atguigu-provider")
public interface EmployeeRemoteService {

	// 远程调用的接口方法
	// 要求@RequestMapping注解映射的地址一致
	// 要求方法声明一致
	// 用来获取请求参数的@RequestParam、@PathVariable、@RequestBody不能省略,两边一致
	@RequestMapping("/provider/get/employee/remote")
	public Employee getEmployeeRemote();

	@RequestMapping("/provider/get/emp/list/remote")
	public List<Employee> getEmpListRemote(@RequestParam("keyword") String keyword);

	@RequestMapping("/provider/get/emp/with/circuit/breaker")
	public ResultEntity<Employee> getEmpWithCircuitBreaker(@RequestParam("signal") String signal);

}
8.3、指定FallbackFactory
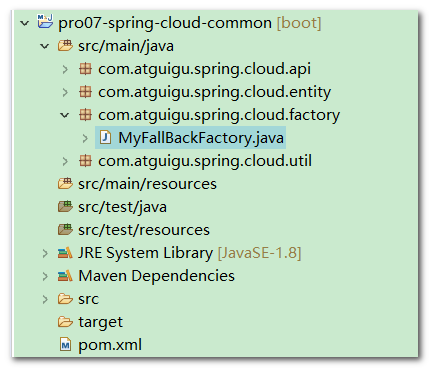
- 创建
MyFallBackFactory,继承自FallbackFactory接口。用于实现服务的降级
/**
 * 1.实现Consumer端服务降级功能
 * 2.实现FallbackFactory接口时要传入@FeignClient注解标记的接口类型
 * 3.在create()方法中返回@FeignClient注解标记的接口类型的对象,当Provider调用失败后,会执行这个对象的对应方法
 * 4.这个类必须使用@Component注解将当前类的对象加入IOC容器,当然当前类必须能够被扫描到
 * @author Lenovo
 *
 */
@Component
public class MyFallBackFactory implements FallbackFactory<EmployeeRemoteService> {

	@Override
	public EmployeeRemoteService create(Throwable cause) {
		return new EmployeeRemoteService() {

			@Override
			public Employee getEmployeeRemote() {
				return null;
			}

			@Override
			public ResultEntity<Employee> getEmpWithCircuitBreaker(String signal) {
				return ResultEntity.failed("降级生效:" + cause.getMessage());
			}

			@Override
			public List<Employee> getEmpListRemote(String keyword) {
				return null;
			}
		};
	}

}
8.4、启用服务降级功能
- 在
EmployeeRemoteService远程调用接口中,在@FeignClient注解中指定fallbackFactory属性的值为我们自定义的MyFallBackFactory类
// @FeignClient注解表示当前接口和一个Provider对应
// 注解中value属性指定要调用的Provider的微服务名称
// 注解中fallbackFactory属性指定Provider不可用时提供备用方案的工厂类型
@FeignClient(value = "atguigu-provider", fallbackFactory = MyFallBackFactory.class)
public interface EmployeeRemoteService {

	// 远程调用的接口方法
	// 要求@RequestMapping注解映射的地址一致
	// 要求方法声明一致
	// 用来获取请求参数的@RequestParam、@PathVariable、@RequestBody不能省略,两边一致
	@RequestMapping("/provider/get/employee/remote")
	public Employee getEmployeeRemote();

	@RequestMapping("/provider/get/emp/list/remote")
	public List<Employee> getEmpListRemote(@RequestParam("keyword") String keyword);

	@RequestMapping("/provider/get/emp/with/circuit/breaker")
	public ResultEntity<Employee> getEmpWithCircuitBreaker(@RequestParam("signal") String signal);

}
8.5、provider Handler
- 上一节服务熔断,我们已经写好了该方法哟~
// @HystrixCommand注解指定当前方法出问题时调用的备份方法(使用fallbackMethod属性指定)
@HystrixCommand(fallbackMethod = "getEmpWithCircuitBreakerBackup")
@RequestMapping("/provider/get/emp/with/circuit/breaker")
public ResultEntity<Employee> getEmpWithCircuitBreaker(@RequestParam("signal") String signal) throws InterruptedException {
    if("quick-bang".equals(signal)) {
        throw new RuntimeException();
    }

    if("slow-bang".equals(signal)) {
        Thread.sleep(5000);
    }

    return ResultEntity.successWithData(new Employee(666, "empName666", 666.66));
}

public ResultEntity<Employee> getEmpWithCircuitBreakerBackup(@RequestParam("signal") String signal) {
    String message = "方法执行出现问题,执行断路 signal="+signal;
    return ResultEntity.failed(message);
}
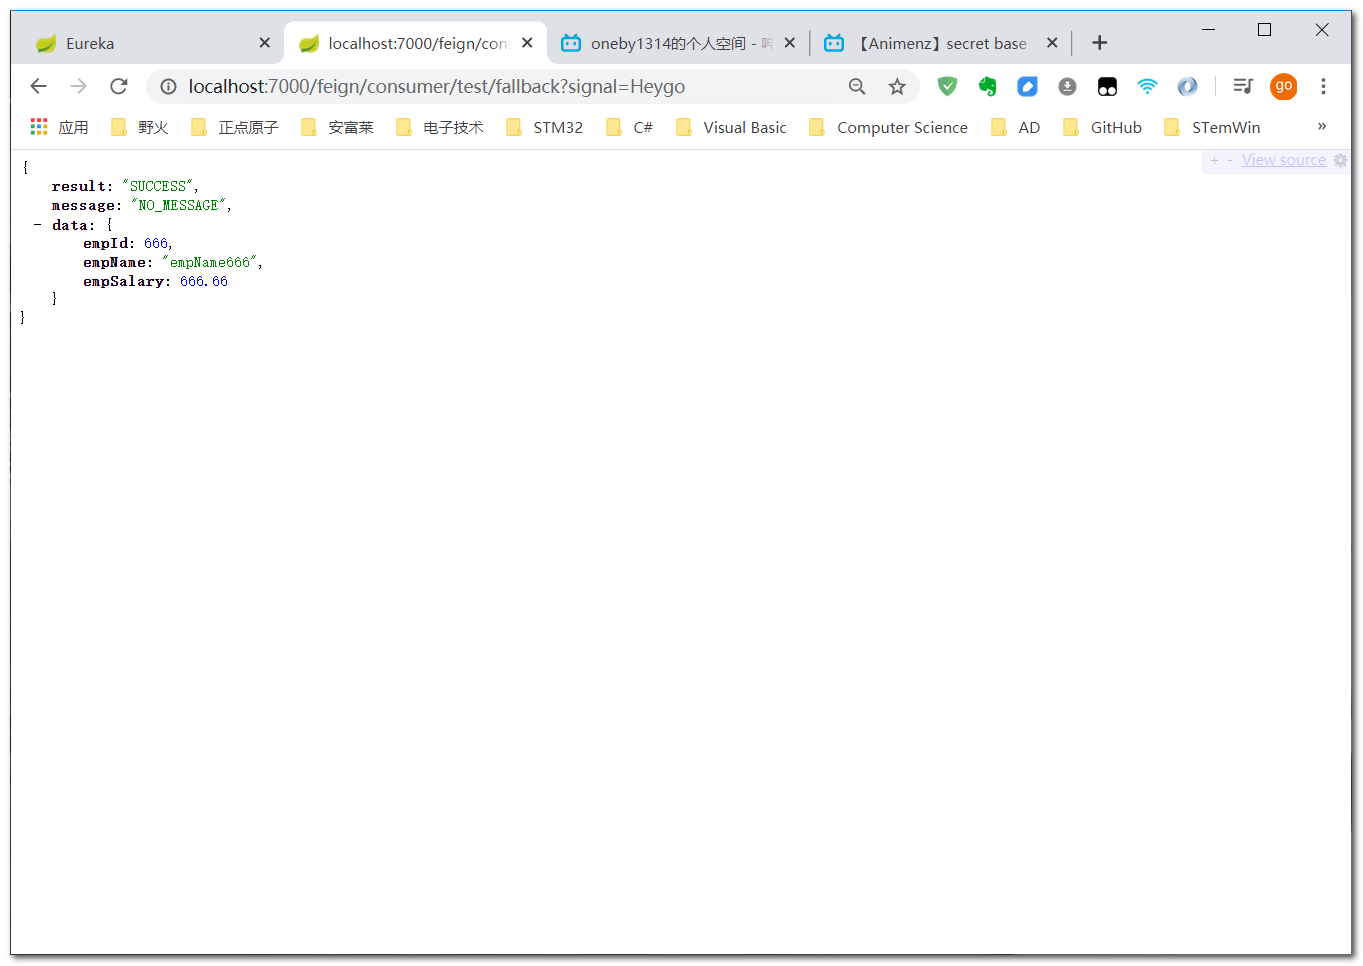
8.6、feign-consumer Handler
- 在
feign-consumer的Handler代码中添加如下代码,用于测试服务的降级功能
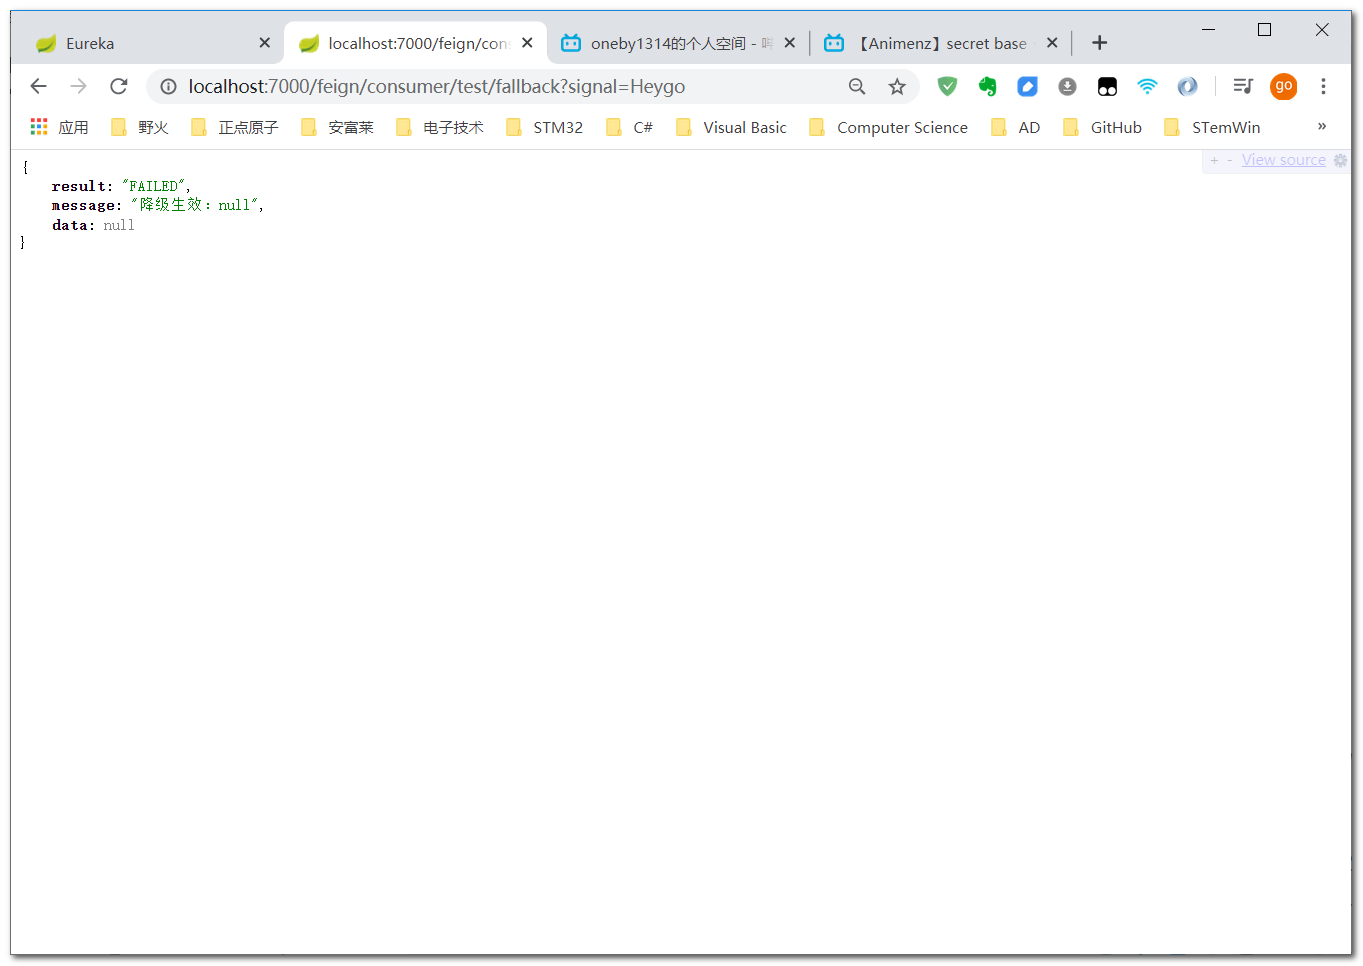
@RequestMapping("/feign/consumer/test/fallback")
public ResultEntity<Employee> testFallBack(@RequestParam("signal") String signal) {
    return employeeRemoteService.getEmpWithCircuitBreaker(signal);
}
8.7、启用降级功能
- 在
feign-consumer的配置文件中启用服务降级功能
feign:
  hystrix:
    enabled: true
8.8、测试
- 正常访问:注册中心里面有
feign-consumer和provider,则浏览器显示provider返回的结果
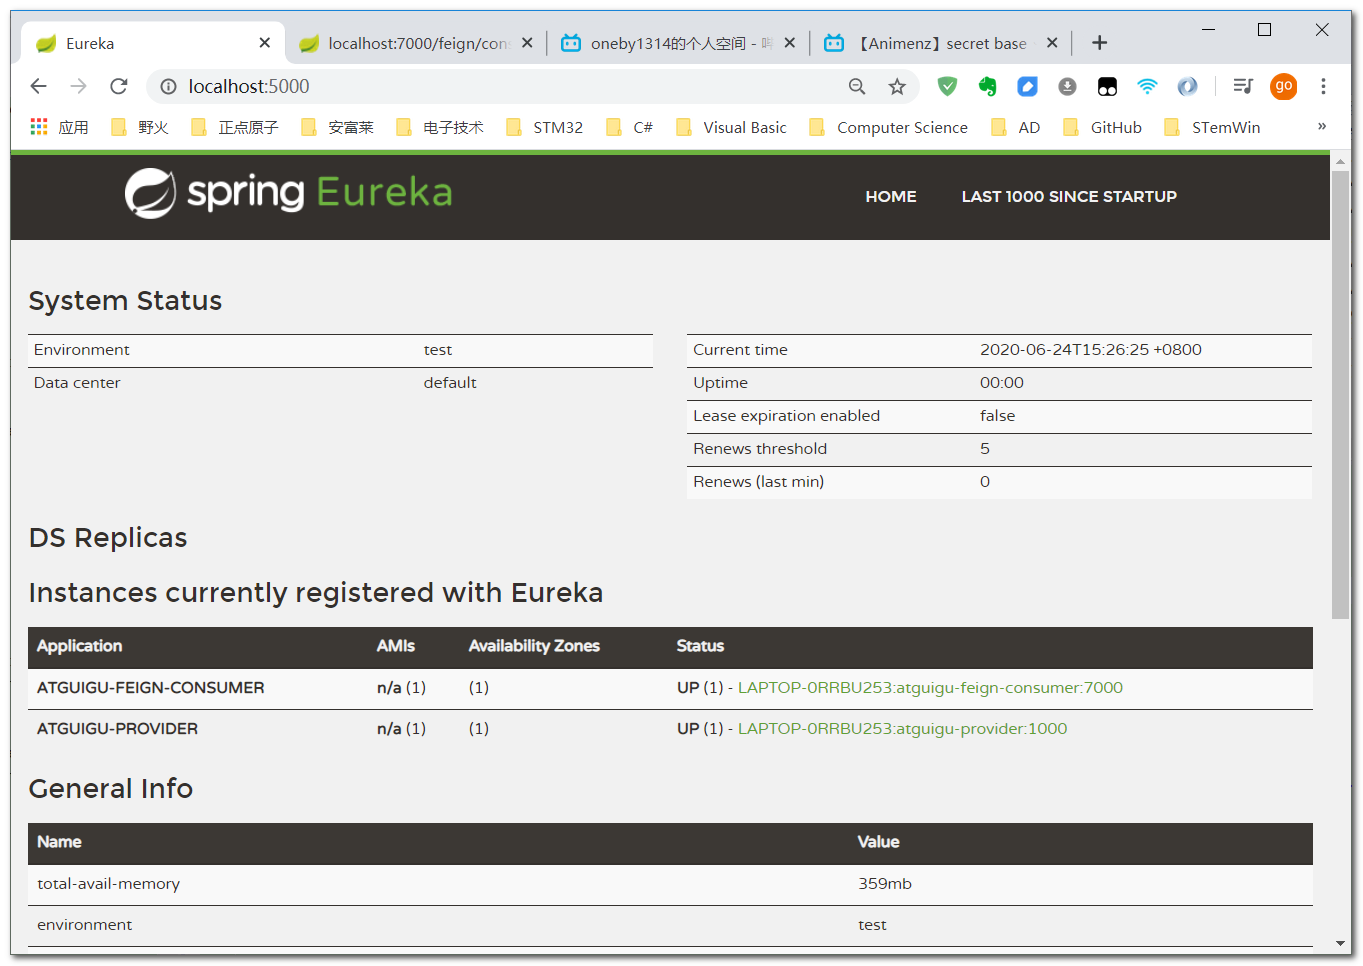
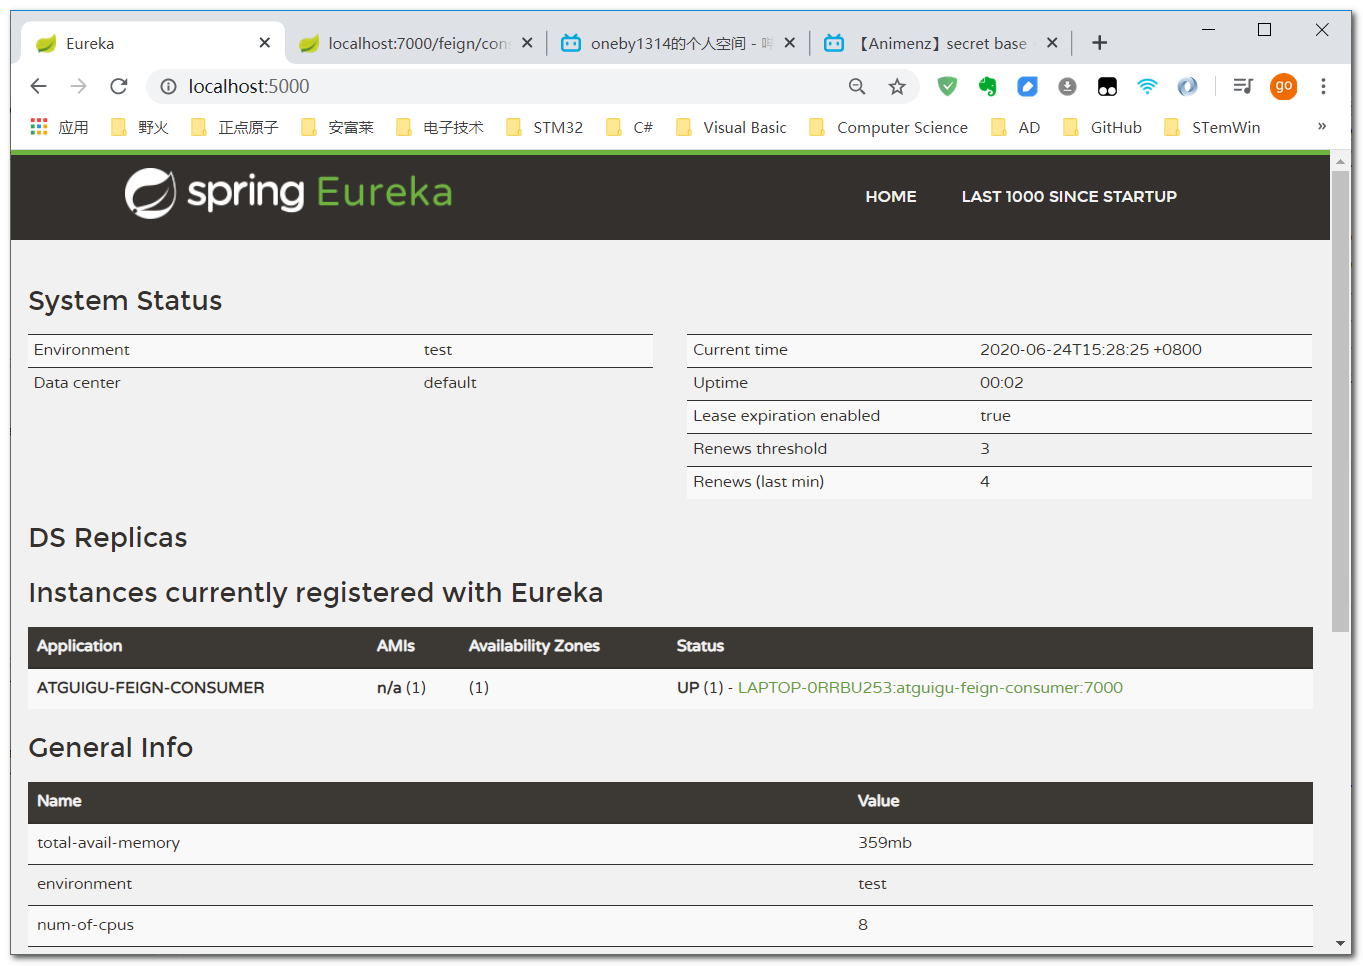
- 服务降级:注册中心里面只有
feign-consumer,provider因为某种原因掉线,浏览器返回错误信息
9、监控仪表盘
9.1、provider工程
9.1.1、引入依赖
- 在
provider工程的pom文件中引入actuator的依赖
<dependency>
    <groupId>org.springframework.boot</groupId>
    <artifactId>spring-boot-starter-actuator</artifactId>
</dependency>
9.1.2、yml配置文件
- 修改
provider工程的配置文件
management:
  endpoints:
    web:
      exposure:
        include: hystrix.stream
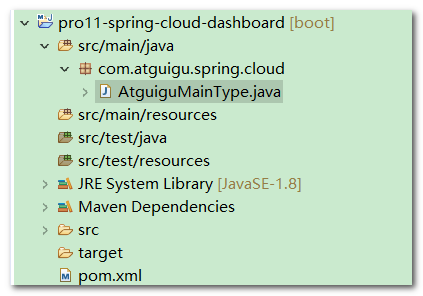
9.2、监控工程
9.2.1、引入依赖
- 创建
Maven Module,并引入dashboard的依赖
<dependencies>
    <dependency>
        <groupId>org.springframework.cloud</groupId>
        <artifactId>spring-cloud-starter-netflix-hystrix-dashboard</artifactId>
    </dependency>
</dependencies>
9.2.2、创建主启动类
- 创建主启动类,使用
@EnableHystrixDashboard注解启用仪表盘功能
// 启用仪表盘监控功能
@EnableHystrixDashboard
@SpringBootApplication
public class AtguiguMainType {

	public static void main(String[] args) {
		SpringApplication.run(AtguiguMainType.class, args);
	}

}
9.2.3、创建yml配置文件
server:
  port: 8000
spring:
  application:
    name: atguigu-dashboard
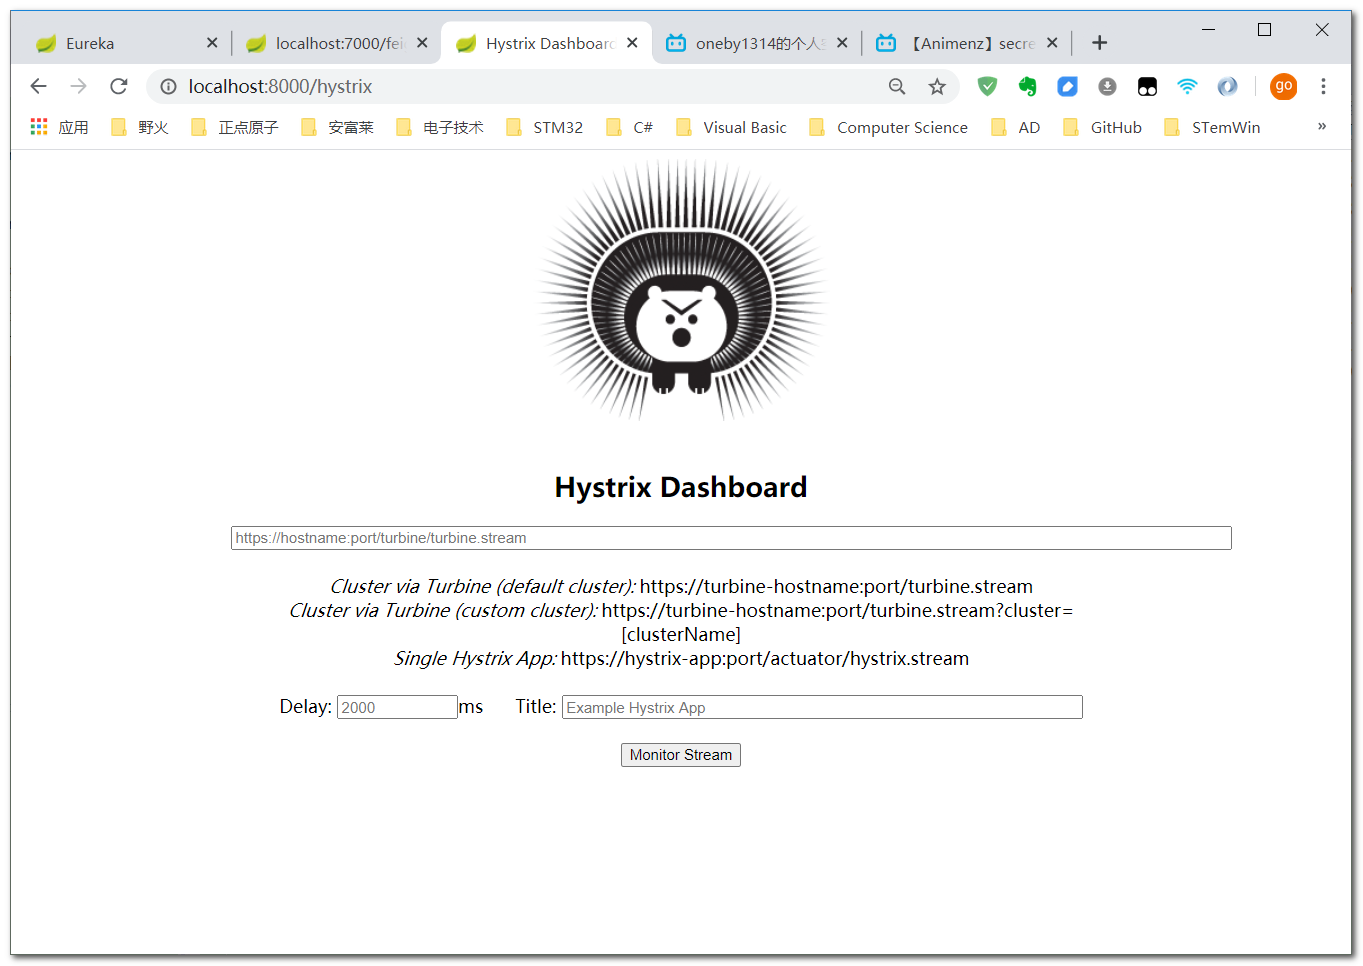
9.3、测试
Hystrix首页:http://localhost:8000/hystrix
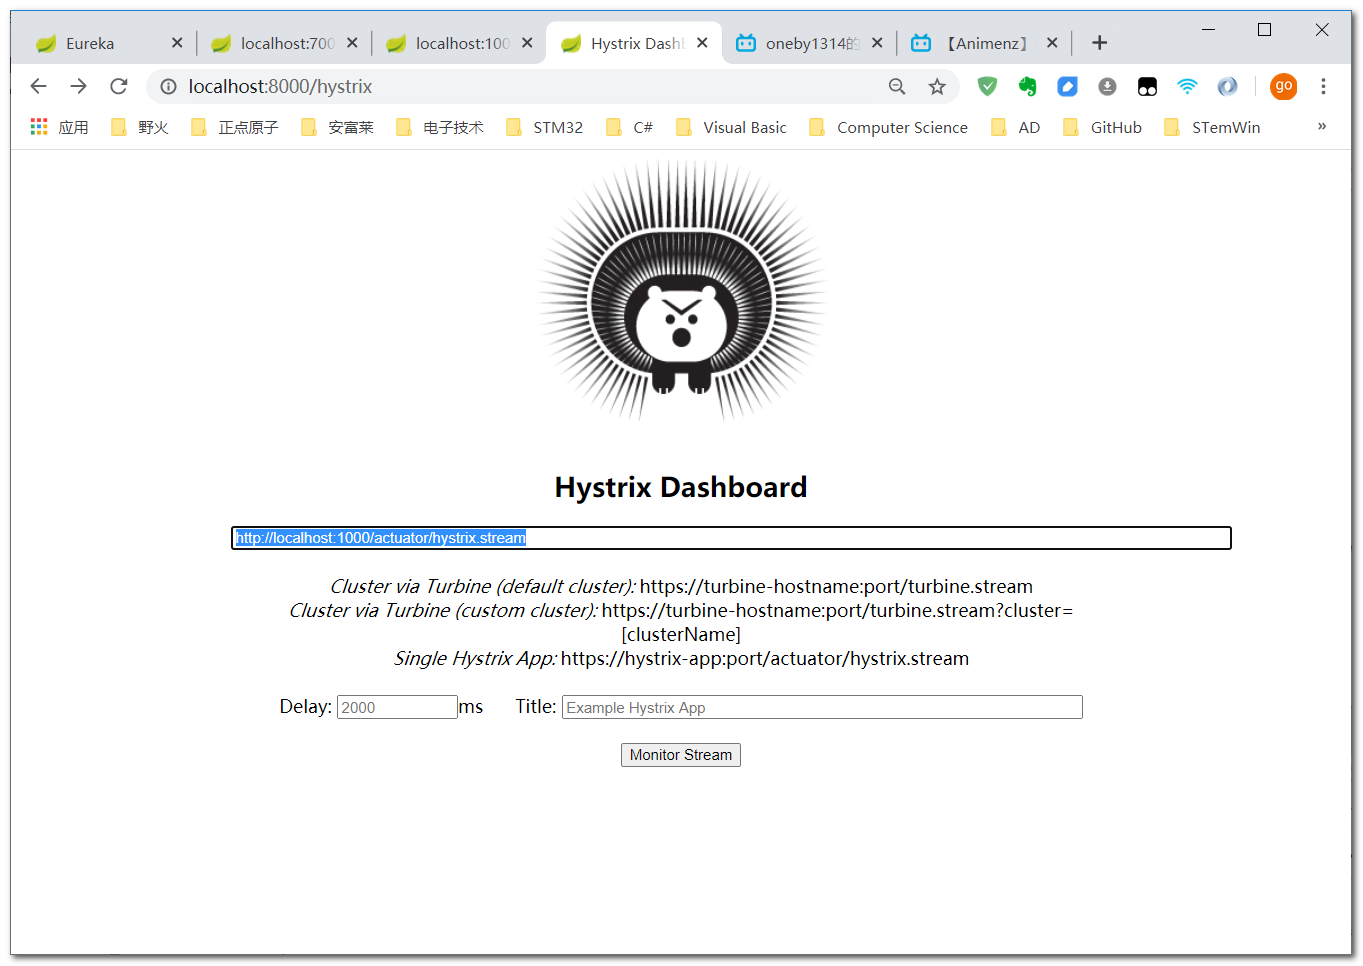
- 进入监控页面:
http://localhost:1000/actuator/hystrix.stream
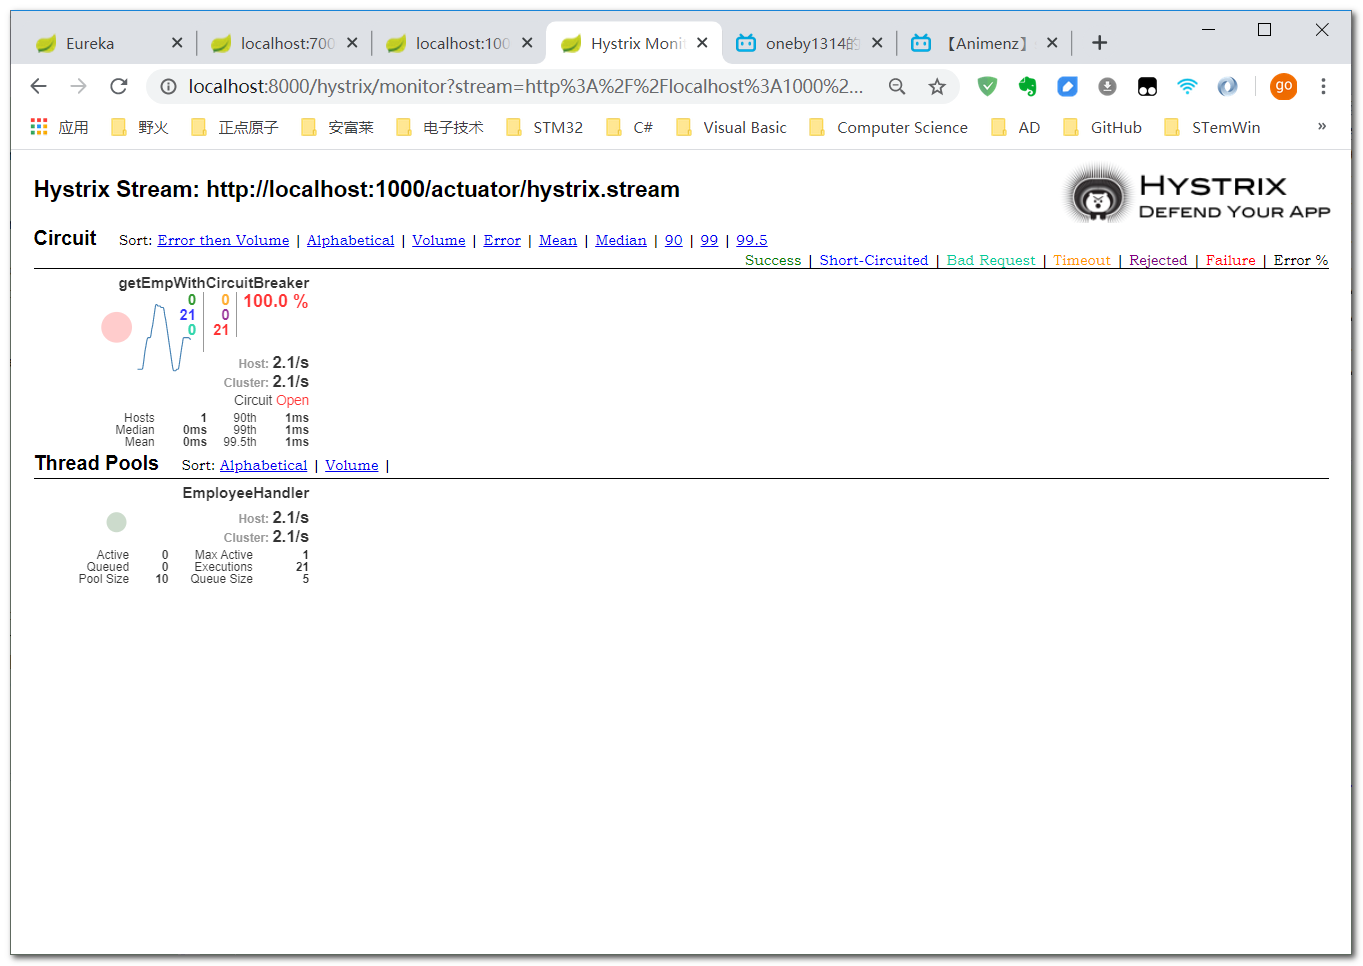
- 监控面板
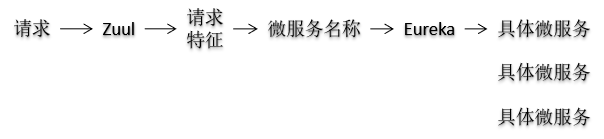
10、Zuul
10.1、整体框架
10.2、初步测试
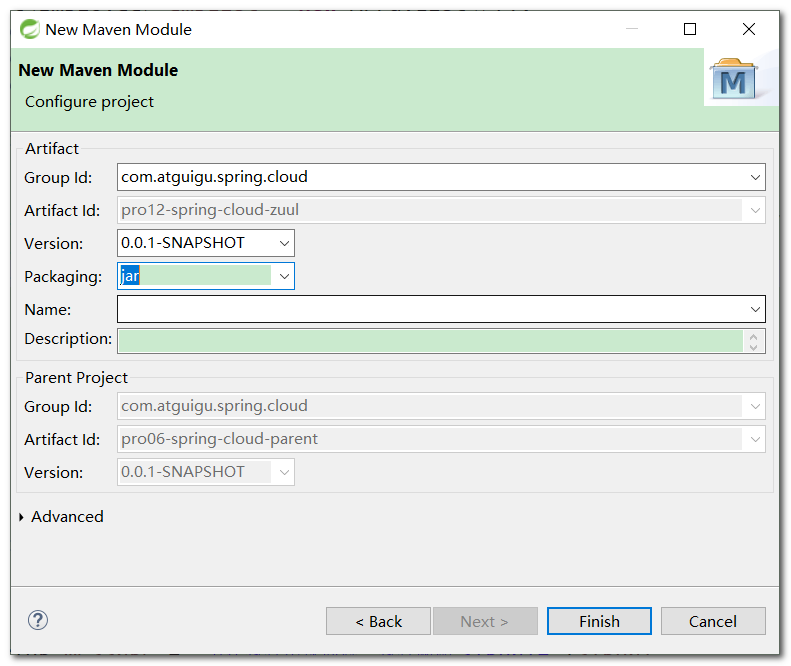
10.2.1、创建工程
- 在
parent工程下创建Maven Module
10.2.2、引入依赖
- 在
pom文件下添加eureka-client和zuul的依赖,因为Zuul需要去服务注册中Eureka中寻找微服务,所以需要引入eureka-client依赖

<dependencies>
    <dependency>
        <groupId>org.springframework.cloud</groupId>
        <artifactId>spring-cloud-starter-netflix-eureka-client</artifactId>
    </dependency>
    <dependency>
        <groupId>org.springframework.cloud</groupId>
        <artifactId>spring-cloud-starter-netflix-zuul</artifactId>
    </dependency>
</dependencies>
10.2.3、创建主启动类
- 在主启动类上标注
@EnableZuulProxy注解,表示启用Zuul网关代理功能
// 启用Zuul的网关代理功能
@EnableZuulProxy
@SpringBootApplication
public class AtguiguMainType {

	public static void main(String[] args) {
		SpringApplication.run(AtguiguMainType.class, args);
	}

}
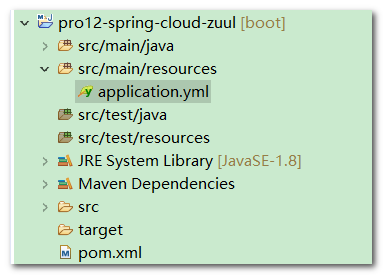
10.2.4、创建yml配置文件
server:
  port: 9000
spring:
  application:
    name: zuul-gateway
eureka:
  client:
    serviceUrl:
      defaultZone: http://localhost:5000/eureka/
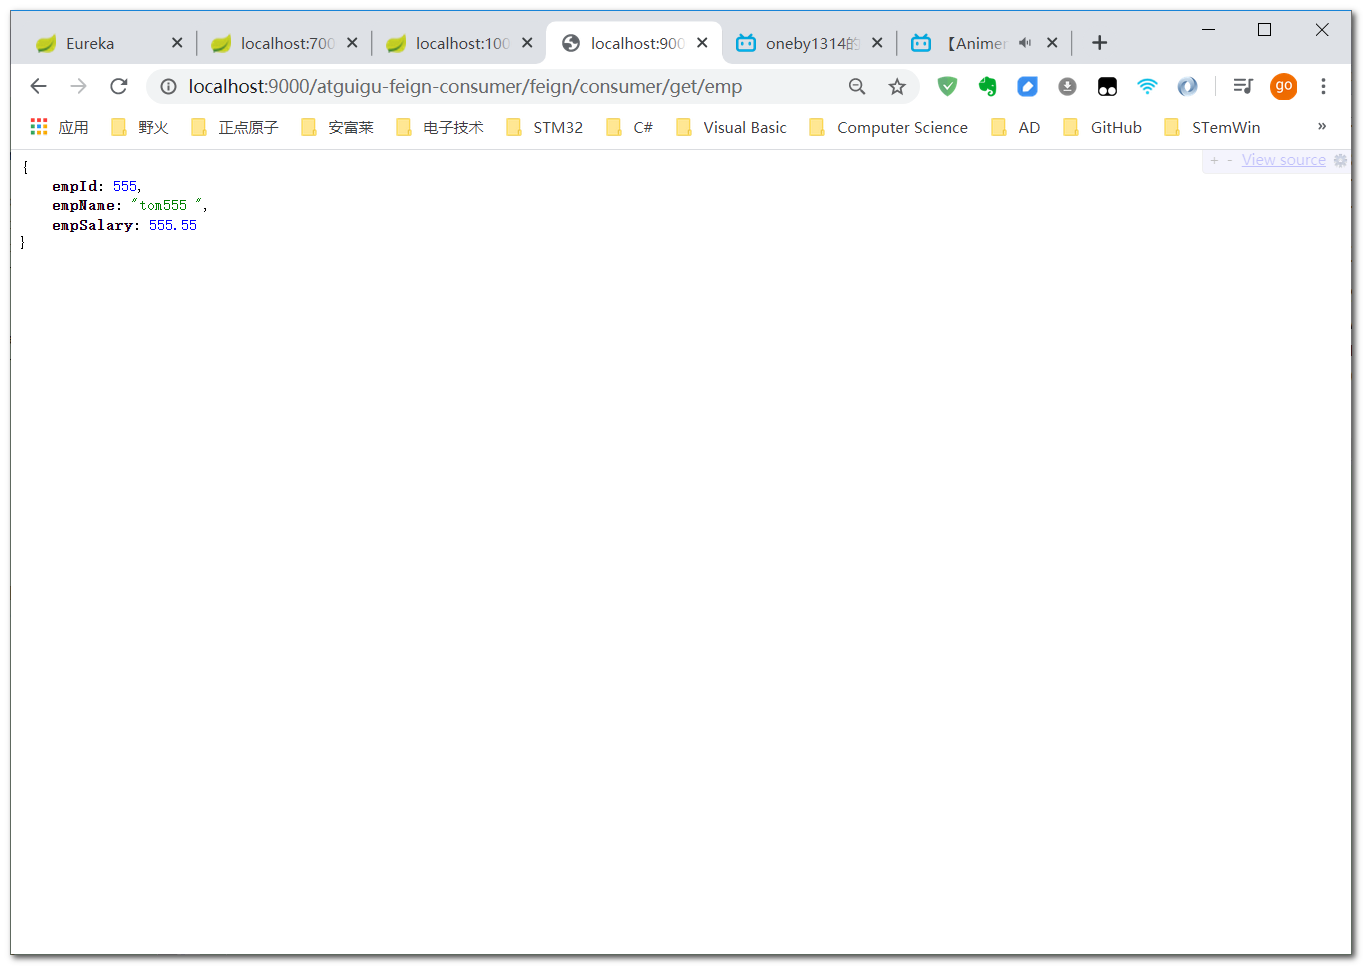
10.2.5、初步测试
- 通过网关访问微服务

- 注册中心里面的微服务
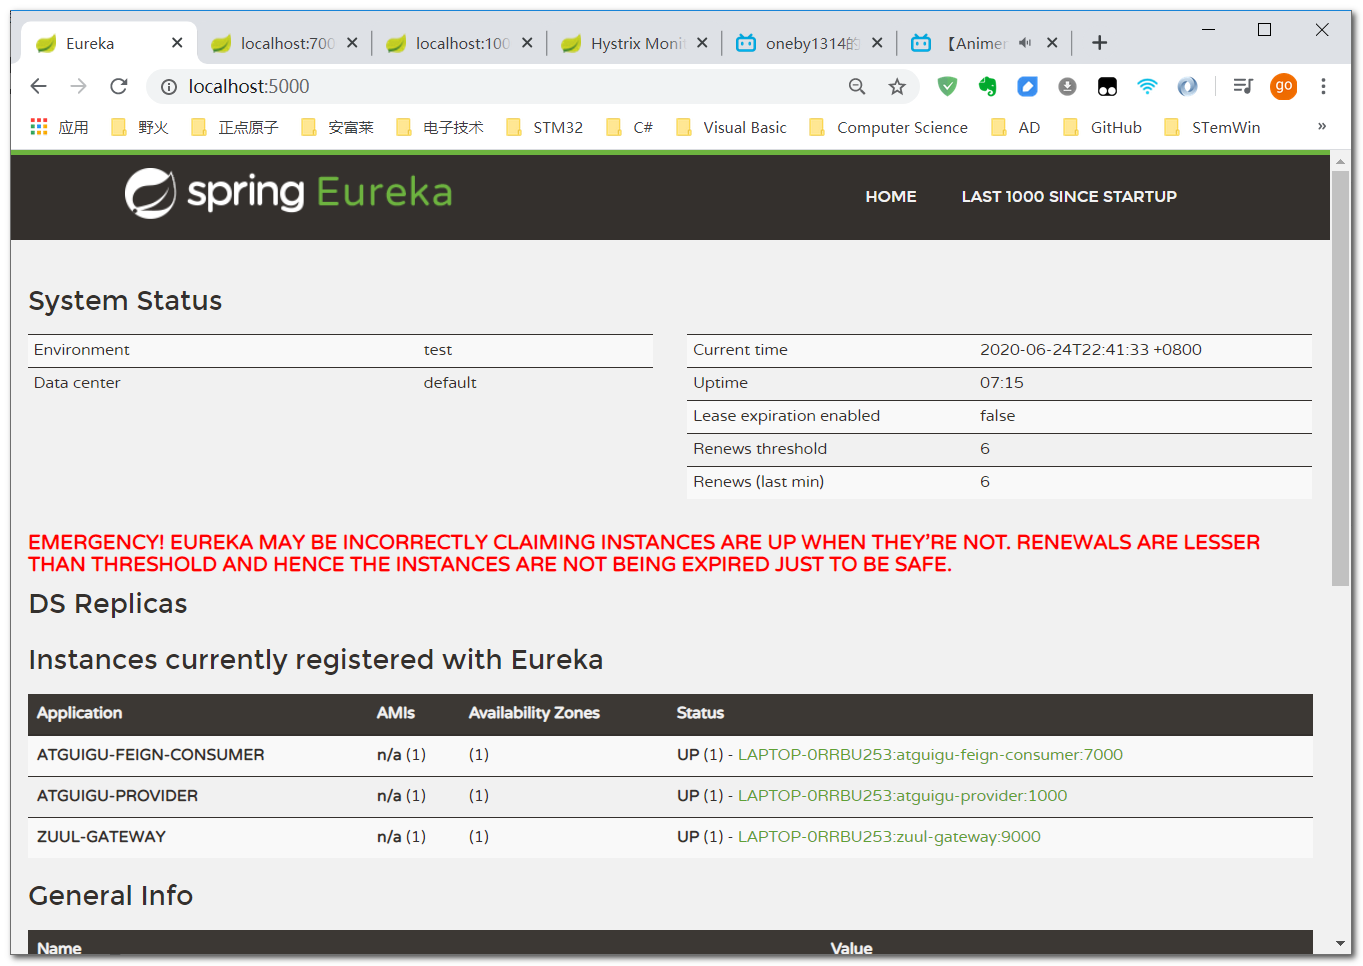
- 通过网关访问微服务:
10.3、配置路由规则
10.3.1、修改yml配置文件
- 修改
zuul工程中的yml配置文件ignored-services: '*':忽略所有微服务名称,既无法再通过微服务名称访问(仅限经过Zuul的请求)prefix: /cat:路径前缀,在context-path之后employee:自定义规则,这是规则的名称service-id: atguigu-feign-consumer:指定微服务名称path: /zuul-emp/**:用来代替目标微服务名称的路径,/**表示匹配多层路径,如果没有加/**则不能匹配后续的多层路径了
server:
  port: 9000
  servlet:
    context-path: /dog
spring:
  application:
    name: zuul-gateway
eureka:
  client:
    serviceUrl:
      defaultZone: http://localhost:5000/eureka/
zuul:
  ignored-services: '*'
  prefix: /cat
  routes:
    employee:
      service-id: atguigu-feign-consumer
      path: /zuul-emp/**
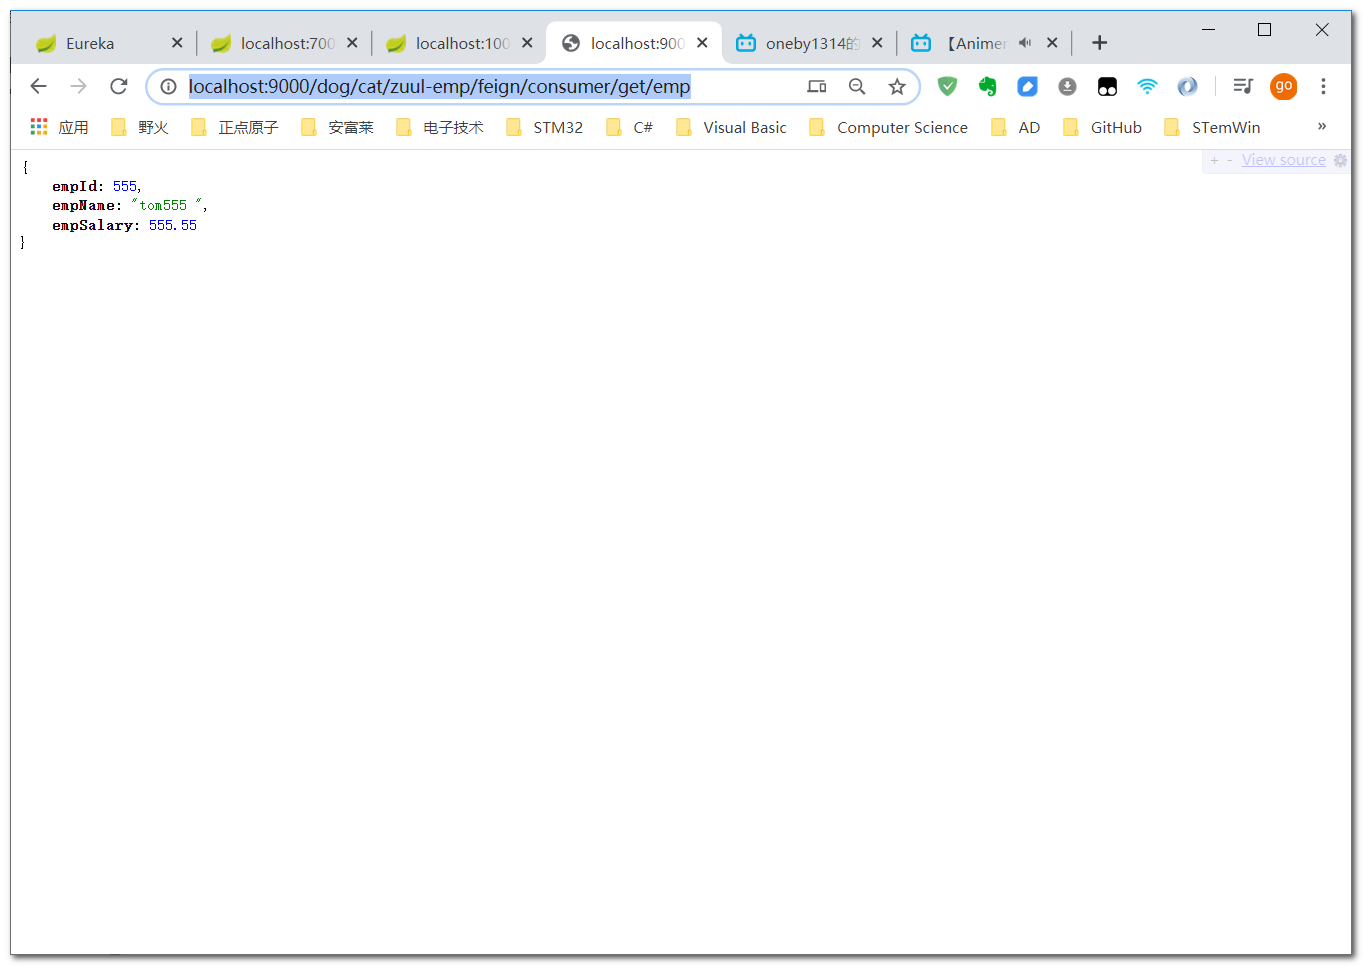
10.3.2、测试
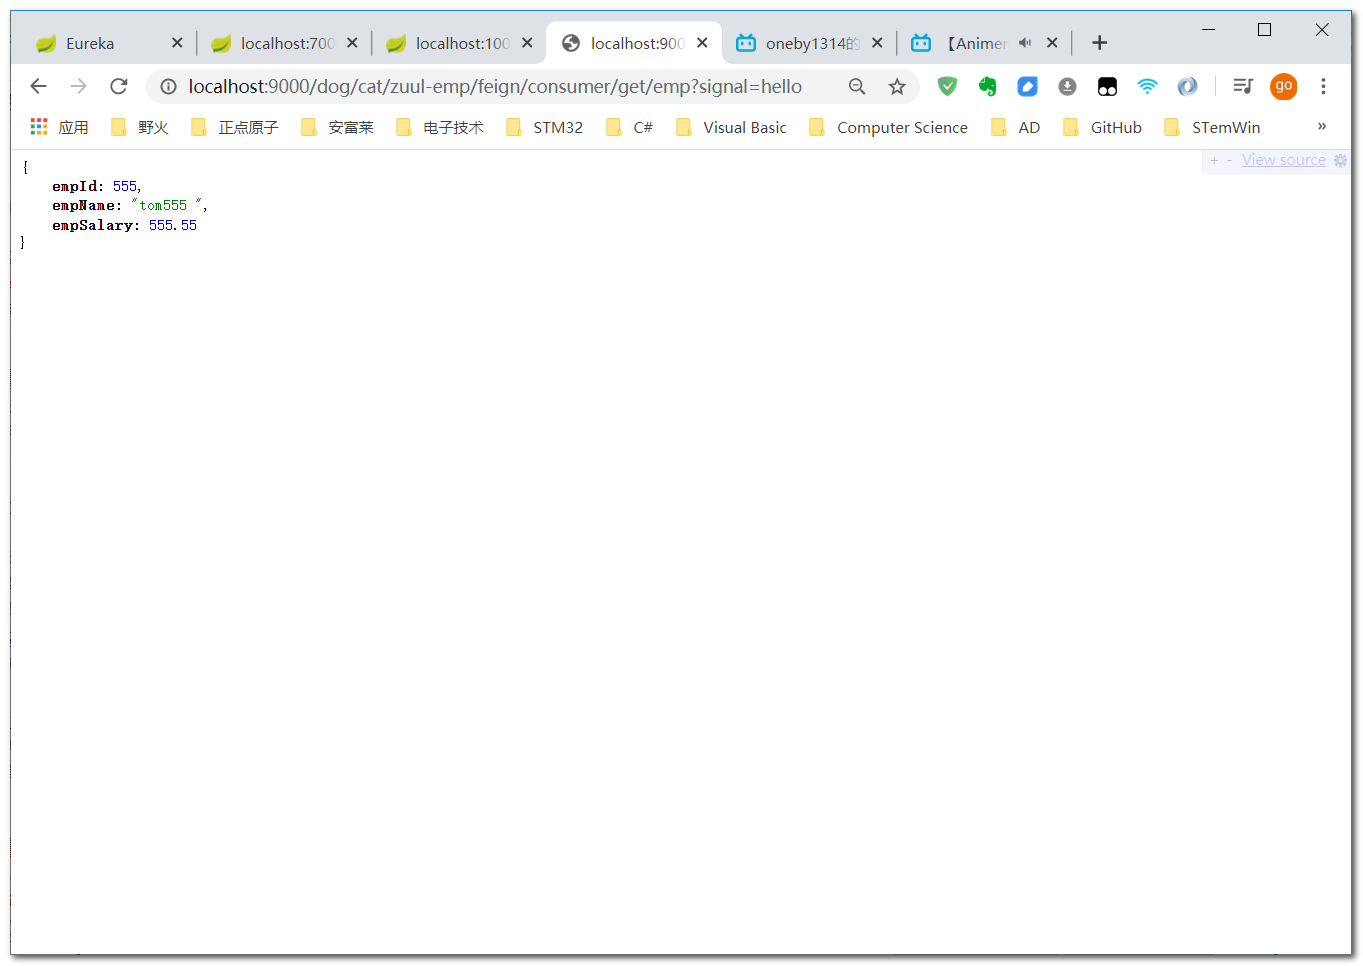
- 访问:
http://localhost:9000/dog/cat/zuul-emp/feign/consumer/get/emp
10.4、拦截过滤请求
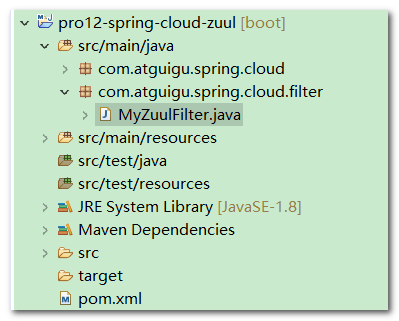
10.4.1、ZuulFilter
- 创建自定义
MyZuulFilter,继承自ZuulFilter
@Component
public class MyZuulFilter extends ZuulFilter {

	Logger logger = LoggerFactory.getLogger(MyZuulFilter.class);

	// 判断当前请求是否要进行过滤
	// 要过滤:返回true,继续执行run()方法
	// 不过滤:返回false,直接放行
	@Override
	public boolean shouldFilter() {

		// 获取RequestContext对象
		RequestContext requestContext = RequestContext.getCurrentContext();

		// 获取Request对象
		HttpServletRequest request = requestContext.getRequest();

		// 判断当前请求参数是否为signal=hello
		String parameter = request.getParameter("signal");

		return "hello".equals(parameter);
	}

	@Override
	public Object run() throws ZuulException {

		logger.info("当前请求要进行过滤,run()方法执行了");

		// Current implementation ignores it.
		// 当前实现会忽略这个方法的返回值,所以返回null,不做特殊处理
		return null;
	}

	@Override
	public String filterType() {

		// 返回当前过滤器的类型,决定当前过滤器在什么时候执行
		// pre表示在目标微服务前执行
		String filterType = "pre";

		return filterType;
	}

	@Override
	public int filterOrder() {
		return 0;
	}

}
10.4.2、ThreadLocal
-
读源码:
RequestContext.getCurrentContext()使用
ThreadLocal取出了RequestContext(请求域)
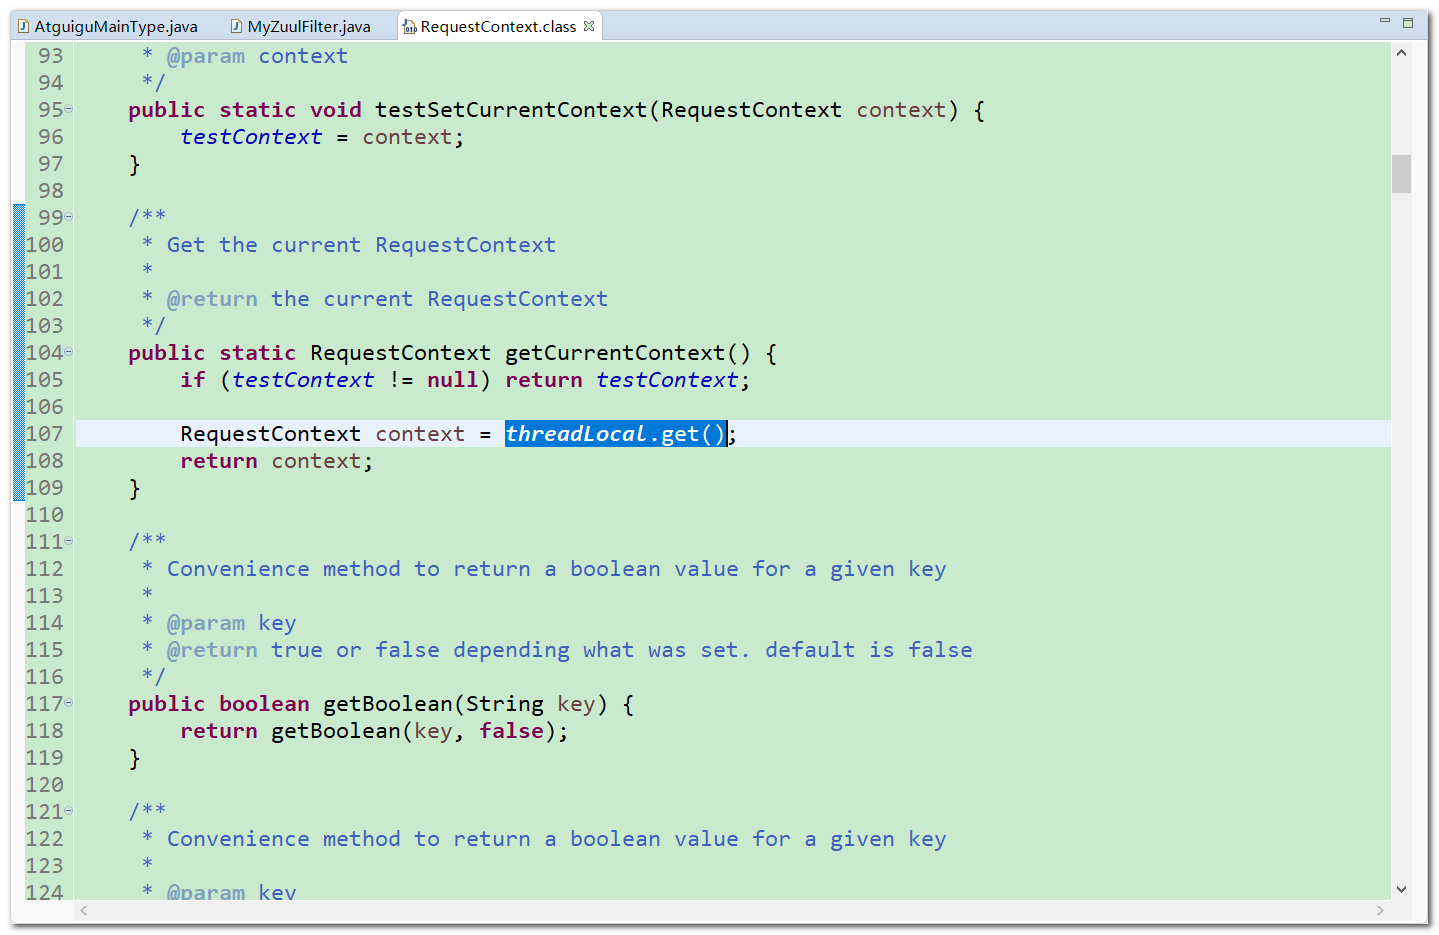
protected static final ThreadLocal<? extends RequestContext> threadLocal = new ThreadLocal<RequestContext>() {

public static RequestContext getCurrentContext() {
    if (testContext != null) return testContext;

    RequestContext context = threadLocal.get();
    return context;
}
10.5、测试
- 访问时带上参数:
?signal=hello
2020-06-24 23:41:43.440 INFO 34028 --- [nio-9000-exec-1] c.a.spring.cloud.filter.MyZuulFilter : 当前请求要进行过滤,run()方法执行了
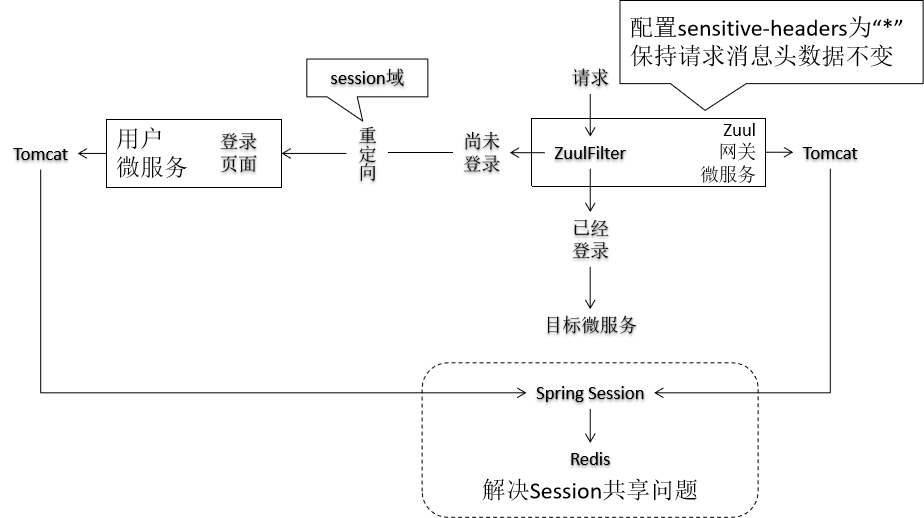
10.6、Zuul 进行登录判断


 153
153


 被折叠的 条评论
为什么被折叠?
被折叠的 条评论
为什么被折叠?
 到【灌水乐园】发言


