当使用dubbo对外暴露接口时,为了方便继承和实现底层方法,另一方面专门对外提供一套接口方法,这时接口实现类同时实现了两个接口:
@Service("ICentAccountInfoService")
public class CentAccountInfoServiceImpl
        extends AbstractPageService<IBaseDAO<CentAccountInfo>, CentAccountInfo>
        implements
        ICentAccountInfoService<IBaseDAO<CentAccountInfo>,CentAccountInfo>,
        CentAccountInfoServiceAPI {

        @Autowired
        private CentAccountInfoDAO centAccountInfoDAO;
        @Override
        public IBaseDAO<CentAccountInfo> getDao() {
                return null;
        }
        //实现 ICentAccountInfoService 方法
        public int insert(CentAccountInfo cent){
                System.out.println("==== insert in!");
                int result = centAccountInfoDAO.insert(cent);
                return result;
        }
        //实现对外业务接口  CentAccountInfoServiceAPI 方法
        @Override
        public void showMembers() {
                System.out.println("==== show members!!");
        }
}
dubbo对外暴露服务是这样处理的:
<dubbo:service  interface="cn.qtone.xxt.api.CentAccountInfoServiceAPI"
                   ref="CentAccountInfoServiceAPI" executes="100" timeout="600000" retries="0" />
    <bean id="CentAccountInfoServiceAPI" class="cn.qtone.xxt.cent.service.Impl.CentAccountInfoServiceImpl" />
对外暴露的接口:
public interface CentAccountInfoServiceAPI
{
    public void showMembers();
}
现在用Junit测试看看:
@RunWith(SpringJUnit4ClassRunner.class)
@ContextConfiguration(locations = "classpath*:applicationContext.xml")
public class CentAccountInfoServiceTest{

    @Autowired
//    @Qualifier("ICentAccountInfoService")
    private CentAccountInfoServiceImpl centAccountInfoService;

    @Test
    public void test(){
        //showcase
//        Assert.assertEquals(1, centAccountInfoService.findAll().size());
        CentAccountInfo cent = new CentAccountInfo();
        cent.setPhone("13377777777");
        cent.setCreateTime(new Date());
        Assert.assertEquals(1, centAccountInfoService.insert(cent));    //impl实现的接口  ICentAccountInfoService 中的方法
        centAccountInfoService.showMembers();  //impl实现的接口  CentAccountInfoServiceAPI  中的方法

    }
}
但测试结果报错,提示:
Caused by: org.springframework.beans.factory.BeanCreationException: Could not autowire field: private cn.qtone.xxt.cent.service.Impl.CentAccountInfoServiceImpl cn.qtone.xxt.test.service.CentAccountInfoServiceTest.centAccountInfoService; nested exception is org.springframework.beans.factory.NoSuchBeanDefinitionException: No unique bean of type [cn.qtone.xxt.cent.service.Impl.CentAccountInfoServiceImpl] is defined: expected single matching bean but found 2: [ICentAccountInfoService, CentAccountInfoServiceAPI]
...(省略)
Caused by: org.springframework.beans.factory.NoSuchBeanDefinitionException: No unique bean of type [cn.qtone.xxt.cent.service.Impl.CentAccountInfoServiceImpl] is defined: expected single matching bean but found 2: [ICentAccountInfoService, CentAccountInfoServiceAPI]
    ... 31 more
查了下这个问题,发现在使用Spring框架中@Autowired标签时默认情况下使用 @Autowired 注释进行自动注入时,Spring 容器中匹配的候选 Bean 数目必须有且仅有一个。当找不到一个匹配的 Bean 时,Spring 容器将抛BeanCreationException 异常,并指出必须至少拥有一个匹配的 Bean。
这时的解决办法就是:
通过 @Qualifier 注释指定注入 Bean 的名称,这样歧义就消除了。
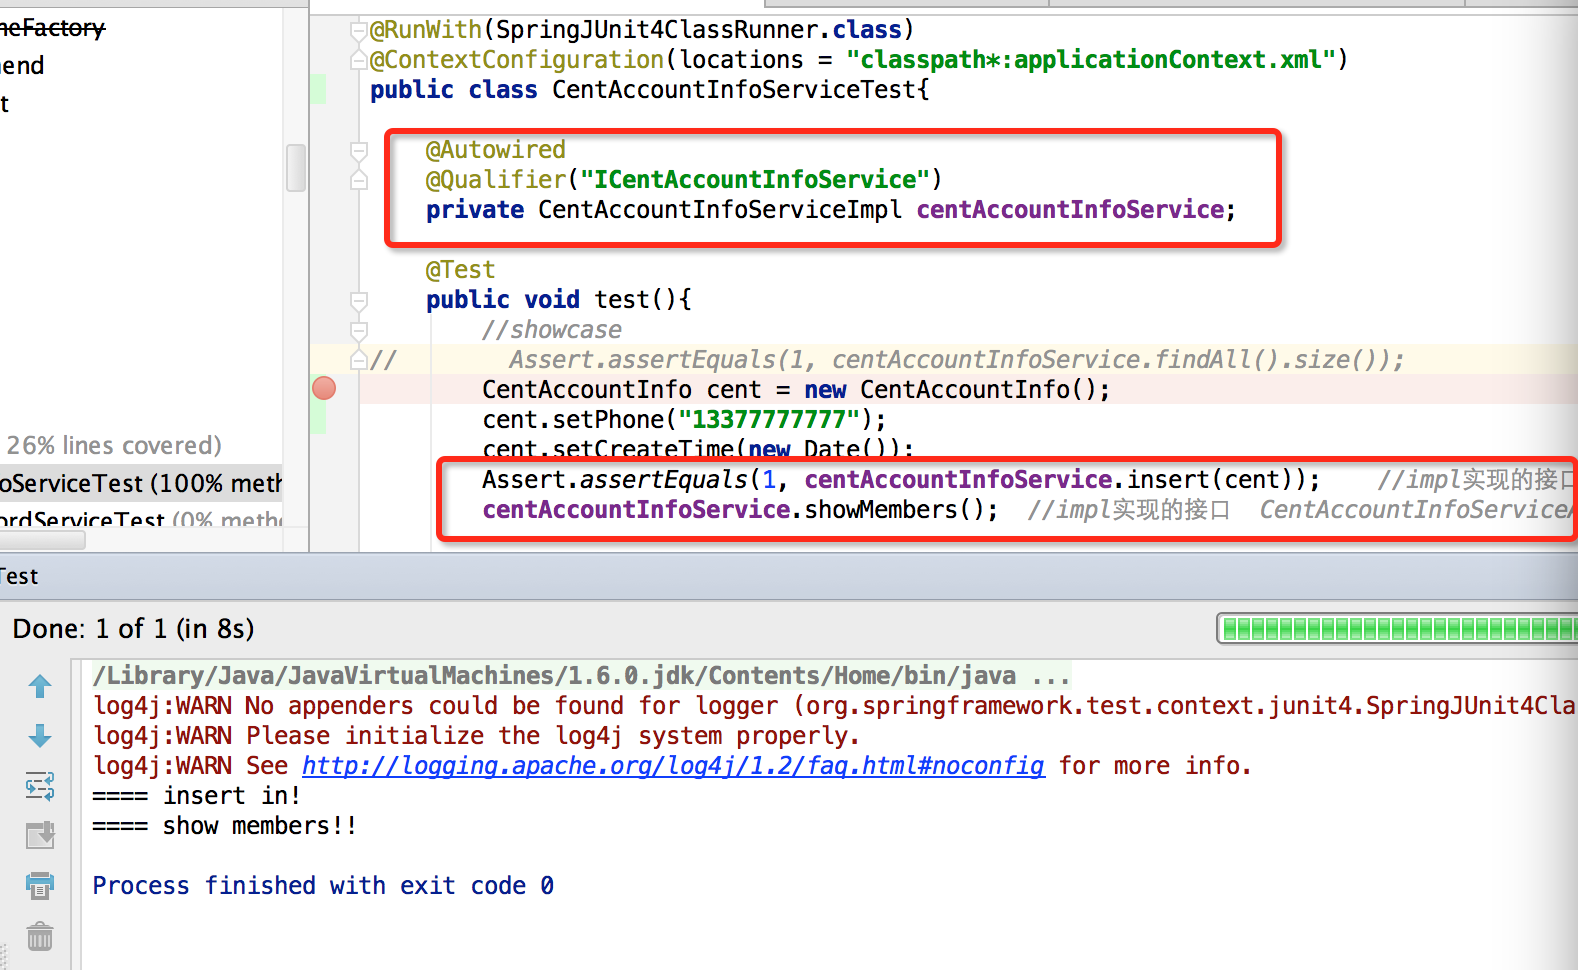
只需要加一行代码,这个问题迎刃而解:
  @Autowired
    @Qualifier("ICentAccountInfoService")
    private CentAccountInfoServiceImpl centAccountInfoService;
测试结果:
验证ok!


 4654
4654

 被折叠的 条评论
为什么被折叠?


