


源码获取:俺的博客首页 "资源" 里下载!
项目介绍
基于Springboot + vue实现的蜗牛兼职
本系统包含管理员、用户两个角色。
管理员角色:用户管理、企业管理、兼职信息管理、职位申请管理、留言板管理、系统管理。
用户角色:个人中心、职位申请管理。
环境需要
1.运行环境:最好是java jdk 1.8,我们在这个平台上运行的。其他版本理论上也可以。
2.IDE环境:IDEA,Eclipse,Myeclipse都可以。推荐IDEA;
3.硬件环境:windows 7/8/10 1G内存以上;或者 Mac OS;
4.数据库:MySql 5.7/8.0版本均可;
5.是否Maven项目:是;
技术栈
后端:SpringBoot+Mybaits
前端:Vue+elementui
使用说明
项目运行:
1. 使用Navicat或者其它工具,在mysql中创建对应sql文件名称的数据库,并导入项目的sql文件;
2. 使用IDEA/Eclipse/MyEclipse导入项目,导入成功后请执行maven clean;maven install命令;
3. 将项目中application.yml配置文件中的数据库配置改为自己的配置;
4. 运行项目,在浏览器中输入地址:
前台地址:http://localhost:8080/springbootc8v27/front/index.html
用户:用户1 密码:123456
后台地址
http://localhost:8080/springbootc8v27/admin/dist/index.html#/login
管理员 abo 密码 abo
用户:用户1 密码:123456
企业:企业1 密码:123456
注意项目文件路径中不能含有中文、空格、特殊字符等,否则图片会上传不成功。
文档结构展示:

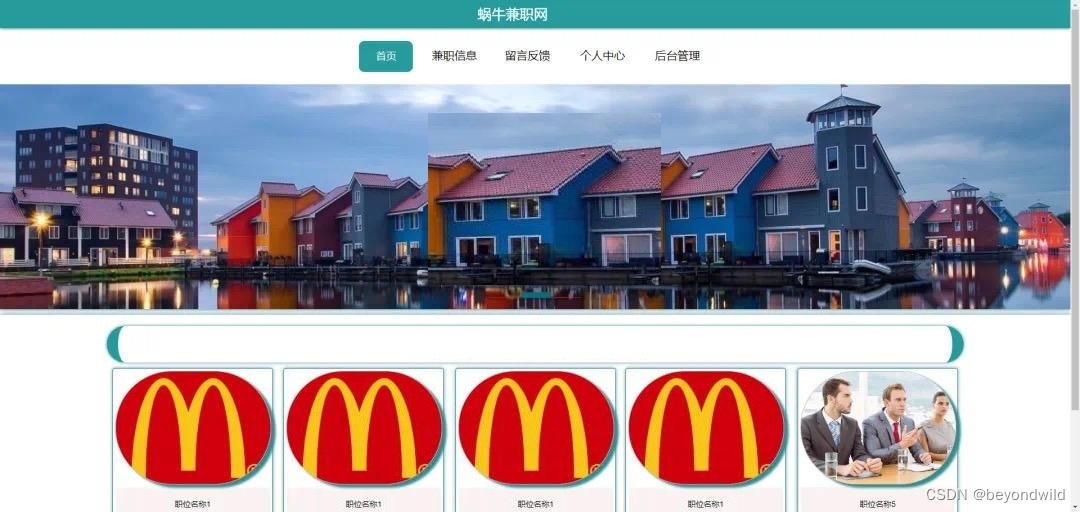
首页展示页面:
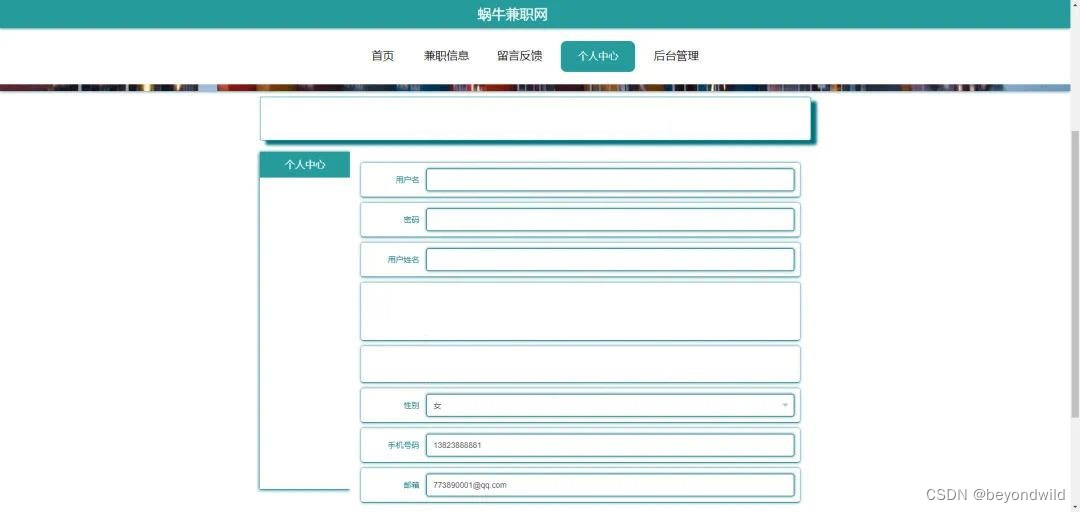
个人中心展示页面:
首页信息展示页面:
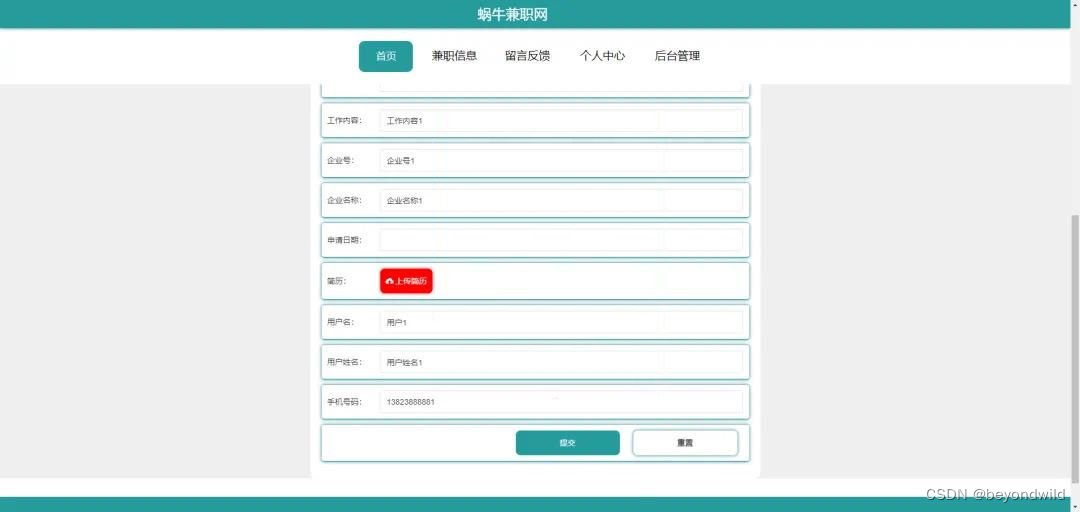
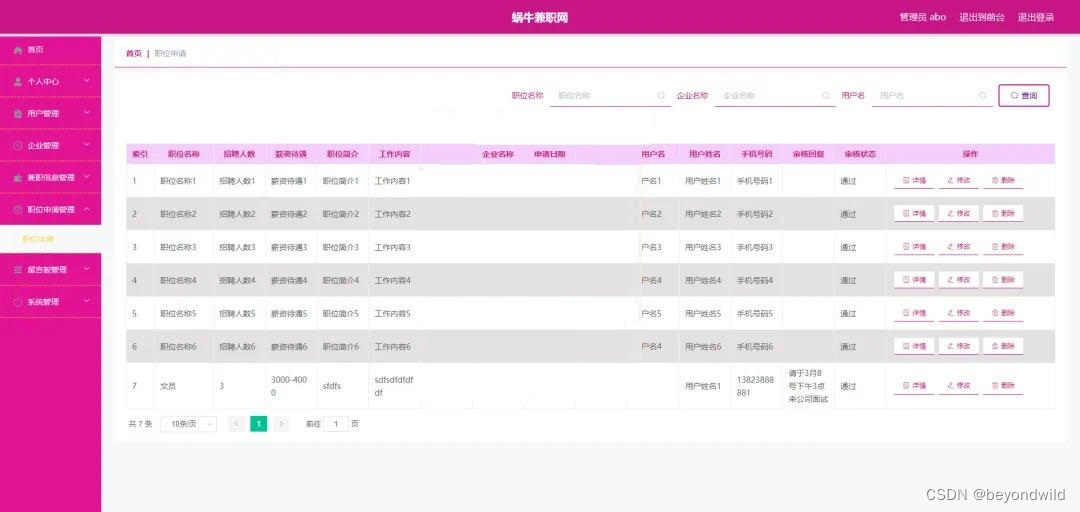
职位申请信息展示页面:
用户管理展示页面:

企业管理展示页面:

登录控制层:
/**
 * @Author yy
 * @Description 登录
 * @Date 2022.2.17
 */


public class LoginController extends HttpServlet {
    @Override
    protected void doGet(HttpServletRequest req, HttpServletResponse resp) throws IOException {
        JSONObject jsonObject = new JSONObject();
        String username = req.getParameter("username");
        String password = req.getParameter("password");
        resp.setCharacterEncoding("UTF-8");

        HttpSession session = req.getSession();
        if (StringUtils.isBlank(username) || StringUtils.isBlank(password)) {
            jsonObject.put("code", 2000);
            jsonObject.put("flag", "fail");
            jsonObject.put("user", null);
            jsonObject.put("msg", "usernameOrPasswordIsBank");//用户名密码不能为空
            resp.getWriter().print(jsonObject);
            return;
        }
        password = MyMD5Util.encrypt(password);
        System.out.println(password);
        BusinessUserVO businessUserVO = new BusinessUserVO();
        businessUserVO.setUsername(username);
        businessUserVO.setPassword(password);
        StudentUserVO studentUserVO = new StudentUserVO();
        studentUserVO.setUsername(username);
        studentUserVO.setPassword(password);

        String flag1 = null;
        String flag2 = null;
        try {
            flag1 = BusinessUserDao.selectUsername(businessUserVO);
            if ("ok".equals(flag1)) {//企业用户名存在
                BusinessUserDTO businessUserDTO = BusinessUserDao.select(businessUserVO);
                if (businessUserDTO != null) {
                    jsonObject.put("code", 2000);
                    jsonObject.put("flag", "success");//登录成功
                    jsonObject.put("user", businessUserDTO);
                    jsonObject.put("msg", "login_success");
                    session.setAttribute("businessUser",businessUserDTO);
                    resp.getWriter().print(jsonObject);
                    return;
                } else {
                    jsonObject.put("code", 2000);
                    jsonObject.put("flag", "fail");//登录失败
                    jsonObject.put("user", null);
                    jsonObject.put("msg", "passwordError");//密码错误
                    resp.getWriter().print(jsonObject);
                    return;
                }
            }
            flag2 = StudentUserDao.selectUsername(studentUserVO);
            if ("ok".equals(flag2)) {//学生用户名存在
                StudentUser studentUser = StudentUserDao.select(studentUserVO);
                if (studentUser != null) {
                    jsonObject.put("code", 2000);
                    jsonObject.put("flag", "success");//登录成功
                    jsonObject.put("user", studentUser);
                    jsonObject.put("msg", "login_success");
                    session.setAttribute("studentUser",studentUser);
                    resp.getWriter().print(jsonObject);
                    return;
                } else {
                    jsonObject.put("code", 2000);
                    jsonObject.put("flag", "fail");//登录失败
                    jsonObject.put("user", null);
                    jsonObject.put("msg", "passwordError");//密码错误
                    resp.getWriter().print(jsonObject);
                    return;
                }

            }
            //用户名不存在,前往注册
            jsonObject.put("code", 2000);
            jsonObject.put("flag", "fail");//登录失败
            jsonObject.put("user", null);
            jsonObject.put("msg", "usernameIsNotExist");//密码错误
            resp.getWriter().print(jsonObject);
            return;

        } catch (SQLException throwables) {
            throwables.printStackTrace();
        }
        return;

    }

    @Override
    protected void doPost(HttpServletRequest req, HttpServletResponse resp) throws IOException {
        doGet(req, resp);
    }
}
管理员登录控制层:
public class AdminLoginController extends HttpServlet {
    @SneakyThrows
    @Override
    protected void doGet(HttpServletRequest req, HttpServletResponse resp) throws ServletException, IOException {
        String username = req.getParameter("username");
        String password = req.getParameter("password");
        password = MyMD5Util.encrypt(password);
        JSONObject jsonObject = new JSONObject();
        HttpSession session = req.getSession();
        Admin admin = new Admin(username, password);
        Admin adminFromDB = AdminDao.findByUsernamePassword(admin);
        if (adminFromDB!=null){
            jsonObject.put("code",2000);
            jsonObject.put("msg","login_success");
            jsonObject.put("admin",adminFromDB.getUsername());
            jsonObject.put("flag","success");
            resp.getWriter().print(jsonObject);
            session.setAttribute("admin",adminFromDB);
            return;
        }else {
            jsonObject.put("code",2000);
            jsonObject.put("msg","no admin");
            jsonObject.put("admin",null);
            jsonObject.put("flag","fail");
            resp.getWriter().print(jsonObject);
            return;
        }

    }

    @Override
    protected void doPost(HttpServletRequest req, HttpServletResponse resp) throws ServletException, IOException {
        this.doGet(req, resp);
    }
}
提交个人简介控制层:
public class SubmitResumeController extends HttpServlet {
    @SneakyThrows
    @Override
    protected void doGet(HttpServletRequest req, HttpServletResponse resp) throws ServletException, IOException {
        JSONObject jsonObject = new JSONObject();
        DiskFileItemFactory factory = new DiskFileItemFactory();
        ServletFileUpload upload = new ServletFileUpload(factory);
        req.setCharacterEncoding("UTF-8");
        upload.setHeaderEncoding("UTF-8");
        List<FileItem> items = upload.parseRequest(req);
        StringBuffer sb = new StringBuffer();
        String resumeFile = null;
        for (FileItem item : items) {
            String name = item.getFieldName();
            InputStream inputStream = item.getInputStream();
            if (!name.equals("resumeFile")){
                String string = item.getString();
                string = new String(string.getBytes("ISO8859_1"), StandardCharsets.UTF_8);
                sb.append(string+"&&");
            }else {
                String[] split = sb.toString().split("&&");
                String studentName = split[0];
                String studentUsername = split[1];
                String recruitInfoId = split[2];
                String path=req.getServletContext().getRealPath("/");
                String fieldName = studentName+"_"+studentUsername+"_"+recruitInfoId+"_"+item.getName();
                String filePath = path+fieldName;
                resumeFile = fieldName;
                File file = new File(filePath);
                BufferedInputStream bufferedInputStream = new BufferedInputStream(inputStream);
                FileOutputStream fileOutputStream = new FileOutputStream(file);
                int line;
                while ((line = bufferedInputStream.read())!=-1){
                    fileOutputStream.write(line);
                }
                fileOutputStream.flush();
                fileOutputStream.close();
                bufferedInputStream.close();
            }
        }
        String[] split = sb.toString().split("&&");
        String studentName = split[0];
        String studentUsername = split[1];
        String recruitInfoId = split[2];
        String applyPosition = split[3];
        String phoneNum = split[4];
        String email = split[5];
        Resume resume = new Resume(studentUsername, Integer.parseInt(recruitInfoId), studentName, applyPosition, phoneNum, email, resumeFile);
        int insert = ResumeDao.insert(resume);
        if (insert == 1){
            jsonObject.put("code",2000);
            jsonObject.put("msg","add success");
            jsonObject.put("flag","success");
            jsonObject.put("data",resume);
            resp.getWriter().print(jsonObject);
            return;
        }else {
            jsonObject.put("code",2000);
            jsonObject.put("msg","add fail");
            jsonObject.put("flag","fail");
            jsonObject.put("data",null);
            resp.getWriter().print(jsonObject);
        }


    }

    @Override
    protected void doPost(HttpServletRequest req, HttpServletResponse resp) throws ServletException, IOException {
        this.doGet(req, resp);
    }
}
源码获取:俺的博客首页 "资源" 里下载!


 1004
1004


 被折叠的 条评论
为什么被折叠?
被折叠的 条评论
为什么被折叠?
 到【灌水乐园】发言


