


装饰者模式以其不改变原对象,并且与原对象有着相同接口的特点,广泛应用于日常开发和主流框架的功能中。
一、日常开发
1、数据埋点
假如我们开发了一个移动端网页,有图书搜索、小游戏、音频播放和视频播放等主要功能,初期,我们并不知道这几个功能用户的使用规律。
有一天,产品经理说,我想要各个功能用户的使用规律,并且通过echarts绘制折线图和柱状图,能加吗?
这就加…
起初:
<button id="smallGameBtn">小游戏</button>
<script> var enterSmallGame = function () {console.log('进入小游戏')}document.getElementById('smallGameBtn').onclick = enterSmallGame; </script>
通过装饰者模式增加数据埋点之后:
<button id="smallGameBtn">小游戏</button>
<script> Function.prototype.after= function (afterFn) {var selfFn = this;return function () {var ret = selfFn.apply(this, arguments)afterFn.apply(this.arguments)return ret}}var enterSmallGame = function () {console.log('进入小游戏')}var dataLog = function () {console.log('数据埋点')}enterSmallGame = enterSmallGame.after(dataLog)document.getElementById('smallGameBtn').onclick = enterSmallGame; </script>
定义Function.prototype.after函数,其中通过闭包的方式缓存selfFn,然后返回一个函数,该函数首先执行selfFn,再执行afterFn,这里也很清晰的可以看出两个函数的执行顺序。
在当前例子中,首先执行进入小游戏的功能,然后,再执行数据埋点的功能。
可以看出,加了数据埋点,执行函数是enterSmallGame,不加也是。同时,也未对函数enterSmallGame内部进行修改。
2、表单校验
假如,我们开发了登录页面,有账号和密码输入框。
我们知道,校验是必须加的功能。
不加校验:
账号:<input id="account" type="text">
密码:<input id="password" type="password">
<button id="loginBtn">登录</button>
<script> var loginBtn = document.getElementById('loginBtn')var loginFn = function () {console.log('登录成功')}loginBtn.onclick = loginFn; </script>
通过装饰者模式加校验之后:
账号:<input id="account" type="text">
密码:<input id="password" type="password">
<button id="loginBtn">登录</button>
<script> var loginBtn = document.getElementById('loginBtn')Function.prototype.before = function (beforeFn) {var selfFn = this;return function () {if (!beforeFn.apply(this, arguments)) {return;}return selfFn.apply(this, arguments)}}var loginFn = function () {console.log('登录成功')}var validateFn = function () {var account = document.getElementById('account').value;var password = document.getElementById('password').value;return account && password;}loginFn = loginFn.before(validateFn)loginBtn.onclick = loginFn; </script>
定义Function.prototype.before函数,其中通过闭包的方式缓存selfFn,然后返回一个函数,该函数首先执行beforeFn,当其返回true时,再执行afterFn。
在当前例子中,首先执行表单校验的功能,然后,提示登录成功,进入系统。
可以看出,加了表单校验,执行函数是loginFn,不加也是。同时,也未对函数loginFn内部进行修改。
二、框架功能(vue)
1、数组监听
vue的特点之一就是数据响应式,数据的变化会改变视图的变化。但是,数组中通过下标索引的方式直接修改不会引起视图变化,通过push、pop、shift、unshift和splice等方式修改数据就可以。
这里我们只看响应式处理数据的核心逻辑Observer:
export class Observer {value: any;dep: Dep;vmCount: number; // number of vms that have this object as root $dataconstructor (value: any) {if (Array.isArray(value)) { protoAugment(value, arrayMethods)}}
}
如果需要响应式处理的数据满足Array.isArray(value),则可通过protoAugment对数据进行处理。
function protoAugment (target, src: Object) {target.__proto__ = src
}
这里修改目标的__proto__ 指向为src,protoAugment(value, arrayMethods)执行的含义就是修改数组的原型指向为arrayMethods:
import { def } from '../util/index'

const arrayProto = Array.prototype
export const arrayMethods = Object.create(arrayProto)

const methodsToPatch = ['push','pop','shift','unshift','splice','sort','reverse'
]

methodsToPatch.forEach(function (method) {// cache original methodconst original = arrayProto[method]def(arrayMethods, method, function mutator (...args) {const result = original.apply(this, args)const ob = this.__ob__let insertedswitch (method) {case 'push':case 'unshift':inserted = argsbreakcase 'splice':inserted = args.slice(2)break}if (inserted) ob.observeArray(inserted)// notify changeob.dep.notify()return result})
})
通过const arrayProto = Array.prototype的方式缓存Array的原型,通过const arrayMethods = Object.create(arrayProto)原型继承的方式让arrayMethods上继承了Array原型上的所有方法。这里有定义了包含push和splice等方法的数组methodsToPatch,循环遍历methodsToPatch数组并执行def方法:
export function def (obj: Object, key: string, val: any, enumerable?: boolean) {Object.defineProperty(obj, key, {value: val,enumerable: !!enumerable,writable: true,configurable: true})
}
这里的目的是当访问到methodsToPatch中的方法method的时候,先const result = original.apply(this, args)执行的原始方法,获取到方法的执行结果result。然后通过switch (method) 的方式针对不同的方法进行参数的处理,手动响应式的处理,并且进行视图重新渲染的通知ob.dep.notify()。
整个过程可以看出,是对数组的原型进行了装饰者模式的处理。目的是,针对push、pop、shift、unshift和splice等方法进行装饰,当通过这些方法进行数组数据的修改时,在执行本体函数arrayProto[method]的同时,还执行了手动响应式处理和视图更新通知的操作。
2、重写挂载
vue还有特点是支持跨平台,不仅可以使用在web平台运行,也可以使用在weex平台运行。
首先定义了公共的挂载方法:
// public mount method
Vue.prototype.$mount = function ( el?: string | Element,hydrating?: boolean ): Component {el = el && inBrowser ? query(el) : undefinedreturn mountComponent(this, el, hydrating)
}
通过装饰者模式处理平台相关的节点挂载和模板编译:
const mount = Vue.prototype.$mount
Vue.prototype.$mount = function (el?: string | Element,hydrating?: boolean
): Component {el = el && query(el)/* istanbul ignore if */if (el === document.body || el === document.documentElement) {process.env.NODE_ENV !== 'production' && warn(`Do not mount Vue to <html> or <body> - mount to normal elements instead.`)return this}const options = this.$options// resolve template/el and convert to render functionif (!options.render) {let template = options.templateif (template) {if (typeof template === 'string') {if (template.charAt(0) === '#') {template = idToTemplate(template)/* istanbul ignore if */if (process.env.NODE_ENV !== 'production' && !template) {warn(`Template element not found or is empty: ${options.template}`,this)}}} else if (template.nodeType) {template = template.innerHTML} else {if (process.env.NODE_ENV !== 'production') {warn('invalid template option:' + template, this) }return this}} else if (el) {template = getOuterHTML(el)}if (template) {/* istanbul ignore if */if (process.env.NODE_ENV !== 'production' && config.performance && mark) {mark('compile')}const { render, staticRenderFns } = compileToFunctions(template, {outputSourceRange: process.env.NODE_ENV !== 'production',shouldDecodeNewlines,shouldDecodeNewlinesForHref,delimiters: options.delimiters,comments: options.comments}, this)options.render = renderoptions.staticRenderFns = staticRenderFns/* istanbul ignore if */if (process.env.NODE_ENV !== 'production' && config.performance && mark) {mark('compile end')measure(`vue ${this._name} compile`, 'compile', 'compile end')}}}// 这里执行缓存的与平台无关的mount方法return mount.call(this, el, hydrating)
}
可以看出,在web平台中先缓存公共的挂载方法。当其处理完平台相关的挂载节点和模板编译等操作后,再去执行与平台无关的挂载方法。
总结
装饰者模式,是一种可以首先定义本体函数进行执行。然后,在需要进行功能添加的时候,重新定义一个用来装饰的函数。装饰的函数可以在本体函数之前执行,也可以在本体函数之后执行,在某一天不需要装饰函数的时候,也可以只执行本体函数。因为本体函数和通过装饰者模式改造的函数有着相同的接口,而且也可以不必去熟悉本体函数内部的实现。
最后
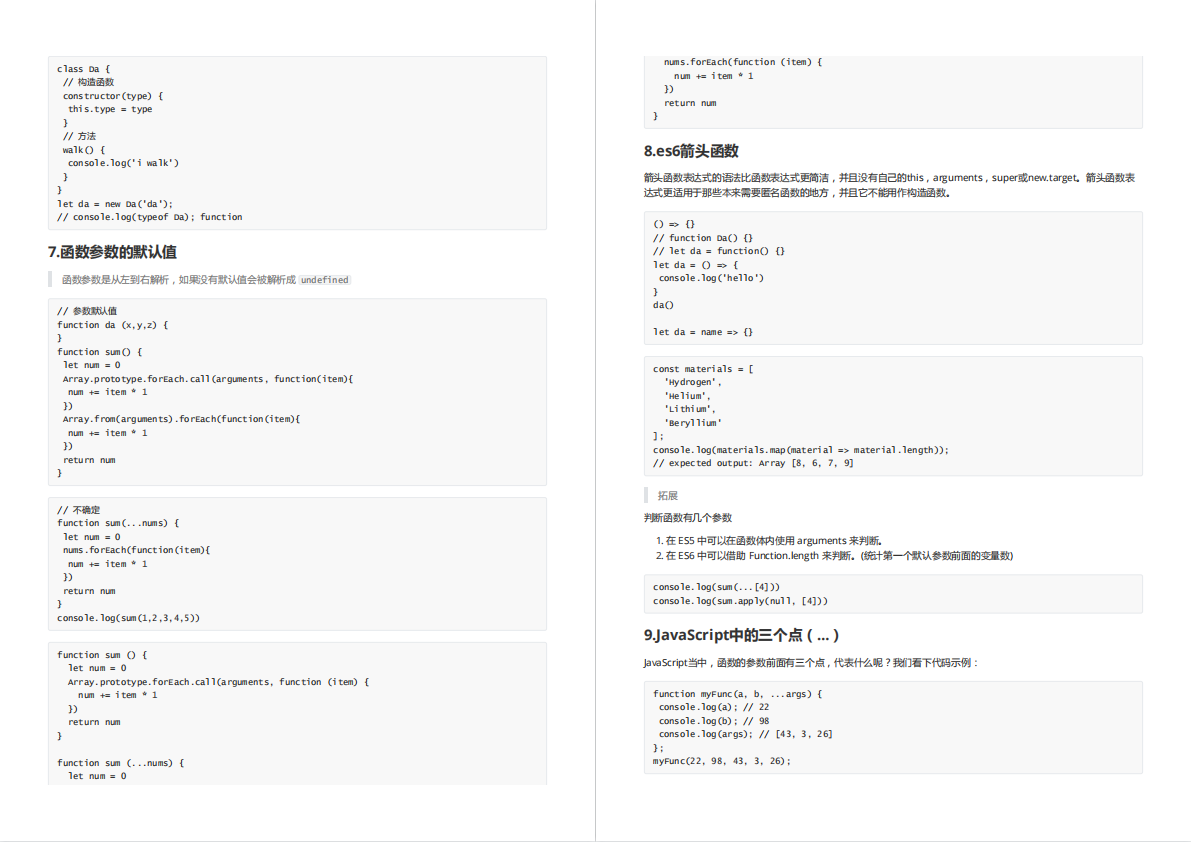
最近还整理一份JavaScript与ES的笔记,一共25个重要的知识点,对每个知识点都进行了讲解和分析。能帮你快速掌握JavaScript与ES的相关知识,提升工作效率。
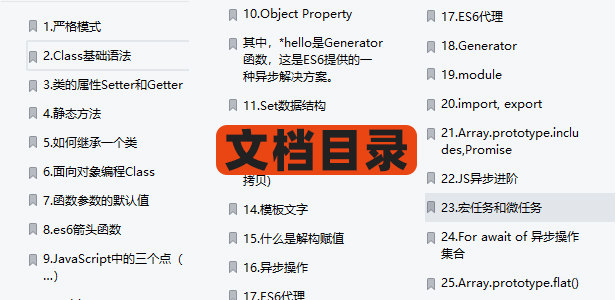


有需要的小伙伴,可以点击下方卡片领取,无偿分享


 277
277


 被折叠的 条评论
为什么被折叠?
被折叠的 条评论
为什么被折叠?
 到【灌水乐园】发言


