


好几次将自己的github代码git clone到本地,在自己的电脑上编写修改代码之后再git push的时候,都会遇到access denied的问题。好不容易解决了,下次再遇到的时候又忘了怎么做,所以专门写一篇笔记从头到尾来记录一下解决方法。
操作系统:MacOS
git clone
clone http
git clone https://github.com/username/repo_name.git
clone SSH
git clone git@github.com:username/repo_name.git
本文一开始用的是http,但是解决未果,之后改为了SSH。
git push
现在你已经将你的代码拷贝到本地,你做了一些修改,打算远程push到你的github上,遇到了Authentication failed的问题
$ git push
Username for 'https://github.com': your_username
Password for 'https://your_username@github.com':
报错:
remote: Support for password authentication was removed on August 13, 2021.
remote: Please see https://docs.github.com/en/get-started/getting-started-with-git/about-remote-repositories#cloning-with-https-urls for information on currently recommended modes of authentication.
fatal: Authentication failed for 'https://github.com/...
github现在从本地远程git push已经取消账号密码认证的方法了,所以这里的password并不是你的github账号密码。详见cloning-with-https-urls
git clone http的认证
如果一开始你是使用http URL克隆repo,那么可以参考以下方法。

创建个人访问令牌
官网资料告诉我们要使用git clone, git fetch, git pull, git push等操作,需要通过创建并验证个人访问令牌,详见如何创建个人访问令牌(personal access token)。
创建完personal access token后,记得保存你的token,一旦网页刷新之后就看不到token了。
再次尝试git push,password输入你刚创建的access token。如果能够完成push,代表认证成功。如果失败,可能会遇到报错The requested URL returned error: 403
接下来介绍第二种认证方式:SSH
git clone SSH的认证
- 使用SSH URL
如果一开始用的clone的是http URL,那么就需要将URL改成SSH URL:
$ git remote set-url origin git@github.com:username/repo.git
- 确认自己有无密钥
 $ ls -al ~/.ssh
 # 列出.ssh 目录里的文件
github支持的公钥文件名有:
- id_rsa.pub
- id_ecdsa.pub
- id_ed25519.pub
如果你已有生成好的ssh密钥,就可以跳到步骤5:上传密钥。
- 生成新的密钥
# 打开终端
# 下面的命令行以提供的电子邮件地址为标签创建新 SSH 密钥(电子邮件是注册github账号时所用的)
$ ssh-keygen -t ed25519 -C "your_email@example.com"

# 键入存储密钥的文档(选择默认文档直接回车)
> Enter a file in which to save the key (/Users/YOU/.ssh/id_ALGORITHM): [Press enter]

# 这里输入的密码就是之后git操作要求认证时输入的密码
> Enter passphrase (empty for no passphrase): [Type a passphrase]
> Enter same passphrase again: [Type passphrase again]
- 将密钥加入ssh-agent
生成密钥之后还需要将密钥加入密钥代理(ssh-agent),根据环境的不同,输入的命令行有所不同。我这里使用的是MacOs
参考官网:如果你使用的是 macOS Sierra 10.12.2 或更高版本,则需要修改 ~/.ssh/config 文件以自动将密钥加载到 ssh-agent 中并在密钥链中存储密码。
$ eval "$(ssh-agent -s)"
Agent pid ...

$ open ~/.ssh/config
The file /Users/macbookp/.ssh/config does not exist.

# 如果文件不存在,则创建文件
$ touch ~/.ssh/config
创建~/.ssh/config文件之后,打开 ~/.ssh/config 文件并添加以下内容。
Host github.com
  AddKeysToAgent yes
  UseKeychain yes
  IdentityFile ~/.ssh/id_ed25519
然后将 SSH 私钥添加到 ssh-agent 并将密码存储在密钥链中。
$ ssh-add --apple-use-keychain ~/.ssh/id_ed25519

# 这里输入的password就是前面创建密钥时的密码
Enter passphrase for /Users/macbookp/.ssh/id_ed25519:
Identity added: ...
- 上传密钥
将生成或已有的密钥上传至github,首先拷贝你的公钥
# 此命令行拷贝公钥至剪贴板
$ pbcopy < ~/.ssh/id_ed25519.pub
然后点击头像->设置->SSH 和 GPG 密钥->New SSH key,输入Title,将公钥粘贴在Key下面的输入框,Add SSH key就完成了。

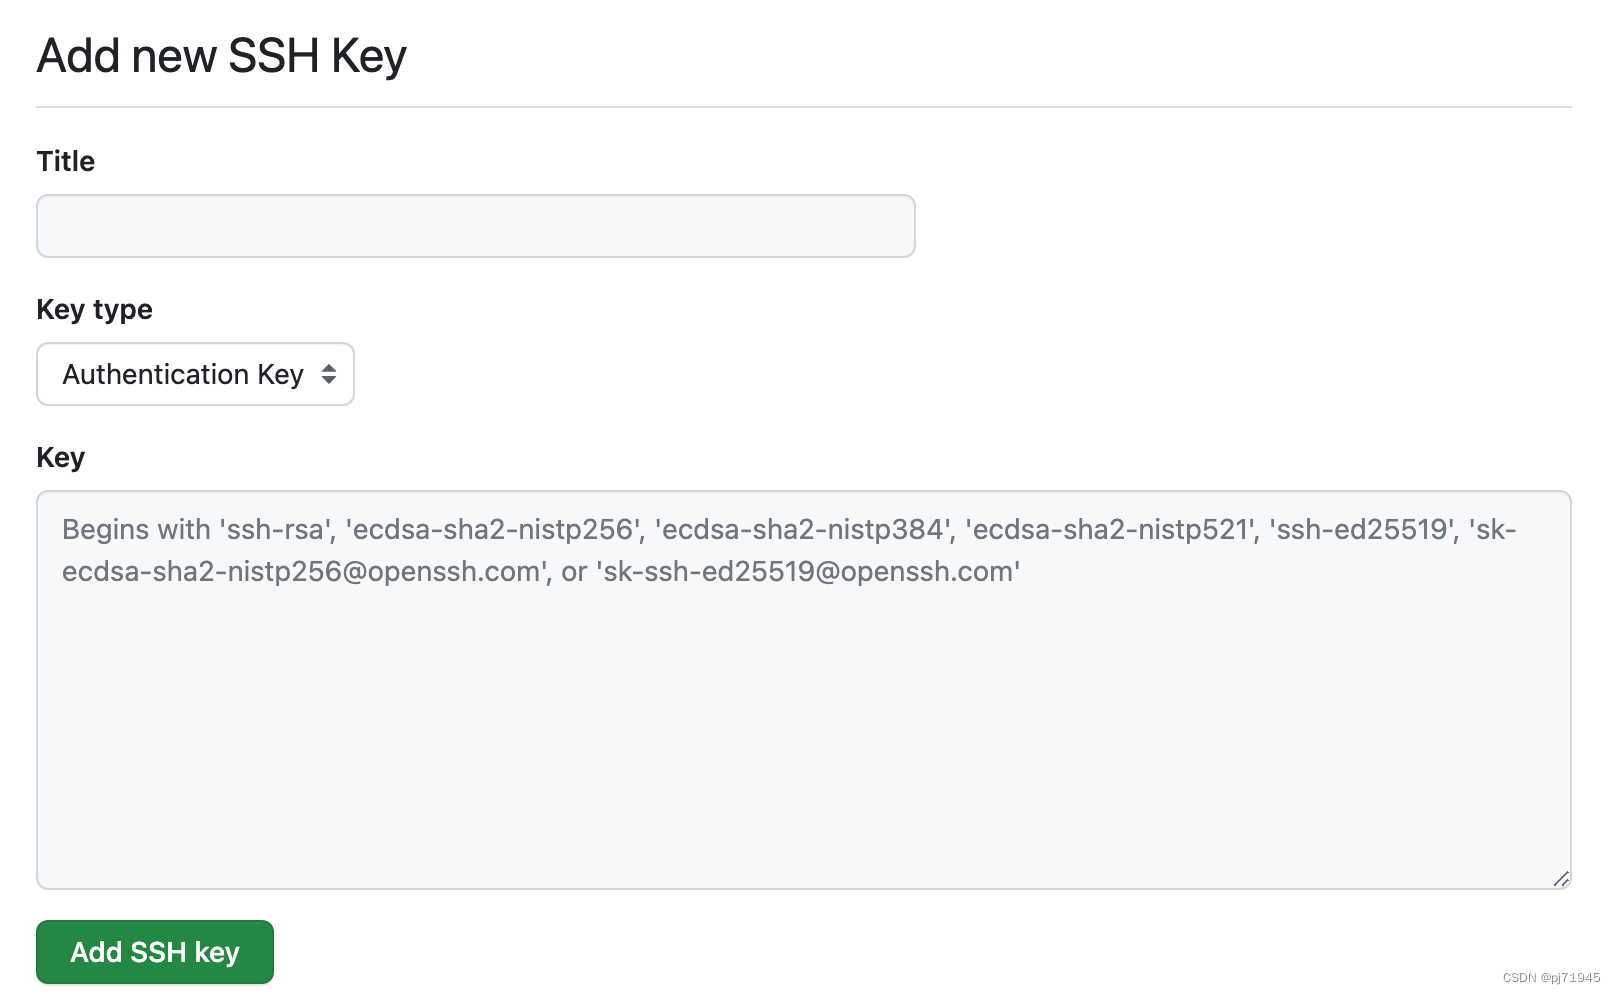
详情参见官网新增 SSH 密钥到 GitHub 帐户
push 成功
一番操作之后,我们再试一下git push
$ git push
Enumerating objects: 4, done.
Counting objects: 100% (4/4), done.
Delta compression using up to 4 threads
Compressing objects: 100% (3/3), done.
Writing objects: 100% (3/3), 570 bytes | 570.00 KiB/s, done.
...
大功告成,困扰我好几次的问题终于记下来了。如果你觉得有用记得点赞👍~


 8582
8582


 被折叠的 条评论
为什么被折叠?
被折叠的 条评论
为什么被折叠?
 到【灌水乐园】发言


