


Nacos.doc:https://nacos.io/zh-cn/docs/architecture.html
1.添加依赖
<!--nacos配置中心-->
<dependency>
    <groupId>com.alibaba.cloud</groupId>
    <artifactId>spring-cloud-starter-alibaba-nacos-config</artifactId>
</dependency>
<!--支持springCloud加载系统配置的依赖-->
<dependency>
    <groupId>org.springframework.cloud</groupId>
    <artifactId>spring-cloud-starter-bootstrap</artifactId>
</dependency>
2.在nacos中新建配置,新建配置文件bootstrap.yml,优先级将会高于application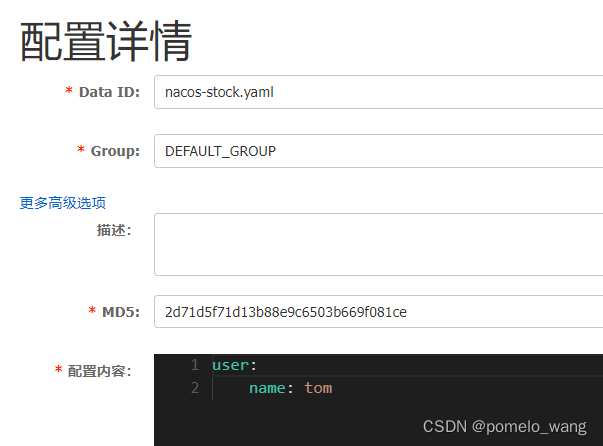
spring:
  cloud:
    nacos:
      config:
        #指定配置中心的位置
        server-addr: localhost:8848
        #指定命名空间(ID),对于空间名为public的不用填写
        #namespace:
        group: DEFAULT_GROUP
        #指定文件后缀,一般格式:服务名称+后缀名
          #因为当前服务名称为nacos-stock,会自动寻找nacos-stock.yaml的文件
        file-extension: yaml
#启用配置自动刷新
refresh-enabled: true
3.测试是否生效
在controller中利用@Value注解从配置文件中注入username【@Value(“${user.name}”)】,在Controller方法中打印Username,如果成功打印,代表注入成功,配置生效。
注意:
(1).如果application配置信息中同样有如上配置,普遍而言会由application覆盖bootstrap文件;有可能会因为版本问题导致覆盖失败。
(2).username十分特殊,以上配置不一定生效
4.动态刷新@RefreshScope注解
对于值会发生变化的情况,在类/方法上添加@RefreshScope注解,添加以后,不需要重启项目,当值修改变更后,会自动刷新,生效。
5.如果依旧不生效,可能是版本兼容问题,添加配置
config:
    shared-configs:
        - data-id: nacos-stock.yaml
        #强制刷新
        refresh: true


 7万+
7万+


 被折叠的 条评论
为什么被折叠?
被折叠的 条评论
为什么被折叠?
 到【灌水乐园】发言


