


MenuDrawer 简单使用
MenuDrawer可以很简单的实现侧滑菜单功能,实现上滑下滑隐藏菜单同样简单粗暴.
1.添加依赖,本人用Android Studio编译.很简单一句话:
compile ‘net.simonvt.menudrawer:menudrawer:3.0.6’
使用Eclipse 可以自己导入工程
gitHub:https://github.com/SimonVT/android-menudrawer
2.MenuDrawer有两种实现方式,一种纯代码方式:
MenuDrawer mDrawer = MenuDrawer.attach(this,MenuDrawer.Type.OVERLAY,Position.RIGHT);
        mDrawer.setContentView(R.layout.activity_main);
        mDrawer.setMenuView(R.layout.listview_item);
MenuDrawer.attach(context,Menu类型,Menu位置)
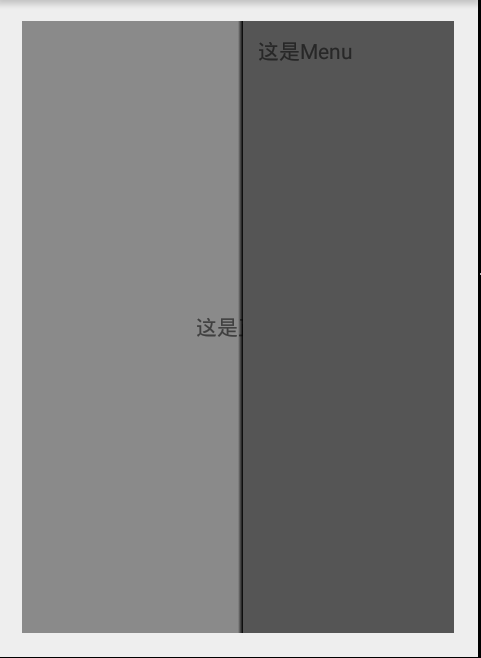
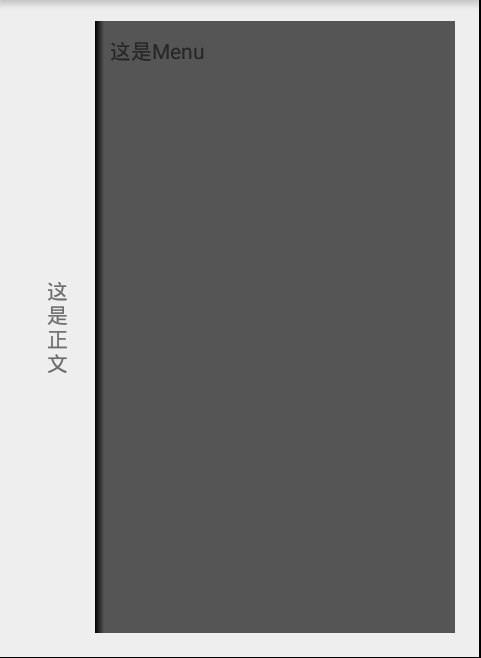
OVERLAY 菜单覆盖正文;
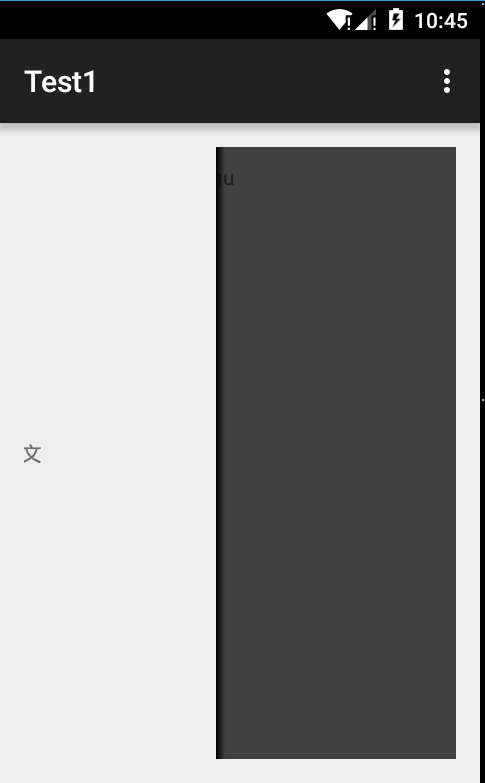
BEHIND 抽屉模式
Position 顾名思义 TOP,BUTTON,LEFT,RIGHT
setContentView()设置正文容器,一般为正文Activity
setMenuView()设置Menu容器.
以上为必须的方法.
更多的方法,可以点出来自己摸索.
setMenuSize()设置Menu拉出来的宽度/高度
...
3.布局文件实现方式
以下是布局文件
<?xml version="1.0" encoding="utf-8"?>
<net.simonvt.menudrawer.OverlayDrawer xmlns:android="http://schemas.android.com/apk/res/android"
    xmlns:app="http://schemas.android.com/apk/res-auto"
    android:layout_width="match_parent"
    android:layout_height="match_parent"
    android:orientation="vertical"
    app:mdMenuSize="64dp"
    app:mdPosition="right">

    <LinearLayout
        android:id="@id/mdMenu"
        android:layout_width="match_parent"
        android:layout_height="wrap_content"
        android:orientation="horizontal"
        android:padding="10dp">

        <TextView
            android:layout_width="wrap_content"
            android:layout_height="wrap_content"
            android:text="这是Menu" />
    </LinearLayout>

    <LinearLayout
        android:id="@id/mdContent"
        android:layout_width="match_parent"
        android:layout_height="match_parent"
        android:gravity="center"
        android:orientation="vertical"
        android:padding="16dp">

        <TextView
            android:layout_width="wrap_content"
            android:layout_height="wrap_content"
            android:text="这是正文" />
    </LinearLayout>

</net.simonvt.menudrawer.OverlayDrawer>
app:mdMenuSize="64dp"设置大小
app:mdPosition="right"设置位置
与代码实现类似.
布局文件分为两部分,menu和content
且必须分别设置ID为:android:id="@id/mdMenu",
android:id="@id/mdContent"
java代码只需inflate出来布局文件,find到menudrawer做进一步设置
import android.os.Bundle;
import android.support.annotation.Nullable;
import android.support.v4.app.Fragment;
import android.view.LayoutInflater;
import android.view.View;
import android.view.ViewGroup;

import net.simonvt.menudrawer.MenuDrawer;
import net.simonvt.menudrawer.OverlayDrawer;

/**
 * Created by liu on 2015/7/9.
 */
public class MainFragment extends Fragment {
    @Nullable
    @Override
    public View onCreateView(LayoutInflater inflater, ViewGroup container, Bundle savedInstanceState) {
        View view = inflater.inflate(R.layout.fragment_main, container, false);
        OverlayDrawer drawer = (OverlayDrawer) view.findViewById(R.id.drawer);
        drawer.setTouchMode(MenuDrawer.TOUCH_MODE_FULLSCREEN);
        return view;
    }
}
MenuDrawer有几个子类:OverlayDrawer,SlidingDrawer,StaticDrawer
分别对应
更改不同的效果更改布局文件中net.simonvt.menudrawer.OverlayDrawer
部分即可
在代码中Type.同样对应不同的效果.
4.代码中实现,目前发现只能用在在Activity中,写在Fragment中会报错.
在布局文件中实现,可以方便的用在Fragment中.
本文作者:pompip.转载请注明出处http://blog.csdn.net/pompip/article/details/46822151


 397
397


 被折叠的 条评论
为什么被折叠?
被折叠的 条评论
为什么被折叠?
 到【灌水乐园】发言


