


 本文介绍了如何在SpringBoot应用中动态注册接口并在服务启动后自动初始化,通过监听ServiceApplicationEvent事件实现,确保接口在容器重启后仍能正确注册。
1. 背景
前文( SpringBoot中动态注册接口-CSDN博客)已经示例说明了如何动态向springboot中注册接口,并将接口信息入库。但是,当服务重启后,这些接口便不存在了。此时我们需要在容器启动后重新注册。因而,我们可以使用监听等方式去加以实现(当然,也可以使用其他方法,例如在一个spring容器的对象中用@PostConstruct等实现,不唯一)。
2. 代码说明
- 定义一个监听事件ServiceApplicationEvent
- 定义一个服务注册的监听InitServiceListener用来监听ServiceApplicationEvent事件
- 在启动后发布事件publishEvent,用来触发监听
3. 源码
3.1 ServiceApplicationEvent
import org.springframework.context.ApplicationEvent;

/**
 * @author pp_lan
 * @date 2024/1/5
 */
public class ServiceApplicationEvent extends ApplicationEvent {

    public ServiceApplicationEvent(Object source) {
        super(source);
    }

}
3.1 InitServiceListener
import com.hz.pro.artifact.dynamic.bean.ServiceApplicationEvent;
import com.hz.pro.artifact.dynamic.service.ApiServiceHandler;
import org.springframework.beans.factory.annotation.Autowired;
import org.springframework.context.ApplicationListener;
import org.springframework.stereotype.Component;

/**
 * @author pp_lan
 * @date 2024/1/5
 */
@Component
public class InitServiceListener implements ApplicationListener<ServiceApplicationEvent> {


    @Autowired
    private ApiServiceHandler apiServiceHandler;

    @Override
    public void onApplicationEvent(ServiceApplicationEvent event) {
        apiServiceHandler.initialRegister();
    }
}
3.1 启动类
在容器启动后,使用publishEvent注册事件,触发监听器,使其执行,初始化服务。
@SpringBootApplication(exclude = {FlywayAutoConfiguration.class})
@ServletComponentScan
public class ProArtifactApplication {

	private static final Logger LOGGER = LoggerFactory.getLogger(ProArtifactApplication.class);

	public static void main(String[] args) {

		ConfigurableApplicationContext context = SpringApplication.run(ProArtifactApplication.class, args);
		context.publishEvent(new ServiceApplicationEvent(new Object()));

		ConfigurableEnvironment environment = context.getEnvironment();
		String port = environment.getProperty("server.port", String.valueOf(8080));
		String projectName = environment.getProperty("server.servlet.context-path", "/");
		LOGGER.info(String.format("启动成功,访问:http://localhost:%s%s", port, projectName));
	}

}
4. 运行
4.1 初始化日志
日志中显示对应的接口已成功初始化

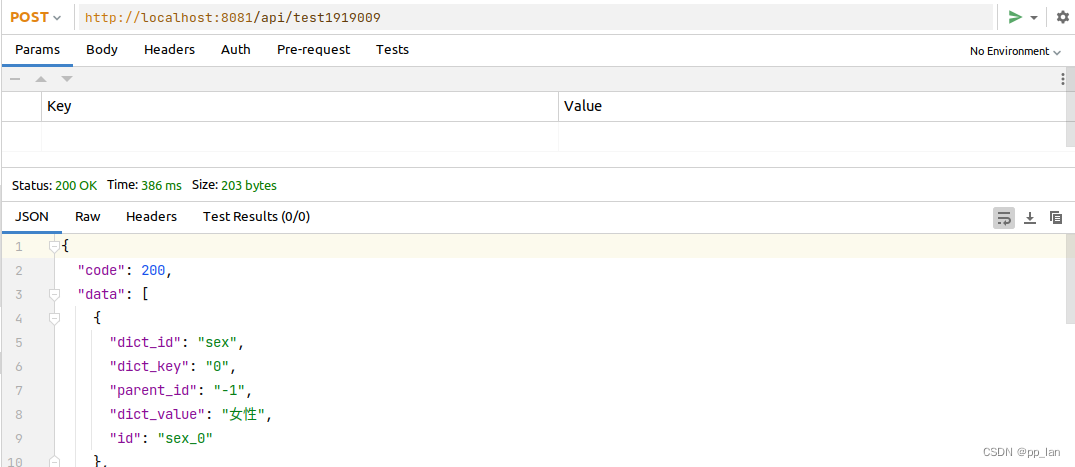
4.2 访问已配置的接口
数据库中已配置接口可以正常访问


 1113
1113


 被折叠的 条评论
为什么被折叠?
被折叠的 条评论
为什么被折叠?
 到【灌水乐园】发言


