


 本文介绍如何使用Nginx和Tomcat搭建负载均衡集群。通过详细步骤指导完成环境配置,包括Java环境搭建、Tomcat服务器部署及Nginx安装配置。
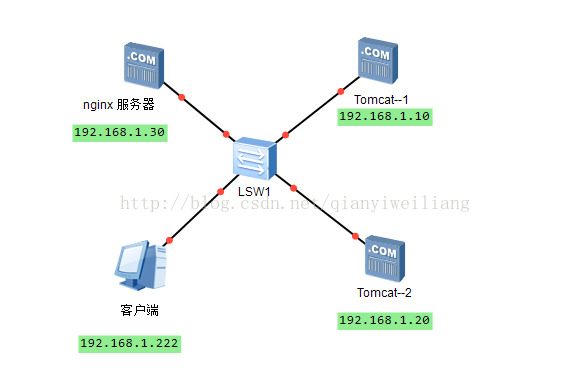
搭建Nginx+Tomcat 负载均衡集群
实验拓扑图:
实验要求:
通过nginx和Tomcat实现负载均衡
这里只做两个,多个做法也是一样的。这里使用的是 rhel 6.5
实验配置文本:
Tomcat --1 服务器配置:IP地址:192.168.1.10
搭建java环境
[root@wan-1 ~]# service iptables stop 关闭防火墙
[root@wan-1 ~]# setenforce 0 关闭安全linux
[root@wan-1 ~]# tar xzvf jdk-7u65-linux-x64.gz -C /opt/
[root@wan-1 ~]# cd /opt/
[root@wan-1 opt]# mv jdk1.7.0_65/ /usr/local/java
[root@wan-1 opt]# vi /etc/profile.d/java.sh 建立java.sh脚本:设置java根目录,在PATH环境变量中添加java的bin目录

[root@wan-1 opt]# source /etc/profile.d/java.sh 运行脚本
[root@wan-1 opt]# java -version 查看java版本

搭建Tomcat服务器:
[root@wan-1 ~]# tar xzvf apache-tomcat-7.0.54.tar.gz -C /opt/
[root@wan-1 ~]# cd /opt/
[root@wan-1 opt]# mv apache-tomcat-7.0.54 /usr/local/tomcat7.
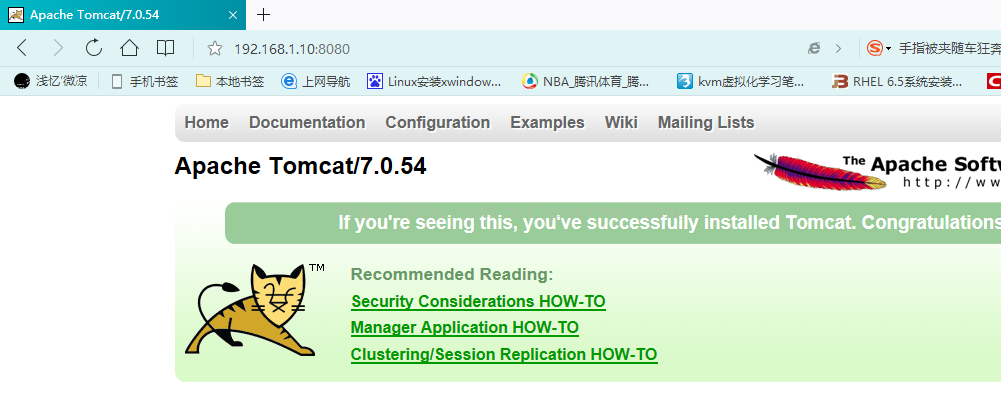
[root@wan-1 opt]# /usr/local/tomcat7/bin/startup.sh 启动tomcat
[root@wan-1 opt]# netstat -anpt | grep 8080

访问:
搭建Java的web站点:
[root@wan-1 opt]# mkdir -p /web/webapp1
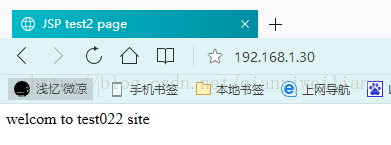
[root@wan-1 opt]# vi /web/webapp1/index.jsp 建立测试页
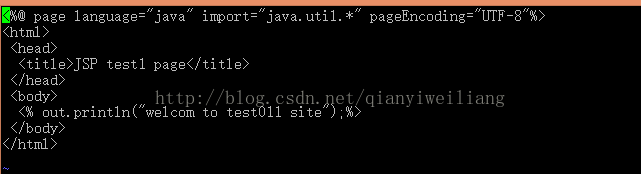
[root@wan-1 opt]# vi /usr/local/tomcat7/conf/server.xml 修改配置文件:定义一个虚拟主机,指定web网站根目录

[root@wan-1 opt]# /usr/local/tomcat7/bin/shutdown.sh
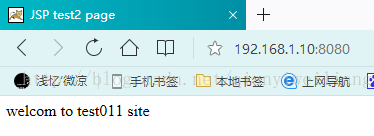
[root@wan-1 opt]# /usr/local/tomcat7/bin/startup.sh
访问:
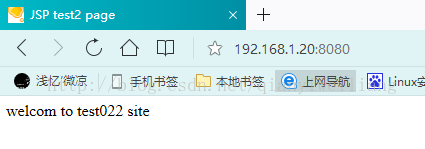
Tomcat --2服务器配置:IP地址:192.168.1.20 按照Tomcat-1 做即可
访问:
Nginx服务器配置:IP地址192.168.1.30
使用yum安装Nginx源代码包,需要搭建一个yum仓库,这里简单的搭建一个域名仓库
/etc/yum.repos.d/rhel-source.repo 这是系统自带的,可以参考下。
[root@wan3 ~]# mount /dev/cdrom /mnt/ 将光盘挂在到/mnt 目录
mount: block device /dev/sr0 is write-protected, mounting read-only
[root@wan3 ~]# vi /etc/yum.repos.d/local.repo 这是简单搭建的yum仓库

可以使用yum list 查看是否搭建成功
[root@wan3 ~]# yum list
Loaded plugins: product-id, subscription-manager
This system is not registered to Red Hat Subscription Management. You can use subscription-manager to register.
local | 3.9 kB 00:00 ...
local/primary_db | 3.1 MB 00:00 ...
在安装nginx之前要安装以下插件 不安装的话在编译的时候会报错:
[root@wan3 ~]# yum install -y gcc gcc-c++ cmake
安装依赖包:yum -y install pcre-devel zlib-devel
[root@wan3 ~]# useradd -M -s /sbin/nologin nginx
[root@wan3 ~]# tar xzvf nginx-1.6.0.tar.gz -C /opt/ 解压缩包。将其放到/opt 目录
[root@wan3 ~]# ls /opt/ 查看/opt 是否有nginx
nginx-1.6.0
配置编译安装:
[root@wan3 ~]# cd /opt/nginx-1.6.0/ cd到源代码目录
[root@wan3 nginx-1.6.0]# ./configure \
> --prefix=/usr/local/nginx \
> --user=nginx \
> --group=nginx \
> --with-file-aio \
> --with-http_stub_status_module \
> --with-http_gzip_static_module \
> --with-http_flv_module \
> --with-http_ssl_module
[root@wan3 nginx-1.6.0]# make
[root@wan3 nginx-1.6.0]# make install
做个软连接让系统识别:
[root@wan3 nginx-1.6.0]# ln -s /usr/local/nginx/sbin/nginx /usr/local/sbin/
-----检查、启动、重启、停止--------
nginx -t //检查
nginx //启动
killall -1 nginx //重启
killall -3 nginx //停止
[root@wan3 nginx-1.6.0]# nginx -t
nginx: the configuration file /usr/local/nginx/conf/nginx.conf syntax is ok
nginx: configuration file /usr/local/nginx/conf/nginx.conf test is successful 出现这个就成功了
[root@wan3 nginx-1.6.0]# nginx 启动nginx
--------制作管理角本:方便管理--------
[root@wan3 nginx-1.6.0]# vi /etc/init.d/nginx
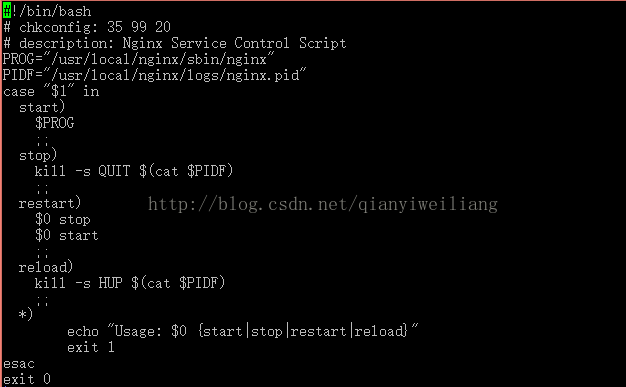
[root@wan3 nginx-1.6.0]# chmod +x /etc/init.d/nginx 增加可执行权限
[root@wan3 nginx-1.6.0]# chkconfig --add nginx 增加一项新的服务,即nginx
[root@wan3 nginx-1.6.0]# service nginx restart
[root@wan3 nginx-1.6.0]# netstat -anpt | grep 80 查看80 端口

[root@wan3 nginx-1.6.0]# service iptables stop
iptables:将链设置为政策 ACCEPT:filter [确定]
iptables:清除防火墙规则: [确定]
iptables:正在卸载模块: [确定]
[root@wan3 nginx-1.6.0]# setenforce 0
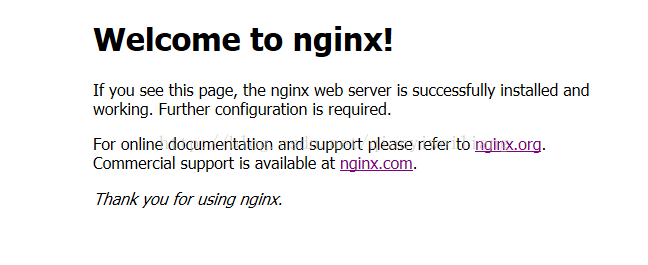
访问:192.168.1.30 出来这样画面就说明安装成功了。
编辑主配置文件: nginx.conf
把nginx的默认站点通过proxy_pass方式代理到tomcat_server负载均衡服务器组上

设置tomcat负载均衡服务器组

[root@wan3 conf]# nginx -t
nginx: the configuration file /usr/local/nginx/conf/nginx.conf syntax is ok
nginx: configuration file /usr/local/nginx/conf/nginx.conf test is successful
[root@wan3 conf]# service nginx restart
验证:访问nginx服务器:
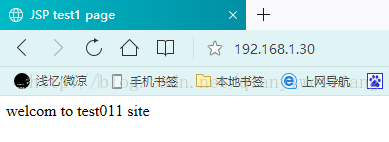
刷新:
到此为止,实验也就完成了!


 被折叠的 条评论
为什么被折叠?
被折叠的 条评论
为什么被折叠?
 到【灌水乐园】发言


