


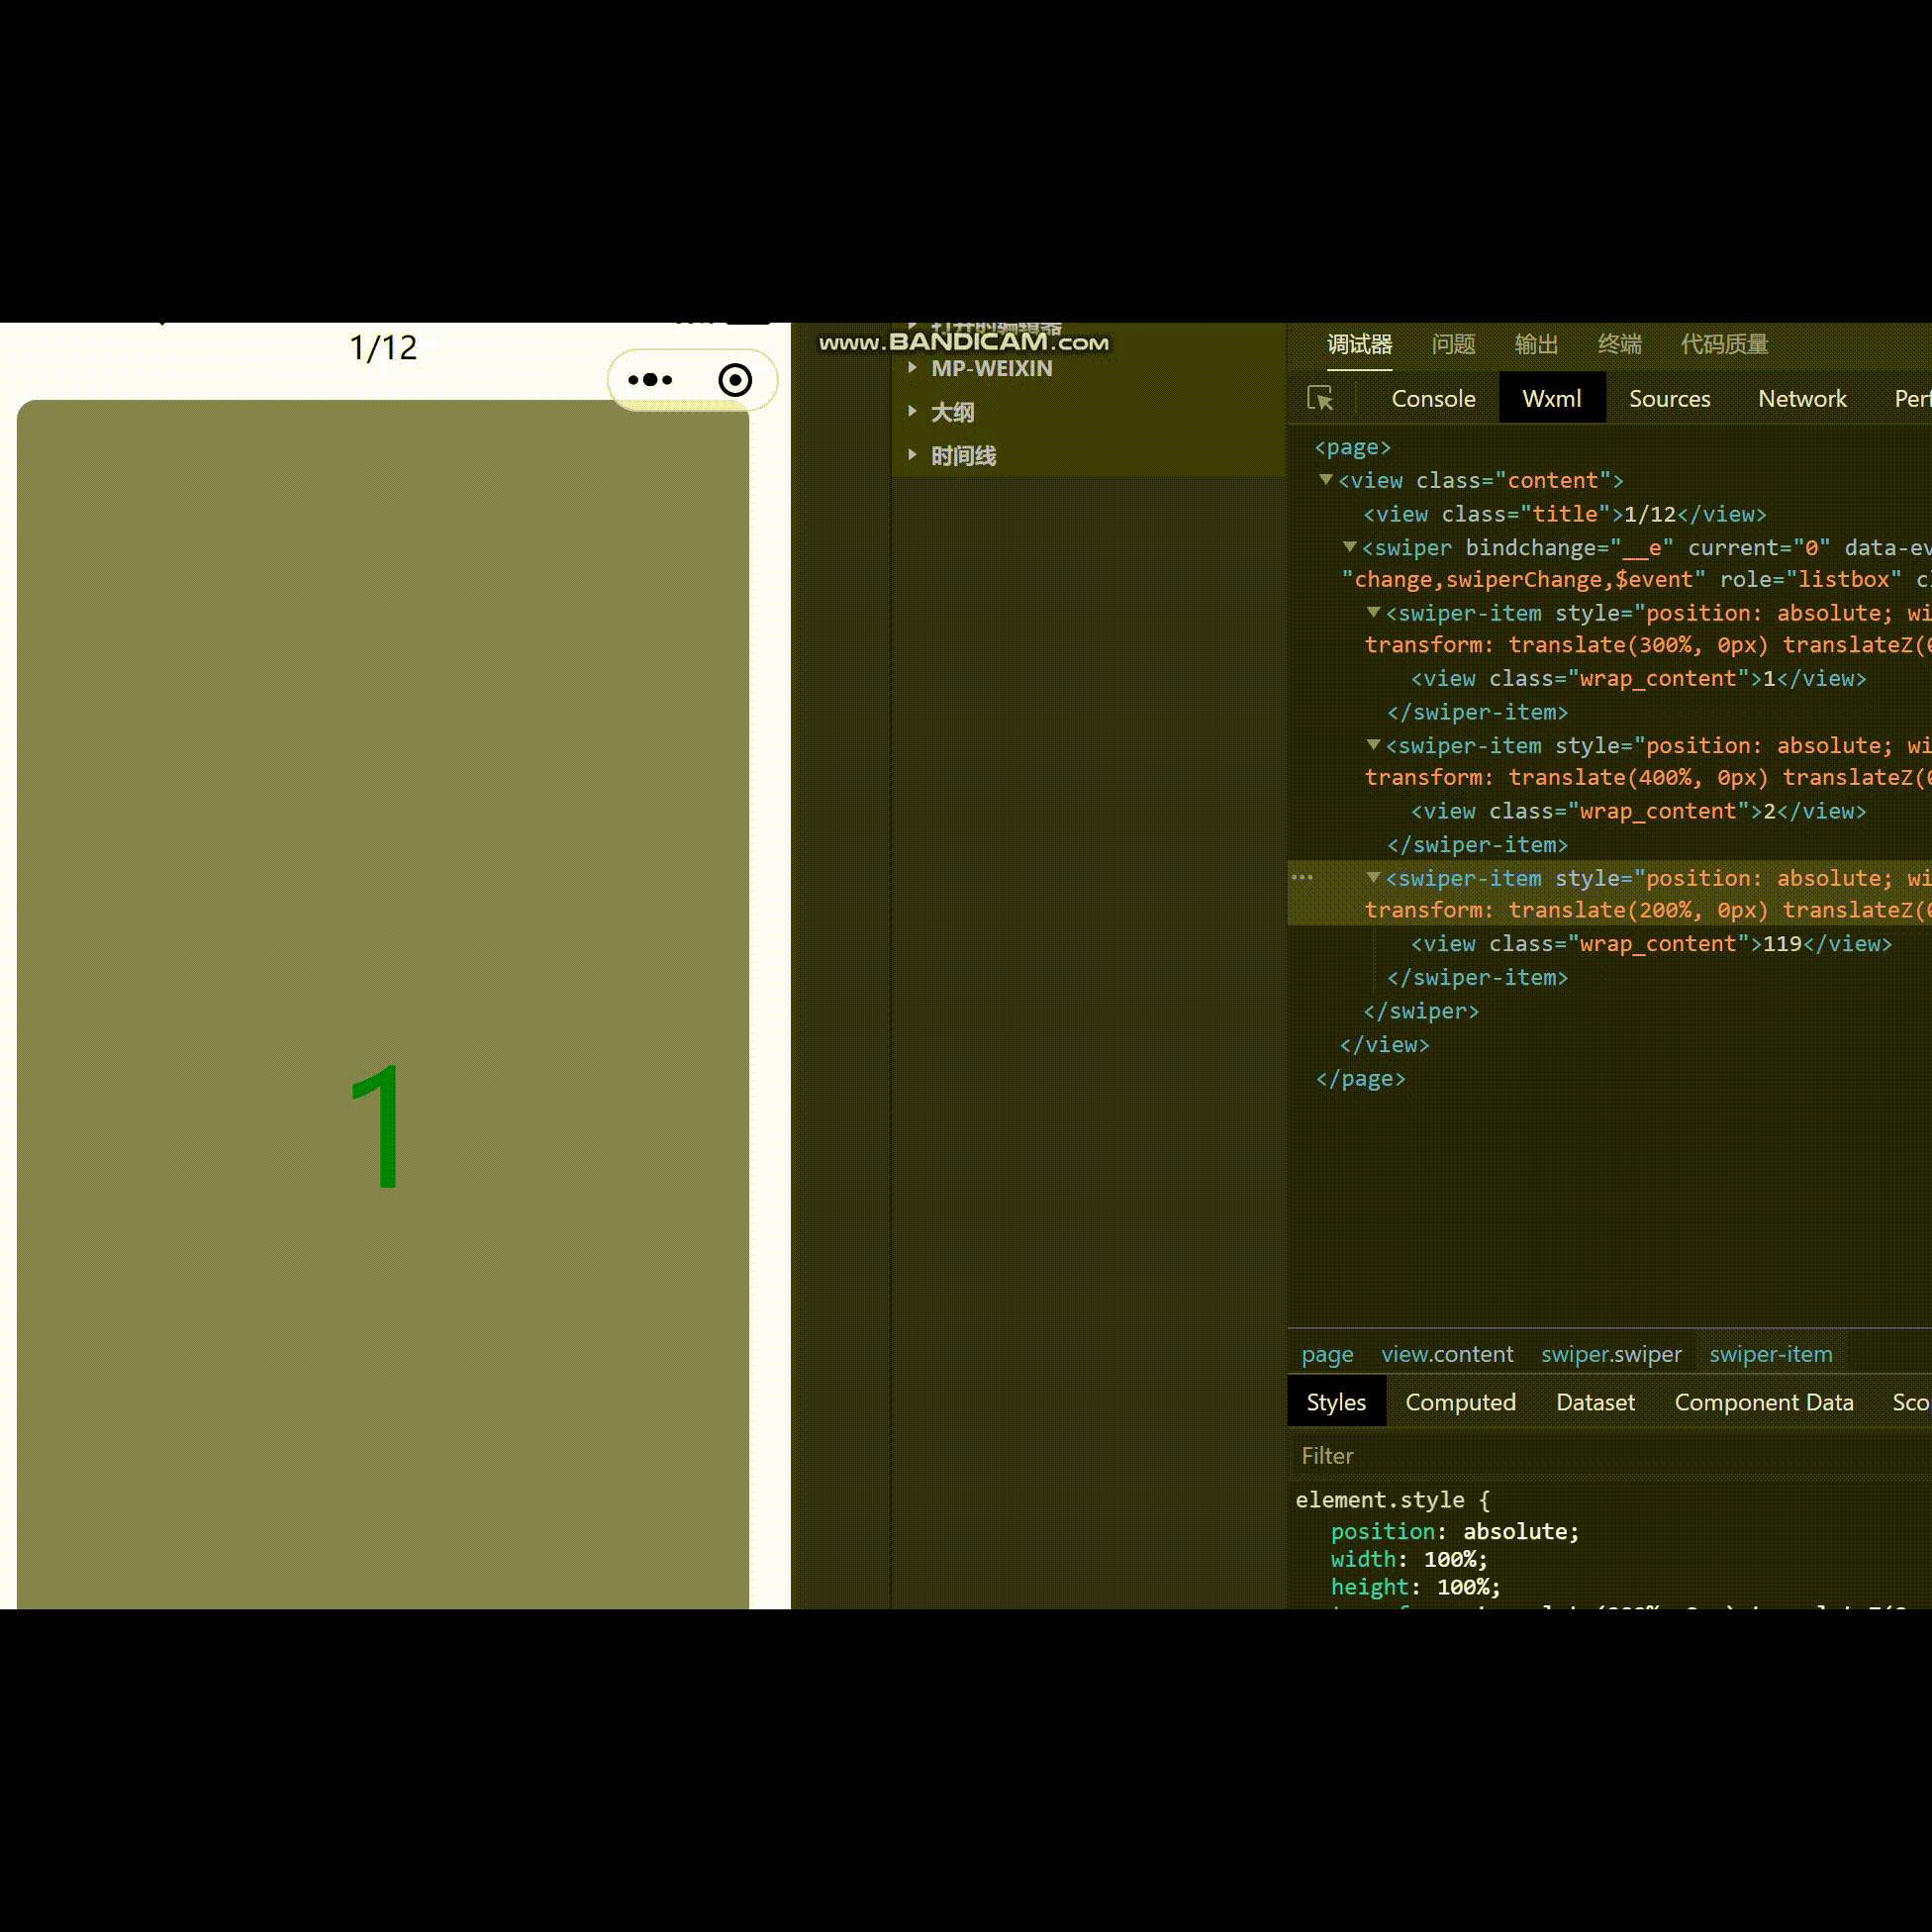
效果图,添加:vertical="true"属性便可往下无限滑
技术栈:vue2、uniapp、微信小程序
解决了什么:无限渲染dom节点只挂载三个dom元素
代码块
<template>
    <view class="content">
        <view class="title">{{originIndex +1 }}/{{ originList.length }}</view>
        <swiper class="swiper" :circular="circularCom" :current="displayIndex" :vertical="true" @change="swiperChange"
            swiperDuration="250">
            <swiper-item v-for="(item, index) in displaySwiperList" :key="index">
                <view class="wrap_content">{{ item }} </view>
            </swiper-item>
        </swiper>
    </view>
</template>

<script>
    export default {
        data() {
            return {
                originList: [], // 源数据
                displaySwiperList: [], // swiper需要的数据
                displayIndex: 0, // 用于显示swiper的真正的下标数值只有:0,1,2。
                originIndex: 0, // 记录源数据的下标
            };
        },
        computed: {
            circularCom() {
                // 第一条数据时,关闭无限轮询
                return this.originIndex === 0 ? false : true
                // return false
            }
        },
        methods: {
            /**
             * 初始一个显示的swiper数据
             * @originIndex  从源数据的哪个开始显示默认0,如从其他页面跳转进来,要显示第n个,这个参数就是他的下标
             */
            initSwiperData(originIndex = this.originIndex) {
                const originListLength = this.originList.length; // 源数据长度
                const displayIndex = this.displayIndex

                const displayList = [];
                const isFirstDisplayIndex = displayIndex == 0 // swiper滑块在第一个0,1,2
                const isLastDisplayIndex = displayIndex == 2 // swiper滑块在最后一个0,1,2
                const isFristOriginIndex = originIndex == 0 // 第一条数据源下标
                const isLastOriginIndex = originIndex == originListLength - 1 // 最后一条数据源下标

                const displayIndexNearUp = isFirstDisplayIndex ? 2 : displayIndex - 1 // 向上swiper滑块下标
                const displayIndexNearDown = isLastDisplayIndex ? 0 : displayIndex + 1 // 向下swiper滑块下标
                const originIndexNearUp = isFristOriginIndex ? originListLength - 1 : originIndex - 1 // 向上滑的数据源下标
                const originIndexNearDown = isLastOriginIndex ? 0 : originIndex + 1 // 向下滑的数据源下标

                displayList[displayIndex] = this.originList[originIndex];
                displayList[displayIndexNearUp] = this.originList[originIndexNearUp]
                displayList[displayIndexNearDown] = this.originList[originIndexNearDown]

                this.displaySwiperList = displayList;
            },
            /**
             * swiper滑动时候
             */
            swiperChange(event) {
                const {
                    current
                } = event.detail;
                const originListLength = this.originList.length; // 源数据长度
                const hasLastOriginIndex = this.originIndex == originListLength - 1 // 最后一条数据
                const hasFirstOriginIndex = this.originIndex == 0 // 第一条数据

                if ([-1, 2].includes(this.displayIndex - current)) {
                    /**
                     * =============向后/向下滑动=============
                     * 0(displayIndex)滑到1(current): -1
                     * 1(displayIndex)滑到2(current): -1
                     * 2(displayIndex)滑到0(current): 2
                     * */
                    this.originIndex = hasLastOriginIndex ? 0 : this.originIndex + 1;
                } else if ([-2, 1].includes(this.displayIndex - current)) {
                    /**
                     * =============向前/向上滑动=============
                     * 0(displayIndex)滑到2(current): -2
                     * 2(displayIndex)滑到1(current): 1
                     * 1(displayIndex)滑到0(current): 1
                     * */
                    this.originIndex = hasFirstOriginIndex ? originListLength - 1 : this.originIndex - 1;
                }

                this.displayIndex = current // 必须写在这,不能写在上面
                this.initSwiperData();
            },

        },
        created() {
            const tempList = []
            for (let i = 1; i <= 11; i++) {
                tempList.push(i);
            }
            if (tempList.length % 3 == 1) {
                const staticArr = [110, 120]
                tempList.push(...staticArr)
            } else if (tempList.length % 3 == 2) {
                const staticArr = [119]
                tempList.push(...staticArr)
            }
            this.originList = tempList
            this.initSwiperData();
        },
    };
</script>

<style>
    .title {
        width: 100%;
        display: flex;
        justify-content: center;
        align-items: center;
        height: 100rpx;
    }

    .swiper {
        height: calc(100vh - 100rpx);
    }

    .wrap_content {
        border-radius: 20rpx;
        display: flex;
        justify-content: center;
        align-items: center;
        background: gray;
        height: 100vh;
        color: green;
        font-size: 80px;
        margin: 0rpx 40rpx;
    }
</style>
注意缺陷,一定要看
由于swiper自身的问题,动态设置circular无限轮询属性时 :circular="false",切换会丢失动画。这是swiper的一个缺陷,官方也知道但是一直没有修复。从1切换到2就能感受到,这是个用户体验的问题,参考网友踩坑记录https://developers.weixin.qq.com/community/develop/doc/000a2a8b4889484e31a61630653c00
数据长度必须是3的倍数,如果数据不够手动添加,我们可以添加静态数据比如一张图片或者背景div
只能在微信小程序端、H5页面运行,在客户端(安卓、IOS)十之八九是行不通
最后
在代码块里面都有些非常多注释,如果有疑惑,使用console.log挨个把变量值打印出来,应该马上就能理解。
这只是deom实例,swiper-item标签里面可以直接放video标签。demo主要解决问题是渲染dom元素,如果渲染所有数据,当数据达到100条左右就该头疼了。


 436
436


 被折叠的 条评论
为什么被折叠?
被折叠的 条评论
为什么被折叠?
 到【灌水乐园】发言


