C# OPC UA DA通信源代码示例,轻松应用于工业上位机

C# opc ua/da通信源代码示例,应用简单直接可使用。
工业上位机必备代码

ID:5235650998353451

上位机攻城狮


C# OPC UA DA通信源代码示例,应用简单直接可使用。工业上位机必备代码。

随着工业自动化的快速发展,工业上位机越来越成为生产现场的核心控制设备。为了实现设备之间的数据交互和实时监测,通信协议的选择变得尤为重要。OPC UA作为一种开放、通用的通信协议,成为工业上位机的首选。本文将围绕C# OPC UA DA通信源代码示例展开讨论,介绍其应用简单直接可使用的优势。

一、OPC UA概述

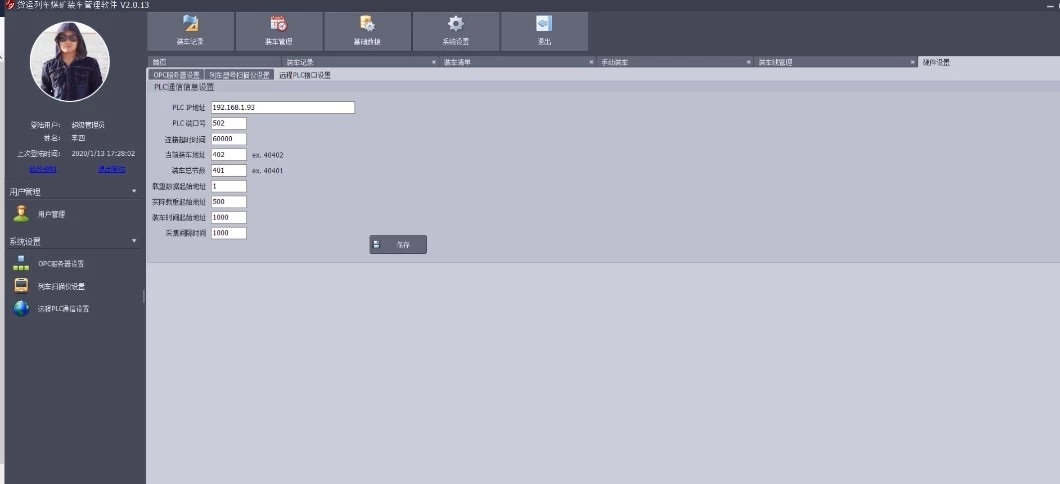
OPC(OLE for Process Control)是一种数据通信规范,它定义了一套通信接口,使得不同的设备和系统可以无缝地进行数据交换。OPC UA(Unified Architecture)相对于之前的OPC规范,提供了更加灵活、安全和可扩展的通信解决方案。OPC UA DA(Data Access)是OPC UA中最常用的功能,用于实现设备之间的数据读取和写入。

二、C# OPC UA DA通信源代码示例

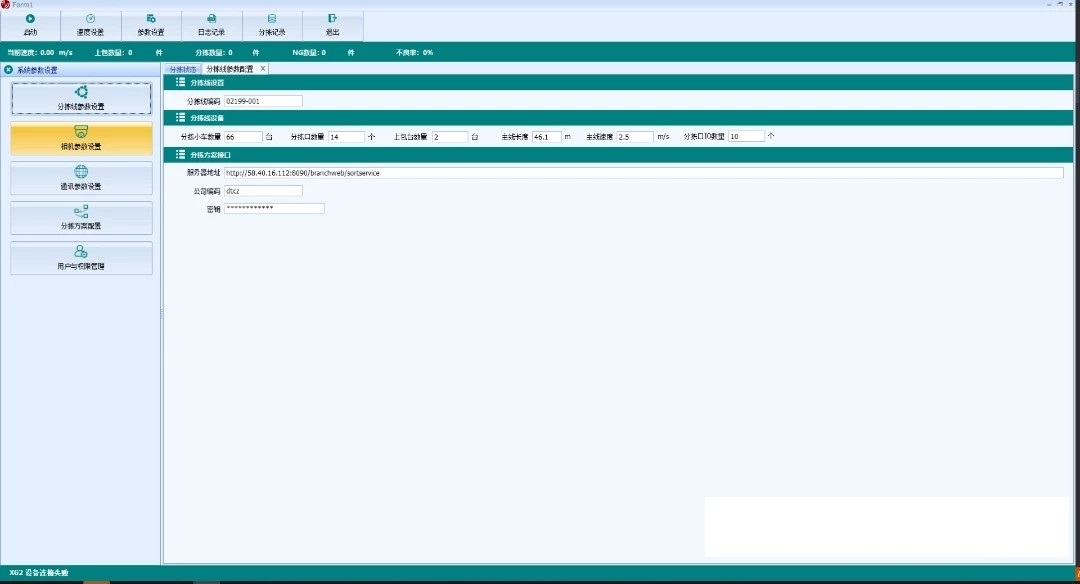
为了方便开发人员快速上手,我们提供了C# OPC UA DA通信源代码示例。这些示例代码经过精心设计和优化,具有以下特点:

  1. 简单直接:示例代码的结构清晰、逻辑简单,使得开发人员能够快速理解和掌握通信的原理和操作方法。

  2. 可应用性强:示例代码不仅仅是为了演示而存在,而是经过实际应用验证的可行方案。开发人员可以直接使用示例代码,省去了繁琐的编写和测试过程。

  3. 多样性:示例代码涵盖了不同设备和场景下的通信需求,包括数据读取、写入、事件触发等。开发人员可以根据实际需求选择合适的示例代码进行使用。

三、工业上位机必备代码

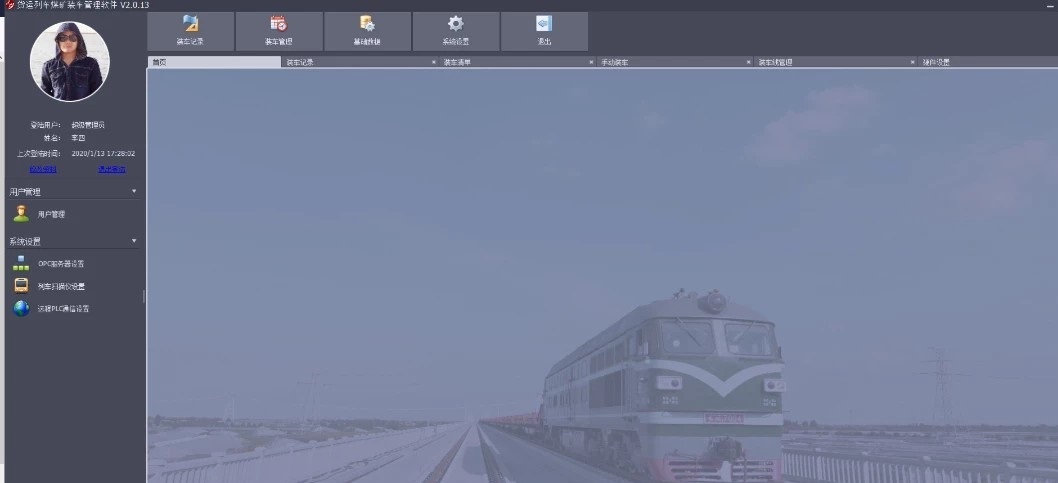
工业上位机作为生产现场的核心控制设备,需要具备高效、稳定的通信能力。而C# OPC UA DA通信源代码示例恰好满足了这一需求,因此可以称之为工业上位机必备的代码。

  1. 高效稳定:示例代码采用了最新的通信协议和编程技术,以提供高效稳定的通信能力。开发人员可以放心使用,无需担心通信延迟或数据丢失的问题。

  2. 扩展性强:示例代码提供了丰富的接口和功能,方便开发人员根据实际需求进行定制和扩展。无论是添加新的设备接口还是优化通信效率,都能够轻松实现。

  3. 兼容性好:示例代码基于开放的OPC UA协议,可以与各种不同的设备和系统进行无缝对接。不论是PLC、传感器还是上位机,都能够与示例代码实现良好的兼容性。

综上所述,C# OPC UA DA通信源代码示例具有应用简单直接可使用的优势,成为工业上位机的必备代码。开发人员可以借助这些示例代码,快速实现设备之间的数据交互和实时监测,提高生产效率和质量。希望本文能够对读者在工业上位机开发中有所帮助。

以上相关代码,程序地址:http://matup.cn/650998353451.html

  • 3
    点赞
  • 6
    收藏
    觉得还不错? 一键收藏
  • 2
    评论
Overview This OPC UA reference implementation is targeting the .NET Standard Library. .Net Standard allows developing apps that run on all common platforms available today, including Linux, iOS, Android (via Xamarin) and Windows 7/8/8.1/10 (including embedded/IoT editions) without requiring platform-specific modifications. Furthermore, cloud applications and services (such as ASP.Net, DNX, Azure Websites, Azure Webjobs, Azure Nano Server and Azure Service Fabric) are also supported. Features included 1. Fully ported Core UA stack and SDK (Client, Server, Configuration & Sample assemblies) 2. Sample Servers and Clients, including all required controls, for .Net 4.6, .NetCore and UWP. 3. X.509 certificate support for client and server authentication 4. Anonymous, username, X.509 certificate (experimental) and JWT (experimental) user authentication 5. UA-TCP & HTTPS transports (client and server) 6. Folder certificate-store support 7. Sessions (including UI support in the samples) 8. Subscriptions (including UI support in the samples) Getting Started All the tools you need for .Net Standard come with the .Net Core tools. See here for what you need. How to create self signed certificates for the sample applications On Windows 1. Open a command prompt in the root folder of your repository 2. Run the script CreateAllCerts.cmd in the root folder of your repository to create the certificates for all sample applications. 3. Alternatively, you can run the script CreateCert.cmd in each sample project folder to create new self signed certificates for the application. 4. The self signed certificates are stored in OPC Foundation/CertificateStores/MachineDefault in each application project folder On Linux 1. Open a command prompt 2. Navigate to the project folder of the sample app, e.g. SampleApplications/Samples/NetCoreConsoleClient 3. Run the script ./createcert.sh to create the certificates for the sample applications. 4. The self signed certificates are stored in OPC Foundation/CertificateStores/MachineDefault in each application project folder How to build and run the samples in Visual Studio on Windows 1. Create certificates for all sample applications. 2. Open the solution UA-NetStandard.sln with VisualStudio. 3. Choose a project in the Solution Explorer and set it with a right click as Startup Project. 4. Hit F5 to build and execute the sample. How to build and run the console samples on Windows, Linux and iOS This section describes how to run the NetCoreConsoleClient, NetCoreConsolePublisher and NetCoreConsoleServer sample applications. Please follow instructions in this article to setup the dotnet command line environment for your platform. Prerequisites 1. Once the dotnet command is available, navigate to the root folder in your local copy of the repository and execute dotnet restore. This command calls into NuGet to restore the tree of dependencies. Start the server 1. Open a command prompt 2. Now navigate to the folder SampleApplications/Samples/NetCoreConsoleServer. 3. Run the script ./createcert.sh on Linux or CreateCert.cmd on Windows to create the self signed certificate for the command line application. 4. To run the server sample type dotnet run. The server is now running and waiting for connections. In this sample configuration the server always accepts new client certificates. Start the client 1. Open a command prompt 2. Now navigate to the folder SampleApplications/Samples/NetCoreConsoleClient. 3. Run the script ./createcert.sh on Linux or CreateCert.cmd on Windows to create the self signed certificate for the command line application. 4. To execute the sample type dotnet run to connect to the OPC UA console sample server running on the same host. To connect to another OPC UA server specify the server as first argument and type e.g. dotnet run opc.tcp://myserver:51210/UA/SampleServer. How to build and run the OPC UA Web Telemetry sample • Go to the Azure portal and create a new Storage account. • Open the solution OpcUaWebTelemetry.sln with VisualStudio 2015. • Open the MessageProcessing\Configuration.cs file to configure the app to use your Azure resources (Storage account and IoTHub). // {StorageAccountName} is the name of the storage account and could be found // under Settings->Access keys->Storage account name of your storage account on the Azure portal. // {AccessKey} is the access key of the storage account and could be found // under Settings->Access keys->key1 of your storage account on the Azure portal. public static string StorageConnectionString = "DefaultEndpointsProtocol=https;AccountName={StorageAccountName};AccountKey={AccessKey}"; // {ConsumerGroupName} is the name of a aonsumer group of your IoTHub. The IoTHub you use is the // one you have created for use with the OPC UA Publisher sample. // You need to create this consumer group via the messaging settings of your IoTHub in the Azure portal. // We recommend that you do not share this Consumer group with other consumers, nor that you use the $Default consumer group. public static string EventHubConsumerGroup = "{ConsumerGroupName}"; // {EventHubEndpoint} is the Event Hub compatible endpoint of your IoTHub and could be found // under Settings->Messaging->Event Hub-compatible endpoint of your IoTHub in the Azure portal. // {PrimaryKey} is the IoT Hub primary key for access with iothubowner policy and could be found // under Settings->Shared access policies->iothubowner->Primary key of your IoTHub in the Azure portal. public static string EventHubConnectionString = "Endpoint={EventHubEndpoint};SharedAccessKeyName=iothubowner;{PrimaryKey}"; // {HubName} is the Event Hub compatible name of your IoTHub and could be found // under Settings->Messaging->Event Hub-compatible name of your IoTHub in the Azure portal. public static string EventHubName = "{HubName}"; • Save the file, rebuild the solution and start it. This will start a local instance of the application. • The solution can also be deployed into a Azure App service. Please use VisualStudio 2015's Azure publishing functionality for this purpose. • Now run the OPC UA Publisher sample, connect to a OPC UA server and publish a node. • You should see the node value on the web page after a few seconds. License This repository includes the UA .NetStandard Stack, sample libraries, and sample applications. The UA .NetStandard Stack follows a dual-license: • OPC Foundation Corporate Members: RCL • Everybody else: GPL 2.0 • RCL enables OPC Foundation members to deploy their applications using the UA .NetStandard stack without being required to disclose the application code. Non-members must disclose their application code when using the UA .NetStandard Stack. • Note: Dual license applies to this repository only; GPL 2.0 applies to all derived repositories (for example 'forks'). For details check the License section below. • All samples are provided under the MIT license. Contributing We strongly encourage community participation and contribution to this project. First, please fork the repository and commit your changes there. Once happy with your changes you can generate a 'pull request'. You must agree to the contributor license agreement before we can accept your changes. The CLA and "I AGREE" button is automatically displayed when you perform the pull request. You can preview CLA here.

“相关推荐”对你有帮助么?

  • 非常没帮助
  • 没帮助
  • 一般
  • 有帮助
  • 非常有帮助
提交
评论 2
添加红包

请填写红包祝福语或标题

红包个数最小为10个

红包金额最低5元

当前余额3.43前往充值 >
需支付:10.00
成就一亿技术人!
领取后你会自动成为博主和红包主的粉丝 规则
hope_wisdom
发出的红包
实付
使用余额支付
点击重新获取
扫码支付
钱包余额 0

抵扣说明:

1.余额是钱包充值的虚拟货币,按照1:1的比例进行支付金额的抵扣。
2.余额无法直接购买下载,可以购买VIP、付费专栏及课程。

余额充值